Archive for October, 2010
Removing the Last Three Fenders
by Garage Weasel on Oct.03, 2010, under Disassembly
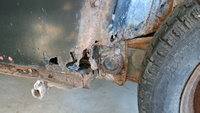
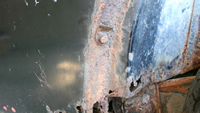
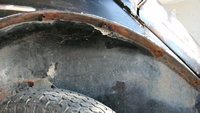
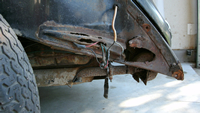
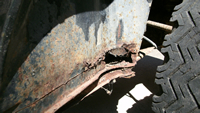
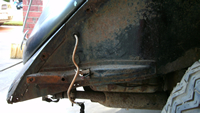
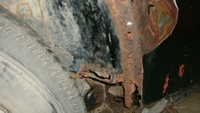
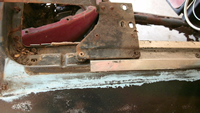
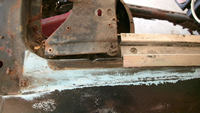
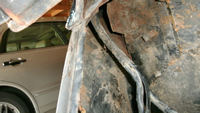
Finished removing the rear fender on the driver side. Of the three bolts left from the first attempt, I was only able to remove the one on the rear side. The two bottom bolts on the front side were in an area that is severely rusted. The upper one is frozen and so rusted that the head is partially gone, but the fender is rusted away there and not being held by it. The bottom one had barely any metal to attach to and when I had the other bolts free, I just broke the few strands of metal away to free it and leaving it attached to the fender. The bolt that is still attached to the quarter panel can be left there as the quarter panel replacement will include that area as well. This wheelhouse is going to need several panels replaced. One, maybe two panels on the front side and one on the rear side that will include the bumper bracket.
The passenger side fenders were removed a little easier than the driver side fenders. Since the rear fender had been swapped by the previous owner in the last couple of years, it was much easier to remove. The front fender was a little more difficult with most all of the bolts being very rusty. The only real issue was with the bolt going from the front fender to the running board. It was much too long and the threads were very rusted. After fighting with it and getting it almost all the way off, it snapped in two (of course!). The running board was not attached at all to the heater channels and the rear bolt to the fender was put on just before I purchased it (just to hold it on) and was removed without tools.
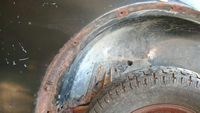
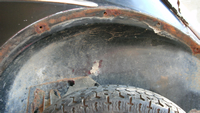
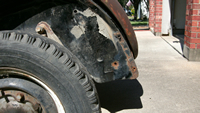
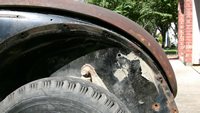
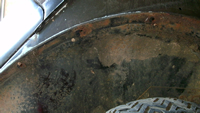
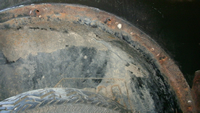
The wheelhouse on the front passenger side will need at least one panel replaced on the lower rear section. There is an area that has completely rusted away, leaving a large hole near the firewall. That whole area with any rust will need to be replaced.
On the wheelhouse on the rear passenger side, at least two areas will need replacement panels. The front section will need at least two panels and the rear section will need a panel which includes the bumper bracket.
With all of the fenders off now, I just need to decide what to do next…
Sunroof, Door Panels, and Several Dash Components
by Garage Weasel on Oct.09, 2010, under Disassembly
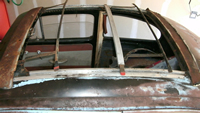
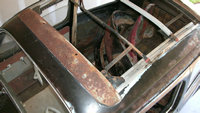
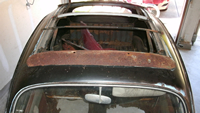
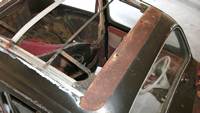
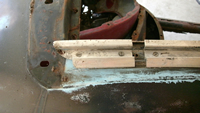
Tackled removing the sunroof components today. Most of the pieces are in good shape, considering the years of exposure to the elements. There is almost no rust in the roof structure of the sunroof opening which I find amazing. All of the components will need to be disassembled, cleaned, and painted. All the plastic rollers and maybe the Teflon slides will need to be replaced. Most of them are cracked and worn.
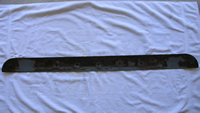
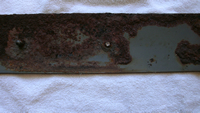
The cover hold-down plate on the rear side is very rusted and pitted on the top side and I broke off one of the studs that bolt it down to the roof. Rather than pay $50 for a replacement, I think I will treat the rust and braze a stud back on it. Since this plate is completely covered by the sunroof cover, it doesn’t really matter what it looks like as long as the rust is removed, the metal is treated and protected, and it is suffiently strong enough to anchor the cover in place.
Having never disassembled a sunroof mechanism before, I always wondered why the aluminum guide rails were made in two pieces on each side with a short piece around 6” long on each end. The reason is that the front spring bar is designed so that the rollers and the Teflon slide fit over the top and bottom sides of the channel and when the two smaller pieces of the guide rails are removed, the spring bar can be moved to the gap and removed.
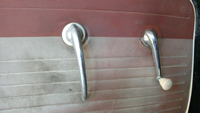
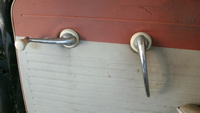
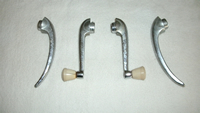
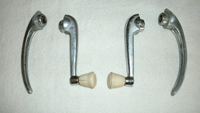
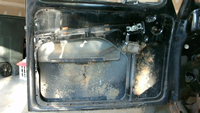
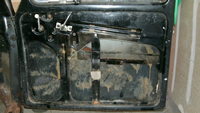
After removing the sunroof components, I removed both door panels. The door handles and winders are all there, but the chrome plating is pitted. They will either need to be replated or replaced.
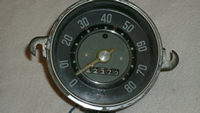
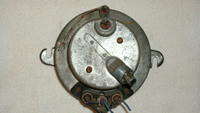
I then started removing the dash components. I removed the speedometer, the speedometer guide tube, and the speedometer cable.
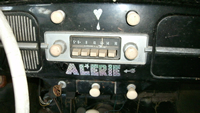
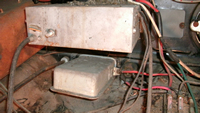
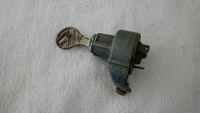
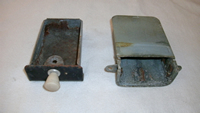
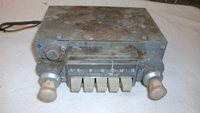
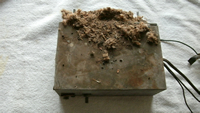
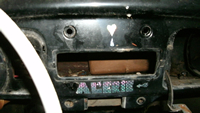
Next, I removed the ignition, the ash tray and holder, and the radio. There appeared to be a mouse nest on top of the radio. I’ll determine later if any of these components are worth keeping and refurbishing. I wonder who Valerie is?
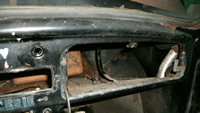
I then removed the glove box. At some point, someone installed a toggle switch in it to control power to the radio. I’m not sure why…
Headlight Switch, Wiper Switch, Fuse Blocks, Hood Catch & Several Other Interior Items
by Garage Weasel on Oct.13, 2010, under Disassembly
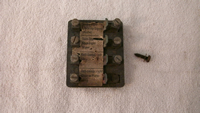
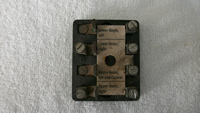
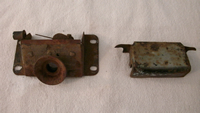
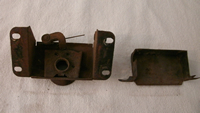
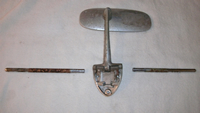
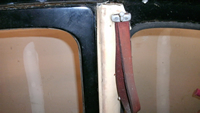
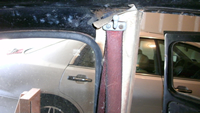
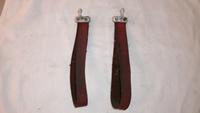
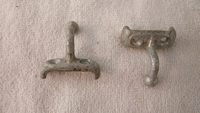
Today I removed the headlight switch, the windshield wiper switch, the fuse blocks, the hood catch, the hood release cable & knob, the rear view mirror assembly which includes the visors, and the coat hooks & assist straps.
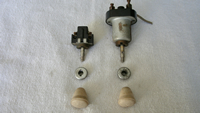
Both the headlight switch and the windshield wiper switch are fastened to the dash with threaded aluminum retaining rings that are notched in the center of the ring. These notches are used by a special tool to tighten and loosen the retaining rings. The tool is hollow, fits over the switch stems, and has two nubs that fit into the notches in the rings to grip and turn it. I don’t have one of these tools, but was able to twist the switches enough to loosen the rings and turn them with my fingers. I will need to purchase or make one of these tools before the switches are placed back in the dash. I’ve seen the tools available for around $20 at Mid America Motorworks. The switches will need to be tested to see if they still work, but the knobs will need to be replaced.
The two fuse blocks have paper inserts that label what each fuse is for. These are dirty and torn and will need to be replaced. It shouldn’t be too hard to scan them, replicate them, and print them out on card stock. The blocks themselves should be fine to use. They just need to be cleaned.
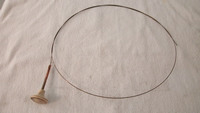
The hood catch is likely too rusted to be usable. I will have it sandblasted first and then decide. The hood release cable will be replaced. The knob is discolored and I cut the cable when disconnecting it from the hood catch thinking it was steel and rusty. It was actually very dirty copper and usable, but the knob needs to be replaced and is included with most cable replacements anyway.
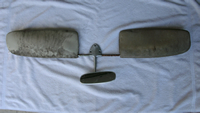
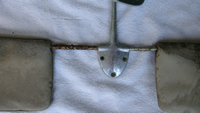
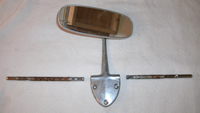
The chrome plating on the rear view mirror is pitted and will have to either be re-plated or I will have to replace the mirror assembly. The housing that surrounds the back of the mirror is aluminum and can be polished to like-new condition. The visors will be replaced and I can dispose of the stems that connect to the mirror as they are included with the visor replacements. One of the screws that fasten the mirror to the body appeared to be either stripped or loose as someone had wrapped fine wire around the threads. I’m going to replace the screws as well, so I’ll see if the problem persists when installing it back on.
I’m not sure if the coat hooks were original to the car or they were replaced at some point. These are aluminum and typically they would be plastic. I think they were likely an accessory. The original assist straps were replaced with leather straps. They will be discarded and replaced with the original rubber-like straps. I won’t know if the coat hooks are worth keeping until after I clean them.
Speedometer Beauty Ring, Dash Plates, and Glove Box Door
by Garage Weasel on Oct.15, 2010, under Disassembly
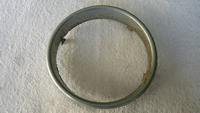
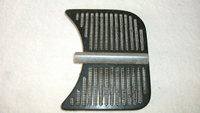
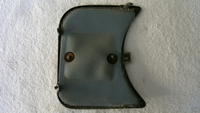
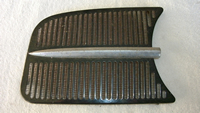
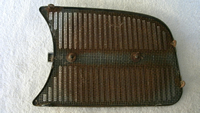
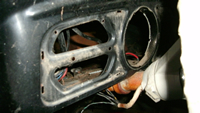
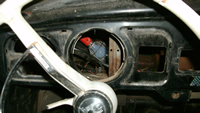
Today, I removed the remaining dash components – the beauty ring for the speedometer, the left and right dash grills, and the glove box door.
The speedometer beauty ring is held in place by four tabs on it that are bent over the dash opening. The plating on it is pitted and it will either need to be re-plated or replaced. Re-plating may be the better option as the replacement is nearly $30.
The dash grills are both fastened to the dash by four tabs that fit through slits in the dash and the tabs are twisted to crimp them against the dash. The tabs were covered with a small amount of a clay-like material, probably to keep them from vibrating loose and rattling.
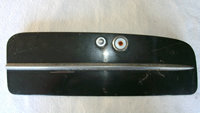
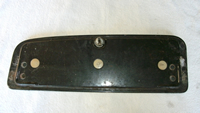
Last, I removed the glove box door. At some point, someone installed a pull-knob on the front of the door, most likely to make it easier to open. I will remove it and fill the hole left by the mounting screw. The molding on the glove box door and the dash grills will need to be re-plated or replaced.
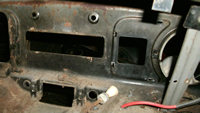
The bare dash:
Removing the Wiring Harness
by Garage Weasel on Oct.17, 2010, under Disassembly
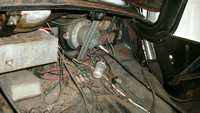
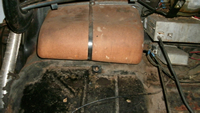
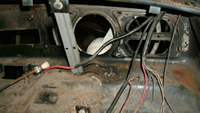
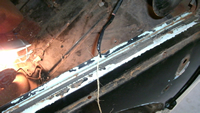
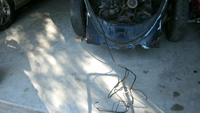
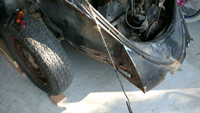
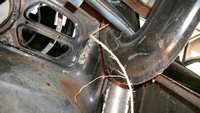
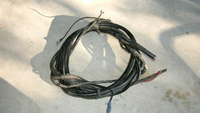
Removed the wiring harness today. I cut the loose wires from the three branches of the harness that were under the front hood, leaving only the area of the harness with the black shielding. I taped on a pull string so that when I pulled the harness through to the engine compartment, I would have a way to pull the new harness through once I get to that point. The harness is routed from the front hood area to the engine compartment through a channel in the roof that is just under the rain gutters. There is ample room in this channel, so I’m hoping to not have too much problem pulling the new harness through it. That will be a while from now, though, and after all the body work and paint are done.
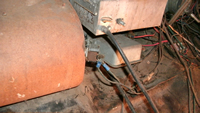
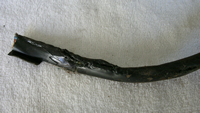
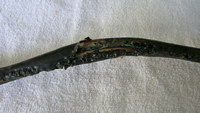
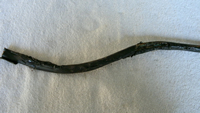
In the trunk, I did notice a section of the wiring harness where the shielding had melted. This could have been part of the electrical problems reported by a previous owner, which was supposedly why it was never driven again.
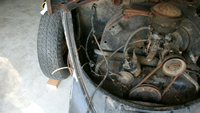
I also vacuumed out the debris in the front trunk area and the engine compartment. There was plenty of leaves, grass, dirt, and spider webs from all of the years of sitting outside. Once I had cleaned the half-inch thick debris off of the engine, I pulled out the dip stick to see if it showed any oil. It was full to the line and the oil looked very clean. Of course, I’m guessing that all the sludge has settled to the bottom of the engine in the last 25 years. I was told that this was a rebuilt engine and that it wasn’t driven long after the rebuild. It is definitely not the original engine as the engine number doesn’t match the number provided by Volkswagen.
