Disassembling The Donor Frame Head
by Garage Weasel on May.22, 2018, under Chassis
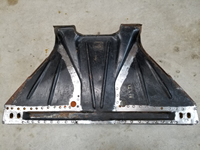
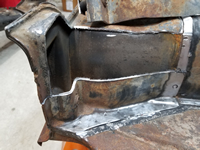
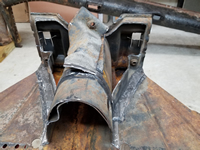
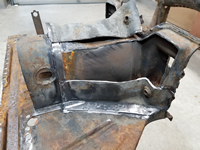
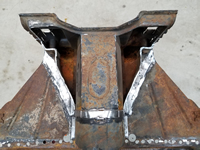
Well, to start, nothing about disassembling this frame head was easy. Especially if you are trying to preserve the parts to reuse them. It was constructed for structural strength and was not meant to be easy to take apart. Removing the spot welds isn't difficult, but just take a lot of work. The seam welds are another story. Separating the parts that are seam-welded almost always requires sacrificing one of the panels to cut them apart. I started out trying to preserve all the pieces, but finally decided to choose the pieces I wanted the most and do whatever I needed to do to make that as easy as possible. In this case, I really wanted the two lower sections on the sides of the frame head body where the bottom plate is mounted, the Napoleon hat, and as much of the tunnel as I could preserve. I really wanted to save the bottom plate as well, but it was just too difficult to separate it from everything else with all of the seam welds. And although it looked in really good condition from the outside, the bottom plate had deep pits in it where it was covered by the Napoleon hat, the tunnel, and frame head body. I think that the aftermarket bottom plate I purchased will be just as strong as this one considering all of the rust damage. Anyway, I didn't really have a choice in the end and made the sacrifice. Overall, I am really happy with the condition of the parts that were saved. The Napoleon hat is in better shape than the other donor one I purchased and I plan to use some parts of the tunnel section and the lower frame head body sections as well.
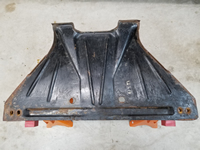
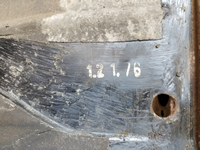
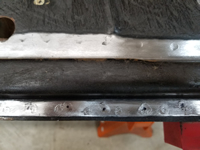
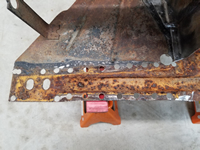
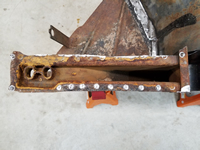
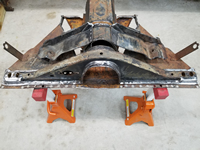
First, I carefully removed the undercoating on the bottom plate. Like I said, it appeared to be in really good condition from this side of the plate. I was really hopeful at that point that it would be the same on the other side, even though I could see some pitting through the tunnel opening. I uncovered what I think is a date printed on it of 1.21.76. I'm not sure that is the case here as the frame head was reported to be from a 1965 model.
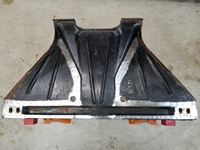
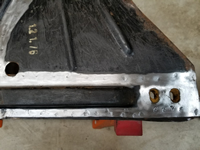
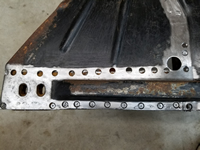
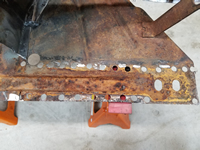
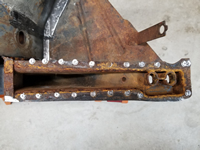
Next, I used a wire wheel to remove the paint and expose the spot welds. I also marked the ones that I wanted to drill out with a marker. Just like on the tunnel, there are two different types of spot welds on the area where the floor pans were attached. The smooth, even welds are the ones that actually penetrated and bonded the Napoleon hat to the bottom plate and the raised, uneven welds were done at a lower voltage and only bond the floor pans to the upper side of the Napoleon hat. Again, I learned that the hard way.
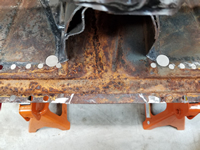
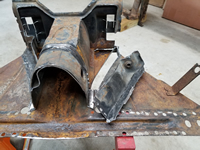
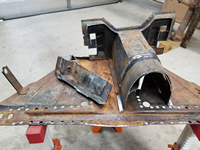
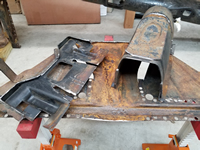
I then drilled out the spot welds that attach the Napoleon hat to the bottom plate. The hardest areas to separate were where it was seam-welded together. On one side of the Napoleon hat, almost none of the spot welds penetrated because there was too much space between it and the bottom plate. They apparently seam-welded it in that area to compensate. Because of that space, I was able to get a thin cut-off wheel between them and cut through the welds. With the Napoleon hat heavily seam-welded to the tunnel, I just cut through the tunnel so that I could remove it. With the Napoleon hat off, I was both pleased with the condition of the inside of it and not so pleased with the heavy pitting in the matching area of the bottom plate. Apparently, a lot of water was able to get inside the frame head over the years.
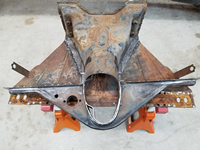
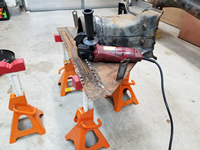
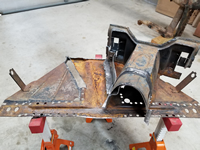
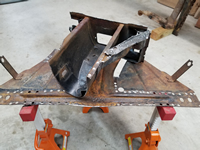
By the way, I found that my jack stands worked great for supporting the frame head while I was working on it. The rubber pads grip it and keep it from moving around.
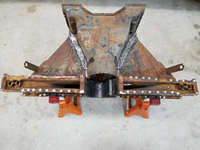
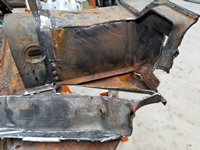
With the Napoleon hat removed, my next task was to remove the lower sides of the frame head body where it is attached to the bottom plate. To do this, I first cut off the areas just above them on both sides and then cut through beam mounting plate on the front to free them there.
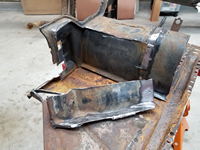
It was at this point that I realized just how difficult it was going to be to remove the lower body sections from the bottom plate. The two were seam-welded together and there were was just no easy way to separate them without damaging them both. I really just needed the body sections, so I just cut through the bottom plate in the areas where they were attached. I was a complete bonehead and didn't realize that I was cutting through both layers at one point on the first one. In fact, I didn't notice until I turned it over. I can weld the cut, but really felt sick when seeing it. When cutting the other side, I was very careful not to repeat the same mistake. Once it was cut out, the tunnel was free and I just needed to separate it from the tunnel.
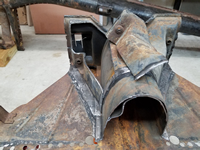
Lastly, I just had to remove the beam mounting plate from the tunnel. They were attached by seam welds, of course, and I just cut out the area of the beam plate where they were attached. Disassembled, finally. The pictures may make it look simple and quick, but I spent several hours on several evenings to get this accomplished. And I still need to clean up the parts I'm going to reuse by removing the leftover panel remnants that were cut out during the removal process and the spot welds.
Mission accomplished and I now have a new donor Napoleon hat, two lower frame head body sections, and a tunnel section to use on my chassis. Can't wait to get to the repair and assembly part of this project!
Follow-up Note (6/9/21): I determined that the parts from this frame head were just too different than my original frame head and purchased a more correct model that matches much better. More details to follow.
October 22nd, 2018 on 8:29 am
Greetings, Garage Weasel! I found your blog on a Google search for removing the body from a VW Beetle. I am looking forward to checking out your progress to this point. I have just started restoring my ’63. Getting it back on the road, really. A real restoration will come later.
October 22nd, 2018 on 11:44 pm
Hi Michael! Kind of stalled right now (again), but planning to get started on cutting and welding on the chassis. It’s finally gotten cool enough to gear up and weld.