Tag: chassis
Initial Assessment of the Chassis
by Garage Weasel on Mar.04, 2011, under Chassis
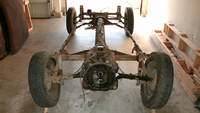
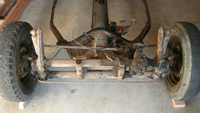
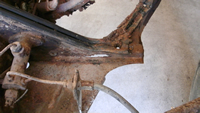
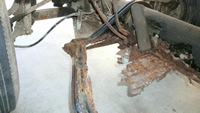
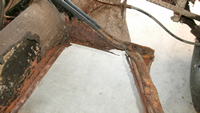
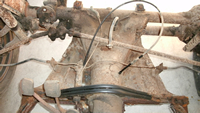
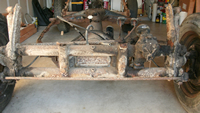
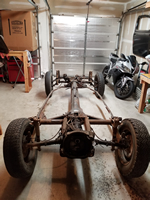
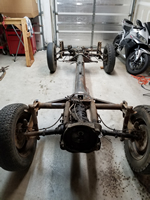
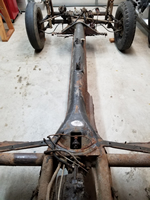
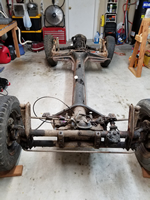
With the body off of the chassis, I can now get a good look at its condition. Here is my initial assessment of what needs to be repaired or replaced:
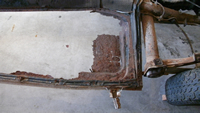
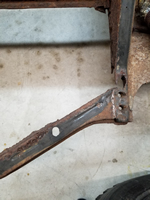
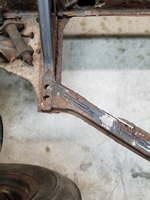
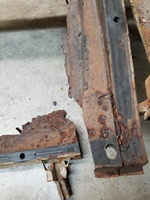
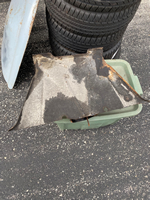
Floor pans: I guess the most obvious things that need to be replaced are the floor pans. There is almost nothing left of them except the outside frames. My current intention is to replace them with them new panels made by Wolfsburg West. These are thick and heavy-duty and seem to be the best ones available.
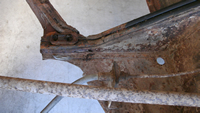
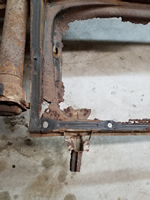
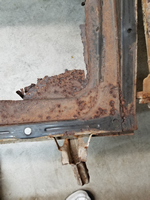
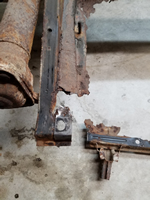
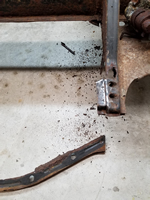
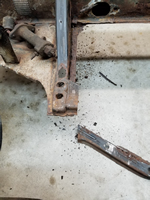
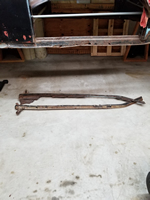
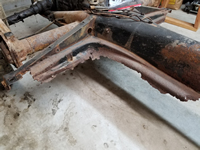
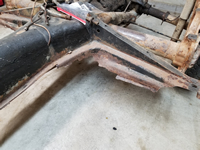
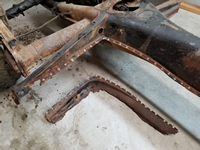
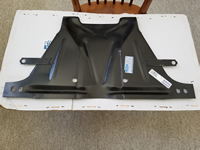
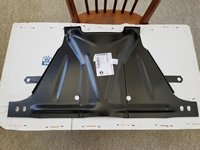
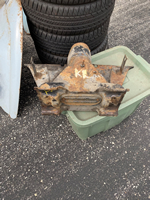
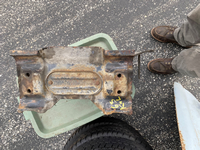
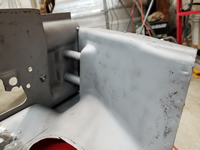
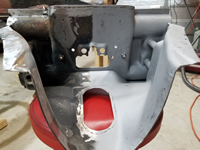
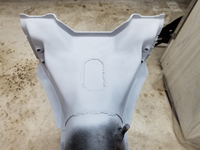
The Napoleon hat: The Napoleon hat or front chassis support panel on my chassis has suffered a lot of rust damage and must be replaced. These are difficult to remove due to the amount of welding where it is attached to the frame head and tunnel and have to be cut and ground off. New replacement panels are available and inexpensive, but often do not fit well and have to be greatly altered. I may buy a new one and see if it fits well enough to use. Donor parts are difficult to find, so my only option may be to use a new panel.
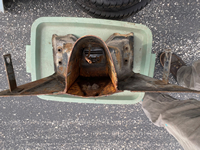
The frame head: The frame head has quite a bit of surface rust, but seems to be structurally sound. The bottom plate, however, does need at least portions of the plate replaced. The rear corners are rusted through where it attaches to the outside ends of the Napoleon hat and these areas will need to be replaced. Replacement bottom panels are available and reasonably priced, but it is a lot of work to remove the original one and a lot of welding to install the replacement. Right now, I’m not sure the extra work is necessary. I may just purchase a replacement panel and then make the decision. I can at least use it to cut out portions to patch the areas that are rusted away.
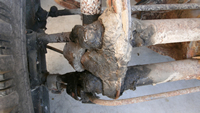
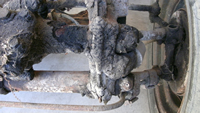
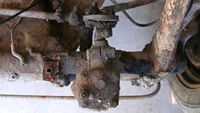
Front axle: The front axle is covered with road grime, oil, and dirt. In some areas it is more than an inch thick. I cleaned some of it off and went through and loosened all the nuts and bolts. Until I remove it, clean it up, and take it apart, I will not know what condition it is in. Same thing for the steering box. No surprises so far with the front axle and its components.
Pedal cluser: The pedal cluster is completely rusted solid and isn’t worth trying to rebuild. I tried spraying it with penetrating oil and letting it soak in, but I could never get anything to budge. Not only is it rusted solid, but the aluminum base has disintegrated. I’ll look for a used one worthy of rebuilding.
Brake system: I haven’t pulled the brake drums on any of the wheels yet, so I don’t know what condition the internal components are in. I’ll take them off soon to get an idea, but my plan is to do a major assessment of the brakes after the structural rust repair is done to the chassis. I do plan to replace all the brake lines and hoses. I don’t know if the master cylinder is usable yet and will not until I pull it off and take a closer look. My guess is it will need to be replaced. The brake fluid reservoir has a lot of surface rust, but I think that once it is media blasted, treated, and painted it will be fine.
Cables: The cables for the clutch, accelerator, choke, emergency brakes, and heater lever will all be replaced. They may not all need to be replaced, but I don’t want to chance having any of them break later. It will also be much easier to replace them now while the body is off. I will clean out and lubricate any guide tubes before replacing any of the cables and will also replace all of the seals where they enter and exit the frame.
Back to the Chassis: Getting Started
by Garage Weasel on Mar.30, 2018, under Chassis
It's been 7 years since I've done anything notable to the chassis. Even then, not much. It is amazing how fast time flies by and how much life can get in the way and steal your time for many years. In the last half year or so, I have been eliminating all of the obstacles in really getting started on this project - lack of the proper tools, lack of working space, deciding just where to get started, and devising a plan on just what to tackle first. After careful consideration of whether to start with the chassis first or the body, I have decided that since I have so little good metal left as reference points, I may as well start with rebuilding the chassis and try to get it as close to the accurate factory specifications as possible and then build the body to match it. Since everything on the chassis that touches the body has to be replaced and everything on the body that touches the chassis has to be replaced, I may as well get started on the chassis. Besides, I have replacements for the floor pans, Napoleon hat, and the frame head bottom plate and don't have to make any major purchases. I have also decided to remove a large section of the tunnel bottom plate so that I can better assess the damage to the tunnel and facilitate replacing the areas of the bottom lip where the insides of the floor pans rest. There is a lot of damage there where water was obviously pooled there for a very long time. Anyway, that is the current plan and I'm moving forward with it.
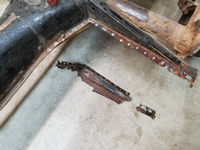
First, I decided to cut off the outside sections of what is left of the floor pans. These are the areas that bolt to the heater channels. I am tired of hitting my shins on them and they need to be removed anyway.
Before:
After:
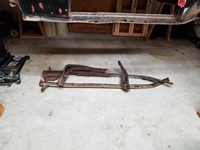
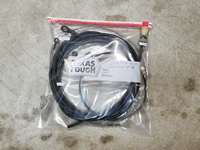
Next, I removed the inner areas of the floor pans. Except for a few strips along the tunnel here and there in the middle and front, there was only floor pan left in the rear on both sides. Finding and drilling out the spot welds was challenging in some areas as they were barely visible and it is amazing how just the smallest amount of weld will keep the panel from breaking free. It is so nice to finally have the floor pans removed! After that, I pulled the accelerator cable, the clutch cable, the heater cables, the choke cable, and the emergency brake cables. I cut the emergency cables off just past the shroud since I will need to access the brake mechanisms to detach the cables on that end. I coiled the removed cables up and placed them in a bag to keep them for future reference. This way I can compare them to the replacements once I purchase them.
Before:
After:
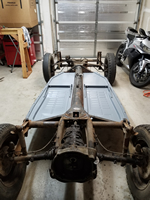
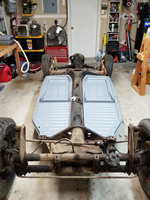
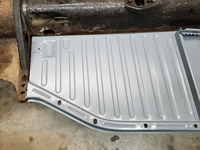
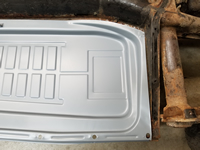
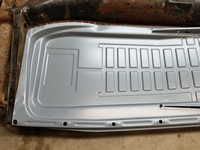
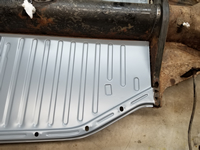
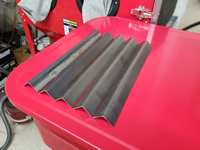
With the old floor pans removed, I just had to place the new floor pans on the chassis to see how they look and check the fit. I purchased the Wolfsburg West floor pans and I have to say that these are of very high quality and the fit is amazingly close to the factory originals. They are 18 gauge and currently cost around $195 each side. The pressings also closely match the originals. I can't tell you how gratifying it is to see the pans on a car that had almost no floor on it since I purchased it. It's a small thing, but it feels like a major one and is the first real progress I've made toward getting this car restored. There is so much left to do, but I feel encouraged and am hungry to get more accomplished.
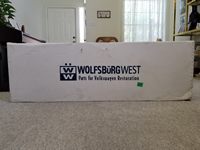
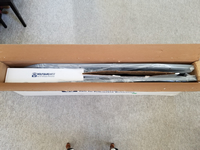
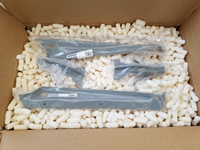
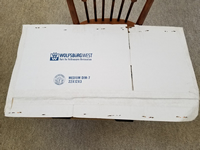
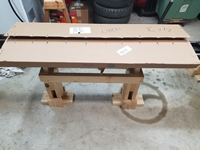
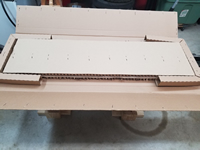
The Wolfsburg West floor pans ship without the rear cross braces and jack points welded on so that they can ship by regular package shippers like UPS. Be forewarned that a package this large and heavy will be thrown around by the shippers and you will likely have some damage to the edges of your pans. I had just minor bends that should be fairly easy to straighten out. Wolfsburg West warns that damage is possible and likely. The box was 68"L x 22"W x 8"H and weighed 63 pounds, including a frame head bottom plate. The rear cross braces and jack points were in a separate box and the frame head bottom plate was placed inside a flattened box. I placed the pans back in the box to store them until I get to the point where I can actually fit and weld them on.
Making Tunnel Rail Replacement Pieces
by Garage Weasel on May.10, 2021, under Chassis
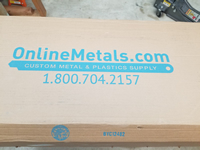
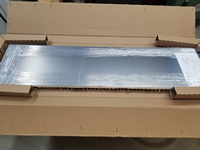
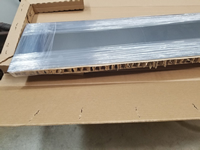
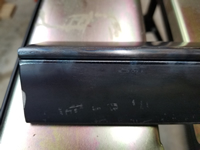
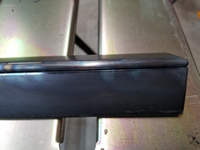
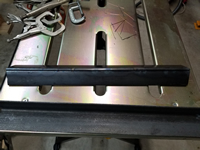
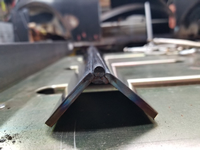
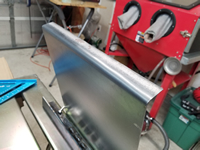
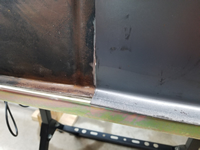
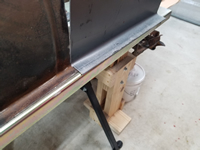
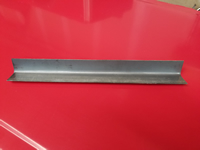
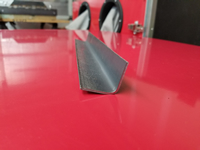
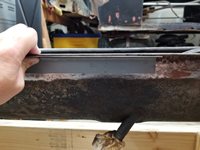
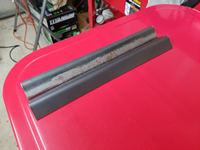
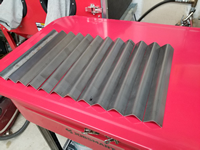
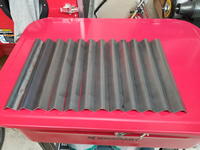
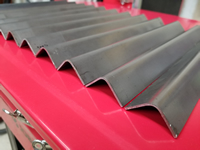
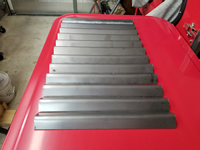
After searching for years for something that I could just purchase to use to replace the rusted-out tunnel rails on my chassis, I decided to just make my own. "Tunnel rail" is what I am calling the lip on the bottom of the tunnel where the tunnel bottom plate is welded and also where the floor pans rest on the tunnel. The closet thing I could find is a 15" tunnel section replacement that is made to replace the tunnel inside of frame heads. But they are around $35 each (plus shipping) and I would need at least 5 of those. Not only would this option be costly, but these aftermarket parts are way thinner metal than the original metal and the shape really doesn't match as well. I found that I could get a 12" x 48" x 2mm sheet of steel online for about $45 total, so I decided to purchase that and see if I could find a way bend it and make pieces to use. It came very well packaged and protected.
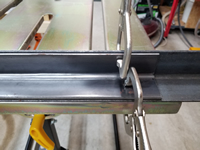
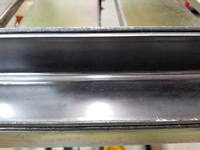
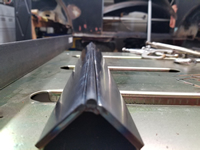
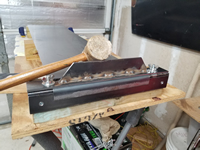
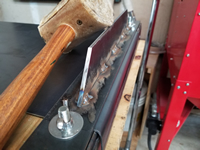
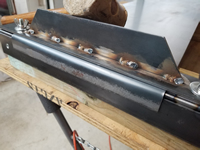
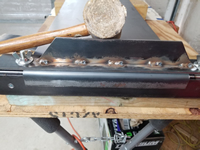
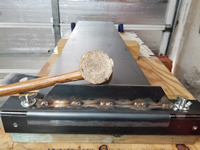
To bend the sheet metal and match the radius of the lip on the tunnel, I used two 18" long, 3/16" thick x 2" wide mild steel plates set at a 90 degree angle with a 1/4" round steel rod on the outer edge and welded them on the inside edge. This gives me a smooth rounded surface on which to pound the metal into shape. The sheet metal is 2mm thick and will take a lot of force to form it.
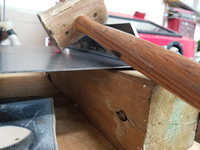
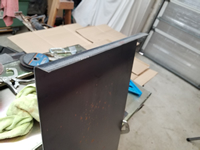
After the plates and dowel were welded together, I made a clamping plate, added clamping bolts, and mounted the unit on a 4" x 4" treated post. The post is dense and heavy and gives me something to hold on to when forming the shape. I used a large rawhide mallet to hammer it into shape. It was quite difficult to bend metal this thick without distorting it and to get it flat and even. With a lot of pounding, I was able to get it fairly flat and checked it against a tunnel section I had from a donor frame head. It matched well. The flange is longer than the tunnel flange, but it gives me more leverage to bend and form it and it can later be trimmed once the tunnel bottom plate is welded back on.
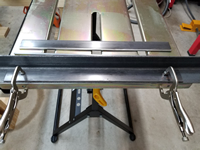
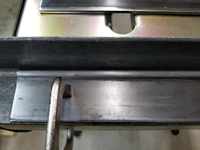
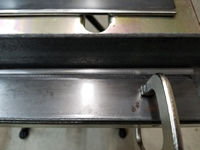
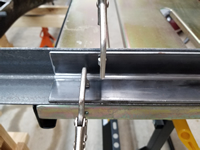
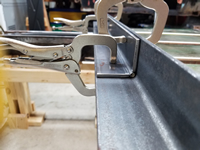
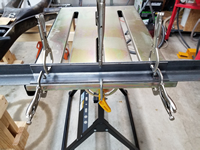
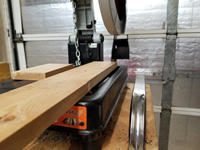
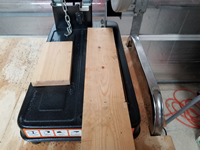
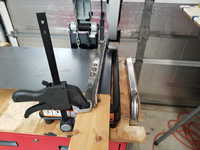
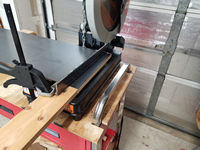
The next issue was how to cut the piece off and to get a nice, straight cut. I can't really do that well with an angle grinder with a cut-off wheel, so I decided to try to do this with my chop saw. I have an Evolution Rage 2 chop saw with a 14" multi-material blade that will cut steel, wood, and plastic. And although the blade is 14" in diameter, it doesn't go down far enough into the table to get a 12" long cut as I needed. So I took the clamping mechanism off of the table and attached a 1" x 4" piece of wood to raise the cutting area up and this made the cutting length about 12 1/4" which is sufficient. I then used some steel plate and 2 clamps to clamp the sheet down while cutting. It was a little difficult to make sure that the cuts were square, but I managed to get them close enough. I checked the first one against the tunnel and it matched well. I made another and it was very close to the first one. I made a few more and the results were good. I went ahead and made 12 of them. Good thing I did as I ended up using 11 of them to complete the tunnel.
Disassembling, Preparing, and Welding On Donor Frame Head #2
by Garage Weasel on Jun.25, 2021, under Chassis
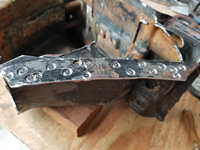
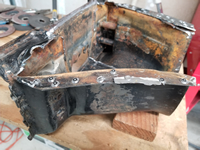
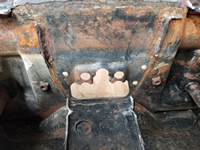
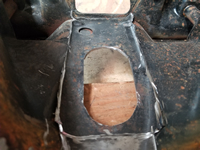
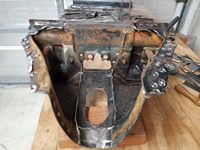
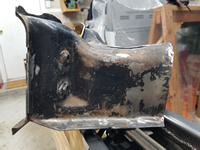
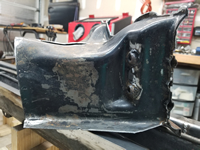
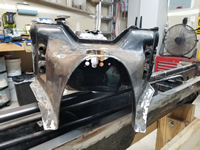
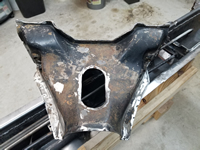
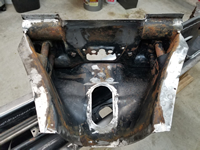
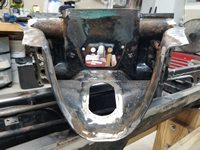
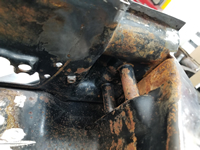
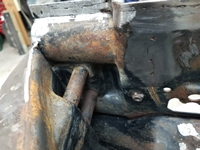
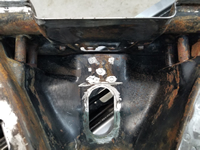
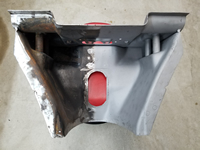
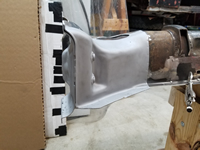
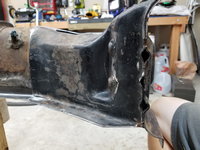
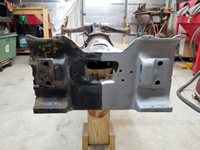
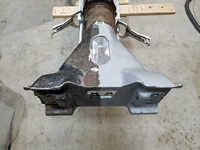
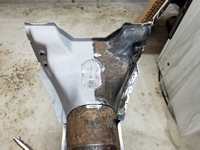
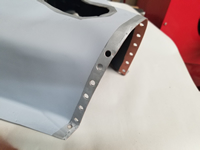
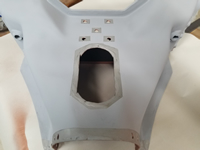
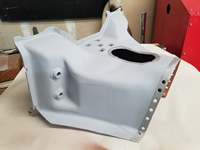
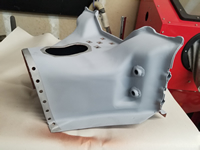
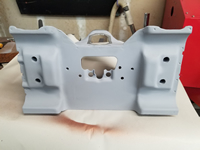
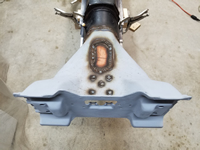
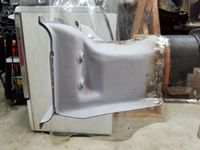
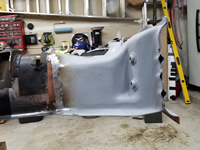
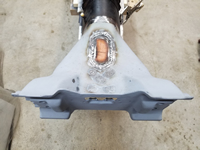
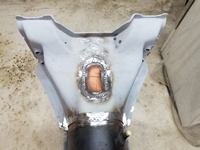
Over time, I realized that the first donor frame head was just too different to use on my chassis. It is from a 1965 and is a slightly different design than mine. It's close, but I would have to alter the pieces of it I intended to use too much and would make the replacement more complicated than it needed to be. I found a really solid 1963 one for sale in thesamba.com classified ads and purchased it. It was an exact match. It arrived in great condition and was very well packaged for protection from shipping damage. In fact, it was by far the best packing job I've ever seen. These are the pictures that I received from the seller before I purchased it:
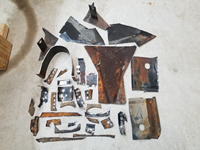
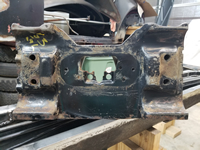
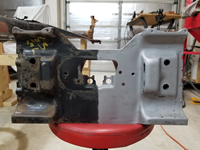
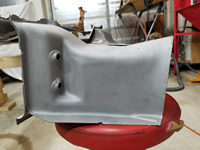
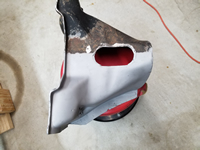
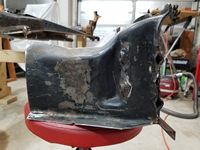
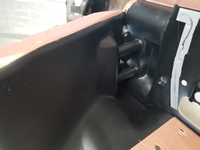
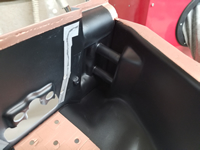
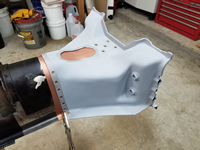
After much consideration, I decided to use the outer portion and front plate of this frame head and removed the tunnel and bottom plate portions. I removed large areas of both to make it easier to remove the areas that were spot and seam welded. I included a picture below that shows all the pieces that had to be removed.
Here's what it looked like after everything was removed:
I then cleaned it in the parts cleaner, briefly soaked it in rust remover to loosen up the rust, and then lightly sandblasted half of it just to see what it would look like. I was very pleased! It is very solid metal with only a slight bit of pitting. Overall, it is a much better thickness of metal than an aftermarket part and almost identical to my original.
I placed the new part on the tunnel to check the fit and was surprised how well it fit. On the top, it fit very well and was sprung outward on the bottom sides a little, but was easily clamped down for a very snug fit all around.
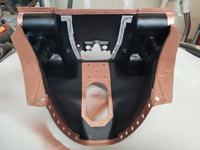
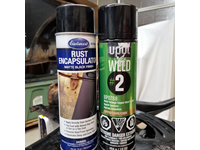
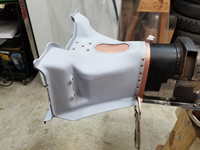
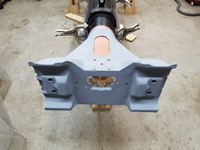
Next, I sandblasted the entire part, sprayed primer on the outside of it, masked off and sprayed U-POL Weld #2 Copper Weld Through Primer on the inside areas that are going to be welded, and sprayed Eastwood Matte Black Rust Encapsulator on all other areas on the inside that are not going to be welded.
One final check of the fit before welding on.
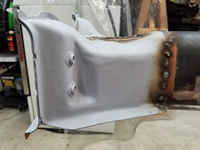
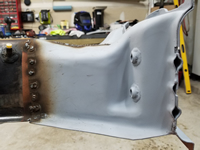
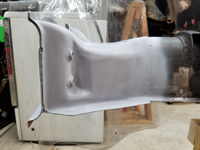
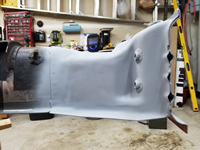
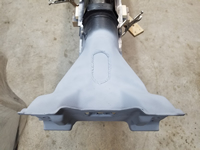
Welding time! I welded the donor frame head part on and dressed the welds. Most of them will be covered by seam sealer, so appearance isn't all that critical. After many years just thinking about how I has going to accomplish this, this part is finally done. If I can give one piece of advice to anyone out there doing a restoration - just get started and don't be afraid to make mistakes. You will likely make mistakes, but at least you are making progress. Half of the challenge is undoing what you've messed up. Progress beats procrastination every time.
I sprayed some primer over the bare areas that were just welded to protect it until I start to prep for paint. Now it's time to flip it back over to install the new fuel line and to weld the bottom plates on the new frame head and the tunnel.
Replacing The Fuel Line In The Chassis
by Garage Weasel on Jul.01, 2021, under Chassis
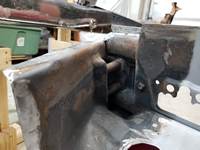
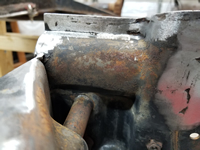
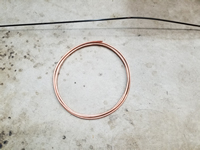
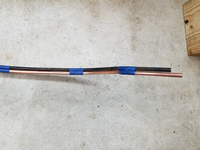
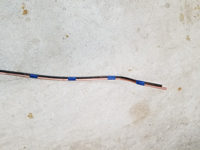
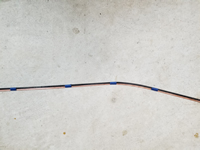
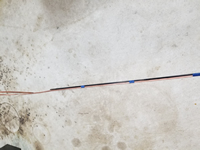
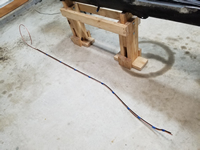
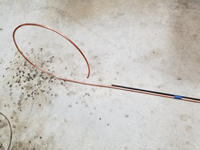
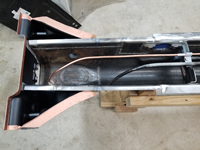
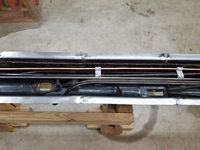
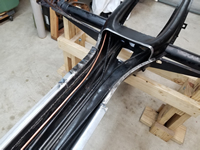
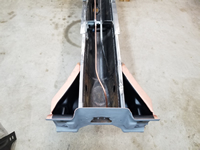
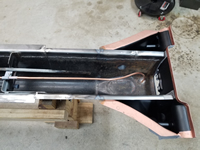
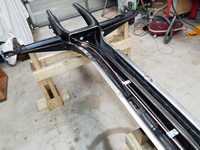
I purchased a 10' coil of 6mm OD (4mm ID) tubing to replace the original fuel line that runs through the chassis. It was corroded and damaged inside the tunnel and needed to be replaced. I used the original line as a pattern to bend it to the proper shape to fit. It was quite a challenge to make something coiled up match something that had mostly straight runs. I started on one end and once I had around 8" of a section matching, I taped it to the pattern and continued that until I got to the end of the old line. I had previously cut the frame head end of the line off to make it easier to repair this end of the tunnel, so I didn't have a pattern to follow for the rest of it. I used an old picture as a reference to determine the original shape. The bends here have to be clear of the installation and removal of the shift rod that goes from the shift lever to the transmission. Before I weld the bottom plates back on and close up the tunnel, I will have to check that the shift rod can be easily installed and removed. When I removed it when disassembling the chassis, it was very difficult to remove. I'm not sure why.
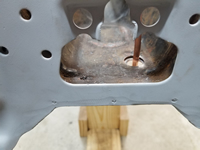
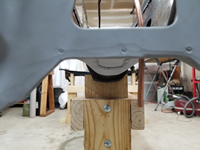
The original line was crimped into the spacers that mount the various tubes inside the tunnel. The only way to remove it was to to cut off the part of the spacers that were holding it. Fortunately, it was on the end of each of the three spacers and was easily cut off. I made new holders and then drilled and tapped them so that I could mount them to the spacers. I crimped the holders down until they were snug and will later put some rubberized caulking on them to keep the tube from rattling in the holders. I also put Loctite on the screws securing the holders to the spacers. I put silicone tubing over the last foot or so of the line where it feeds through the forked area to keep it from rattling where it contacts another tube and the inside of the fork. I then fished a copper wire through the fork into the tunnel and then taped it to the line so that I could pull it through the fork.
Note: When done, I had 18" left over from this 10' copper coil.
