Tag: front firewall
Initial Body Rust Repair Assessment
by Garage Weasel on Feb.18, 2011, under Body Work
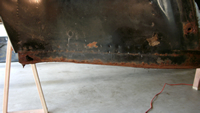
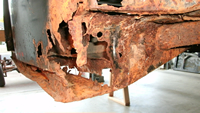
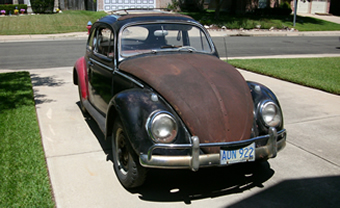
Now that the body is off the chassis, I can get an even better view of the rust damage and what needs to be replaced. Basically, most everything on the bottom 4-5 inches of the body will need to be replaced with donor parts or new panels. The bottom areas of the body suffered the most moisture exposure while sitting idle for 20+ years in the harsh Minnesota weather. I was told that it was sitting under a shed most of this time, but I’m guessing that snow and rain were still able to reach the underside of it. And if it spent the first 25 years in this harsh environment as well, it had probably already experienced some rust damage before it was parked for another 20 or so years.
So here is my initial assessment of what will need to be repaired:
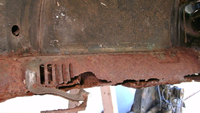
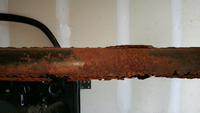
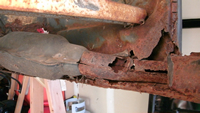
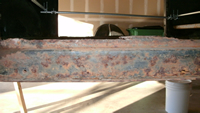
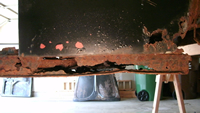
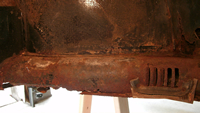
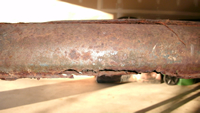
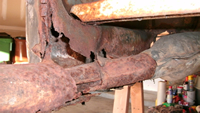
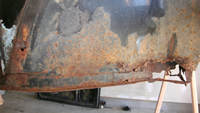
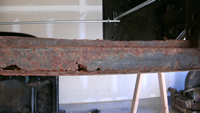
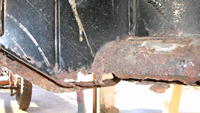
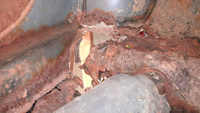
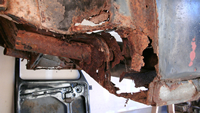
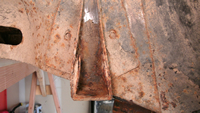
Heater Channels: The heater channels have been destroyed by rust both inside and outside and will need to be replaced. The rear sections suffered the worst damage and have disintegrated completely. Both sides had mouse nests inside the channels. Since the replacement aftermarket heater channels available today are so different in both design and fit from the original parts, I have decided to purchase donor channels from a car of a similar age. I found donor parts on thesamba.com and they were shipped via Greyhound bus from California which is, by the way, an economical way to ship large bulky items. There is no guarantee that the donor channels will be a perfect fit, but they should be much closer than the new aftermarket parts and will have the same contours, stampings, and vents.
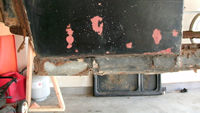
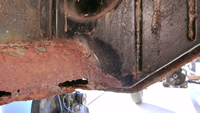
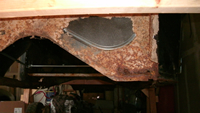
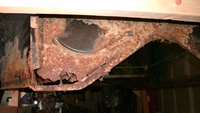
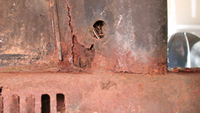
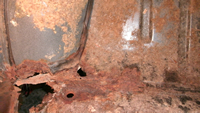
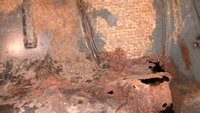
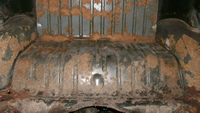
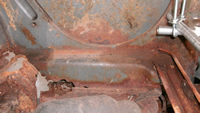
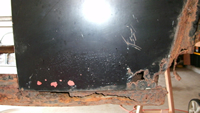
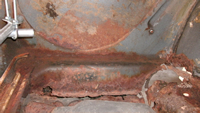
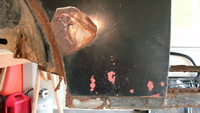
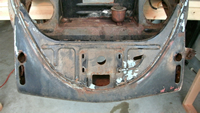
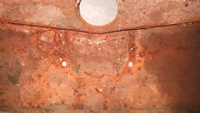
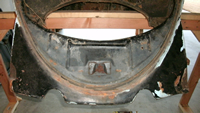
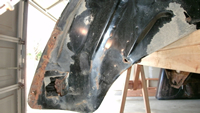
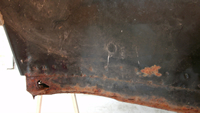
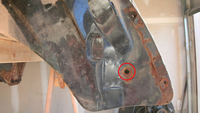
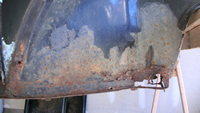
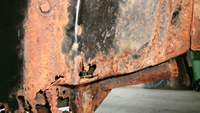
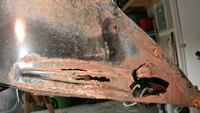
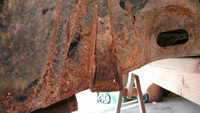
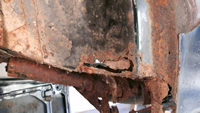
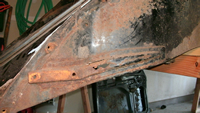
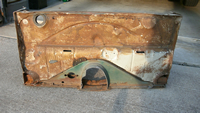
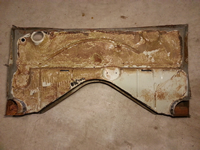
Front firewall: The front firewall is in fairly good shape. There are significant areas of rust on the bottom left and right corners where it attaches to the heater channels, but I should be able to graft in areas from new or donor parts. The areas that need to be replaced are really the only areas on the new aftermarket parts that are close to the original parts, so I may just buy a new panel and cut out the sections I need. Otherwise, the rest of the new firewall panels are significantly different than the originals and are missing the fuel valve hole, choke cable hole, and recessed stamping for the high beam switch and it would not be worth replacing the whole panel with a new one. Besides, there are many spot welds to drill out to remove the current one and just as many welds to make to install a new one.
A-Pillars: I know the passenger side A-pillar has rust damage because the lower door hinge would flex quite a bit as something inside the pillar was loose. I’m not really sure what condition the A-pillar is on the driver side and will not really know until I can take a good look inside of it. From the outside, it looks in pretty good shape. The correct replacement panels cost $120 each, so I will try to find a good donor panel first. Once I remove the heater channel on each side, I can see inside the pillars and get a better idea of the extent of the damage.
Rear Cross Members: The outside ends of the rear cross members are rusted, so I plan to only replace these areas. Aftermarket replacement panels are available and aren't too different than the originals, but I will look for donor panels because I intend to replace the ends of panels just past the heater tubes and want the tubes to match the originals. It will also be less work if I can use matching donor parts as the heater tubes will already be welded to the panels. With new panels, I have to move the tubes and weld them on.
Luggage Shelf: The luggage shelf is also in fairly good condition, except for rust on the very bottom left and right corners where they attach to the rear cross members and rear wheelhouses. I will look for a donor panel to cut pieces out for replacement. I did find a supplier that sells a donor clip with the entire luggage shelf with the rear cross members as well. That may be an option that will provide panel grafts for both.
Rear Quarter Panels: The bottoms of both rear quarter panels are heavily rust-damaged. In fact, both the inner and outer portions of the panels will need to be replaced. Since the heater channels that I am purchasing will include the rear quarter panels, I will cut sections from the donor panels to replace the damaged areas. The passenger side panel has a large dent in it that is covered with body filler. I will likely replace the panel past the point of this dent.
Front Apron: The front apron is in usable shape, but will need some repair. The overrider holes are mangled a bit from when the bumper was damaged. As long as there isn’t any rust damage on the underside of it, I may just weld in a patch where the overrider holes are and re-cut the holes. The spare tire tray that attaches to the bottom of the front apron will have to be replaced. I will likely use a new panel as they are close enough to modify to be like the original panels and they are inexpensive.
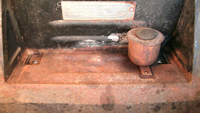
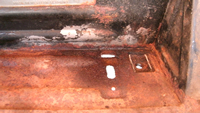
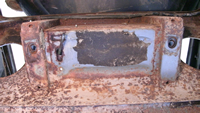
VIN Plate\Brake Fluid Reservoir Well: The VIN plate\brake fluid reservoir well has some significant rust, namely under where the reservoir is mounted and on the front mounting bracket that mounts the body to the front axle. This panel will need to be replaced. Since aftermarket parts are not available, I will need to find a donor part or try to fabricate parts, which would be very difficult to do. Brake fluid is a great paint remover, so an area like this that would normally be dry and safe from moisture, was soon bare and vulnerable to rust. Because of this, it suffered quite a bit of errosion and pitting.
Rear Apron: The rear apron is pretty banged up. The bottom of the panel is bent upward on one side and there has been some questionable body work done on it at some point. Apparently, to get the bottom corners to match the rear fenders, someone beat in the corners and then filled them in with body filler. The underside has a lot of surface rust, so I may have to replace the bottom portion of the apron with either a new or donor panel. The bottom portion of a new panel, from the weather seal down, should be fairly close to the original, but a donor panel would be preferable, but perhaps harder to find.
Front Wheelhouses: The front wheelhouses are in good shape except for the areas where they attach to the very front of the heater channels and also at the bottom corners of the front firewall. This area on both sides will need portions of a panel grafted in where the metal is rusted. I will use new panels for this. The rest of the front wheelhouses are fairly rust free. I do know that I have to weld one side of the horn bracket because I broke a spot weld trying to remove the horn. I also have a hole that needs to be plugged on the passenger side where a previous owner drilled through it to run a bolt to hold the bumper bracket. Apparently, the bumper mount, which is located inside the spare tire well, was stripped out and rather than repair the threads in the mount, they just drilled a hole through the mount and wheelhouse and ran a bolt through to secure the bumper bracket to the mount. I will either replace the mount or remove it, weld a nut on the back side, and re-weld it.
Rear Wheelhouses: Both of the rear wheelhouses need quite a bit of work. Both will need a large section of the very rear of the wheelhouses replaced. These areas include the bumper mount and there is a lot of rust damage there. Since the available aftermarket panels are similar to the original parts, I will use these to make the repairs. Both sides also have quite a bit of rust on the brackets that bolt to the shock towers on the chassis, so I would like to at least replace the brackets with donor or new parts. Also, both sides have a good deal of rust damage on the front of the wheelhouses. The available aftermarkets panels for this area also include the shock tower brackets, so these panels will take care of both issues.
There may be other areas that need rust repair, but these are currently my main areas of concern. There is surface rust throughout the body and I will not really know if there is significant damage until I start removing the rust. I want to get the major work done first, and will address the other areas after the structural work is completed. I’ll also have to tackle repairing and fitting the doors, front hood, and engine lid before getting to the cosmetic work.
There is also a great deal of work to be done to the chassis, such as replacing the floor pans and napoleon hat, which will need to be done alongside of the body repair. This work will be shown in a separate category named Chassis.
July 2012 Update, Donor Front Firewall & Napoleon Hat
by Garage Weasel on Jul.07, 2012, under Body Work
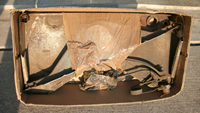
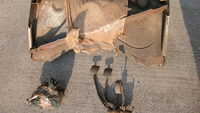
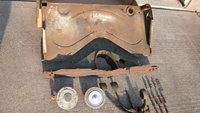
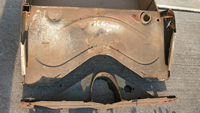
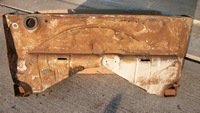
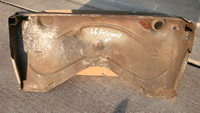
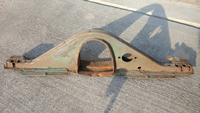
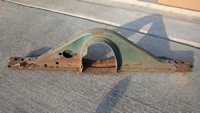
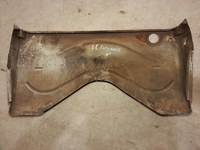
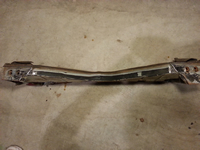
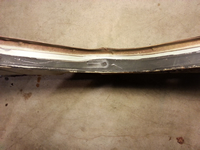
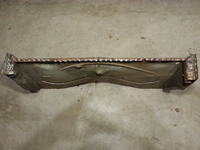
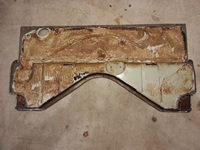
I just purchased a couple of key replacement parts for my Beetle. I purchased a donor front firewall and a donor Napoleon Hat (sometimes called a front chassis support panel). Fortunately, or unfortunately depending on how you look at it, there are people in California that cut up perfectly good cars for parts. In my case, it’s a good thing as it makes it possible to replace some hard-to-find parts and panels that either 3rd party suppliers don’t supply at all or the parts they do supply are for newer models that neither look the same nor fit the same as the originals. As far as I can tell with an initial inspection, these two parts are very close to the original parts on my car. The front firewall is labeled as being from a 1966 model which appears to be correct. It doesn’t have the holes in it for the choke cable or fuel tap lever, but has the stampings in it where the holes used to be punched out. I can just drill these out to the proper size and it should match the original panel. All the other stampings and dimensions appear to be the same as the original. The Napoleon hat appears to be a very close match to the original as well and a trial fit to the donor front firewall showed a very close fit. I won’t know for sure just how close a match they are until the extraneous pieces and panel remnants are removed and I can put them up next to the originals and also until I can take some comparative measurements.
Note: These donor parts do cost a little more than the currently available replacement panels, but are, in my opinion, superior in design, fit, and quality. A new Napoleon hat is available for around $30 and the donor part cost me $75. Likewise, a new front firewall is available for around $50 and the donor part was $100. I think the extra cost will be easily justified once they are in place. These two parts are important to the mating of the body and chassis and will provide a good reference point for the heater channels on the front end of the car. Currently, these parts on my car are rusted away on their outer ends and provide no reference points with panels mating to them like the heater channels.
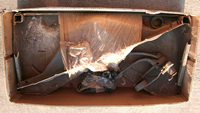
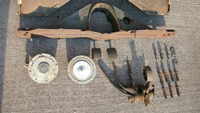
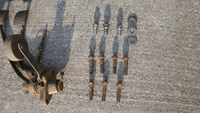
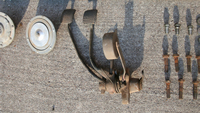
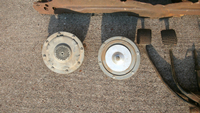
Along with the front firewall and Napoleon hat, I purchased a pedal cluster, 1 horn (he threw in an extra), 3 back seat bolts with washers, and 7 long 17mm bolts. All of the items together cost me $200 including shipping via Greyhound Package Express. As you can see, protective packaging is not my supplier’s forté. However, providing hard-to-find original parts with very little rust is. He wrapped the firewall and Napoleon hat together with stretch wrap as well as wrapping the horns together. They were all placed in a floor jack box with the pedal cluster and the bag of bolts. They seemed to make the journey here with little or no damage. Thanks Mike!
I’ve recently become very motivated to get started working on the restoration again, even if it is just little things here and there. I did some website work for one of the absolute best, if not the absolute best, classic VW restoration shops in the country and after looking at many years’ worth of their fantastic, top-notch work, it reminded me that I need to make progress, no matter how little it may be — every day, week, month, and year. I may not have the funds to buy all the replacement panels I need right away, but I can do something productive on it on a regular basis until I can. I’ve made a commitment to myself to get going and keep going.
Disassembling the Donor Front Firewall
by Garage Weasel on Aug.05, 2014, under Body Work
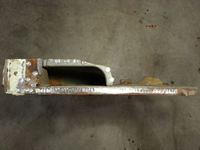
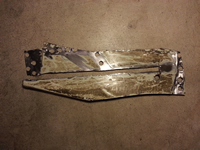
Next up for disassembly is my donor front firewall. I bought this from the same person that sold me the Napoleon hat. It's newer than my car and came from a 1966 model, but the only real differences from my current one is that it doesn't have holes for the fuel reserve valve lever and the choke cable (and isn't rusted away at the bottom!). The stampings for the panel are the same, but the holes are just not punched out. This panel is in really good shape with almost no rust and was a great purchase at $100.
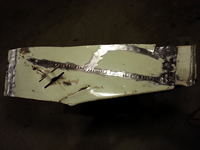
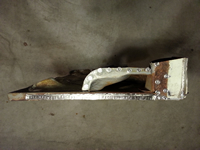
The key words of removing the the old panel pieces from the front firewall are Spot Welds! On the sides where it was attached to the wheel wells, most of the welds are spaced about 1/4 inch apart. On the top where it was attached to the trunk, they are spaced about 3/4 inch apart. I took a wire wheel and ground off the paint, carpet glue, and seam sealant so that I can better see the welds. On the sides where the welds are 1/4 inch apart, I decided to just cut the panel off and leave the strip of welds on the panel. This way I can just ground the strip down to the panel itself. On the other welds that were spaced further apart, I drilled them out with a spot weld cutter. On the top of the panel, I just drilled the welds out with the spot weld cutter as well. There were about 40 welds on the top piece and the sides each had more than that just in the areas where I just cut the panel off.
On another note, there was one thing that made it difficult to access the areas of the panel joints that were in the interior of the body - the seam sealant. It was anywhere from 1/8 inch to 1/2 inch thick, especially in the corners. It was 50 years old and hard as a rock. I took my time and carefully scraped it off little by little, trying not to scratch and mar the panel. The metal under the sealant was as pristine as the day it was applied. It really did its job.
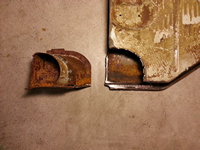
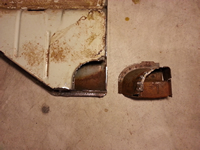
Lastly, I removed the pieces of the heater channel from the bottom corners. On the tops where they are rounded, they were spot welded. In earlier years, this connection was seam welded. My donor heater channels were both seam welded, but they were both older than the 1966 front firewall. The other joints on the bottoms and sides were joined with spot welds that were practically on top of each other, so I just cut through the heater channel pieces and left the strip of spot welds to be ground down to the firewall panel.
Again, really happy with this panel, but not looking forward to removing the one currently on the car as I know how difficult this will be. Since I don't have to save any of it, I may just cut it off where the spot welds are right next to each other and grind off what's left. I prefer grinding to cutting out spot welds!
