Repairing & Repainting The Ragtop Upper Rear Tensioning Strip
by Garage Weasel on Aug.06, 2021, under General
The rear portion of the ragtop is attached to the roof by the upper and lower rear tensioning strips. The ragtop material is tucked under the upper rear tensioning strip and then the 9 bolts on the bottom side of the upper tensioning strip are placed through 9 holes towards the rear of the roof. On the underside of the roof, the lower rear tensioning strip is place over those same 9 bolts and then is secured with 9 nuts and 9 washers. The holes in the roof are slotted, so there is small amount of forward or backward adjustability to tighten or loose the ragtop.
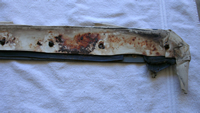
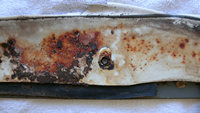
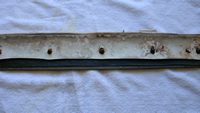
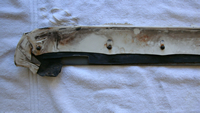
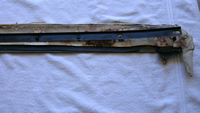
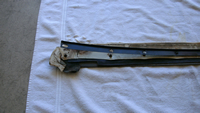
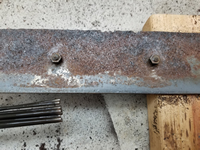
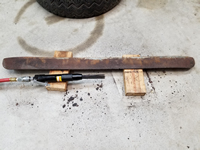
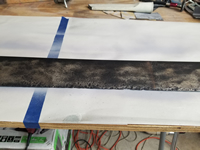
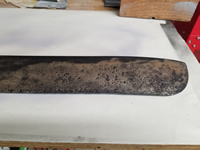
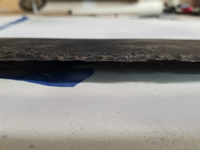
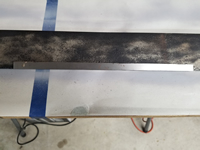
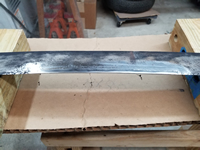
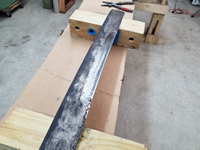
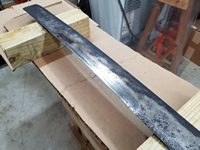
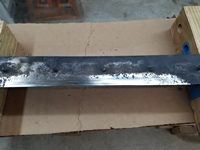
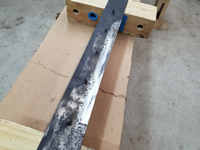
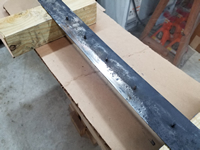
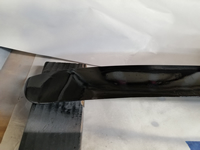
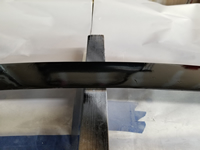
The pictures below show that there were still remnants of the ragtop material still covering the top of the upper rear tensioning strip. The lower rear tensioning strip is shown as well. After the ragtop material was removed, thick crusty rust was revealed. Also, one of the bolts snapped off during the removal of the upper strip and will need to be replaced. This will require welding one on.
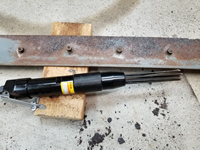
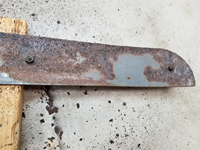
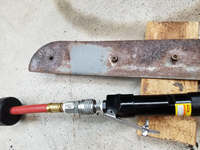
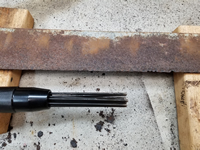
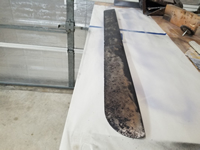
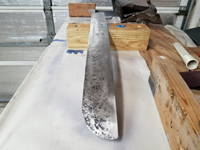
To remove the layers of built-up rust, I first used a pneumatic needle scaler. This did a really good job of removing this type of rust. I put the nuts on the bolts to protect the threads from being damaged. The needle scaler knocked the built-up rust off and revealed the deep pitting that was under it. There was still a lot of rust left, but it was surface rust. To remove this, I soaked the whole piece in Evapo-Rust. This took many days to get it down to the good metal. I then sprayed it with a rust converter, which turns the converted rust black. It can now be coated by filler for the pits, and then with primer and paint.
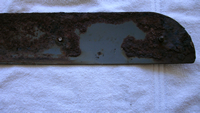
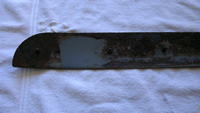
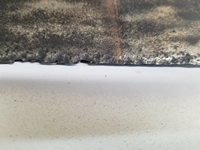
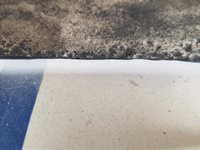
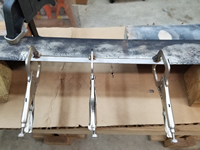
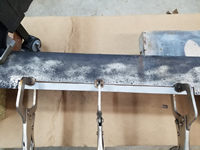
With the rust removed and treated, this also revealed that the back edge of the tensioning strip was very sharp and jagged through the center section. This back edge is where the ragtop material is wrapped around, and it just cannot be sharp as it will cut through the material. I cut a piece of 2-millimeter-thick steel plate to cover this sharp area, cut out the damaged area, and then welded it in. Once ground down, it was ready to be covered and protected. I did also replace the broken bolt but failed to take a picture of it.
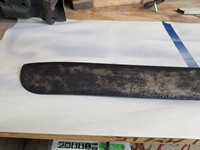
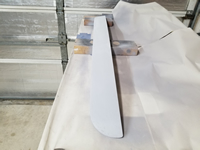
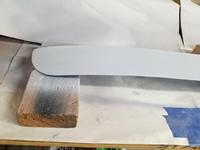
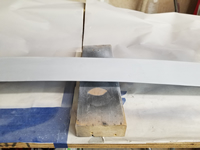
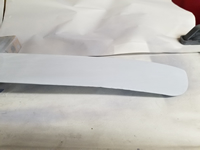
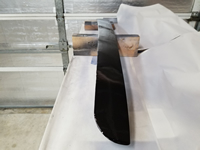
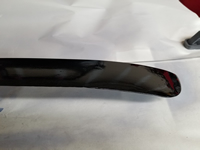
I used a flexible body filler to fill in the pits and covered the entire surface area on both the top and the bottom. I sanded it smooth but didn't spend a lot of time on getting it perfect. It will be completely covered and will not be seen once the ragtop is installed. Next, I sprayed on two of coats of primer and two coats of Eastwood Extreme Chassis Black.
