Archive for July, 2021
Replacing The Fuel Line In The Chassis
by Garage Weasel on Jul.01, 2021, under Chassis
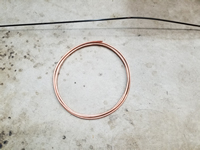
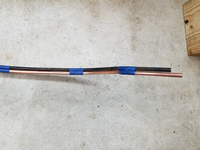
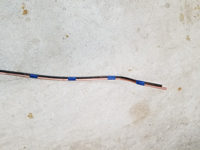
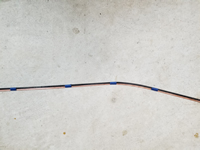
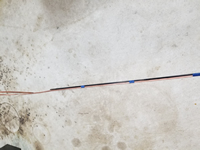
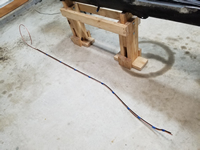
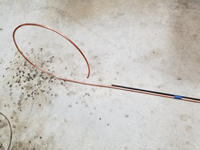
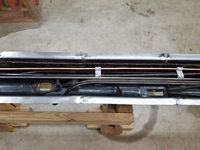
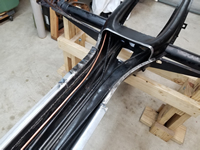
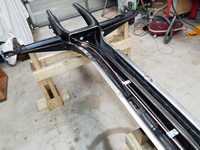
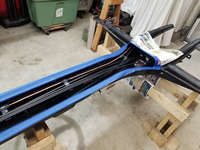
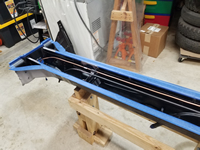
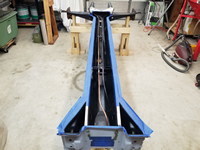
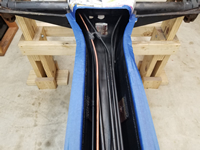
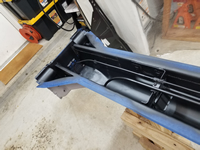
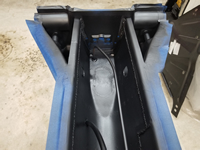
I purchased a 10' coil of 6mm OD (4mm ID) tubing to replace the original fuel line that runs through the chassis. It was corroded and damaged inside the tunnel and needed to be replaced. I used the original line as a pattern to bend it to the proper shape to fit. It was quite a challenge to make something coiled up match something that had mostly straight runs. I started on one end and once I had around 8" of a section matching, I taped it to the pattern and continued that until I got to the end of the old line. I had previously cut the frame head end of the line off to make it easier to repair this end of the tunnel, so I didn't have a pattern to follow for the rest of it. I used an old picture as a reference to determine the original shape. The bends here have to be clear of the installation and removal of the shift rod that goes from the shift lever to the transmission. Before I weld the bottom plates back on and close up the tunnel, I will have to check that the shift rod can be easily installed and removed. When I removed it when disassembling the chassis, it was very difficult to remove. I'm not sure why.
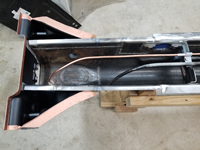
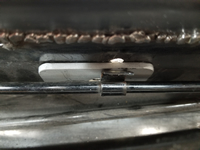
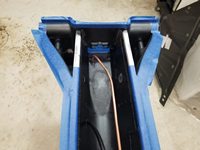
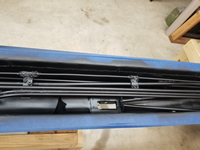
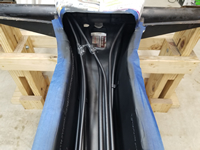
The original line was crimped into the spacers that mount the various tubes inside the tunnel. The only way to remove it was to to cut off the part of the spacers that were holding it. Fortunately, it was on the end of each of the three spacers and was easily cut off. I made new holders and then drilled and tapped them so that I could mount them to the spacers. I crimped the holders down until they were snug and will later put some rubberized caulking on them to keep the tube from rattling in the holders. I also put Loctite on the screws securing the holders to the spacers. I put silicone tubing over the last foot or so of the line where it feeds through the forked area to keep it from rattling where it contacts another tube and the inside of the fork. I then fished a copper wire through the fork into the tunnel and then taped it to the line so that I could pull it through the fork.
Note: When done, I had 18" left over from this 10' copper coil.
Removing Brake Hose Bracket On Replacement Frame Head Bottom Plate
by Garage Weasel on Jul.05, 2021, under Chassis
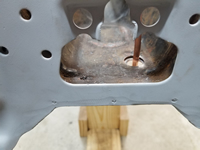
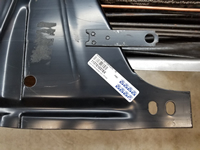
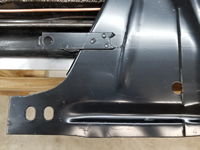
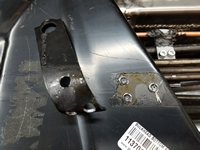
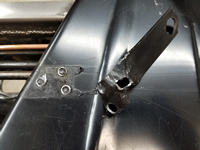
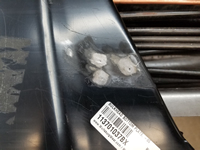
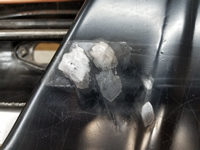
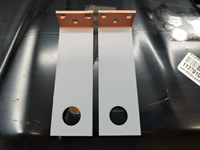
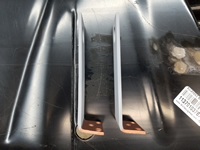
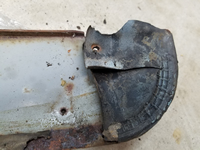
The aftermarket frame head bottom plates come with a flimsy, thin brake hose bracket that has to be bent up into position. This makes it a little short and does not match the original brackets in appearance, the point where it is welded on, nor in strength. I decided to remove these and also remove the ones on the donor frame head to use instead. I sandblasted the donor brackets, sprayed them with primer, and also sprayed the areas to be welded with weld-through primer. I will install them later once the welding for the bottom plates, the Napoleon hat, and the floor pans are done.
Making And Installing Seatbelt Mounts on Tunnel
by Garage Weasel on Jul.12, 2021, under Chassis
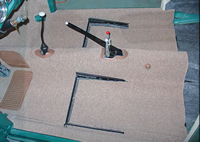
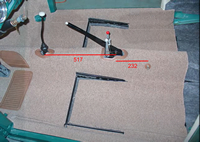
Being a 1960 model, this car did not come with seatbelts and didn't even have seatbelt mounts installed at the factory. I want to install seatbelts in this car, so I am going to add mounts in the factory locations. Since I am working on the chassis now, I need to add mounts on the tunnel. I don't have any information on exactly where these need to be installed, but I found a couple of pictures in the Internet of mid-1960 models with the factory mount locations. With these pictures, I needed to determine these locations by using some reference of a known quantity. I was able to determine that the measurement from the center of the stick shift hole in the tunnel to the center of the emergency brake pivot pin is about 475mm. So on the picture I had, I drew a line from the stick shift center hole to the emergency pivot pin center which according to the image editing software was 517 pixels. I drew another line on the picture from the emergency brake pivot pin center to the center of the bolt on the seatbelt location, which was 232 pixels. So with these measurements I was able to come up with an equation of 517/475 = 232/x. Solving for x gave me 213.15mm. So I rounded up to 214mm. This should get me in the ballpark of the correct location of the two mounts on the tunnel if I use the emergency brake pivot pin center and measure 214mm towards the back of the tunnel.
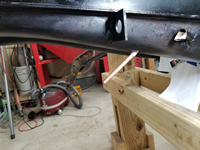
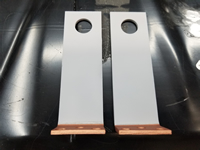
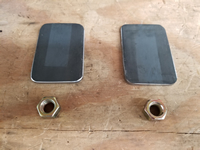
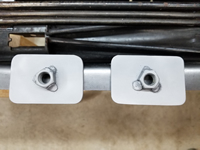
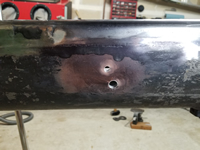
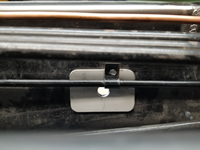
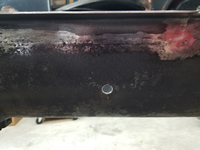
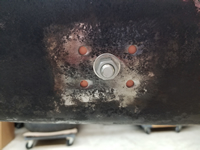
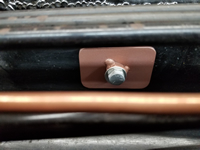
To make the mounts, I took two 2" x 3" pieces of 3/16" steel, drilled 1/2" holes in the centers, curved them slightly so that they would fit the contour on the inside of the tunnel, and welded two 7/16-20 nuts on them. I then sandblasted them and gave them a coat of copper enriched weld-through primer just to protect the bare metal. Next, I measured 214mm from the emergency brake pivot pin center towards the back of the tunnel and for the location vertically, I just eyed it and guessed. Not a very scientific method, but I think I will be close enough. At those locations, I drilled 1/2" holes in the tunnel for the seatbelt bolts and four holes for spot welds and welded the mounts to it. The driver side was a challenge as the mount location just happened to be right where one of the accelerator tube mounting brackets was welded to the tunnel. So I drilled out the spot weld on that bracket, welded up in the hole I just drilled in the tunnel, and bent the tube out enough to clear the mount. I then welded the bracket to the mount. I'm almost done with the work inside the tunnel. I just need to weld the new frame head front plate to the end of the tunnel and then I can start fitting the frame head bottom plate to the frame head, tunnel bottom plate, and the Napoleon hat.
Protecting Inside Of Tunnel
by Garage Weasel on Jul.18, 2021, under Chassis
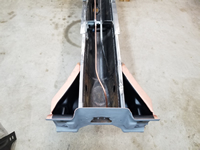
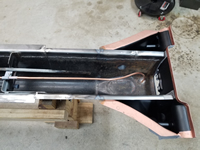
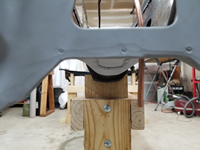
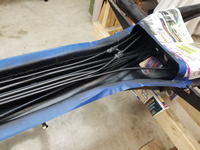
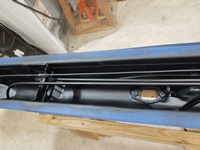
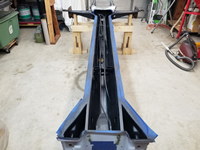
Before welding on the bottom plates for the tunnel and frame head, I wanted to get a good protective coating on the inside components. I masked off the areas where the plates would be welded and sprayed the inside areas with Eastwood Matte Black Rust Encapsulator. This should help protect the inside for many years to come.
Repairing & Painting The Ragtop Upper Header Bow
by Garage Weasel on Jul.22, 2021, under General
When I first disassembled the car, I wrapped most of the larger parts in plastic wrap and placed the largest ones in the attic. Last year, I decided to bring the ragtop parts back into the shop and work on them. I cleaned up, sandblasted, and powder coated many the smaller parts, but just hung the longer parts up in the shop. I did a little work on these parts like removing the rust and treating the really rusted parts with a rust capsulator. After that, I moved on to other things and the parts remained hanging there for nearly a year. Tiring of having things hanging and in the way, I went to work to get them completed. I started with the upper header bow. This part is on the top of the front of the ragtop. It goes directly over the locking bow that has the handle that you use to open, close, and lock the ragtop. The outer part of the ragtop cover tucks under it in the front and it is the part that clamps down on the roof when the handle is locked.
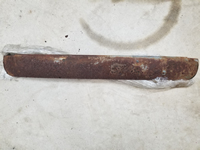
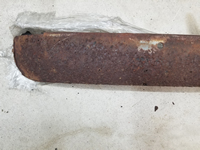
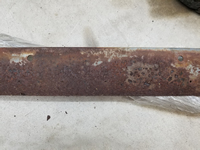
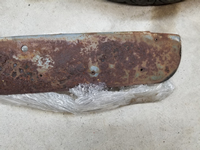
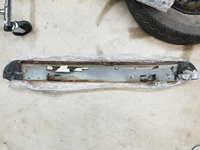
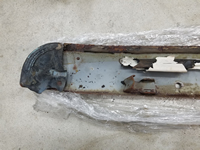
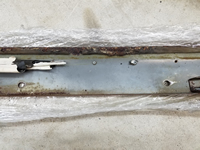
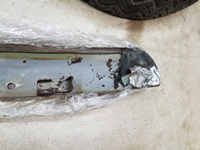
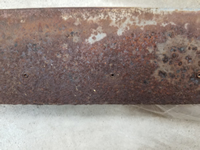
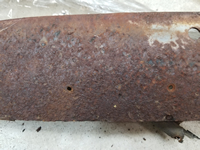
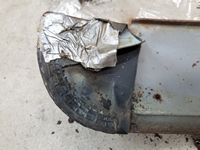
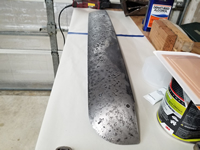
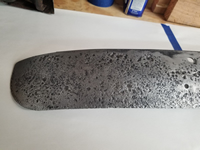
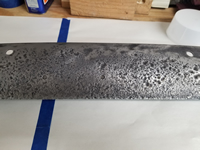
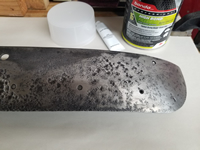
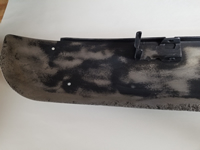
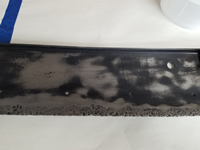
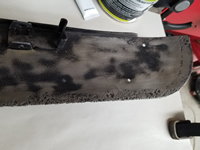
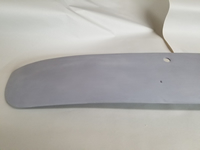
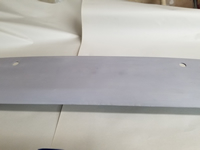
Below is what the upper header bow looked like when I unwrapped in from the plastic wrap. It was very rusty from being wet all those years and even where there were still parts of the ragtop cover on it, it still got wet and stayed wet for a very long time. On the leading edge of the bow, it had a foam strip where it made contact with the roof. Water apparently seeped under there as well and the bottom side under that foam strip suffered the same rusting and pitting that the exposed top side did.
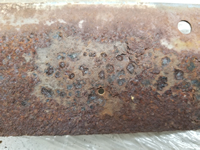
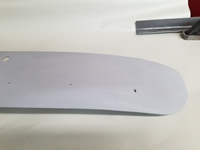
To remove the rust, I had to soak this piece for about a week in Evapo-Rust. This product does not remove the base metal and only removes the rust. I would soak it for a day or so and then rinse it off to remove any loose rust particles and put it back in. Once it had removed all the loose rust, I sandblasted it. There was still some minute rust particles down in the pits, so I sprayed it with a rust converter to seal those areas. I let that cure and then this is the condition I left it in a year ago.
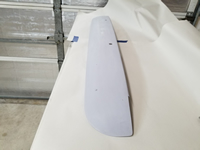
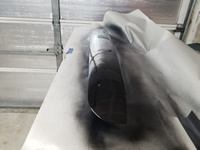
Since this is going to be covered by the ragtop cover, I decided to fill in the pits with body filler and paint it. I filled in the pits, sanded it smooth, sprayed it with primer, and then sprayed it with Eastwood Extreme Chassis Black. I think this will seal it up and protect it fairly well. It is a little wavvy, but it will be under the ragtop cover and not seen.
