Removing The Frame Head To Prepare for New Donor Replacement
by Garage Weasel on Jun.13, 2021, under Chassis
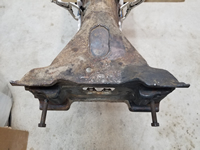
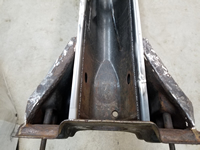
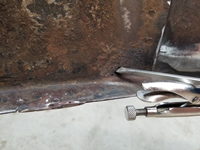
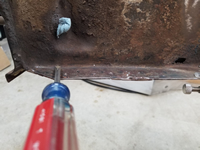
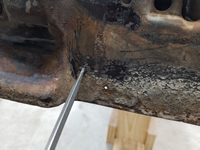
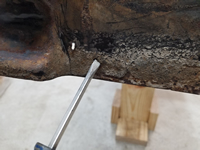
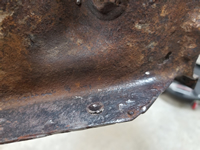
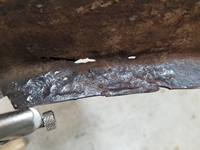
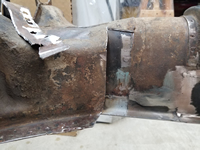
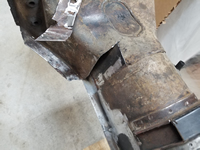
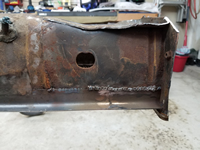
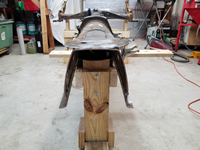
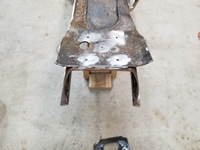
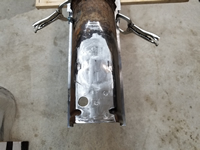
Time to remove the frame head and prepare the tunnel for the new donor frame head section. The original frame head is just too rusted on the bottom inch or so and is super thin and pitted. From the top, it doesn't look that bad. But an examination of the bottom sections shows severe rust damage. For a long time I considered just cutting out the bottom areas and welding in sections from a solid frame head, but finally realized that if I had a solid one or the relavant part of one, I should replace the bulk of it and have a stronger frame head overall. Here are examples of the rust damage:
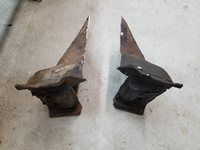
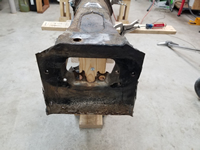
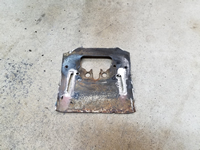
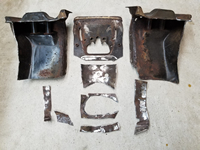
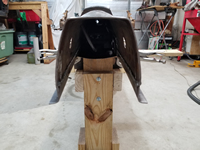
I started removing the old frame head piece by grinding down the spot welds where it wraps around the tunnel. Once the spot welds were ground down, I cut through the frame head so that I could peel the metal back and then off. I did this on both sides and then cut through the area on top of the tunnel where it was seam welded. Next, I cut through the top toward the front plate and then down through the front plate to remove the areas on the sides to expose the tunnel. Big chunks were removed this way and this just leaves the piece on the top and the middle of the front plate. I then ground through the front plate where it is welded and removed it. Lastly, I ground through the oval-shaped seam weld on the top piece and then used a spot weld cutter to remove the 5 spot welds as well. These spot welds are in an X pattern. I also included a picture of all the items removed below.
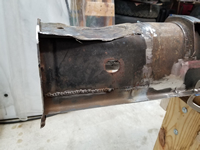
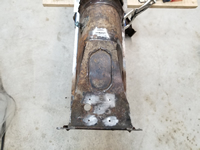
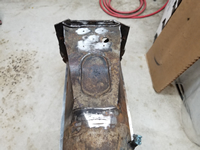
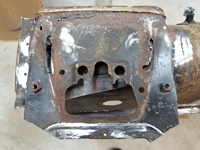
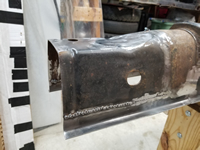
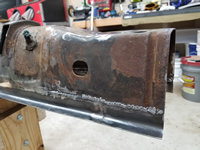
I cleaned up the areas where the frame head was welded to the tunnel, but still need to complete the seam welds on the outside of the tunnel where I couldn't access them due to the frame head covering them up. I just feel better having it welded on both sides. I will ground them down where the new frame head will contact the tunnel. On the passenger side of the tunnel there is one area that is a little pitted and instead of cutting it out and patching it, I will remove the rust and build the area up with weld. It's not quite bad enough to cut out and replace.
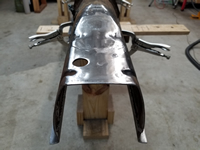
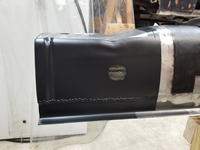
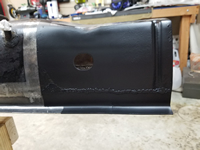
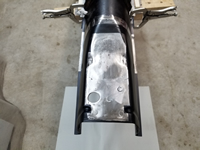
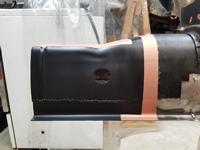
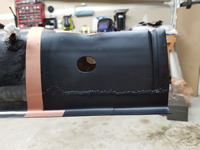
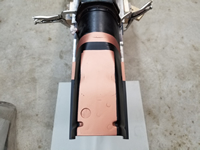
I finished the welds on the outside of the tunnel and ground them down where the frame head contacts the tunnel. And then I wire-wheeled the ouside of the tunnel to remove any paint and rust, wiped it down with a degreaser, and then sprayed the areas that are not going to be welded with Eastwood Matte Black Rust Encapsulator. These areas are going to be hard to get to and protect once the frame head is welded on and I want to make sure that they are protected and sealed. The areas that are going to be welded were sprayed with U-POL Weld #2 Copper Weld Through Primer. It's now ready for the new frame head!
July 21st, 2021 on 9:42 pm
This is an awesome post and I’m following closely-in fact I’m using your conduit idea for bracing as I’m afraid to try and weld angle iron to the thin sheet metal inside. My question is : how did you measure or mark for the frame head replacement so that the new frame head is aligned properly? Thanks !
July 22nd, 2021 on 8:25 am
Bill, I took measurements from the old frame head of the different distances from it to other fixed points on the chassis. I checked these same measurements once the replacement was clamped on before welding it on. Of course, it changed a little with the welding, but it’s pretty close. I didn’t worry about it being level at this point as I have so much welding left to do with the bottom plates and the Napoleon hat. I will watch that closely once I start that process and also watch that the frame head maintains it’s correct position as well.