Repairing The Tunnel Rail – Passenger Side
by Garage Weasel on May.17, 2021, under Chassis
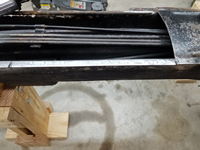
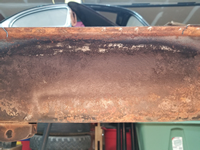
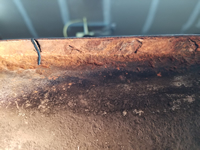
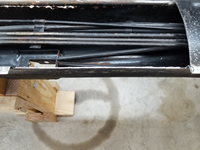
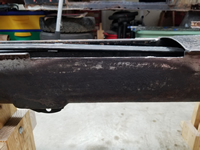
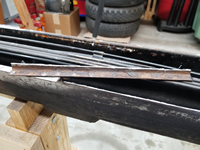
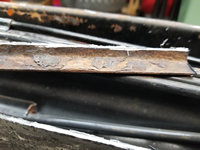
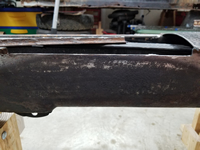
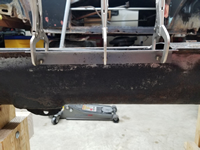
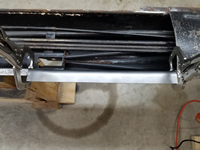
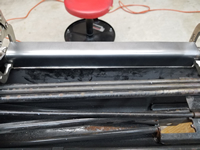
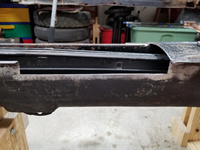
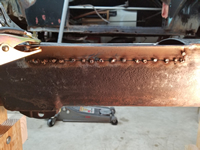
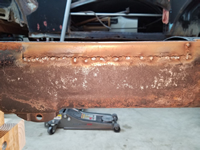
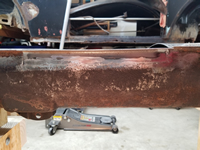
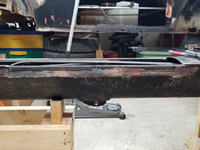
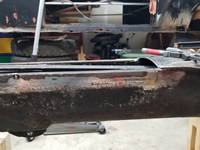
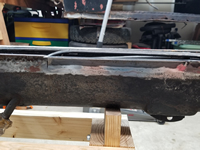
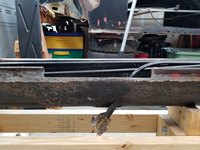
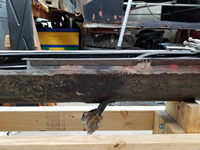
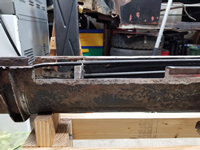
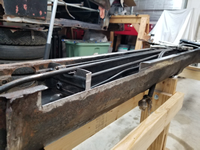
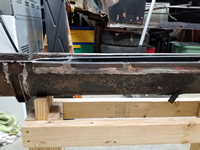
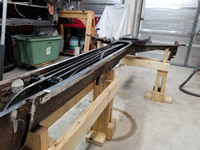
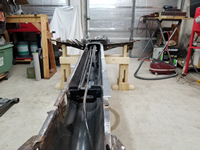
Now that I have the repair pieces made to replace the tunnel rails, it's time to start cutting and welding them in. My plan is to replace the rail from the point that I removed the tunnel bottom plate, all the way to the end in the frame head. I made the pieces long enough on the tunnel side of the pieces to reach past most all of the rust damage. I will have to patch a couple of places where the damage extends upward past them, but these will cover almost all of the damage. I will weld these pieces in on both sides and ground them down on the outside, but leave the welds as is on the inside for strength. They will not be visible and I'm mainly interested in them being strong. I'm starting on the passenger side as it has the least amount of damage and is the least complicated.
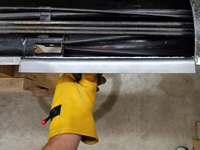
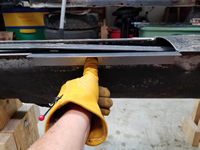
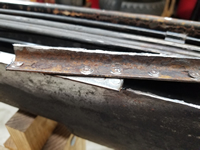
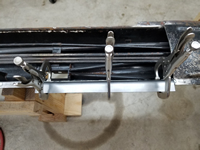
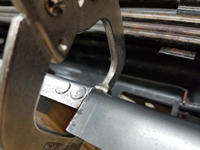
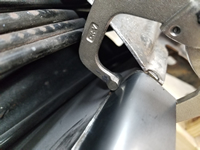
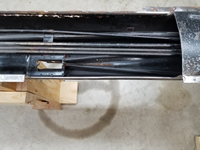
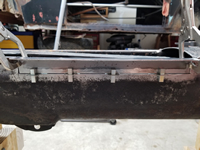
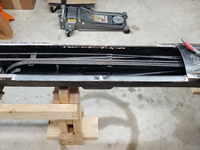
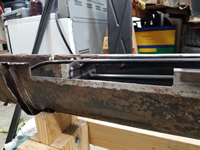
The first section took quite a while to do as I tried different things to figure out the best way to do this. I first laid out a replacement piece on top of the rail, marked the length, and cut 1/2 inch or so through the lip down into the tunnel. After that I cut across between those two cuts to remove the lip. I then placed the piece on the tunnel, lined it up with the existing lip on both ends of the cut-out, and clamped it in place. With it clamped, I then used the piece as a guide to cut through the tunnel. I now had a cut-out just a little larger than the size of the piece. I first held the piece in place for welding using panel clamps, but after just a few tacks across the joint, the panel clamps were locked in tight from the shrinkage of the metal when cooling and I could barely get them out. From that point on, I just used vise grip style clamps. The first three sections were pretty much the same and just involved determining and making the cuts and clamping and welding the pieces in.
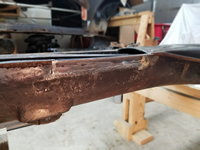
The fourth section on this side connects to a tube support bracket for the clutch tube, fuel line, and choke tube. I drilled a couple of spot weld holes in the piece to attach it to the support brace. Next, I will replace the same four sections on the driver side.
