General
May 2014, The State of my Stalled Project
by Garage Weasel on May.05, 2014, under General
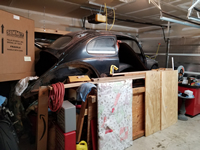
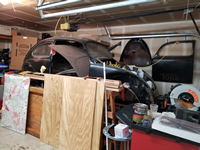
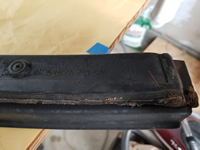
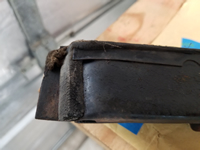
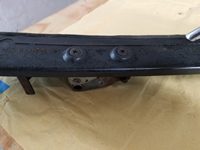
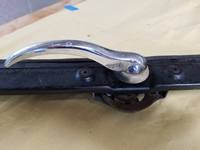
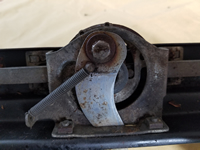
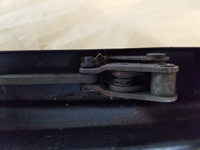
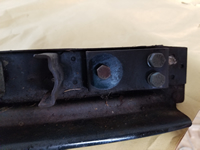
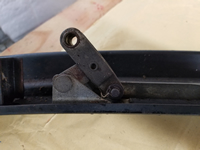
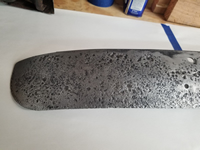
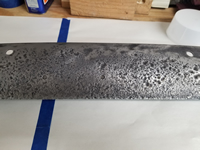
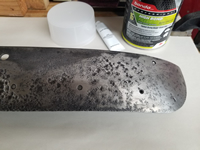
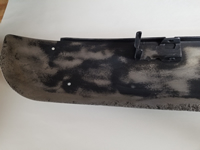
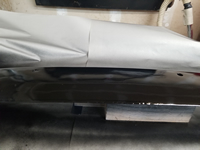
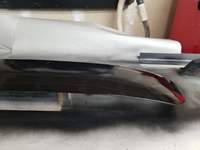
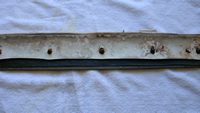
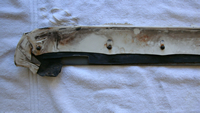
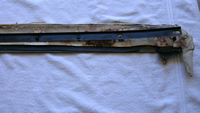
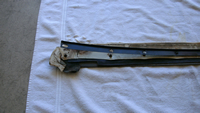
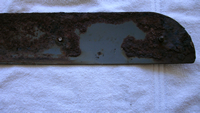
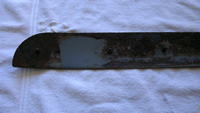
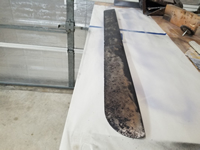
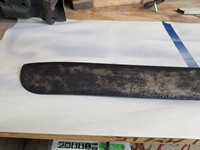
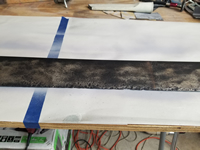
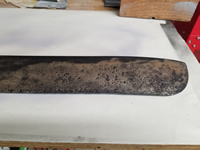
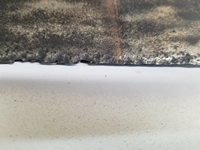
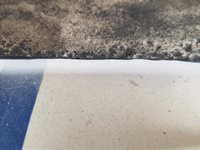
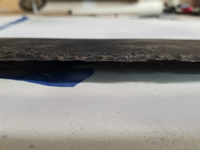
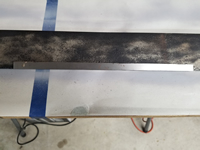
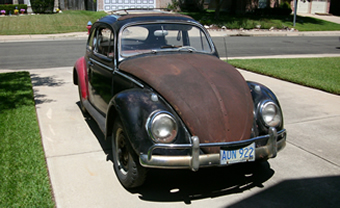
Sometimes, a picture just says it best – life takes over and the restoration project comes to a halt. For a year, two, or maybe more. As you can see, nothing has been done for a really long time. With great intentions of getting started and to keep going, I never did. I recently started following the progress of several home-garage restorations on volkszone.com and saw one project that showed a picture much like these after a long pause in progress. So I figured that I would do the same and show the reality of my stalled project. It did give me hope, though, to see others stop for long periods of time and start back up and actually finish the job. I will not make any promises or lofty goals, but I will say that I am once again really interested in this project.
February 2018 Update: A Sad Portrait of Reality
by Garage Weasel on Feb.15, 2018, under General
The intention of this post is to maybe give a realistic example of what happens with amateur restorations and the on-again, off-again, or maybe just off-again progression that many experience. If you have a project in your garage that looks like mine, you are not alone. Not that my failure should make you feel better about yourself. I remember reading my first restoration blog and the writer stating that it took him 9 years to complete the restoration and thinking to myself how ridiculous it was to take that long to restore one car. Well, I'm quickly approaching having this car for 8 years now and having done not much more than take it apart (the easy part) and think about it for a really long time. I am hoping to get started and stick to it very soon. I mean it. Really this time...
A Nice find! Original, Unissued 1960 License Plates
by Garage Weasel on May.04, 2018, under General
I will not need these for a while, but I found a pair of original, unissued 1960 license plates. They cost about the same as most of the old and rusted plates I've found before and will not need to be restored. Texas will let you use original year plates as long as they are the same year as your car, the numbers are not currently being used, and if they have no rust. They will allow repainted and restored plates, which many states will not allow. I have been looking for affordable plates for years now and never expected to find unissued plates still in the original packaging.
Disassembling The Ragtop Locking Header Bow
by Garage Weasel on Jul.18, 2020, under General
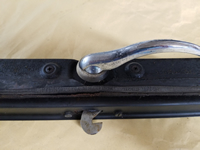
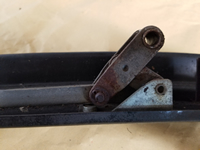
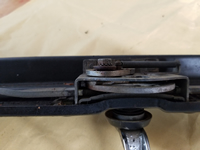
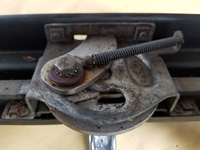
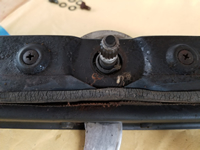
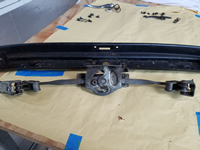
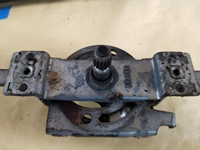
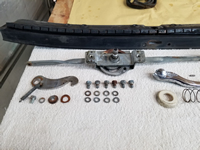
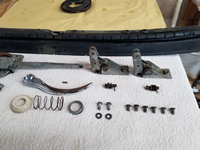
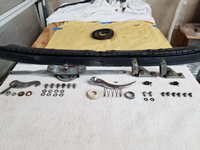
The locking header bow is the bottom portion of the ragtop header which is how the ragtop is manually opened and closed. It also has the locking handle that locks the ragtop to the body. The handle not only hooks into the body to pull the header tight against the body, but the mechanism also clamps the header onto the roof to seal the ragtop.
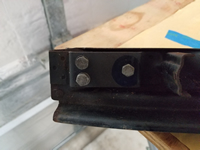
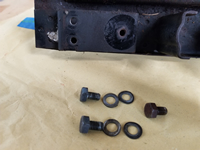
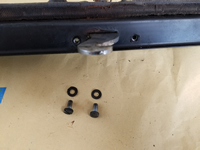
To disassemble the locking header bow, I first removed the 3 bolts on each side where the longitudinal guide plates are mounted.
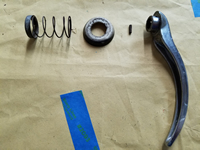
Next, I removed the locking handle. It is retained by a pin, just like the window handles.
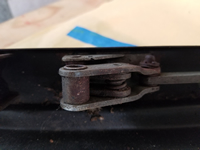
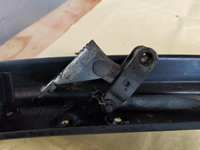
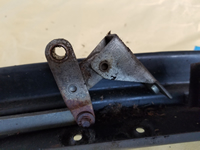
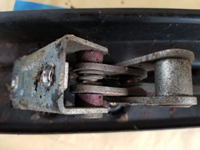
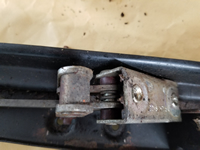
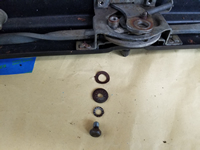
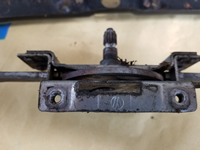
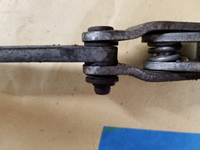
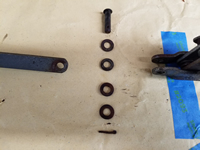
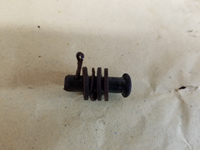
I then removed the screws for the tensioners, the locking hook, and the lock assembly. Once the lock assembly was removed, I removed the pins and washers that attach the tensioners to the lock assembly. There are no other parts that are easily removeable from the lock assembly.
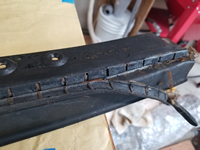
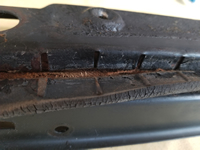
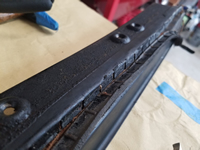
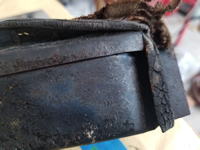
The headliner is attached to the bow by being tucked under upholstery tabs and the tabs are bent down to retain it. The rubber padding strip is then glued on top of the tabs.
I cleaned all of the parts in a parts cleaner to remove dirt and grease.
Updates – Finally!
by Garage Weasel on Jun.28, 2021, under General
I have had a dilemma for a while now. I have been doing work on the car, but have not been updating the site with the progress. Well today, I decided to start updating the site with the current work I am doing and then work backwards to add the previous work until I fill in the gaps. I will backdate the posts so that they will show in chronological order as they are added. It's a start!
Repairing & Painting The Ragtop Upper Header Bow
by Garage Weasel on Jul.22, 2021, under General
When I first disassembled the car, I wrapped most of the larger parts in plastic wrap and placed the largest ones in the attic. Last year, I decided to bring the ragtop parts back into the shop and work on them. I cleaned up, sandblasted, and powder coated many the smaller parts, but just hung the longer parts up in the shop. I did a little work on these parts like removing the rust and treating the really rusted parts with a rust capsulator. After that, I moved on to other things and the parts remained hanging there for nearly a year. Tiring of having things hanging and in the way, I went to work to get them completed. I started with the upper header bow. This part is on the top of the front of the ragtop. It goes directly over the locking bow that has the handle that you use to open, close, and lock the ragtop. The outer part of the ragtop cover tucks under it in the front and it is the part that clamps down on the roof when the handle is locked.
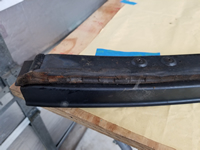
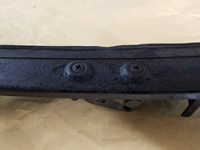
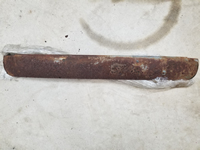
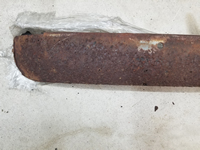
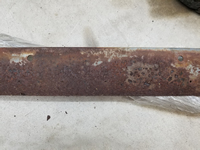
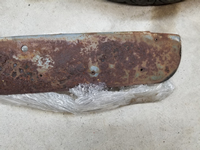
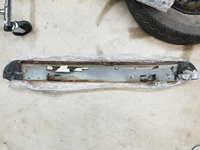
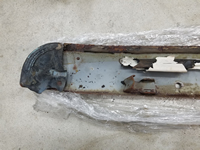
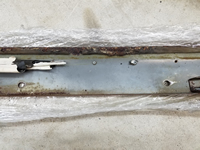
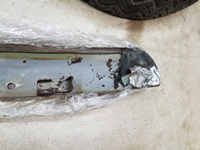
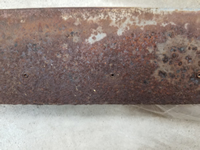
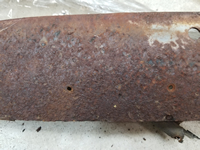
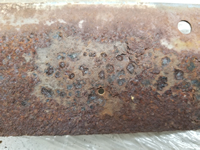
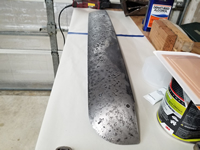
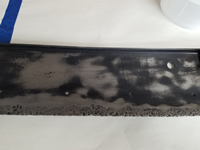
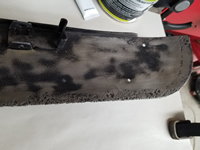
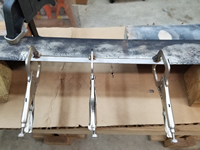
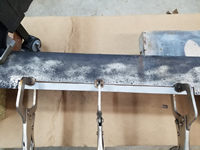
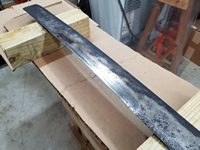
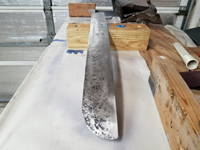
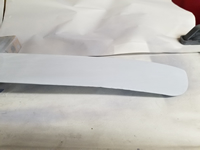
Below is what the upper header bow looked like when I unwrapped in from the plastic wrap. It was very rusty from being wet all those years and even where there were still parts of the ragtop cover on it, it still got wet and stayed wet for a very long time. On the leading edge of the bow, it had a foam strip where it made contact with the roof. Water apparently seeped under there as well and the bottom side under that foam strip suffered the same rusting and pitting that the exposed top side did.
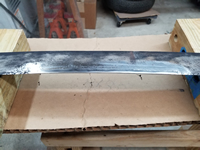
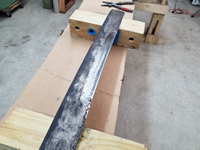
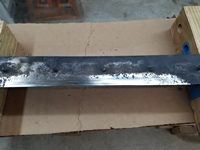
To remove the rust, I had to soak this piece for about a week in Evapo-Rust. This product does not remove the base metal and only removes the rust. I would soak it for a day or so and then rinse it off to remove any loose rust particles and put it back in. Once it had removed all the loose rust, I sandblasted it. There was still some minute rust particles down in the pits, so I sprayed it with a rust converter to seal those areas. I let that cure and then this is the condition I left it in a year ago.
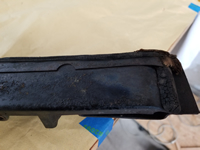
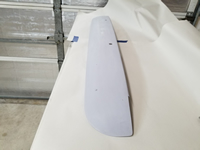
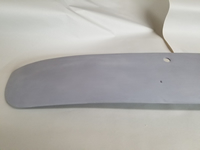
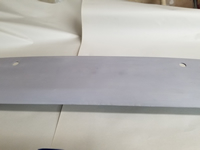
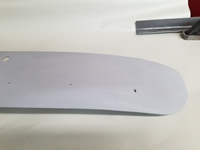
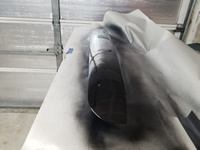
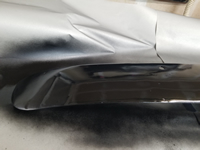
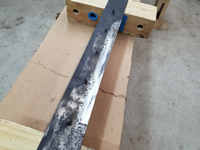
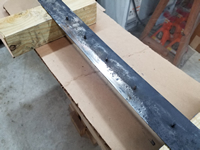
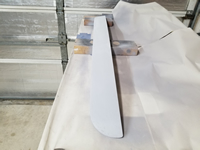
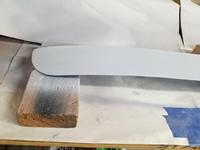
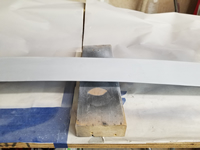
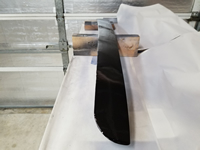
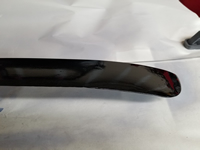
Since this is going to be covered by the ragtop cover, I decided to fill in the pits with body filler and paint it. I filled in the pits, sanded it smooth, sprayed it with primer, and then sprayed it with Eastwood Extreme Chassis Black. I think this will seal it up and protect it fairly well. It is a little wavvy, but it will be under the ragtop cover and not seen.
Repairing & Repainting The Ragtop Upper Rear Tensioning Strip
by Garage Weasel on Aug.06, 2021, under General
The rear portion of the ragtop is attached to the roof by the upper and lower rear tensioning strips. The ragtop material is tucked under the upper rear tensioning strip and then the 9 bolts on the bottom side of the upper tensioning strip are placed through 9 holes towards the rear of the roof. On the underside of the roof, the lower rear tensioning strip is place over those same 9 bolts and then is secured with 9 nuts and 9 washers. The holes in the roof are slotted, so there is small amount of forward or backward adjustability to tighten or loose the ragtop.
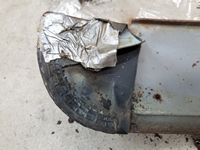
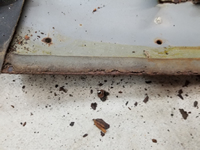
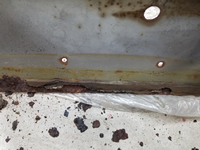
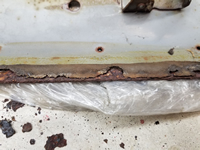
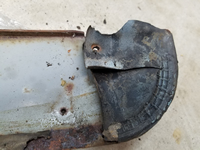
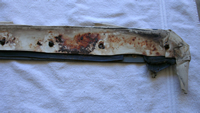
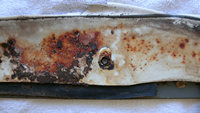
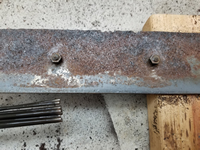
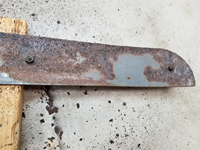
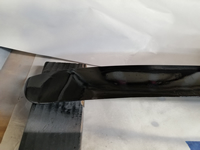
The pictures below show that there were still remnants of the ragtop material still covering the top of the upper rear tensioning strip. The lower rear tensioning strip is shown as well. After the ragtop material was removed, thick crusty rust was revealed. Also, one of the bolts snapped off during the removal of the upper strip and will need to be replaced. This will require welding one on.
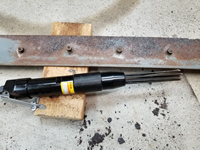
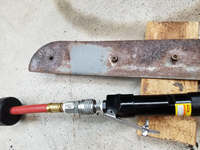
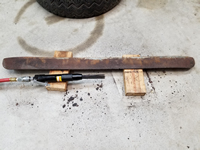
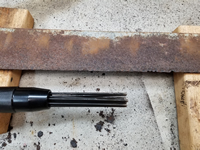
To remove the layers of built-up rust, I first used a pneumatic needle scaler. This did a really good job of removing this type of rust. I put the nuts on the bolts to protect the threads from being damaged. The needle scaler knocked the built-up rust off and revealed the deep pitting that was under it. There was still a lot of rust left, but it was surface rust. To remove this, I soaked the whole piece in Evapo-Rust. This took many days to get it down to the good metal. I then sprayed it with a rust converter, which turns the converted rust black. It can now be coated by filler for the pits, and then with primer and paint.
With the rust removed and treated, this also revealed that the back edge of the tensioning strip was very sharp and jagged through the center section. This back edge is where the ragtop material is wrapped around, and it just cannot be sharp as it will cut through the material. I cut a piece of 2-millimeter-thick steel plate to cover this sharp area, cut out the damaged area, and then welded it in. Once ground down, it was ready to be covered and protected. I did also replace the broken bolt but failed to take a picture of it.
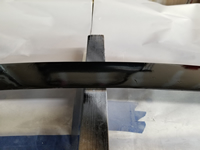
I used a flexible body filler to fill in the pits and covered the entire surface area on both the top and the bottom. I sanded it smooth but didn't spend a lot of time on getting it perfect. It will be completely covered and will not be seen once the ragtop is installed. Next, I sprayed on two of coats of primer and two coats of Eastwood Extreme Chassis Black.


