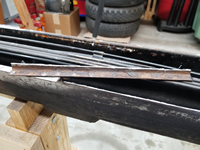
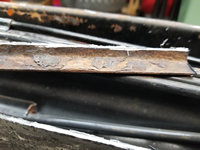
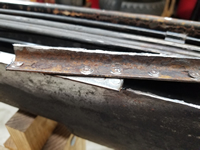
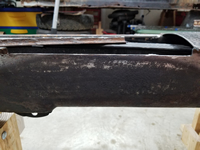
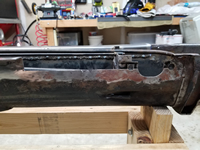
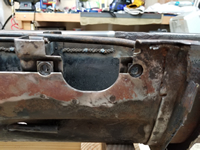
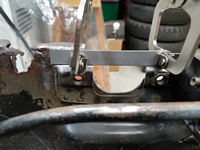
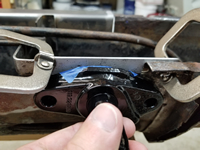
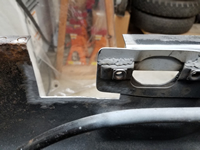
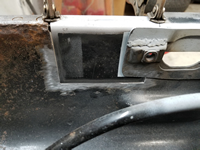
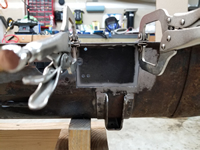
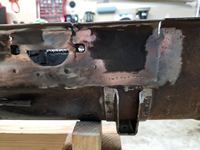
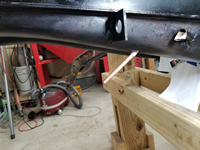
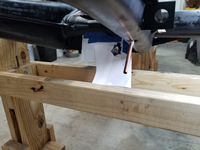
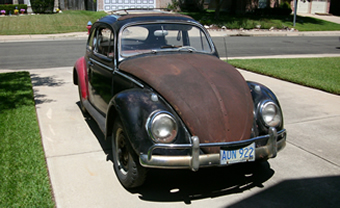
Chassis
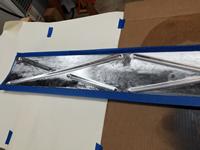
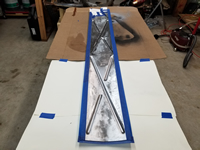
Initial Assessment of the Chassis
by Garage Weasel on Mar.04, 2011, under Chassis
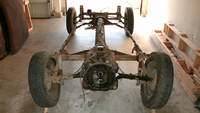
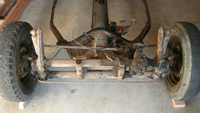
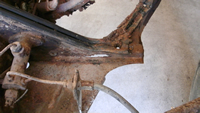
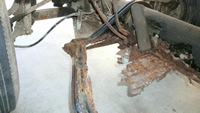
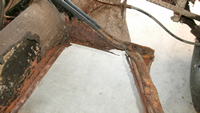
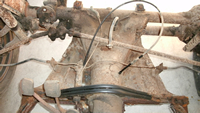
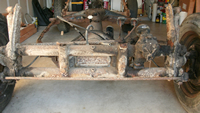
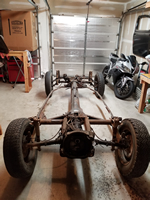
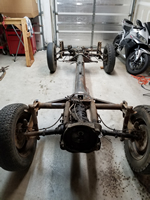
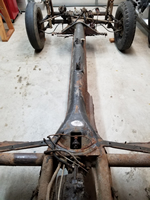
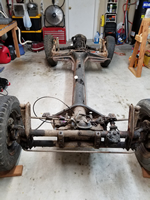
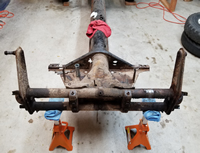
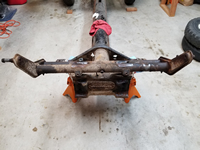
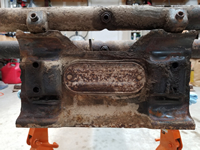
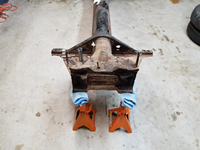
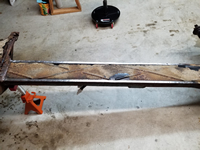
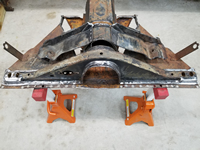
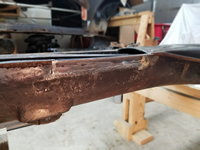
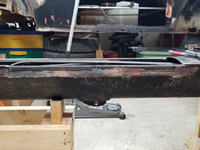
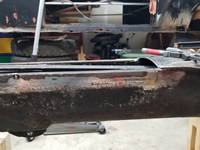
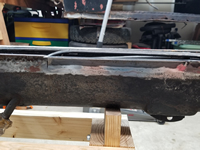
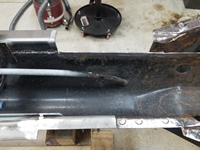
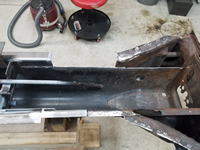
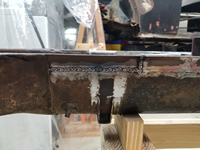
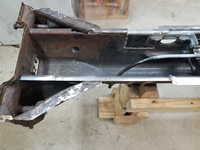
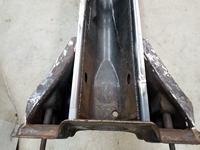
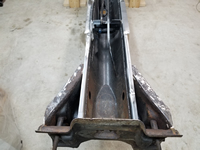
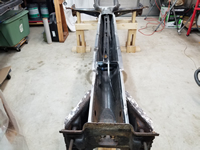
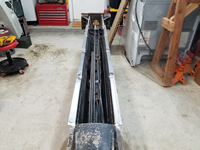
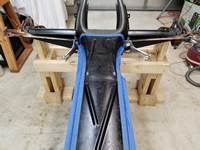
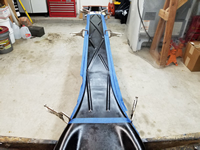
With the body off of the chassis, I can now get a good look at its condition. Here is my initial assessment of what needs to be repaired or replaced:
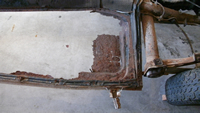
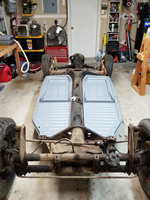
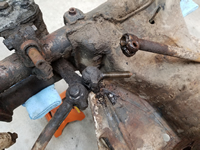
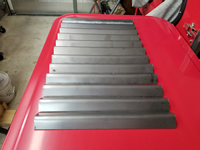
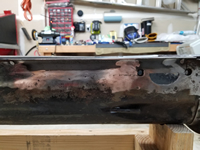
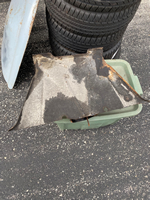
Floor pans: I guess the most obvious things that need to be replaced are the floor pans. There is almost nothing left of them except the outside frames. My current intention is to replace them with them new panels made by Wolfsburg West. These are thick and heavy-duty and seem to be the best ones available.
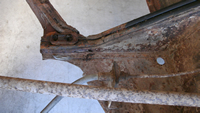
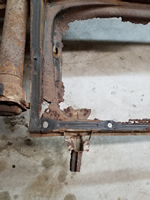
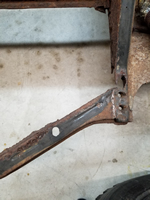
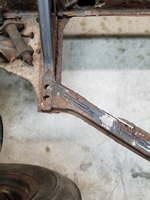
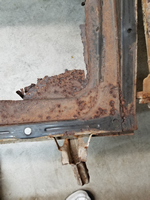
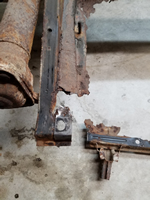
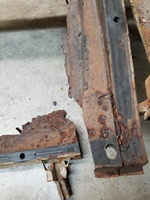
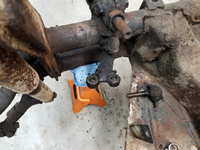
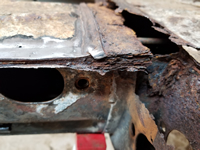
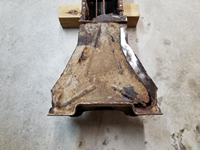
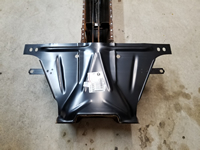
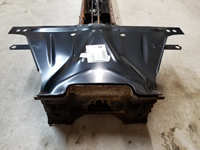
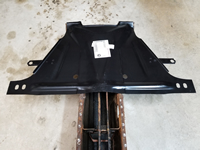
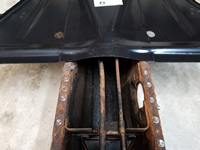
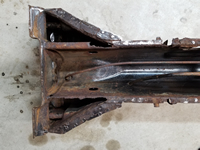
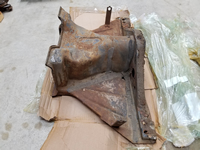
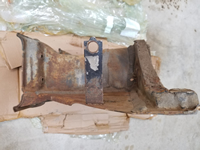
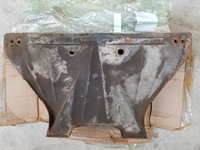
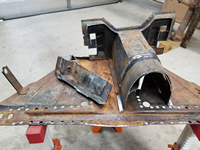
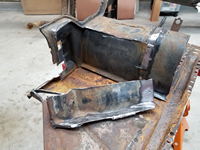
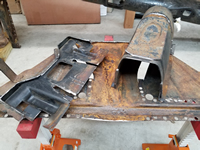
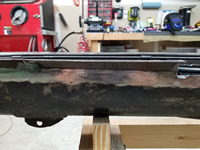
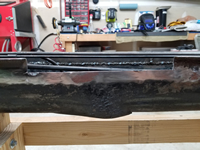
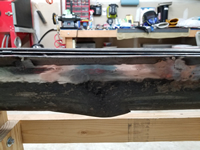
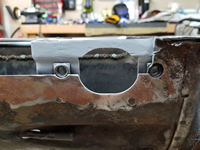
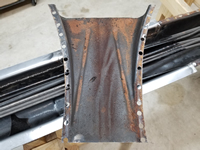
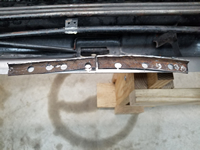
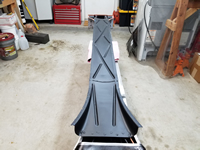
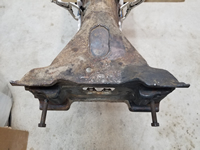
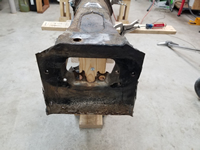
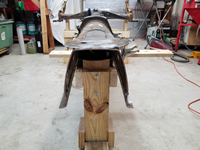
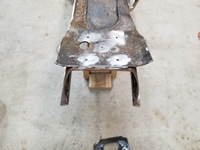
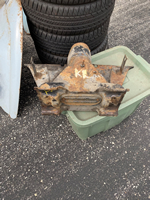
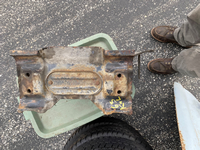
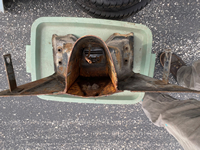
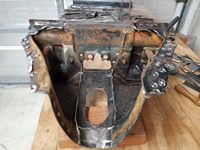
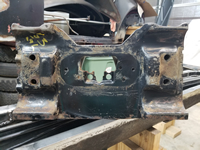
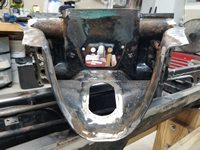
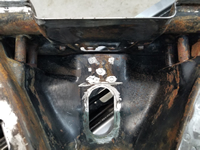
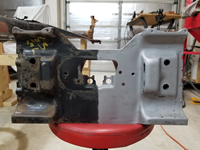
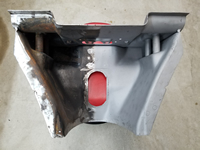
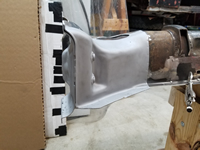
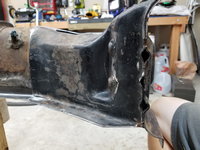
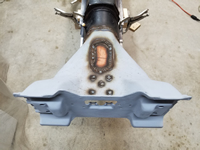
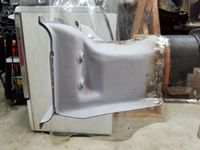
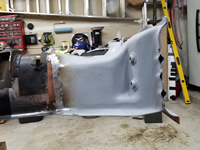
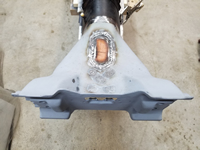
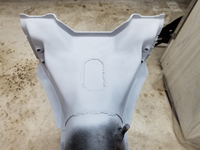
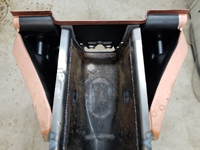
The Napoleon hat: The Napoleon hat or front chassis support panel on my chassis has suffered a lot of rust damage and must be replaced. These are difficult to remove due to the amount of welding where it is attached to the frame head and tunnel and have to be cut and ground off. New replacement panels are available and inexpensive, but often do not fit well and have to be greatly altered. I may buy a new one and see if it fits well enough to use. Donor parts are difficult to find, so my only option may be to use a new panel.
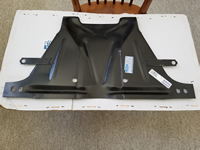
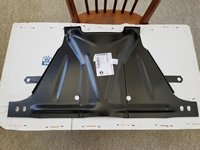
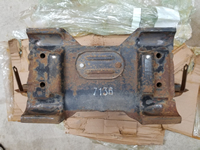
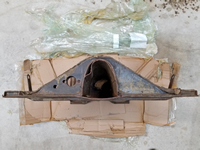
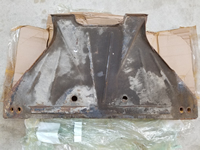
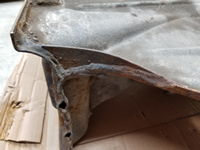
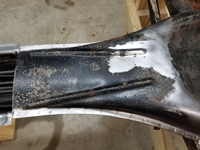
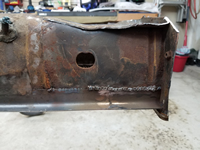
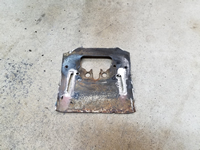
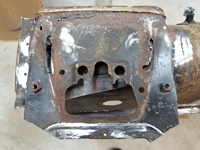
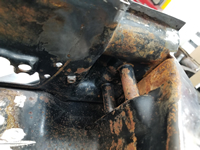
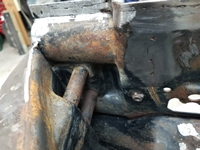
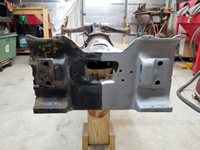
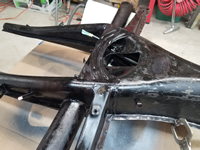
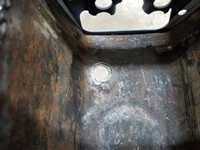
The frame head: The frame head has quite a bit of surface rust, but seems to be structurally sound. The bottom plate, however, does need at least portions of the plate replaced. The rear corners are rusted through where it attaches to the outside ends of the Napoleon hat and these areas will need to be replaced. Replacement bottom panels are available and reasonably priced, but it is a lot of work to remove the original one and a lot of welding to install the replacement. Right now, I’m not sure the extra work is necessary. I may just purchase a replacement panel and then make the decision. I can at least use it to cut out portions to patch the areas that are rusted away.
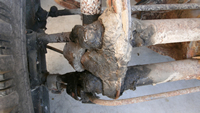
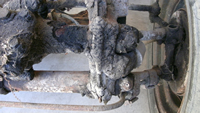
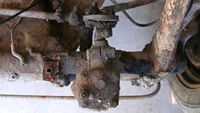
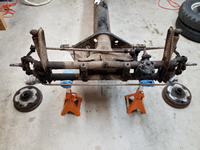
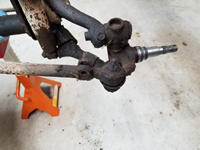
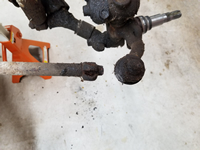
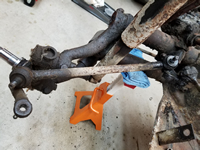
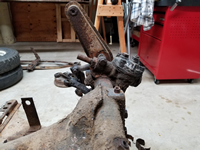
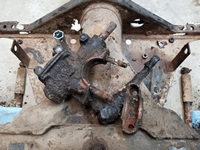
Front axle: The front axle is covered with road grime, oil, and dirt. In some areas it is more than an inch thick. I cleaned some of it off and went through and loosened all the nuts and bolts. Until I remove it, clean it up, and take it apart, I will not know what condition it is in. Same thing for the steering box. No surprises so far with the front axle and its components.
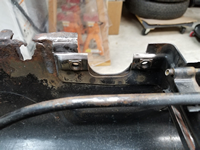
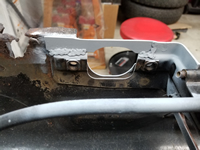
Pedal cluser: The pedal cluster is completely rusted solid and isn’t worth trying to rebuild. I tried spraying it with penetrating oil and letting it soak in, but I could never get anything to budge. Not only is it rusted solid, but the aluminum base has disintegrated. I’ll look for a used one worthy of rebuilding.
Brake system: I haven’t pulled the brake drums on any of the wheels yet, so I don’t know what condition the internal components are in. I’ll take them off soon to get an idea, but my plan is to do a major assessment of the brakes after the structural rust repair is done to the chassis. I do plan to replace all the brake lines and hoses. I don’t know if the master cylinder is usable yet and will not until I pull it off and take a closer look. My guess is it will need to be replaced. The brake fluid reservoir has a lot of surface rust, but I think that once it is media blasted, treated, and painted it will be fine.
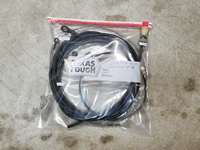
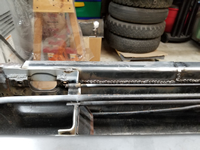
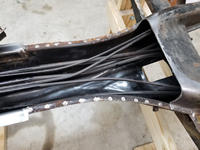
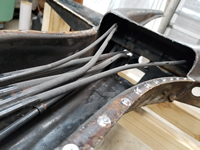
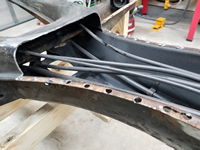
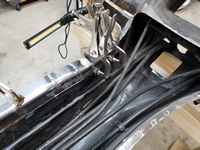
Cables: The cables for the clutch, accelerator, choke, emergency brakes, and heater lever will all be replaced. They may not all need to be replaced, but I don’t want to chance having any of them break later. It will also be much easier to replace them now while the body is off. I will clean out and lubricate any guide tubes before replacing any of the cables and will also replace all of the seals where they enter and exit the frame.
Back to the Chassis: Getting Started
by Garage Weasel on Mar.30, 2018, under Chassis
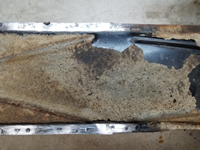
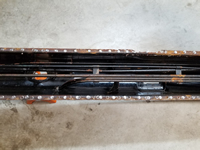
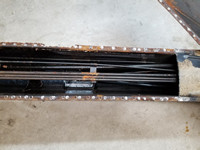
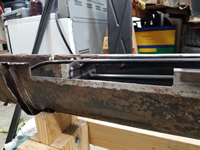
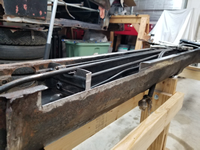
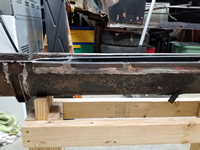
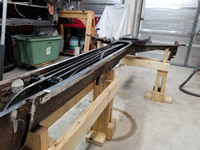
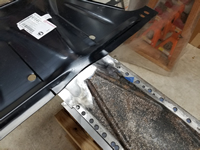
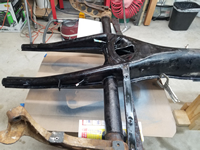
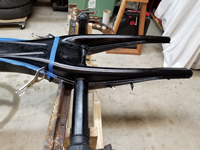
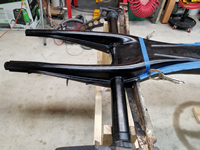
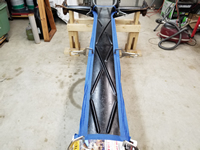
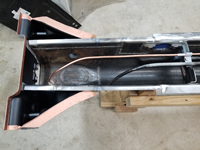
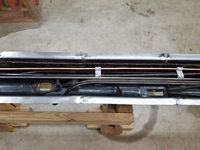
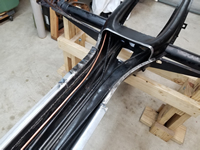
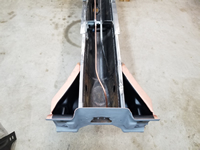
It's been 7 years since I've done anything notable to the chassis. Even then, not much. It is amazing how fast time flies by and how much life can get in the way and steal your time for many years. In the last half year or so, I have been eliminating all of the obstacles in really getting started on this project - lack of the proper tools, lack of working space, deciding just where to get started, and devising a plan on just what to tackle first. After careful consideration of whether to start with the chassis first or the body, I have decided that since I have so little good metal left as reference points, I may as well start with rebuilding the chassis and try to get it as close to the accurate factory specifications as possible and then build the body to match it. Since everything on the chassis that touches the body has to be replaced and everything on the body that touches the chassis has to be replaced, I may as well get started on the chassis. Besides, I have replacements for the floor pans, Napoleon hat, and the frame head bottom plate and don't have to make any major purchases. I have also decided to remove a large section of the tunnel bottom plate so that I can better assess the damage to the tunnel and facilitate replacing the areas of the bottom lip where the insides of the floor pans rest. There is a lot of damage there where water was obviously pooled there for a very long time. Anyway, that is the current plan and I'm moving forward with it.
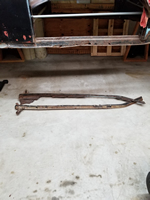
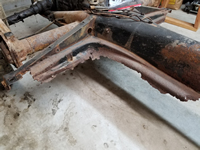
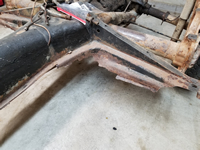
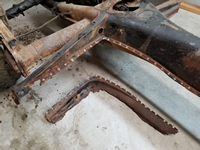
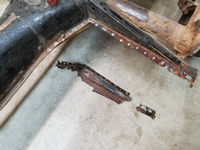
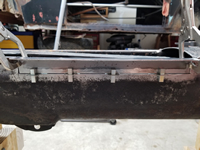
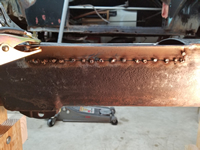
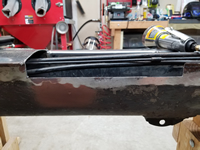
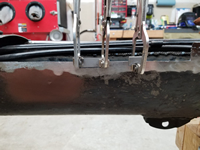
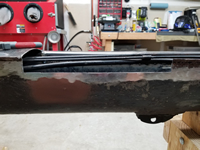
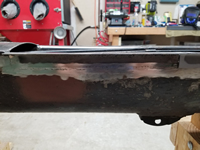
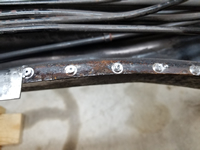
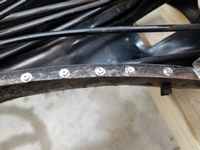
First, I decided to cut off the outside sections of what is left of the floor pans. These are the areas that bolt to the heater channels. I am tired of hitting my shins on them and they need to be removed anyway.
Before:
After:
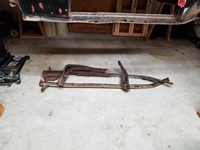
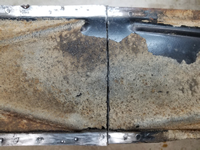
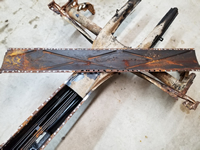
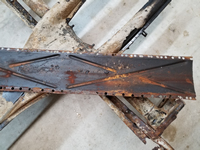
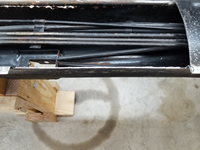
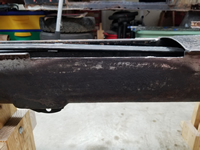
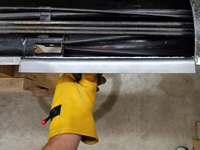
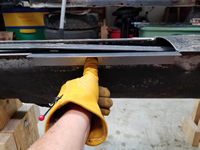
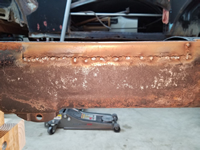
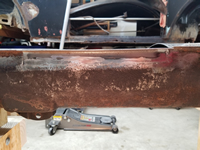
Next, I removed the inner areas of the floor pans. Except for a few strips along the tunnel here and there in the middle and front, there was only floor pan left in the rear on both sides. Finding and drilling out the spot welds was challenging in some areas as they were barely visible and it is amazing how just the smallest amount of weld will keep the panel from breaking free. It is so nice to finally have the floor pans removed! After that, I pulled the accelerator cable, the clutch cable, the heater cables, the choke cable, and the emergency brake cables. I cut the emergency cables off just past the shroud since I will need to access the brake mechanisms to detach the cables on that end. I coiled the removed cables up and placed them in a bag to keep them for future reference. This way I can compare them to the replacements once I purchase them.
Before:
After:
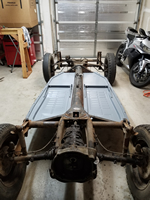
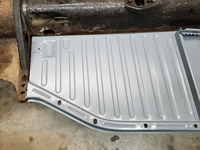
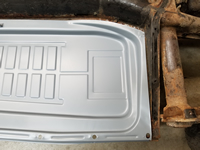
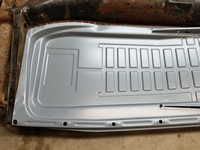
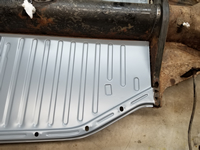
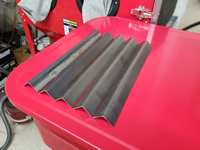
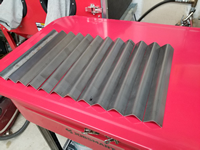
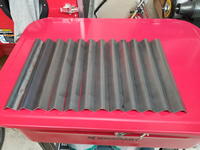
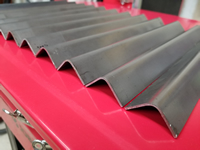
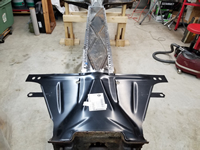
With the old floor pans removed, I just had to place the new floor pans on the chassis to see how they look and check the fit. I purchased the Wolfsburg West floor pans and I have to say that these are of very high quality and the fit is amazingly close to the factory originals. They are 18 gauge and currently cost around $195 each side. The pressings also closely match the originals. I can't tell you how gratifying it is to see the pans on a car that had almost no floor on it since I purchased it. It's a small thing, but it feels like a major one and is the first real progress I've made toward getting this car restored. There is so much left to do, but I feel encouraged and am hungry to get more accomplished.
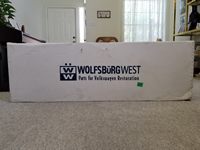
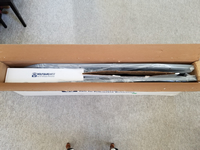
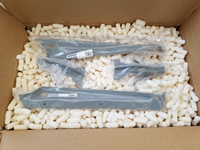
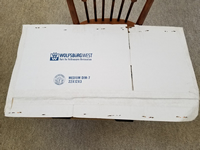
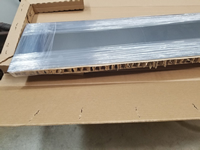
The Wolfsburg West floor pans ship without the rear cross braces and jack points welded on so that they can ship by regular package shippers like UPS. Be forewarned that a package this large and heavy will be thrown around by the shippers and you will likely have some damage to the edges of your pans. I had just minor bends that should be fairly easy to straighten out. Wolfsburg West warns that damage is possible and likely. The box was 68"L x 22"W x 8"H and weighed 63 pounds, including a frame head bottom plate. The rear cross braces and jack points were in a separate box and the frame head bottom plate was placed inside a flattened box. I placed the pans back in the box to store them until I get to the point where I can actually fit and weld them on.
Disassembling and Removing the Front Axle
by Garage Weasel on Apr.02, 2018, under Chassis
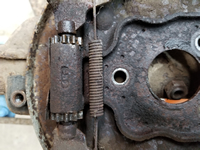
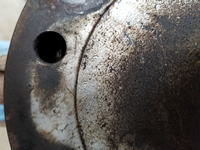
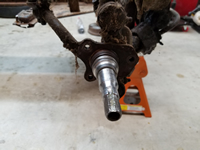
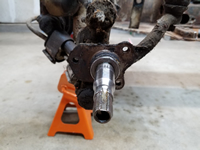
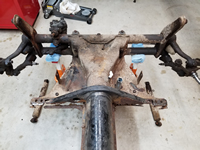
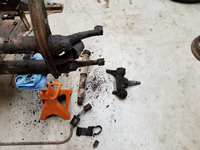
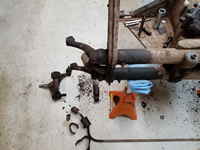
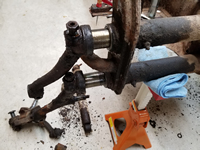
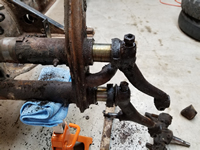
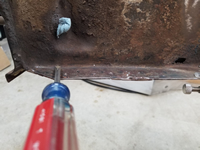
I placed the front axle beam on jack stands and then removed both front tires. To remove the brake drums, I removed the grease caps, the dual axle nuts and lock plates, and the outer wheel bearings. Being a total rookie at this, I couldn't tell why the drums would not just slide off at this point. After wrestling with both drums for a while, I determined that I needed to adjust the brake shoe adjustments to bring the brake shoes in more and away from the drum. As soon as I did that, the drums slid off easily. The brake shoe star adjusters are accessible through a hole in the face of the drum and you can use a screwdriver to turn the adjusters. You just rotate the drum until you can see the adjusters. There are two on each wheel. Once the drums are off, the brake backing plates can be removed by removing the three bolts attaching it to the spindle.
Next, I removed the tie rods. I started with the long rod on the passenger side and was unable to loosen the nut on the tie rod end that connects to the spindle. It would just spin in place. Since it will be replaced anyway, I just cut it off, leaving about 1/2 inch to use to remove the threads. On the other end where it connects to the steering box arm, I was able to loosen the nut and break the tie rod end away from the arm. The short tie rod on the driver side cooperated and was removed. Note: The short tie rod for this year is a non-adjustable one and the ends are not replaceable. These are no longer available and will have to be replaced with a later version that is adjustable. It will function the same, but will just look a bit different. Also, when I removed the shocks, the top bolt on the driver side broke off leaving the threads in the beam. I'll leave that there for now.
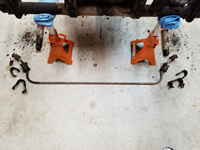
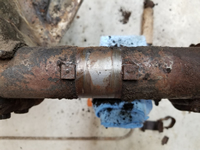
Next off were the sway bar and steering box. The clamps that hold the sway bar on were very rusted and two of the four clamps were already broken. The two that were still intact were difficult to get off and required a chisel and hammer to drive the retaining plates off of the clamps. The steering box had so much road grime and undercoating on it that I had to scrape it off before being able to bend the locking plates back and get a wrench on the nuts to unbolt it. I had been wondering just how I would know where to place the steering box back on the beam once it is ready to be reassembled, but there are raised square guides on the top of the beam that show exactly where it needs to be placed.
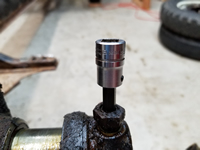
The spindles and torsion arms were the last two items to come off before removing the axle beam. The spindles are held on to the torsion arms with one bolt on each arm. Once the bolts were loosened, it was a matter of opening the split joints where they are bolted a little to allow them to pull out. The torsion arms are held on by a grub screw and a one nut. The nuts were easy to loosen and the grub screws required an 8mm hex driver, which I happened to still have from working on my 1967 back in the early 1980's. After the grub screws were backed out, the bottom torsion arms just slid right out. The top torsion arms were a little more difficult to remove as they were still under tension and resting on the stop arms. All I needed to do is hammer them out a little and then they could be pulled past the stop arm, allowing them to drop down and relieve the tension. Then they were easily removed.
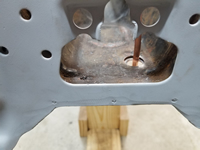
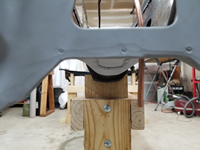
Finally, I removed the front axle. Once the four bolts were removed, I had to pull it off as the road grime and undercoating were still holding it on. I was pleasantly surprised at the condition of the metal where the axle and frame head meet. There was very little rust there at all. I have seen quite a few restorations where people remove the axle to find a lot of rust damage there. I'm so happy to discover that this area only has a small amount of surface rust that can be easily removed. Next up - disassembling the rear of the chassis.
Removing Rear Chassis Components
by Garage Weasel on Apr.07, 2018, under Chassis
With the front axle and components removed, I now decided to remove the rear chassis components and started with the rear brake drums. In order to be able remove the axle nuts holding the brake drums on the rear wheels, I purchased an 36mm axle nut tool from M&T Manufacturing. This allows you to hammer the nuts loose. Otherwise, you typically need a heavy duty breaker bar and an extension, which I would have to purchase. It easily loosened them, which was a big relief. I was expecting a tougher time getting them to break free. I did have to remove the wheels first to have the clearance needed to hit the wrench.
With the axle nuts off, I adjusted the brake shoes all the way in so that I could pull the drums off. The adjusters are conveniently located on the bottom, so I had to lay on the ground to be able to see and access them. The passenger side came of fairly easy, but the driver side was rusted to the spindle and I had to beat it loose from the back. I used a spanner wrench and rotated it a quarter turn after each blow. It took quite a while to get it off.
Next, I removed the bearing cover plates which also retain the brake backing plates. Because I had forgotten to drain the transmission fluid, the fluid came pouring out of the first axle tube once the backing plate and cover plate were removed. It made a nice mess on the floor. I then drained the transmission before removing the other side, so the fluid that drained out the axle tube was greatly reduced.
I removed the shocks and then removed the 3 bolts on each side to that connect the axle tubes to the spring plates. The top bolt on each side also holds the stop bracket and rubber bumper. The axle tubes are now free from the chassis.
To Remove the transmission, I removed the rear mounting bracket, disconnected the shift rod coupler from the shift rod and transmission shaft, and then unbolted the front mounting bracket. I had to leave the front mounting bracket on the transmission as one nut was rusted and worn away and I could not get a wrench on it. I will remove the bracket later.
The gearshift rod is removed from the tunnel through the hole covered by the inspection cover plate on the front of the frame head. It is normally a little difficult to remove as you can only access it to move it through the tunnel through the small hole where the shift knob connects to the rod. There is really only enough room for two fingers and you really can't get much of a grip on it. It has to be rotated clockwise about 45 degrees so that it can clear a plate towards the front of the tunnel and it can be hard to maintain that position all the way out and it will hit the plate or bind if in the wrong position. Mine kept binding and hitting the plate again and again. I had to walk away from it and come back to try again several times. I have removed these before and never had this much trouble getting them out. Just when I thought I was going to have to leave it in the tunnel until I removed the bottom plate from the tunnel, it finally broke free and I was able to get it out. It was very rusted and the rust was grabbing and binding against anything it touched. If it were smoother, it would have been much easier to remove.
The spring plates and torsion rods are my last mechanical items left to remove from the chassis. I started by removing the spring plate bushing covers and the rubber outer bushings. I then marked the current position of the spring plates on the spring plates and bushing housings so that I will have a reference to get them in the same position with the same tension when they are reinstalled. The spring plates have to be hammered out from the inner side of the plates, so I put the bushing covers back on and applied tension from the underside of the spring plate using my floor jack. This keeps the spring plates from flying away from the housing and causing injury or worse. These plates are under great pressure, so they need to be removed with great care. After a few blows, the spring plates slide out enough to clear the housing and drop all the way down and are no longer under tension. At that point, I removed the bushing covers and hammered them the rest of the way out. The driver side spring plate came out still stuck on the torsion rod and the passenger side was welded to the torsion rod and came out together as well. I'm not sure why one was welded and the other one not, or if it makes any difference at all. Something to research. Once the torsion rods were out, I removed the rubber inner bushings. That's the last of the chassis components to be removed without cutting and drilling.
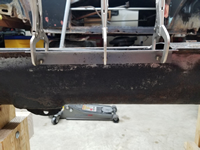
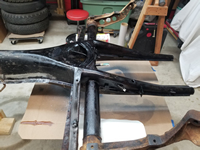
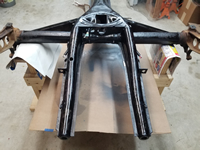
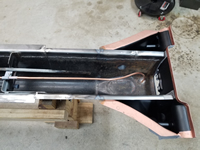
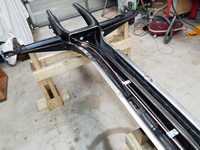
After getting the chassis stripped, I turned it over to get my first good look at the extent of the rust damage. The frame head bottom plate is definitely toast and I really will not know the condition of the tunnel until I remove the bottom plate. It's going to be a lot of work, but needs to be done. There will be sections that will need to be cut out and replaced. Once I have the plate off, I will have a much better idea of just how much. Overall, it's in better shape than I expected.
Removing Tunnel Bottom Plate
by Garage Weasel on Apr.23, 2018, under Chassis
After considering the pros and cons of removing a section of the tunnel bottom plate, I decided to go ahead and do it. With all of the rust damage that can be seen from outside of the tunnel, I really can't tell if the inside is damaged to the same extent just by looking from the outside. I would expect it to be much less on the top and sides, but the bottom was definitely exposed to water pooling inside of it for many years. Until I take the plate off and look, I will not be able to have an accurate assessment of the damage. Here are some considerations:
Pros: I'll know for sure what damage is there and be able to fully access it to repair it. Areas with rust damage are weaknesses in the structure and must be removed and any rust that is there will just progress and must be stopped. I'll have a better chance of doing that by getting inside and taking a look. Also, large sections of the lip where the floor pans rest on both sides have to be replaced. On the driver's side, it is eaten completely through. Overall, I think it will result in a much better repair when I can get the areas cut out, prepped, and the replacements welded in when having access to the inside. I can also get the inside of that section of the tunnel painted and protected, replace the fuel line, and install seat belt mounting plates.
Cons: The possibility of structural weakness if not properly welded and/or the creation of alignment issues. These are the two biggest downsides to taking the bottom plate off and welding it back on. Of course, any area where the welds are weak are a concern, but so is any unrepaired area with rust damage that is concealed and inaccessible inside of the tunnel. I currently have areas where the rust is a potential weakness and I think as long as I get good weld penetration and good adherence to both parts being welded, structural strength will be achieved. Also, once the bottom plate is removed, the tunnel is very flexible and is easily twisted. This could result in the frame head being in a position where it is not level or tilting. There is going to be a lot welding both for the replacement of the side strips with the floor pan lip and putting the tunnel plate back on and ample chances that those welds will pull the tunnel one way or another. Well on this chassis, so much is going to be replaced and constant checks of alignment and position will have to be made during the rebuilding process anyway. I will just have to check, double-check, and triple-check throughout this process and hope that I can be successful. There are so many areas that are going to have to be replaced on this car with the body as well, so getting this all correct is imperative.
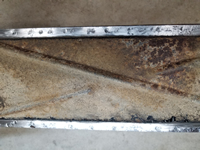
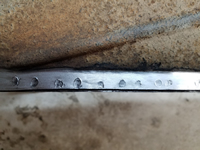
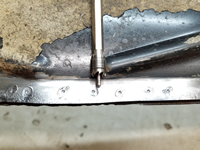
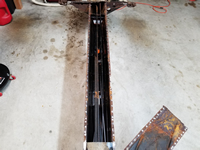
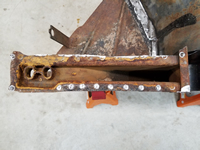
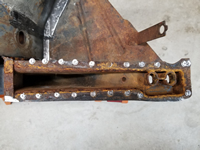
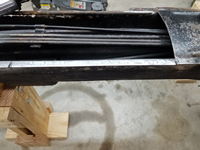
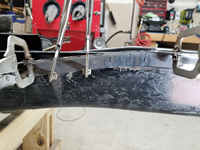
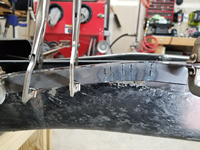
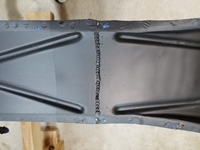
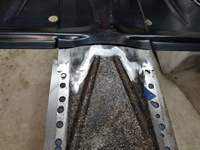
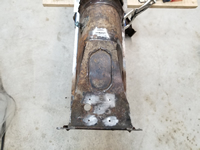
To start taking the bottom plate off, I used a wire wheel in my drill to remove any paint, undercoating, or rust to reveal the spot welds. There are a ton of welds to drill out! My last count was 142.
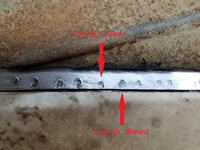
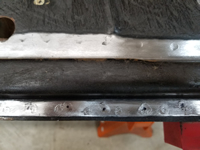
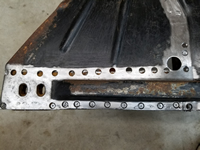
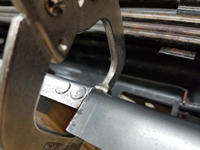
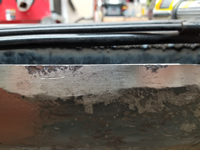
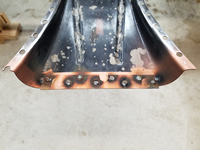
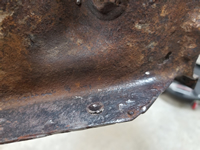
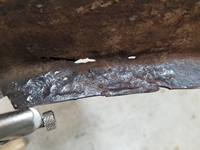
Important Update: Not knowing what I was doing, I drilled out twice as many spot welds than needed. If you look carefully at the close-up of the spot welds below, there are two types of spot welds - ones that are smooth, dished, and even, and ones where the metal is raised and uneven. The smooth and even ones are the ones that were made using a higher voltage to attach the tunnel bottom plate to the tunnel. These two pieces are thick and the higher voltage melts the metal more, creating a dish in both. The other raised and uneven welds were created when attaching the floor pan to the lip of the tunnel and were created with a lower voltage since the floor pans are thinner. Because of this lower voltage, it doesn't penetrate fully though the tunnel bottom plate and therefore these do not need to be drilled out. An important lesson learned that I will not forget! These were typically alternated, so basically half them were unnecessary.
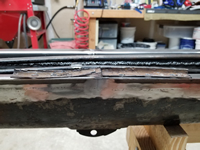
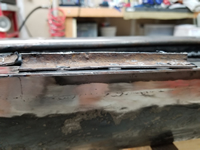
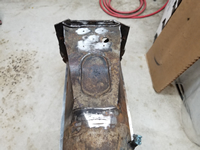
The area I am going to remove starts with the frame head bottom plate and goes down to where the tunnel starts to flare out to the forks. That area appears to be in great shape, so no need to do anything with it. At the front end of the tunnel bottom plate, it is overlapped by the frame head bottom plate. In its current condition, the overlapped area is just a huge stack of rusted metal that is bulging outward.
The spot weld cutter that I'm using has a pilot to hold the cutter in one place to cut the holes. This works for about three holes and then it starts skating and making deep circular scratches as it skates away. The duller the tip of the pilot gets, the more uncontrollable it becomes. I discovered that if I take a center punch and mark the center of each spot weld and then use a small drill bit around the size of the pilot to drill a shallow hole in each punch mark, the tool is much easier to control and use. It actually saves time in the long run as you are not fighting to keep it on the correct spot and having to stop and restart the cut. Trust me, it's worth the extra effort. It cuts a 3/8-inch hole which is kind of large, but it does a great job of getting the whole spot weld. These are available from Harbor Freight for $5 each.
Next, I made the cross cut at the frame head plate and at the other end of the tunnel plate. Once the cut was made at the frame head end, big chunks of rusted metal just fell off.
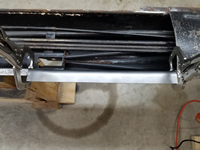
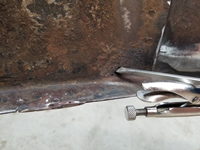
And finally, cutting out the spot welds. This took many hours and the good part of one day to accomplish. I started on the driver side at the frame head and would cut out several of them and then gently pry up with a screwdriver to see if the plate was breaking free. I tried very hard not to drill into the lip below it to keep that section intact as much as possible. I would drill down watching the cuttings carefully and looking for rust to appear. Once I saw the rust, I would vacuum the area and look into the hole to see if I was all the way through the plate. This worked well until I got to the middle of the plate. I couldn't see any signs that I missed a spot weld and it just wasn't moving. so I started at the other end thinking that would help, but it was the very same even once it was free on both ends all the way to the middle. I used the screwdriver to attempt to pry it free. No such luck. I decided to take a break and when I was getting up from sitting on my stool, I barely bumped the Napoleon hat with my drill and the whole side popped loose. Of course, the other side was cooperative until I got to the middle and the same thing happened. I started on one end, gave up and started on the other, and got to the middle and it wouldn't break free. In this case, I had a couple of welds that I didn't cut quite deep enough and once I did that, it was completely free. It is amazing how much just part of a couple of spot welds will hold a piece in place! As expected, the top and sides of the inside of the tunnel were in excellent condition looking pretty much the same as they did the day they were initially assembled. The bottom plate itself is in good shape except at the end by the frame head. That end will require a inch or so cut out and a couple of inches added so that it extends to fit underneath the new frame head plate. It's a relief to get the plate off, but I know that I just added many more tasks and many more days of work to an already never-ending list of things to do. Next, I tackle getting the frame head bottom plate off. Should be fun!
Removing the Frame Head Bottom Plate
by Garage Weasel on Apr.27, 2018, under Chassis
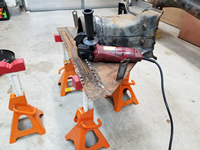
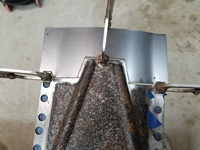
Since I'm replacing the Napoleon hat and there is really no room to drill or cut right next to the top of the frame head, I decided to cut off the arms of the Napoleon hat and trim back the bottom plate. This really made it easier to access. I used a wire brush in my drill to remove the undercoating and rust and reveal the spot welds. Once that was done, I did the same as on the tunnel bottom plate and punch-marked the center of the spot welds and drilled pilots for the spot weld cutter.
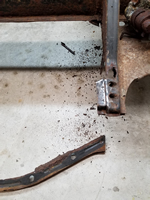
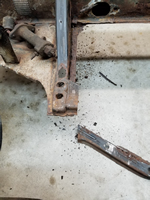
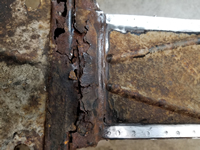
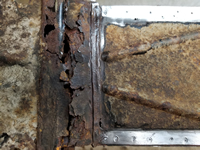
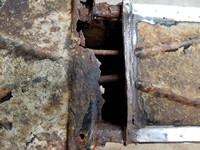
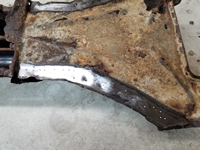
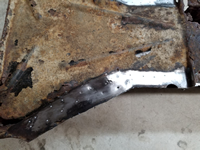
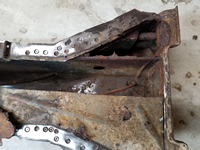
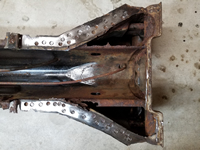
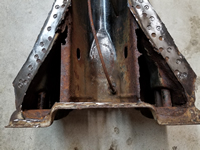
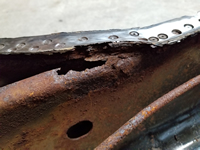
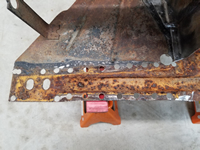
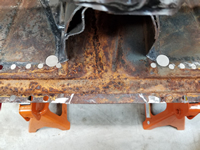
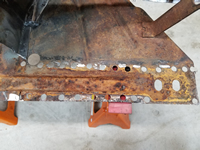
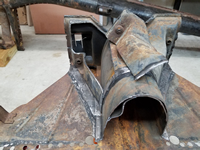
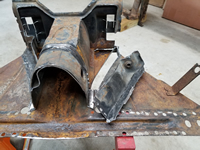
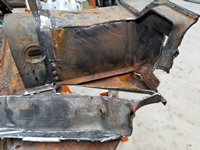
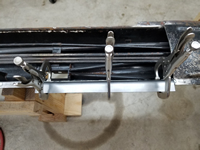
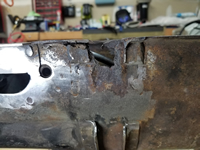
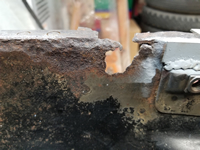
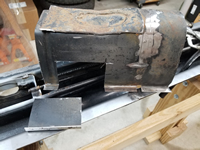
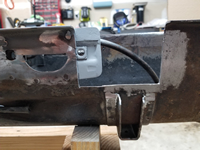
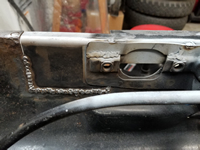
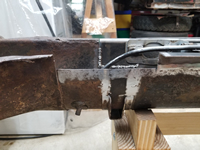
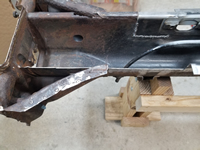
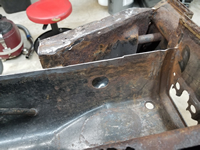
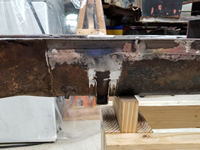
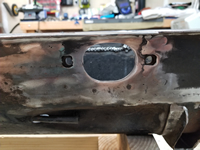
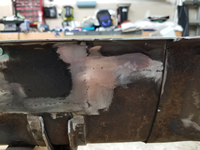
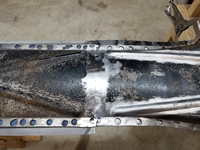
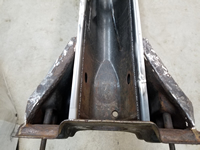
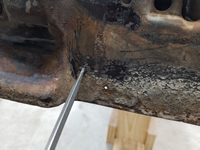
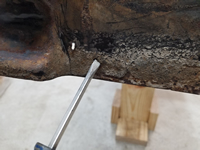
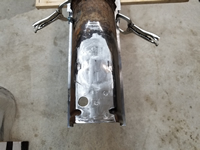
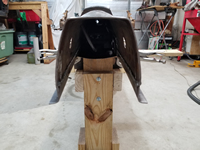
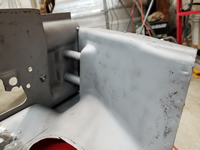
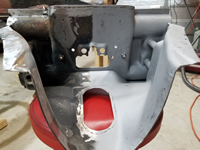
I then cut out the spot welds and cut out the inside part of the bottom plate, leaving just the strips where the plate was welded to the frame head. I am so glad that I went to the trouble to take the bottom plate off as there is some serious rust inside the frame head that just would not have been seen otherwise. The side of the tunnel underneath the Napoleon hat has deteriorated on both sides and will need patching with solid metal. Also, the tunnel section that extends through the frame head will need patching on both sides as well. Additionally, the frame head will need patching on the bottom portion where it is welded to the bottom plate on both sides. I have to admit, I was initially discouraged and contemplated replacing the entire frame head with a new after-market reproduction. But as I researched doing so, I determined that the effort and expense of removing the current one, patching the tunnel (which I have to do anyway), purchasing a new frame head (that will not match the current one and is constructed of thinner metal), and properly aligning the new frame head just was not the best course of action. With the tunnel bottom plate removed, the tunnel is just too flexible to be able to do any accurate alignment and I would rather take my chances with replacing the areas that absolutely need it and hopefully maintaining the current positioning as far as the angle of the frame head on the front end and where it is positioned on the tunnel. If I can maintain those two things, I will just need to make sure it is level when it is all welded and reassembled. Also, once it is taken off, I lose all of the current reference points and I really need it where it is now to get the new Napoleon hat properly positioned.
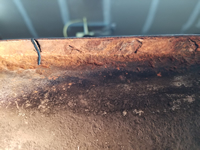
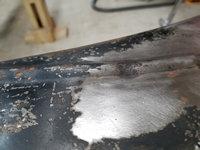
One of the things I found amazing and educational was how much the rusted areas have expanded over the years as they progressed, especially where the panels where overlapped. Where two panels, that were each originally around 2 millimeters thick, were overlapped and then rusted severely, their combined thickness grew to around 12 millimeters. In several areas where this happened, the surrounding areas of the panels were raised and bulged, distorting everything attached to it. On panels with nothing around them, they appear to just disintegrate and fall away. In areas where the panels are welded together and very close to other panels, they have expanded greatly.
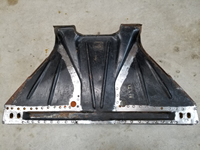
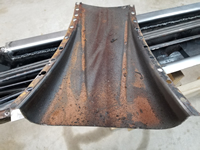
Getting the remaining strips of the bottom plate off was a real pain. The spot welds are easy enough to cut out, but on the side edges of the frame head where it is welded to the plate it is seam-welded in the middle section for a couple of inches and towards the front for a couple of inches as well. I just had to cut around the seam-welded areas and grind them down. Where the plate meets the front edge of the frame head, it is seam welded all the way across. I was able to use a cutting disc to trim it back fairly close, but the rest had to be ground down. This is a lot of trouble for the side flanges that are going to be replaced, but I want to get it back to its original position to test fit the new bottom plate and to have good references for the areas that are going to be replaced. Once everything was cut and ground away, I just had to place the new bottom plate in position to see what it looks like. Even though its just sitting there, it feels like progress and is encouraging.
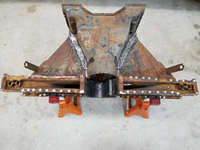
Next, I cut way the majority of the bottom plate that was welded to the frame head and ground it down. There are some areas that still need to be ground down, but I will save that until I am preparing and fitting the bottom plate. The next steps are to cut out the rusted areas and weld in patches.
New Donor Frame Head
by Garage Weasel on May.14, 2018, under Chassis
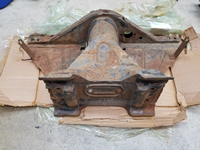
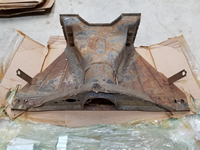
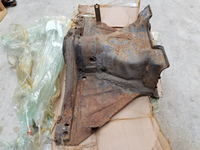
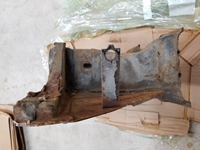
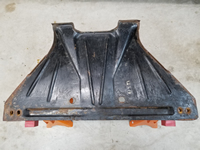
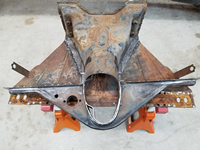
I found a great deal on a 1965 donor frame head assembly in the classified ads at www.thesamba.com and just had to buy it. It included the frame head and Napoleon hat and was $75 + $50 shipping. It was shipped by placing two boxes over it, taping them together, and then wrapping it with stretch wrap. Nothing was placed inside to protect it, so it was of course a little banged up when it arrived. Nothing too serious, but I just don't understand the poor packaging job. I guess I should be accustomed to it by now as everything I have ever bought like this from California has just been thrown in a box and shipped with absolutely no protection. I've requested proper packaging, offered to pay more for it, and been told that it would be, but have yet to have something arrive that way. Overall, I am pleased with the condition of the donor part and am considering using the Napoleon hat and possibly the bottom plate. The bottom plate is quite a bit different than the original, but appears to be in good condition and is constructed of the thick, original German metal. I can't purchase one that would be a closer match that is going to be in the same condition and as heavy-duty. It will be a lot of work getting the Napoleon hat and bottom plate off, but it will hopefully be worth the effort.
Disassembling The Donor Frame Head
by Garage Weasel on May.22, 2018, under Chassis
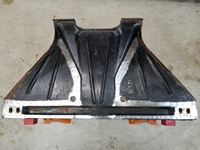
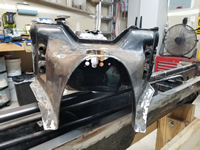
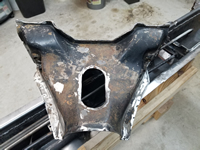
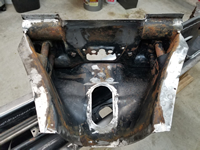
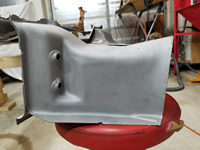
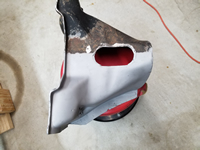
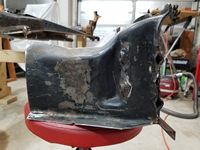
Well, to start, nothing about disassembling this frame head was easy. Especially if you are trying to preserve the parts to reuse them. It was constructed for structural strength and was not meant to be easy to take apart. Removing the spot welds isn't difficult, but just take a lot of work. The seam welds are another story. Separating the parts that are seam-welded almost always requires sacrificing one of the panels to cut them apart. I started out trying to preserve all the pieces, but finally decided to choose the pieces I wanted the most and do whatever I needed to do to make that as easy as possible. In this case, I really wanted the two lower sections on the sides of the frame head body where the bottom plate is mounted, the Napoleon hat, and as much of the tunnel as I could preserve. I really wanted to save the bottom plate as well, but it was just too difficult to separate it from everything else with all of the seam welds. And although it looked in really good condition from the outside, the bottom plate had deep pits in it where it was covered by the Napoleon hat, the tunnel, and frame head body. I think that the aftermarket bottom plate I purchased will be just as strong as this one considering all of the rust damage. Anyway, I didn't really have a choice in the end and made the sacrifice. Overall, I am really happy with the condition of the parts that were saved. The Napoleon hat is in better shape than the other donor one I purchased and I plan to use some parts of the tunnel section and the lower frame head body sections as well.
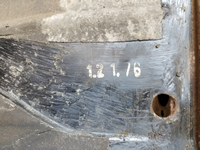
First, I carefully removed the undercoating on the bottom plate. Like I said, it appeared to be in really good condition from this side of the plate. I was really hopeful at that point that it would be the same on the other side, even though I could see some pitting through the tunnel opening. I uncovered what I think is a date printed on it of 1.21.76. I'm not sure that is the case here as the frame head was reported to be from a 1965 model.
Next, I used a wire wheel to remove the paint and expose the spot welds. I also marked the ones that I wanted to drill out with a marker. Just like on the tunnel, there are two different types of spot welds on the area where the floor pans were attached. The smooth, even welds are the ones that actually penetrated and bonded the Napoleon hat to the bottom plate and the raised, uneven welds were done at a lower voltage and only bond the floor pans to the upper side of the Napoleon hat. Again, I learned that the hard way.
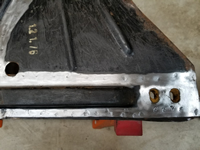
I then drilled out the spot welds that attach the Napoleon hat to the bottom plate. The hardest areas to separate were where it was seam-welded together. On one side of the Napoleon hat, almost none of the spot welds penetrated because there was too much space between it and the bottom plate. They apparently seam-welded it in that area to compensate. Because of that space, I was able to get a thin cut-off wheel between them and cut through the welds. With the Napoleon hat heavily seam-welded to the tunnel, I just cut through the tunnel so that I could remove it. With the Napoleon hat off, I was both pleased with the condition of the inside of it and not so pleased with the heavy pitting in the matching area of the bottom plate. Apparently, a lot of water was able to get inside the frame head over the years.
By the way, I found that my jack stands worked great for supporting the frame head while I was working on it. The rubber pads grip it and keep it from moving around.
With the Napoleon hat removed, my next task was to remove the lower sides of the frame head body where it is attached to the bottom plate. To do this, I first cut off the areas just above them on both sides and then cut through beam mounting plate on the front to free them there.
It was at this point that I realized just how difficult it was going to be to remove the lower body sections from the bottom plate. The two were seam-welded together and there were was just no easy way to separate them without damaging them both. I really just needed the body sections, so I just cut through the bottom plate in the areas where they were attached. I was a complete bonehead and didn't realize that I was cutting through both layers at one point on the first one. In fact, I didn't notice until I turned it over. I can weld the cut, but really felt sick when seeing it. When cutting the other side, I was very careful not to repeat the same mistake. Once it was cut out, the tunnel was free and I just needed to separate it from the tunnel.
Lastly, I just had to remove the beam mounting plate from the tunnel. They were attached by seam welds, of course, and I just cut out the area of the beam plate where they were attached. Disassembled, finally. The pictures may make it look simple and quick, but I spent several hours on several evenings to get this accomplished. And I still need to clean up the parts I'm going to reuse by removing the leftover panel remnants that were cut out during the removal process and the spot welds.
Mission accomplished and I now have a new donor Napoleon hat, two lower frame head body sections, and a tunnel section to use on my chassis. Can't wait to get to the repair and assembly part of this project!
Follow-up Note (6/9/21): I determined that the parts from this frame head were just too different than my original frame head and purchased a more correct model that matches much better. More details to follow.
Protecting Inside Of Tunnel Bottom Plate
by Garage Weasel on Nov.17, 2020, under Chassis
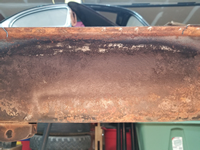
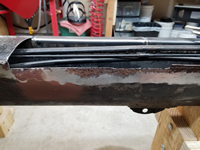
I decided to remove all of the factory's protective coating on the inside of the bottom tunnel plate. It was in very good condition with almost no rust damage there, which is surprising as this area was holding water for many years. The only area with damage was at the front end where it connects to the frame head bottom plate. Here, both had either rusted all the way through or had deep pitting.
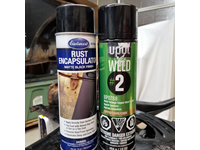
After the protective coating was removed, I went over the inside area with a wire wheel on a drill. I masked off the sides where it will be welded back on the tunnel, and also masked the damaged area on the front end. The damaged area will be treated with a rust converter and I will make and weld on an extension to replace the rusted-through area. I then sprayed the inside area with Eastwood Matte Black Rust Encapsulator. This should protect it protected for a while. Once it is welded back on to the tunnel and all tunnel repairs are completed, I will recoat the inside of the tunnel again.
Making Tunnel Rail Replacement Pieces
by Garage Weasel on May.10, 2021, under Chassis
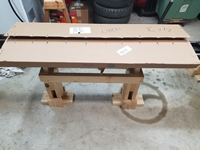
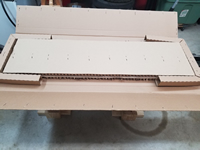
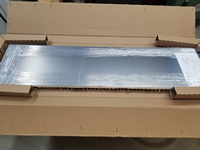
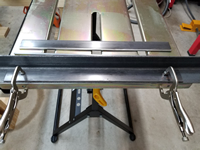
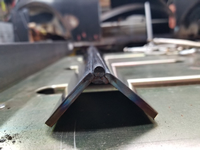
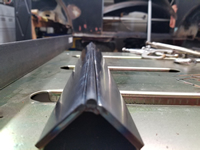
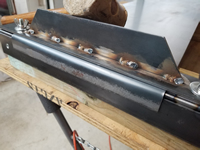
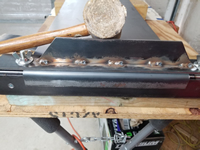
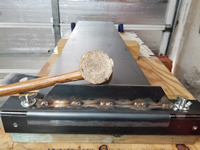
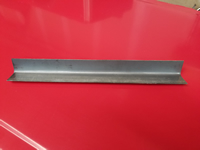
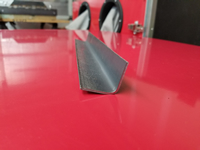
After searching for years for something that I could just purchase to use to replace the rusted-out tunnel rails on my chassis, I decided to just make my own. "Tunnel rail" is what I am calling the lip on the bottom of the tunnel where the tunnel bottom plate is welded and also where the floor pans rest on the tunnel. The closet thing I could find is a 15" tunnel section replacement that is made to replace the tunnel inside of frame heads. But they are around $35 each (plus shipping) and I would need at least 5 of those. Not only would this option be costly, but these aftermarket parts are way thinner metal than the original metal and the shape really doesn't match as well. I found that I could get a 12" x 48" x 2mm sheet of steel online for about $45 total, so I decided to purchase that and see if I could find a way bend it and make pieces to use. It came very well packaged and protected.
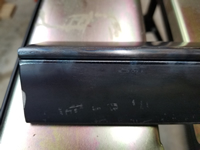
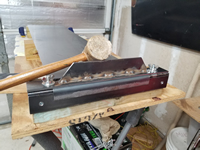
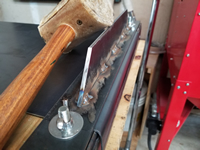
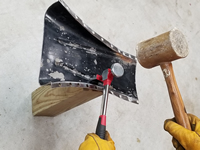
To bend the sheet metal and match the radius of the lip on the tunnel, I used two 18" long, 3/16" thick x 2" wide mild steel plates set at a 90 degree angle with a 1/4" round steel rod on the outer edge and welded them on the inside edge. This gives me a smooth rounded surface on which to pound the metal into shape. The sheet metal is 2mm thick and will take a lot of force to form it.
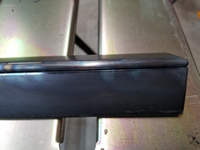
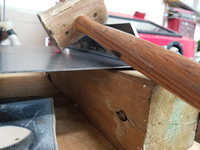
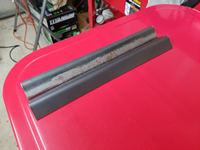
After the plates and dowel were welded together, I made a clamping plate, added clamping bolts, and mounted the unit on a 4" x 4" treated post. The post is dense and heavy and gives me something to hold on to when forming the shape. I used a large rawhide mallet to hammer it into shape. It was quite difficult to bend metal this thick without distorting it and to get it flat and even. With a lot of pounding, I was able to get it fairly flat and checked it against a tunnel section I had from a donor frame head. It matched well. The flange is longer than the tunnel flange, but it gives me more leverage to bend and form it and it can later be trimmed once the tunnel bottom plate is welded back on.
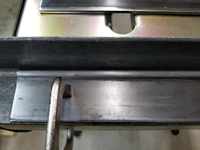
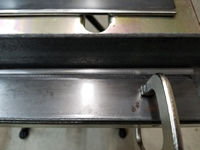
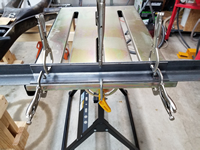
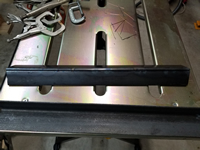
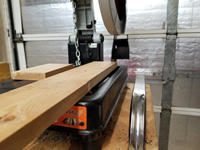
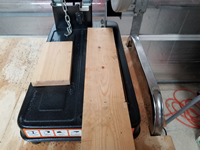
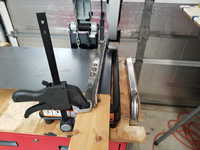
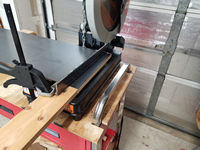
The next issue was how to cut the piece off and to get a nice, straight cut. I can't really do that well with an angle grinder with a cut-off wheel, so I decided to try to do this with my chop saw. I have an Evolution Rage 2 chop saw with a 14" multi-material blade that will cut steel, wood, and plastic. And although the blade is 14" in diameter, it doesn't go down far enough into the table to get a 12" long cut as I needed. So I took the clamping mechanism off of the table and attached a 1" x 4" piece of wood to raise the cutting area up and this made the cutting length about 12 1/4" which is sufficient. I then used some steel plate and 2 clamps to clamp the sheet down while cutting. It was a little difficult to make sure that the cuts were square, but I managed to get them close enough. I checked the first one against the tunnel and it matched well. I made another and it was very close to the first one. I made a few more and the results were good. I went ahead and made 12 of them. Good thing I did as I ended up using 11 of them to complete the tunnel.
Repairing The Tunnel Rail – Passenger Side
by Garage Weasel on May.17, 2021, under Chassis
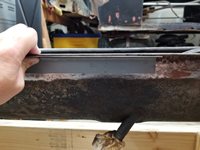
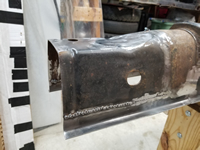
Now that I have the repair pieces made to replace the tunnel rails, it's time to start cutting and welding them in. My plan is to replace the rail from the point that I removed the tunnel bottom plate, all the way to the end in the frame head. I made the pieces long enough on the tunnel side of the pieces to reach past most all of the rust damage. I will have to patch a couple of places where the damage extends upward past them, but these will cover almost all of the damage. I will weld these pieces in on both sides and ground them down on the outside, but leave the welds as is on the inside for strength. They will not be visible and I'm mainly interested in them being strong. I'm starting on the passenger side as it has the least amount of damage and is the least complicated.
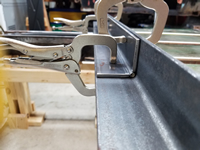
The first section took quite a while to do as I tried different things to figure out the best way to do this. I first laid out a replacement piece on top of the rail, marked the length, and cut 1/2 inch or so through the lip down into the tunnel. After that I cut across between those two cuts to remove the lip. I then placed the piece on the tunnel, lined it up with the existing lip on both ends of the cut-out, and clamped it in place. With it clamped, I then used the piece as a guide to cut through the tunnel. I now had a cut-out just a little larger than the size of the piece. I first held the piece in place for welding using panel clamps, but after just a few tacks across the joint, the panel clamps were locked in tight from the shrinkage of the metal when cooling and I could barely get them out. From that point on, I just used vise grip style clamps. The first three sections were pretty much the same and just involved determining and making the cuts and clamping and welding the pieces in.
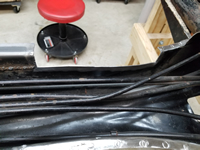
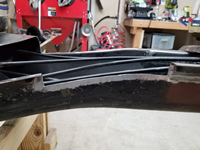
The fourth section on this side connects to a tube support bracket for the clutch tube, fuel line, and choke tube. I drilled a couple of spot weld holes in the piece to attach it to the support brace. Next, I will replace the same four sections on the driver side.
Repairing The Tunnel Rail – Driver Side
by Garage Weasel on May.22, 2021, under Chassis
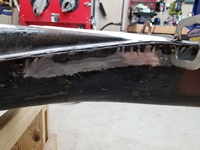
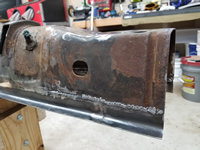
Now on to the driver side of the tunnel to replace the tunnel rail. This side is definitely the worst of the two sides. During the two decades that this car sat outside in the elements, water apparently pooled in the floor pans and there must have been water in higher volume and for a longer period of time on the driver side due to the damage. The tunnel on this side was rusted completely through to the inside in one area and this damage will be cut out on the first and second sections being replaced. In the first section, the cut-out for the piece did not extend high enough to include all of the damage, so I had to make two small patches. I welded them in first and ground down and dressed the welds. I then welded in the first section on both sides and ground down and dressed the welds on the outside.
Next I replaced the second and third sections. The third section had a little area that had a little pitting. Rather that patch it, I ground the area down to clean metal and filled it in with weld. I then welded the section in as usual.
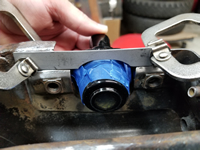
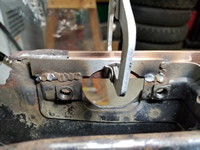
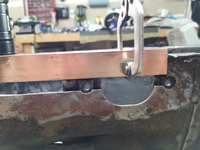
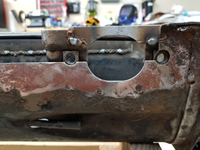
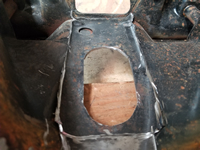
The fourth section includes metal that goes in front of the pedal cluster support plate. Part of that support plate was severely rust damaged, so I first cut out for the tunnel rail replacement piece and then cut it out and welded in a replacement piece on the support plate. I had to grind out an area on that new piece to allow for the pedal cluster mount to fit into the tunnel. I checked it with the already powder coated cluster mount and taped it with tape to protect it from scratches. Once satisfied with the clearance, I welded on the new piece. I used a copper bar behind it as I welded it to keep the weld from blowing out on the edges. I ground down the welds on the outside of the support plate and left the ones on the inside. I drilled holes in the tunnel rail replacement piece to weld to the support plate and then welded the fourth section in. I left the area covering the hole for the pedal cluster mount for now.
With the fourth section welded in and the welds ground down and dressed on the outside, I now had four feet of tunnel rail replaced on both sides. Next up is to continue and finish the tunnel rail replacement through the frame head and up to the frame head front plate.
Completing The Tunnel Rail Repair
by Garage Weasel on May.27, 2021, under Chassis
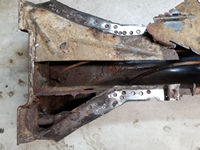
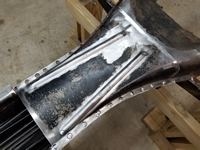
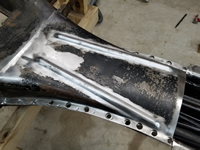
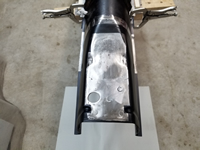
Before I can continue replacing the rest of the tunnel rail, I need to patch a rusted out area on the driver side under where the Napoleon hat mounts. This damage also extends to the metal in front of the pedal cluster support plate. Rather than make a patch, I cut a section out of the tunnel from the first donor frame head. This matched perfectly. I cut out the tunnel to match the patch, drilled out several spot weld holes for the support plate, and welded the patch in on both sides. I then ground down and dressed the welds on the outside of the tunnel.
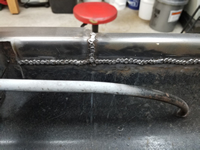
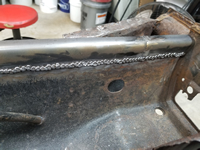
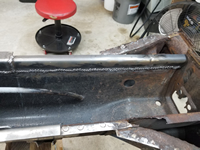
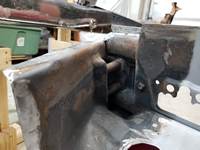
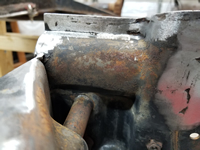
On the passenger side, I cut out the rest of the tunnel rail out up to the front plate of the frame head. With that area cut out, you can really see the severe rust damage on the frame head. This section is longer than the frame rail pieces that I made, so I had to use part of another one and weld them together. Then I welded the piece in completely on the inside and as much as I could access on the outside. With the frame head in the way, I could only get to about 2/3 of it. I will complete the rest of outside welds when the frame head is removed. I ground down and dressed the welds on the outside on the short section from the last section welded in up to the frame head.
This section of the driver side is shorter than the frame rail pieces that I made, due to the patch under the Napoleon hat and I was able to use the leftover piece from the passenger side. The cut-out on this section also exposes the rust damage to the frame head on this side. Just like on the passenger side, I welded this section completely on the inside of the tunnel and what was accessible on the outside. I will complete the outside as well once the frame head is removed. I also cut out the rest of the hole for the pedal cluster. I had a real sense of accomplishment with getting these 10' of tunnel rail replaced. I have once more section to replace on the curved portion of the driver side, but that will be in another post.
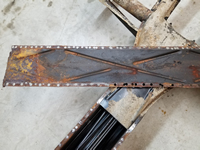
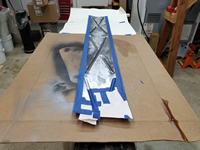
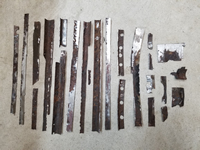
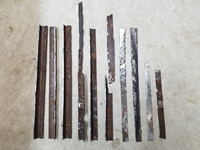
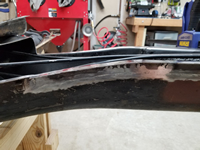
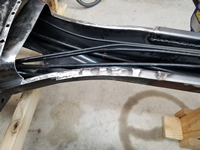
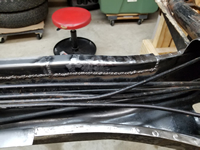
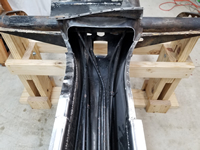
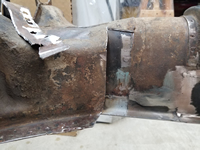
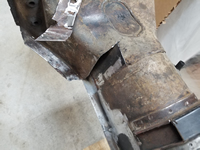
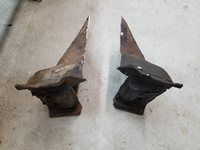
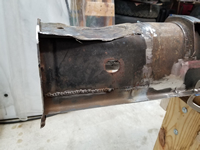
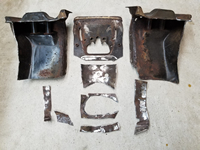
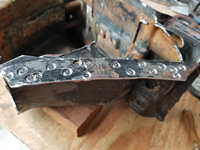
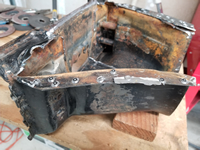
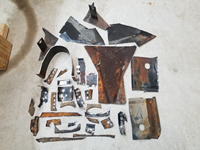
Below are pictures most of the metal cut out to replace the tunnel rail on both sides. I did use some of the better metal to make a couple of patches, this is the bulk of it. Since I took these pictures later, there are pieces included of the curved section that I cut out on the driver side.
Removing/Repairing Additional Tunnel Bottom Plate Section
by Garage Weasel on May.31, 2021, under Chassis
I thought long and hard about removing this additional section of the tunnel bottom plate. I knew it would be a lot more work, but finally decided that I needed to for 2 reasons. The first reason is that I need to replace some more tunnel rail on the driver side. The problem with replacing this section is that it both curves out and down and is way more complicated than the straight sections I already replaced. The second reason is that this section is dented in and I have not come up with a valid method of removing those dents without removing it. I thought about using a slide hammer, but I don't think that I could do a satisfactory job that way. So out came the angle grinder with a cut-off wheel and the spot weld cutter. After cutting out 25 spot welds and one foot-long cut across the tunnel, this section has been removed.
I first tackled the dented areas. The dents were mainly in the raised ridges, so I thought that if I could raise these back up and get them straight again that maybe that would bring the surrounding metal back up with it. I used a body panel hammer with a wide, narrow tip, a big rawhide hammer, and a 4" x 4" scrap of wood to use as an anvil and hammered them back straight. This brought the flat areas around them back up as well. This actually turned out better than I had hoped. Next, the hard part.
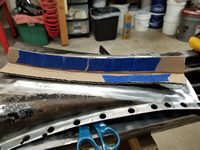
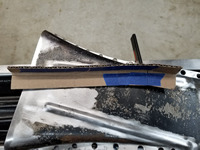
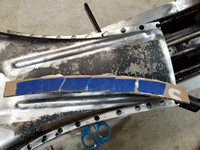
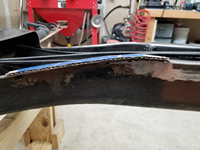
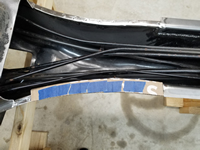
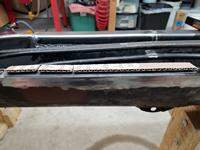
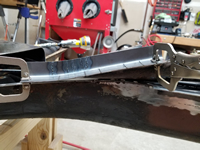
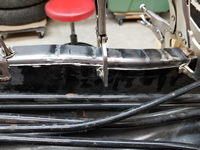
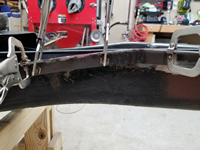
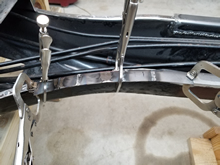
I cut a pattern out of cardboard that was the same size as the rail replacement that I was going to use and bent it to match. Then I cut slits in the cardboard so that I could bend it to match the contour of the tunnel rail area. Each time I got the correct bend, I would tape over the cut to hold it in place. I continued this until I had the pattern matching the tunnel. When I was satisfied with the shape, I removed the tape and laid the pattern over the rail replacement. Each place that there was a slit in the cardboard, I scribed a line on the piece to mark where I needed to cut slits in it. I cut the slits one at a time, bent it, checked the fit, and then tack-welded the slit to hold it in place. I did this for all of the cuts. Of course, the welding process distorted the shape a little and I had to re-cut and adjust it a little. I did finally get it to match fairly well.
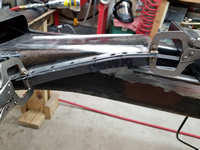
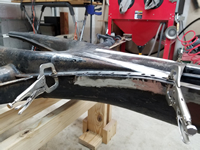
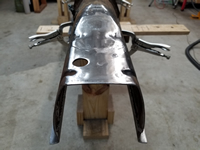
With the replacement part now ready, I cut the lip off of the tunnel so that I could match up the top flanges and know where to cut the out the rest of the tunnel to match the replacement. I clamped it to the tunnel and used the edge as a guide for the cut-off disk just like I did with the straight areas. I used smaller cut-off wheels so that I could make the curved cut without cutting out too much. I welded it in on both sides and then ground down and dressed the welds on the outside. I placed the bottom plate section on and checked the fit. Some of the spot welds that I cut out were really far in from the edge and miss the lip of the rail. I will probably fill those area in while the plate is still off of the tunnel as that will be much easier when I can get to both sides of the plate and I can also clamp a copper bar behind it and fill them in.
Repairing Straight Section of Tunnel Bottom Plate
by Garage Weasel on Jun.02, 2021, under Chassis
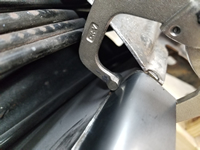
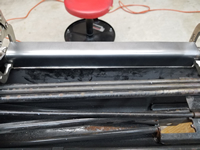
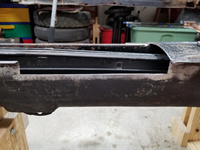
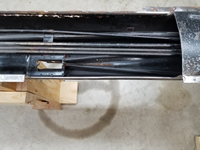
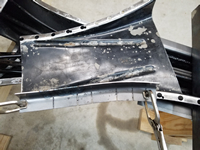
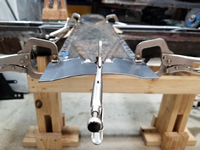
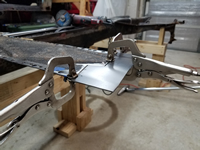
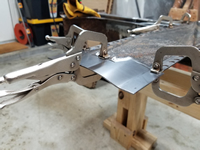
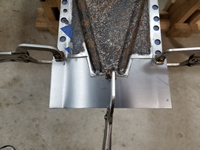
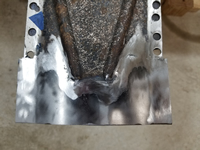
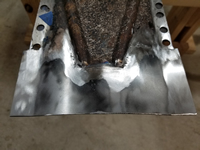
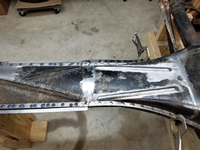
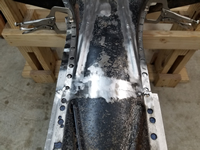
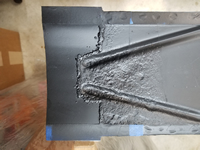
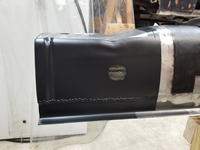
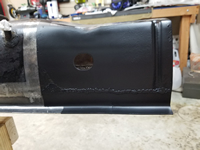
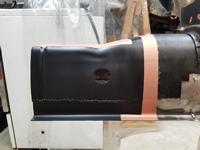
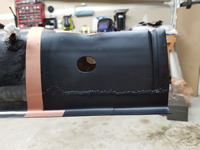
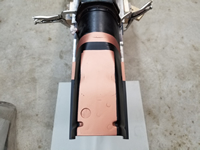
On the frame head end of the tunnel bottom plate, there was severe rust damage and it was actually rusted through. The only way to repair this is to cut out the damaged area and weld a new piece in. As far as I know, there are no repair panels readily available. In fact, I only know of one source in Finland and I don't want to wait that long or spend that much for a complete panel as I really only need a few inches of it replaced. So I decided to just cut out as much of the flat areas out as necessary and retain the raised portions of it, which would be difficult to reproduce. I started with piece of 2mm plate that I had left over after making the piece for the tunnel rails. I used the jig that I made for the tunnel rails to hammer the straight crease on the sides where it is flat and bent the domed area basically by hand. I managed to get it to match closely to the tunnel bottom plate. It took quite a while and was very difficult to match the shape. Once I was satisfied with the shape, I cut the needed flat areas out of the tunnel plate and then cut the new repair piece to match it. It's a bit off in the pictures below, but I did adjust the fit to be more uniform throughout the joint. I welded it on both sides, ground down and dressed the welds on the outside of it. I will trim the excess width off of it later when fitting and welding the tunnel bottom plate back on the tunnel.
Welding The Tunnel Bottom Plates Together
by Garage Weasel on Jun.04, 2021, under Chassis
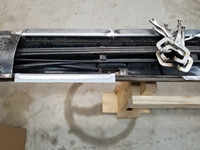
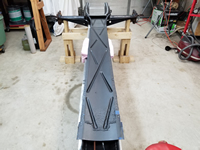
I decided to weld the straight section of the tunnel bottom plate to the additional bottom plate section that I removed and make them one piece. The reason is that I can get an overall better welded joint as I can weld on both sides. I did that and also added a connecting plate on the wide end. This helps to hold this end in place and also gives me an additional layer to weld to and strengthen that joint. I sprayed the connecting plate and the area under it on the bottom plate with U-POL Weld #2 Copper Weld Through Primer.
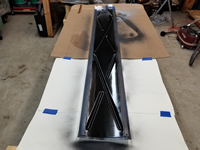
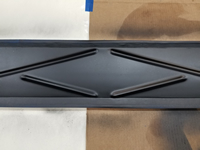
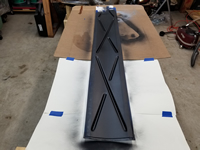
Next, I ground down the welds on the outside and then sprayed the inside areas that will not be welded on with Eastwood Matte Black Rust Encapsulator to seal and protect them.
After the rust encapsulator cured, I place the bottom plate back on the tunnel and then checked the fit of the frame head bottom plate with it. At least in this area, the frame head bottom plate fits well. In other areas, not so much. That's a problem for later.
Removing The Frame Head To Prepare for New Donor Replacement
by Garage Weasel on Jun.13, 2021, under Chassis
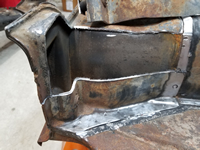
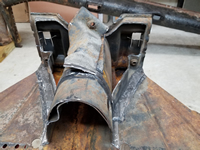
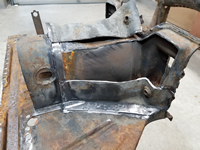
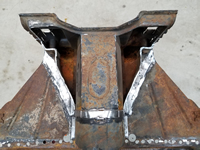
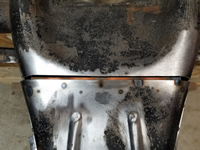
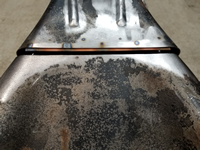
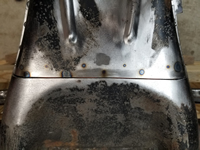
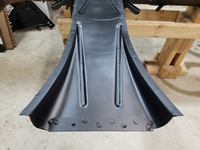
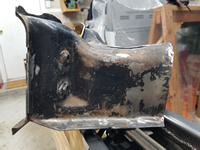
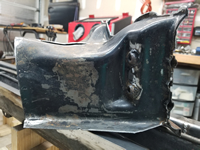
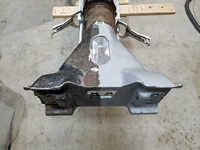
Time to remove the frame head and prepare the tunnel for the new donor frame head section. The original frame head is just too rusted on the bottom inch or so and is super thin and pitted. From the top, it doesn't look that bad. But an examination of the bottom sections shows severe rust damage. For a long time I considered just cutting out the bottom areas and welding in sections from a solid frame head, but finally realized that if I had a solid one or the relavant part of one, I should replace the bulk of it and have a stronger frame head overall. Here are examples of the rust damage:
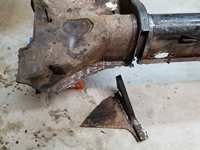
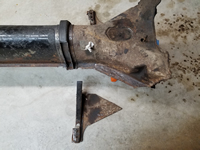
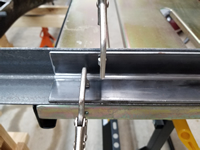
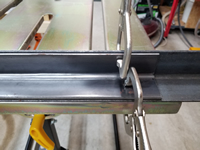
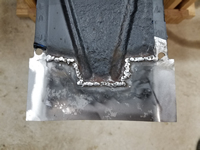
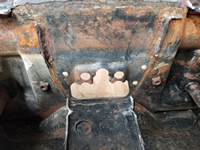
I started removing the old frame head piece by grinding down the spot welds where it wraps around the tunnel. Once the spot welds were ground down, I cut through the frame head so that I could peel the metal back and then off. I did this on both sides and then cut through the area on top of the tunnel where it was seam welded. Next, I cut through the top toward the front plate and then down through the front plate to remove the areas on the sides to expose the tunnel. Big chunks were removed this way and this just leaves the piece on the top and the middle of the front plate. I then ground through the front plate where it is welded and removed it. Lastly, I ground through the oval-shaped seam weld on the top piece and then used a spot weld cutter to remove the 5 spot welds as well. These spot welds are in an X pattern. I also included a picture of all the items removed below.
I cleaned up the areas where the frame head was welded to the tunnel, but still need to complete the seam welds on the outside of the tunnel where I couldn't access them due to the frame head covering them up. I just feel better having it welded on both sides. I will ground them down where the new frame head will contact the tunnel. On the passenger side of the tunnel there is one area that is a little pitted and instead of cutting it out and patching it, I will remove the rust and build the area up with weld. It's not quite bad enough to cut out and replace.
I finished the welds on the outside of the tunnel and ground them down where the frame head contacts the tunnel. And then I wire-wheeled the ouside of the tunnel to remove any paint and rust, wiped it down with a degreaser, and then sprayed the areas that are not going to be welded with Eastwood Matte Black Rust Encapsulator. These areas are going to be hard to get to and protect once the frame head is welded on and I want to make sure that they are protected and sealed. The areas that are going to be welded were sprayed with U-POL Weld #2 Copper Weld Through Primer. It's now ready for the new frame head!
Disassembling, Preparing, and Welding On Donor Frame Head #2
by Garage Weasel on Jun.25, 2021, under Chassis
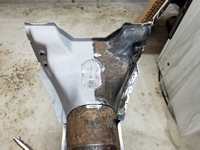
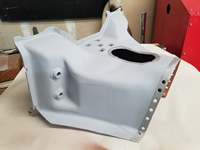
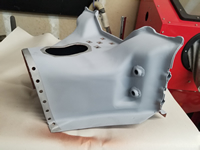
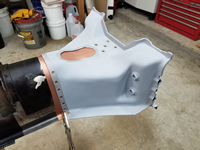
Over time, I realized that the first donor frame head was just too different to use on my chassis. It is from a 1965 and is a slightly different design than mine. It's close, but I would have to alter the pieces of it I intended to use too much and would make the replacement more complicated than it needed to be. I found a really solid 1963 one for sale in thesamba.com classified ads and purchased it. It was an exact match. It arrived in great condition and was very well packaged for protection from shipping damage. In fact, it was by far the best packing job I've ever seen. These are the pictures that I received from the seller before I purchased it:
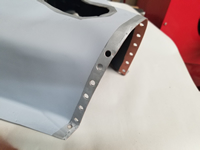
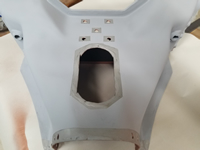
After much consideration, I decided to use the outer portion and front plate of this frame head and removed the tunnel and bottom plate portions. I removed large areas of both to make it easier to remove the areas that were spot and seam welded. I included a picture below that shows all the pieces that had to be removed.
Here's what it looked like after everything was removed:
I then cleaned it in the parts cleaner, briefly soaked it in rust remover to loosen up the rust, and then lightly sandblasted half of it just to see what it would look like. I was very pleased! It is very solid metal with only a slight bit of pitting. Overall, it is a much better thickness of metal than an aftermarket part and almost identical to my original.
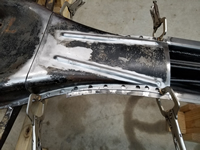
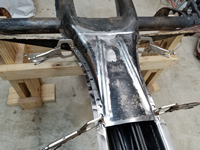
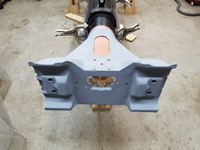
I placed the new part on the tunnel to check the fit and was surprised how well it fit. On the top, it fit very well and was sprung outward on the bottom sides a little, but was easily clamped down for a very snug fit all around.
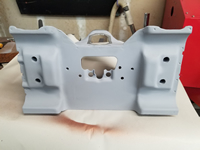
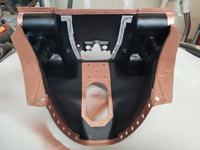
Next, I sandblasted the entire part, sprayed primer on the outside of it, masked off and sprayed U-POL Weld #2 Copper Weld Through Primer on the inside areas that are going to be welded, and sprayed Eastwood Matte Black Rust Encapsulator on all other areas on the inside that are not going to be welded.
One final check of the fit before welding on.
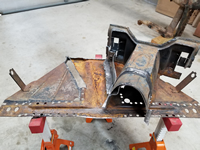
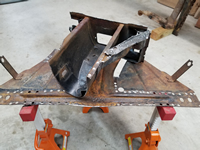
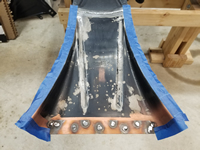
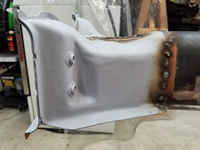
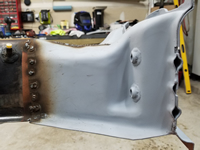
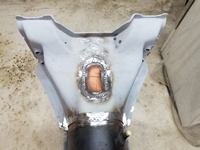
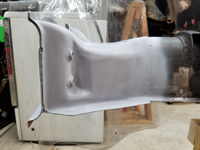
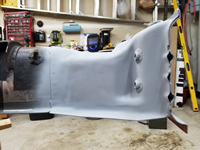
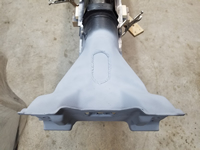
Welding time! I welded the donor frame head part on and dressed the welds. Most of them will be covered by seam sealer, so appearance isn't all that critical. After many years just thinking about how I has going to accomplish this, this part is finally done. If I can give one piece of advice to anyone out there doing a restoration - just get started and don't be afraid to make mistakes. You will likely make mistakes, but at least you are making progress. Half of the challenge is undoing what you've messed up. Progress beats procrastination every time.
I sprayed some primer over the bare areas that were just welded to protect it until I start to prep for paint. Now it's time to flip it back over to install the new fuel line and to weld the bottom plates on the new frame head and the tunnel.
A Little Rust Treatment On The Chassis
by Garage Weasel on Jun.29, 2021, under Chassis
Before I flip the chassis over to weld on the bottom plates and replace the fuel line, I decided to treat some of the rust on the forked rear area. I used steel brushes in my drill to remove the loose rust, wiped the areas down with a degreaser, and then sprayed the areas with Eastwood Rust Converter. It's actually still curing and wet in the below pictures. This product seals in rust and will protect it until I get to prepping for paint. I didn't do the shock arms just yet as I need to purchase different steel brushes that will get into the recesses better than what I currently have. I also didn't do much with the cross member/floor pan supports as they will be replaced with the floor pans. I just sprayed the rust converter on it without removing loose rust.
Once the rust encapsulator cured, I flipped the chassis over and treated the same areas on the bottom side as well as the tunnel bottom plate. I masked off the areas where I will be welding. It is very pleasing to see the bulk of the chassis cleaned up and uniform in finish. I had a little feeling of accomplishment with this done. I did go back after taking the pictures and spray rust encapsulator on the cross member/floor pan supports.
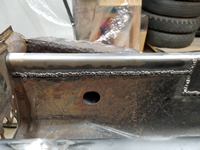
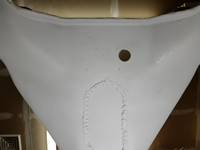
I also remembered that I needed to drill a hole in the frame head for the fuel line to exit through. The 1963 frame head replacement didn't have the hole on top in the same location as the 1960 models. It had a hole inside the oval area on top. From here, it connects to the fuel tank. For reference, it is a 15mm hole.
Replacing The Fuel Line In The Chassis
by Garage Weasel on Jul.01, 2021, under Chassis
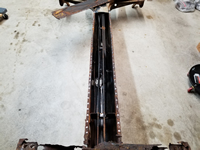
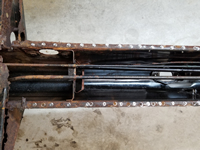
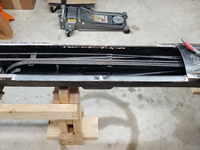
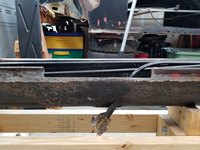
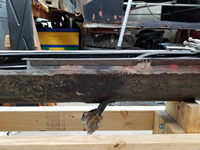
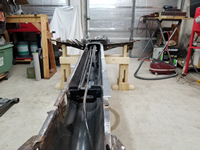
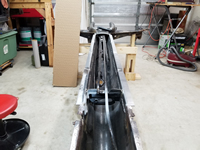
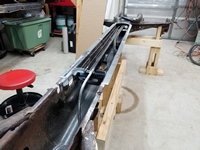
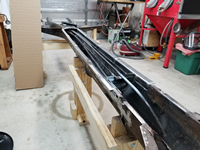
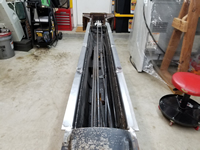
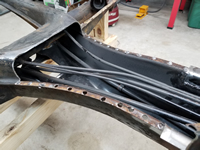
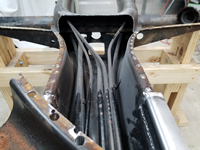
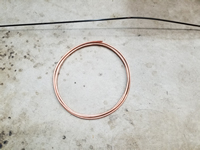
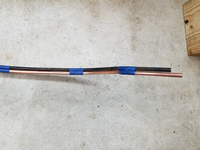
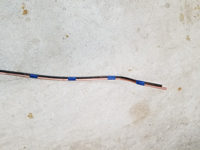
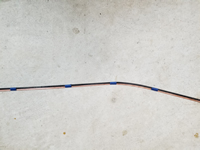
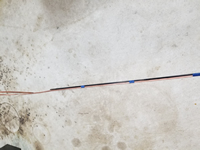
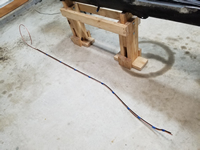
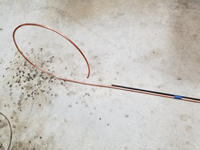
I purchased a 10' coil of 6mm OD (4mm ID) tubing to replace the original fuel line that runs through the chassis. It was corroded and damaged inside the tunnel and needed to be replaced. I used the original line as a pattern to bend it to the proper shape to fit. It was quite a challenge to make something coiled up match something that had mostly straight runs. I started on one end and once I had around 8" of a section matching, I taped it to the pattern and continued that until I got to the end of the old line. I had previously cut the frame head end of the line off to make it easier to repair this end of the tunnel, so I didn't have a pattern to follow for the rest of it. I used an old picture as a reference to determine the original shape. The bends here have to be clear of the installation and removal of the shift rod that goes from the shift lever to the transmission. Before I weld the bottom plates back on and close up the tunnel, I will have to check that the shift rod can be easily installed and removed. When I removed it when disassembling the chassis, it was very difficult to remove. I'm not sure why.
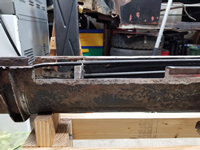
The original line was crimped into the spacers that mount the various tubes inside the tunnel. The only way to remove it was to to cut off the part of the spacers that were holding it. Fortunately, it was on the end of each of the three spacers and was easily cut off. I made new holders and then drilled and tapped them so that I could mount them to the spacers. I crimped the holders down until they were snug and will later put some rubberized caulking on them to keep the tube from rattling in the holders. I also put Loctite on the screws securing the holders to the spacers. I put silicone tubing over the last foot or so of the line where it feeds through the forked area to keep it from rattling where it contacts another tube and the inside of the fork. I then fished a copper wire through the fork into the tunnel and then taped it to the line so that I could pull it through the fork.
Note: When done, I had 18" left over from this 10' copper coil.
