Tag: bottom plate
New Donor Frame Head
by Garage Weasel on May.14, 2018, under Chassis
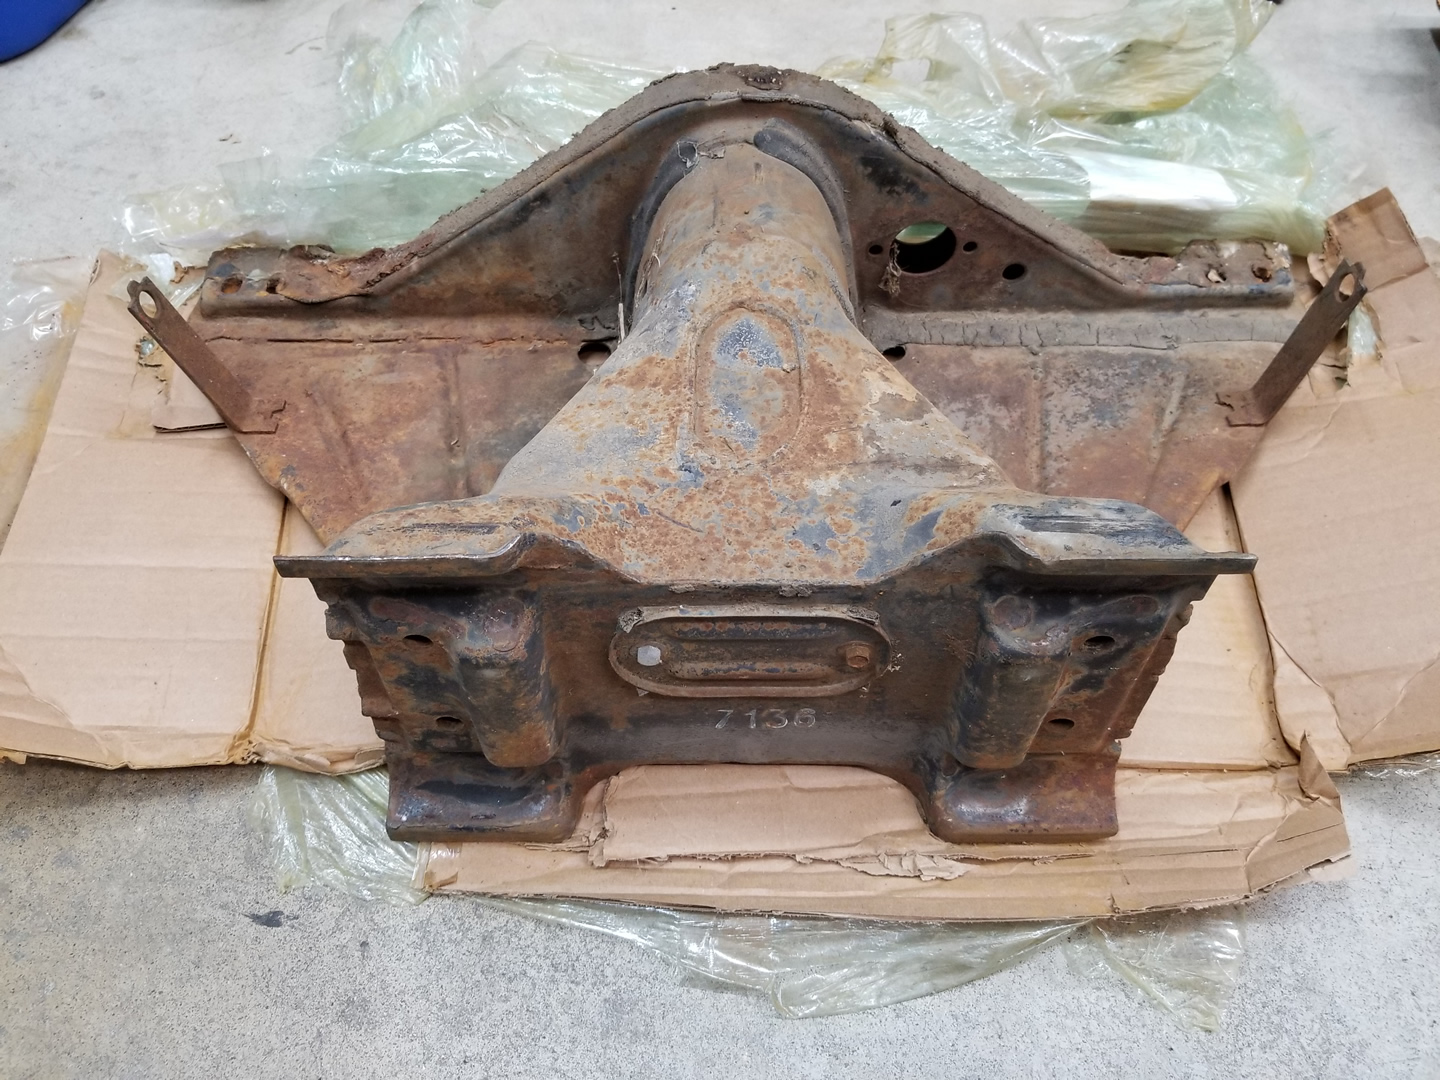
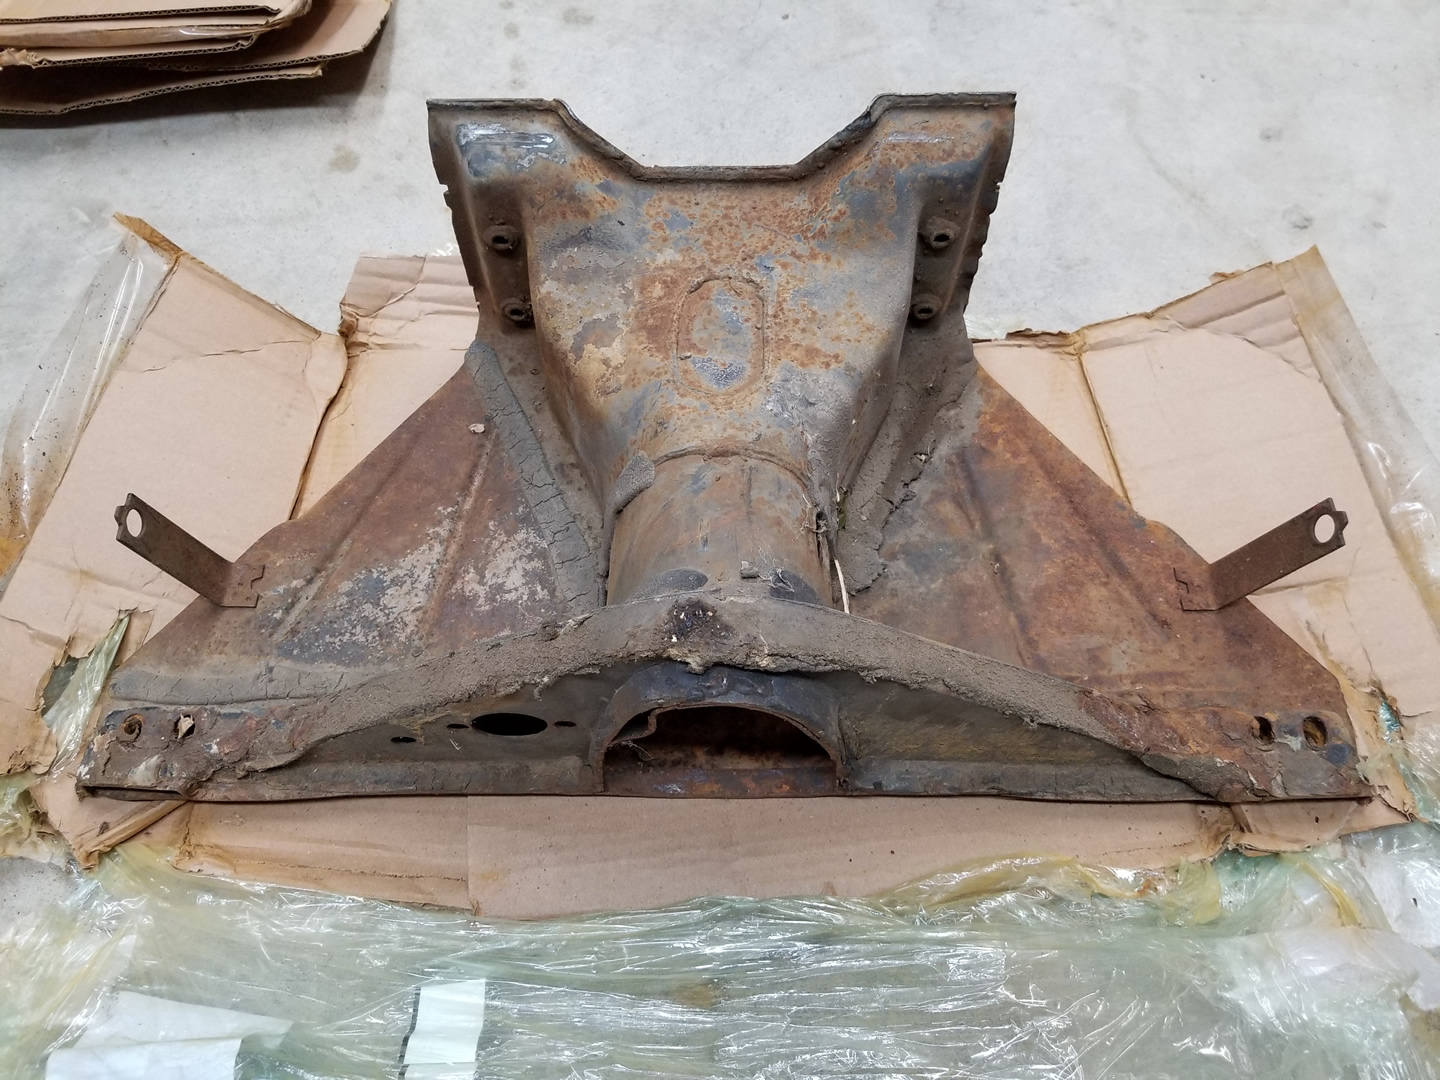
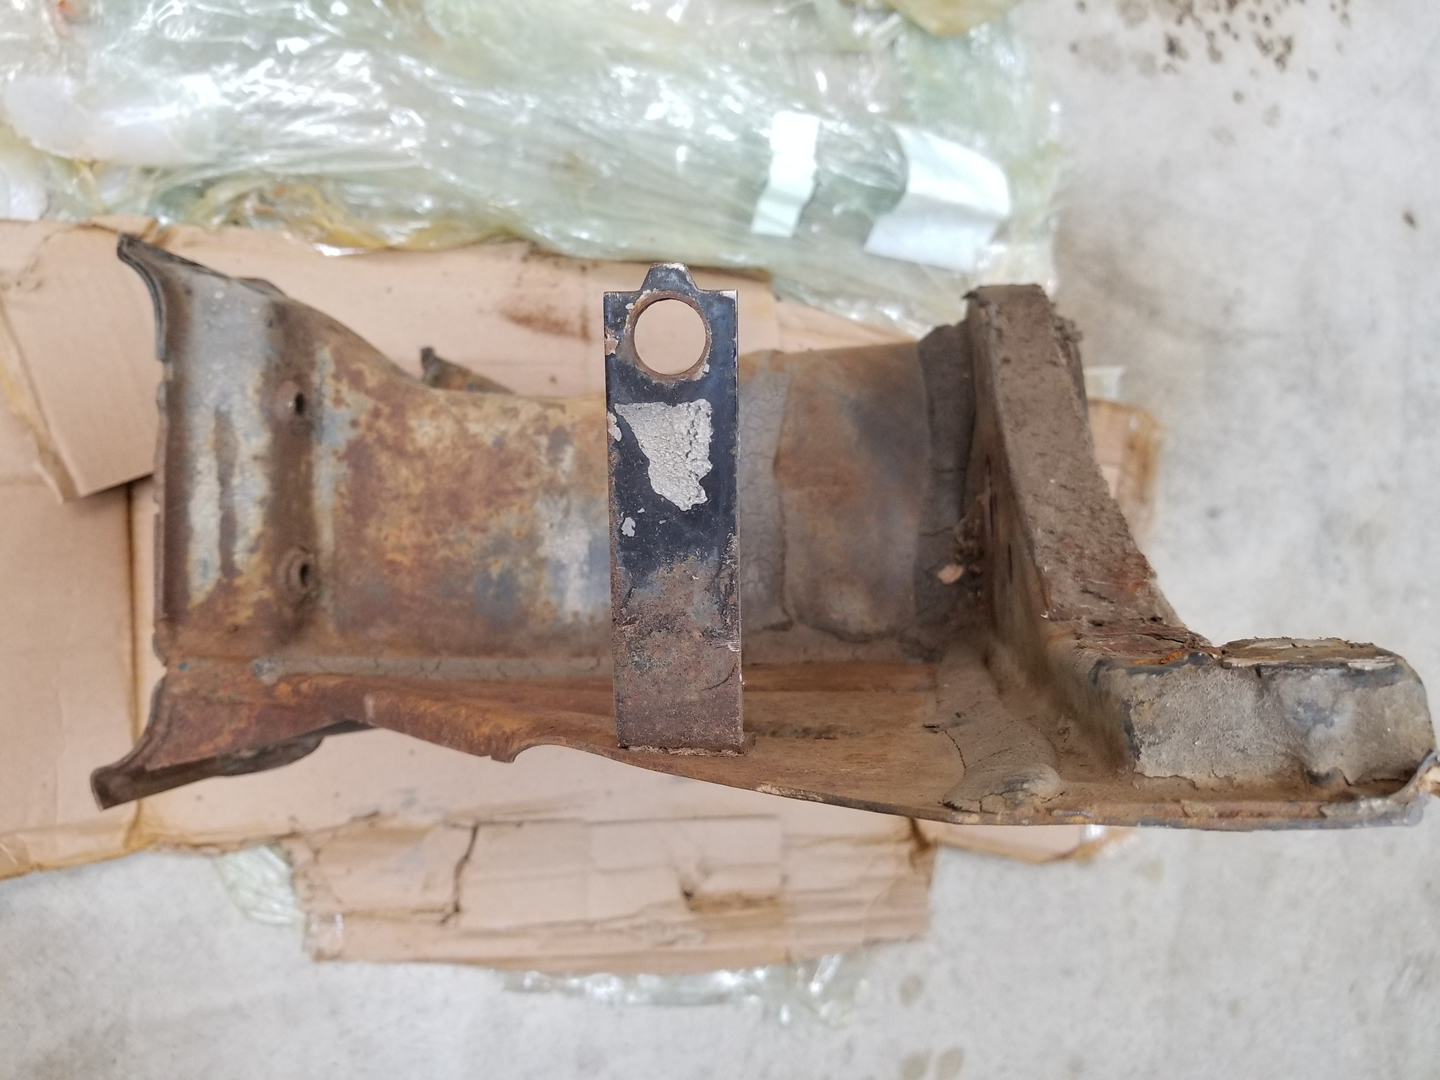
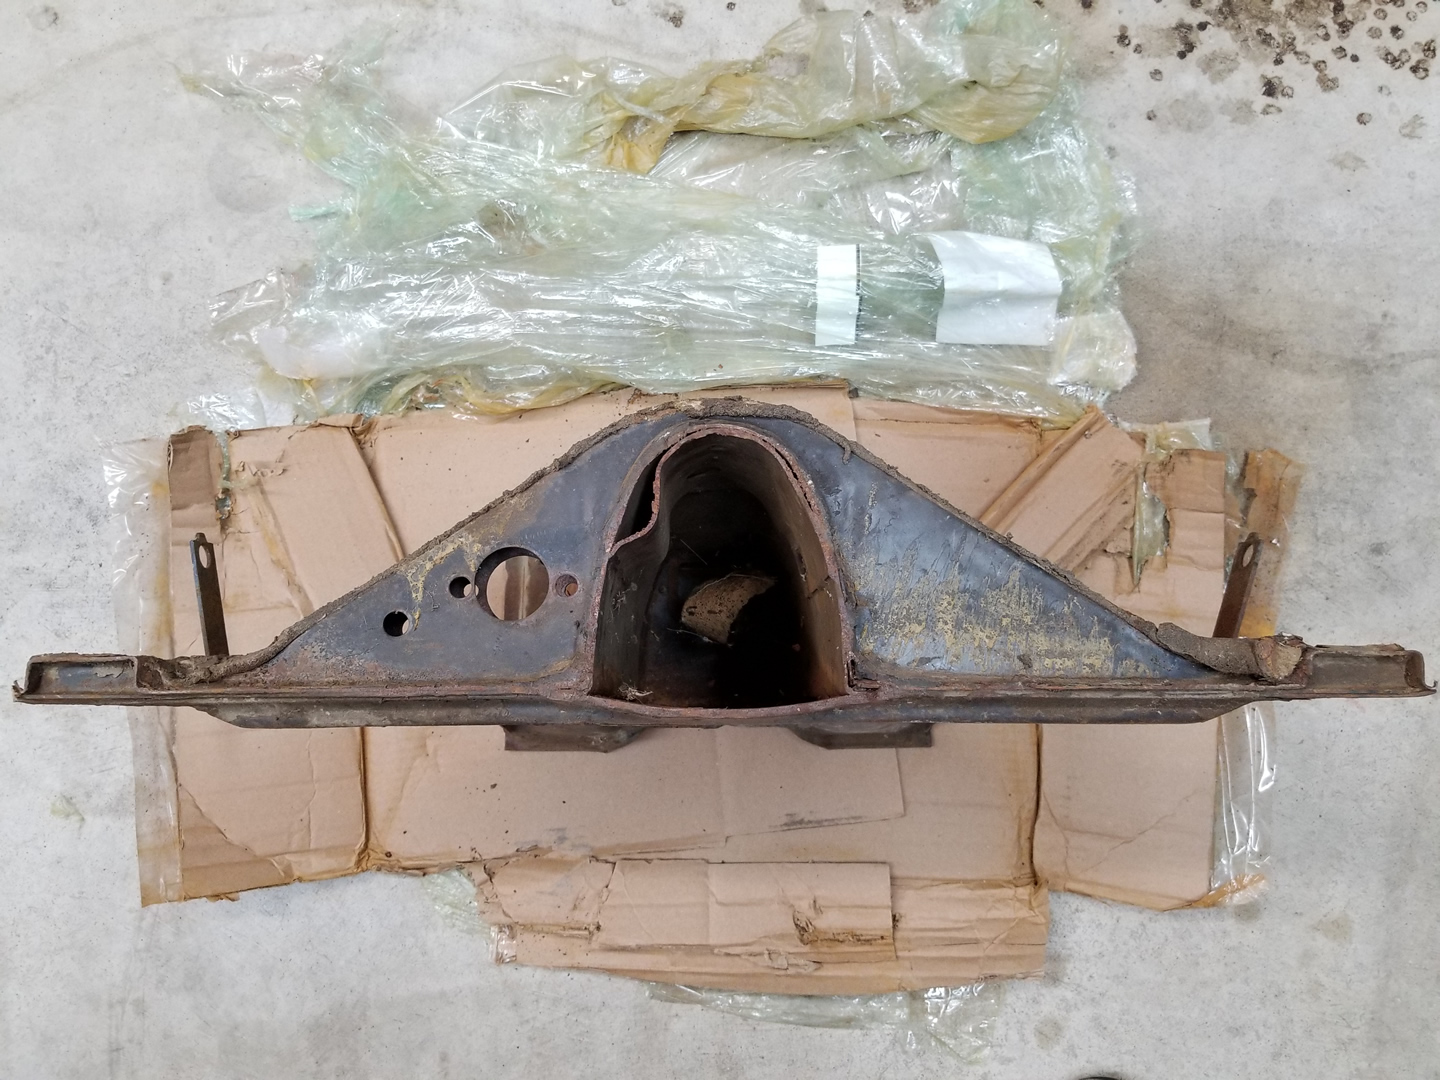
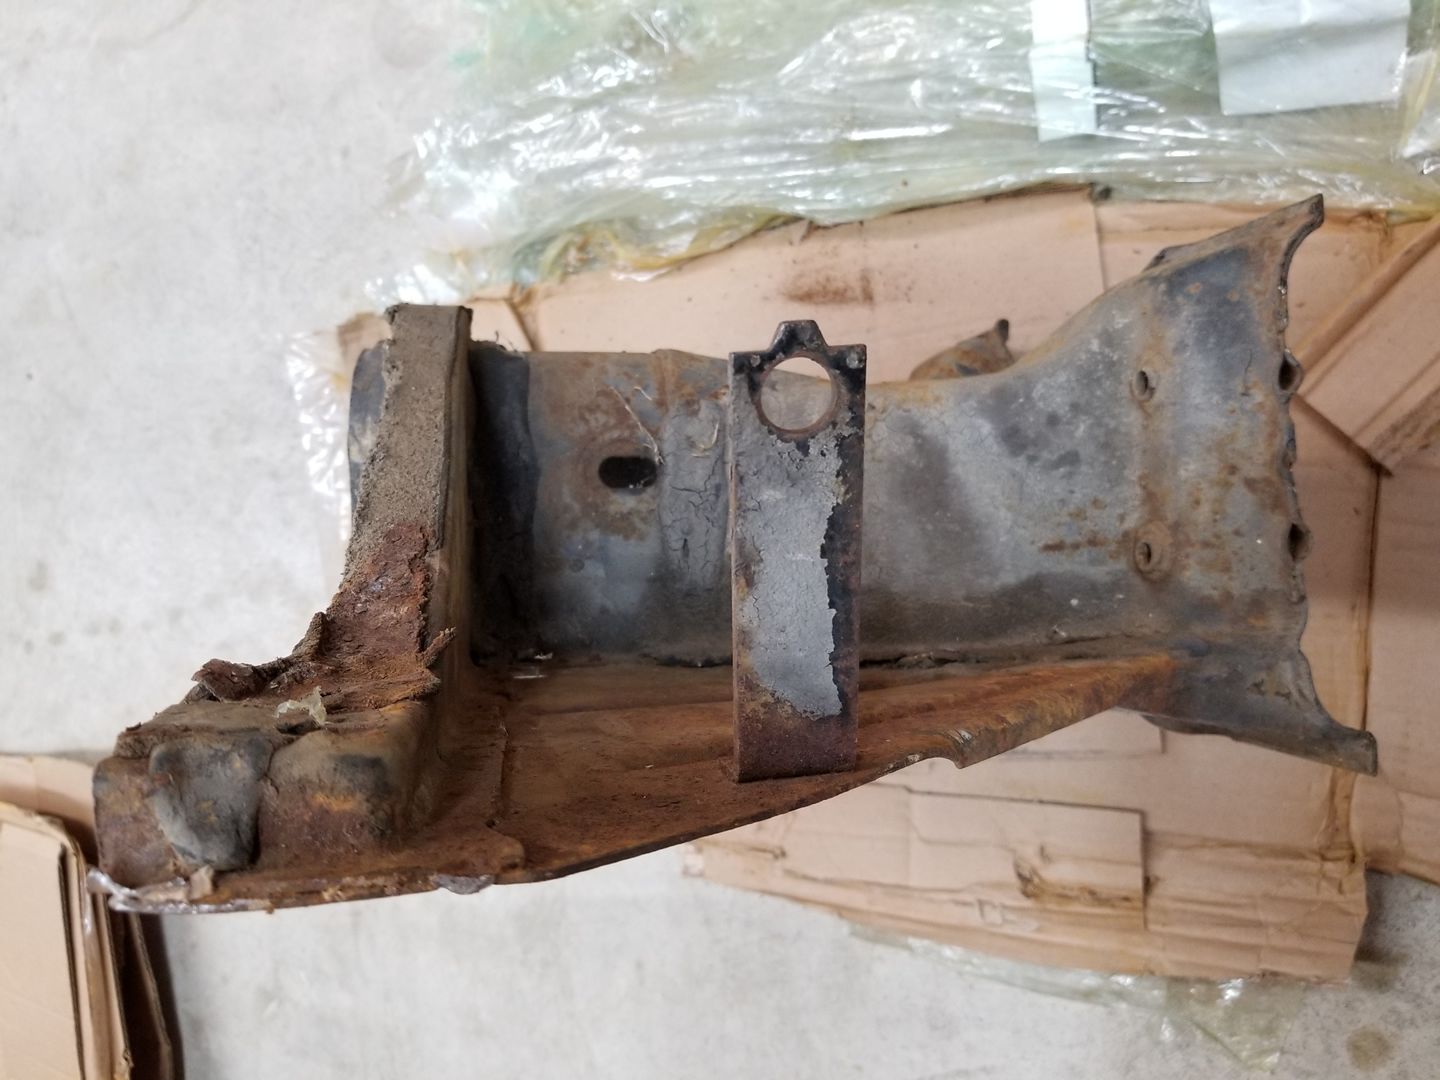
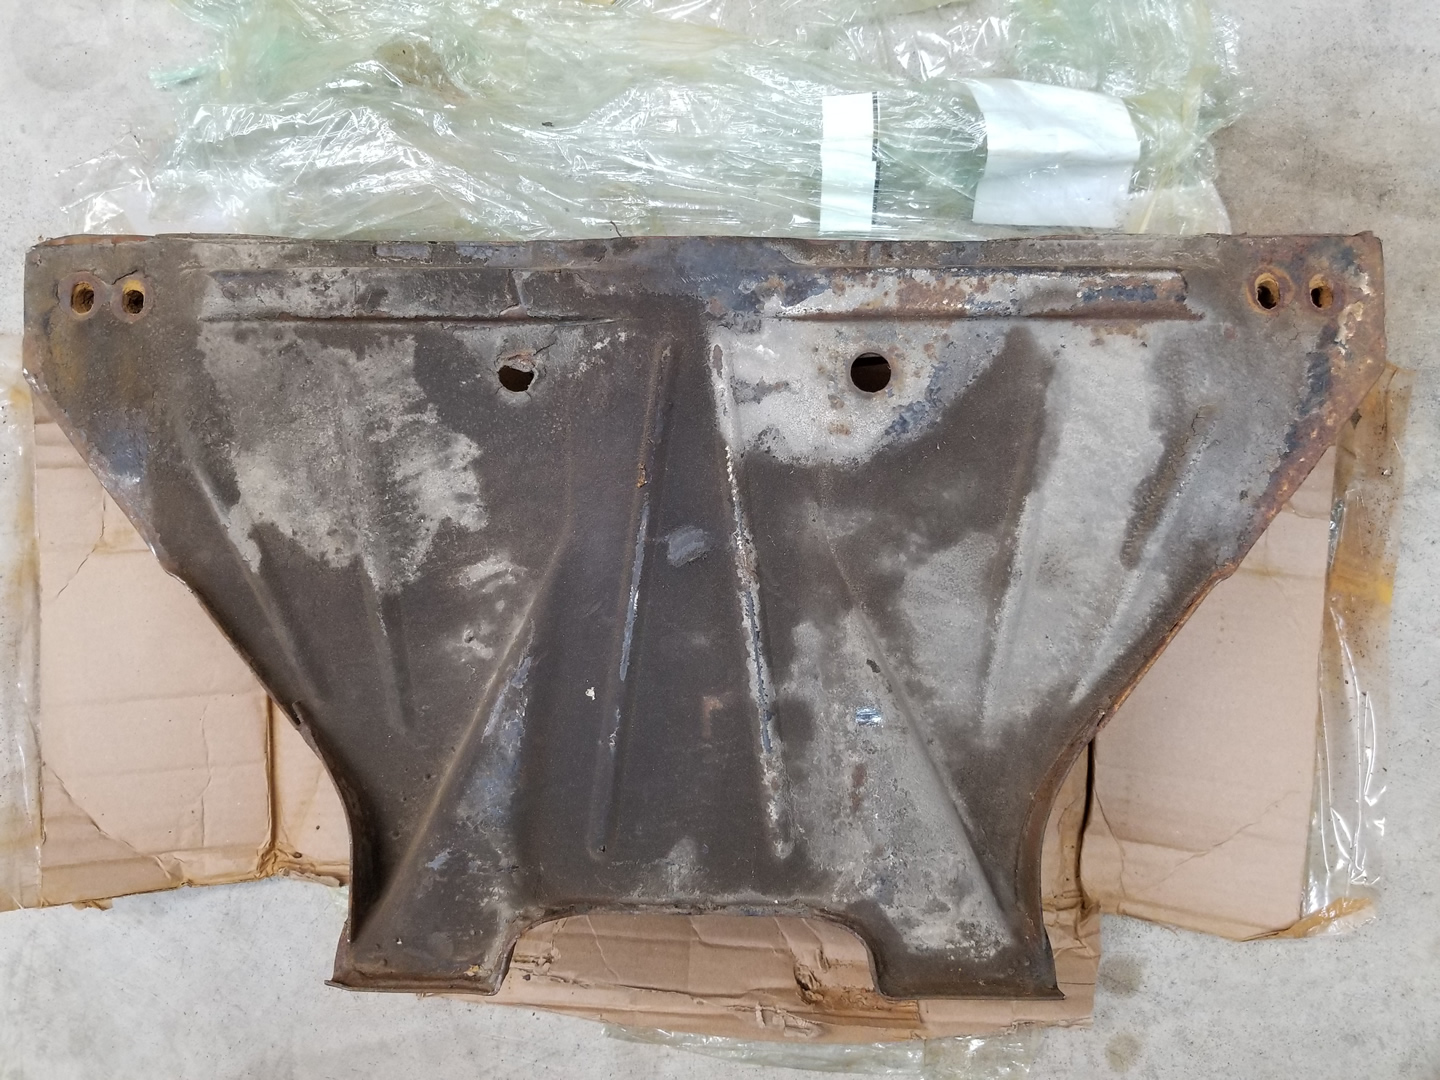
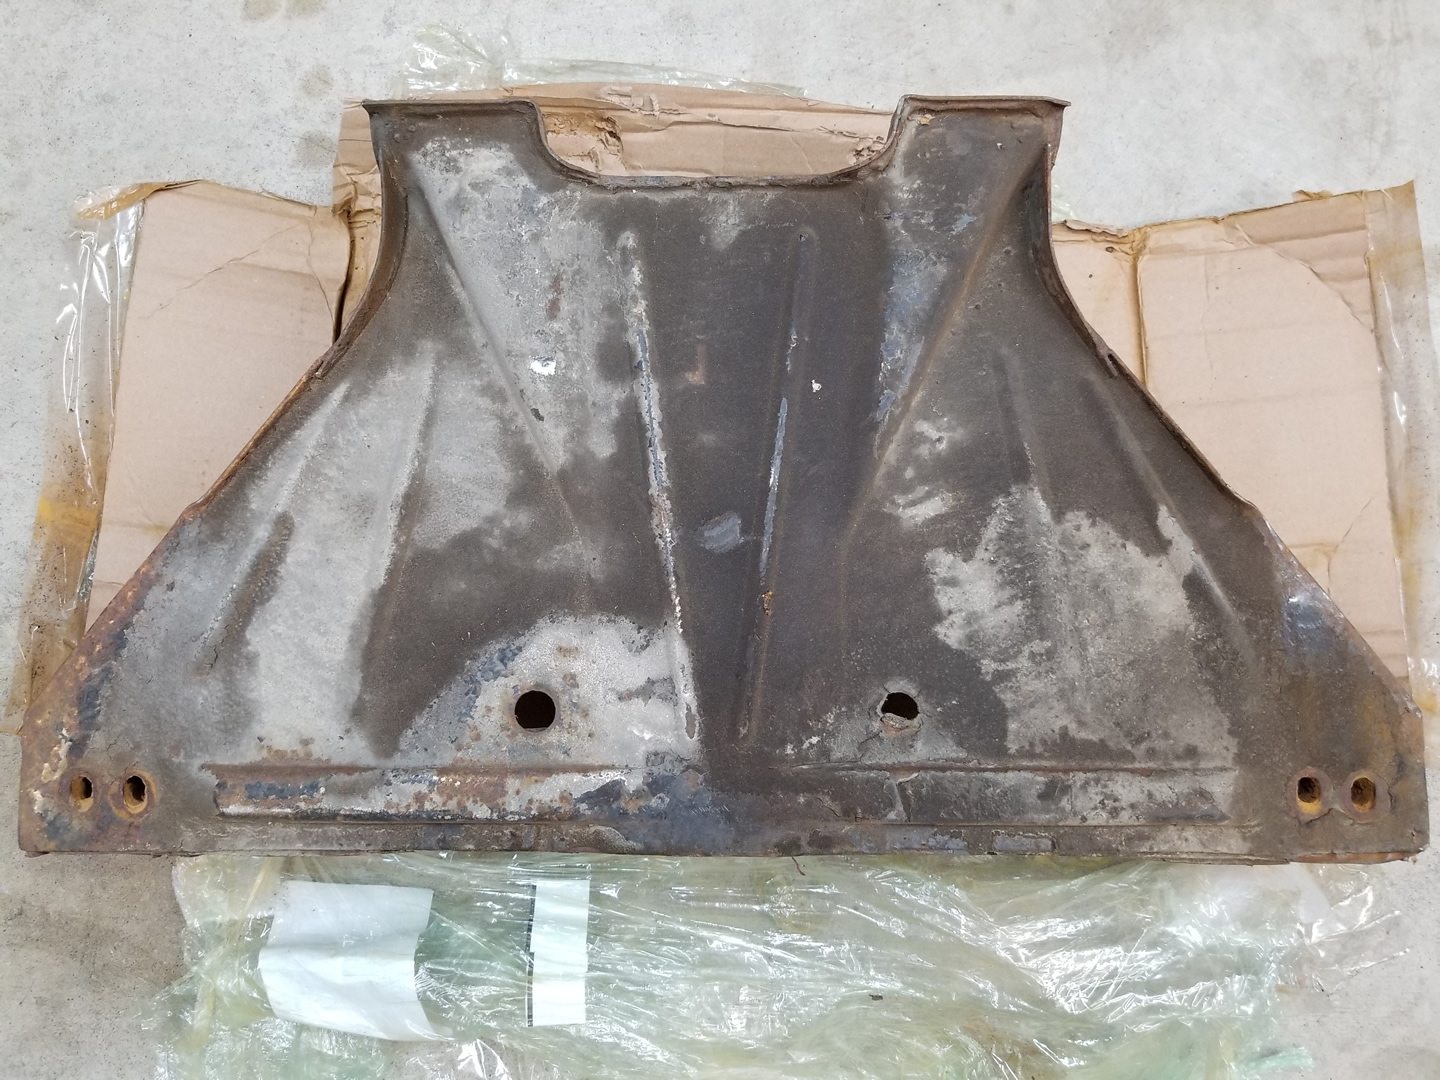
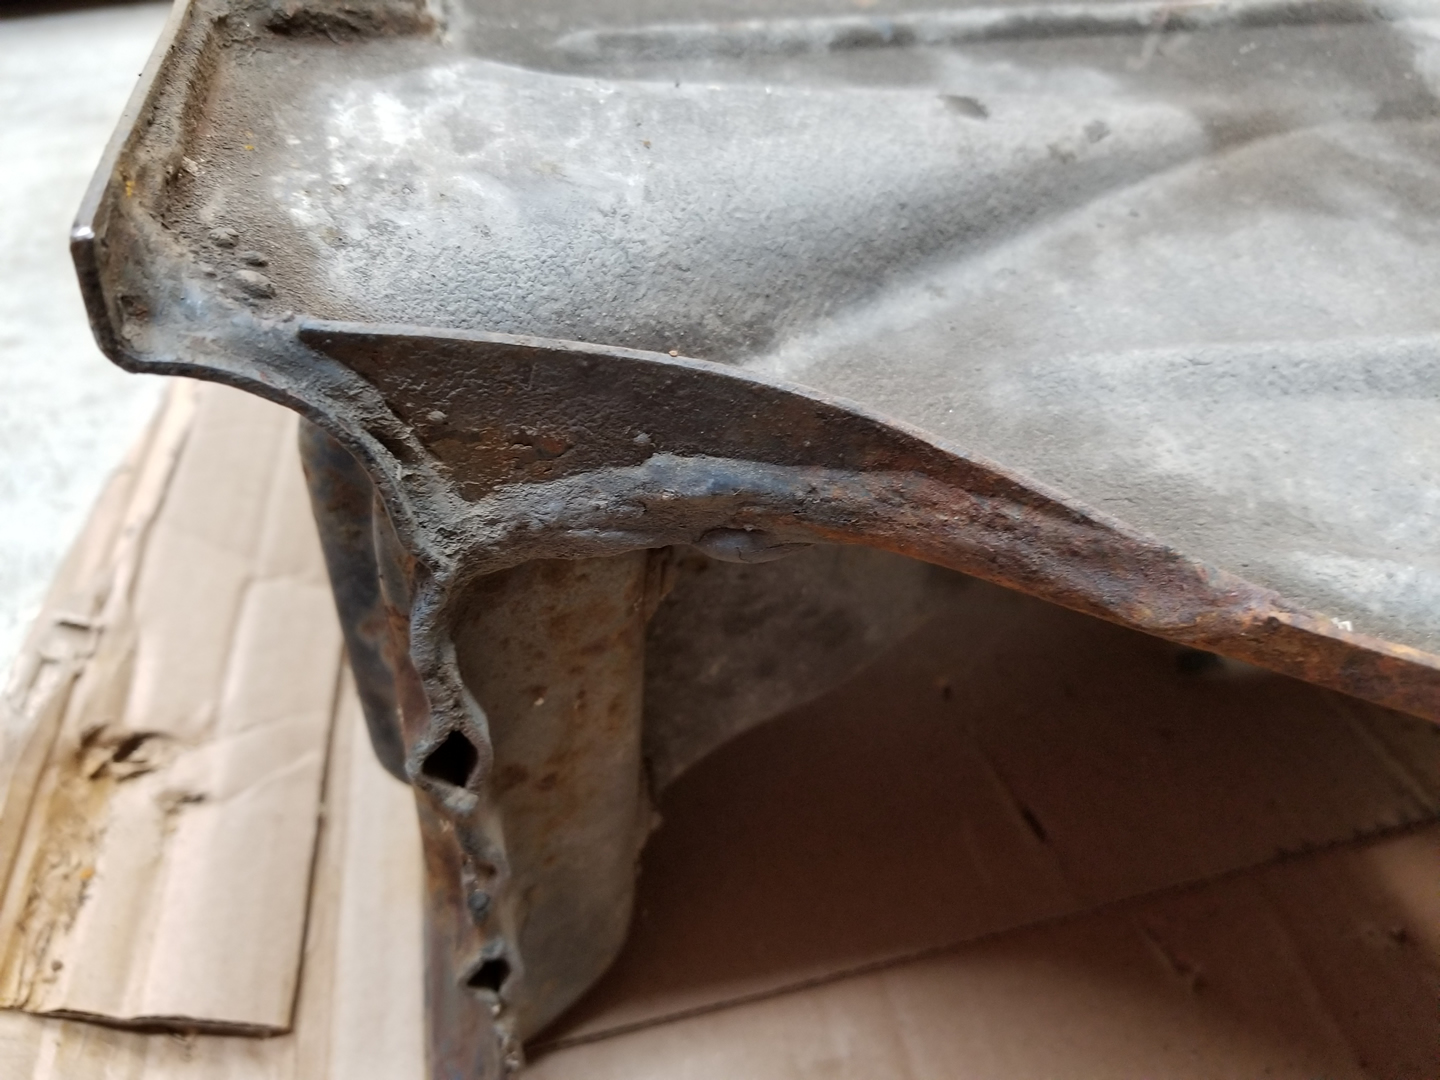
I found a great deal on a 1965 donor frame head assembly in the classified ads at www.thesamba.com and just had to buy it. It included the frame head and Napoleon hat and was $75 + $50 shipping. It was shipped by placing two boxes over it, taping them together, and then wrapping it with stretch wrap. Nothing was placed inside to protect it, so it was of course a little banged up when it arrived. Nothing too serious, but I just don't understand the poor packaging job. I guess I should be accustomed to it by now as everything I have ever bought like this from California has just been thrown in a box and shipped with absolutely no protection. I've requested proper packaging, offered to pay more for it, and been told that it would be, but have yet to have something arrive that way. Overall, I am pleased with the condition of the donor part and am considering using the Napoleon hat and possibly the bottom plate. The bottom plate is quite a bit different than the original, but appears to be in good condition and is constructed of the thick, original German metal. I can't purchase one that would be a closer match that is going to be in the same condition and as heavy-duty. It will be a lot of work getting the Napoleon hat and bottom plate off, but it will hopefully be worth the effort.
|
|

|

|

|
|
|
|
|
|
|
Removing Brake Hose Bracket On Replacement Frame Head Bottom Plate
by Garage Weasel on Jul.05, 2021, under Chassis
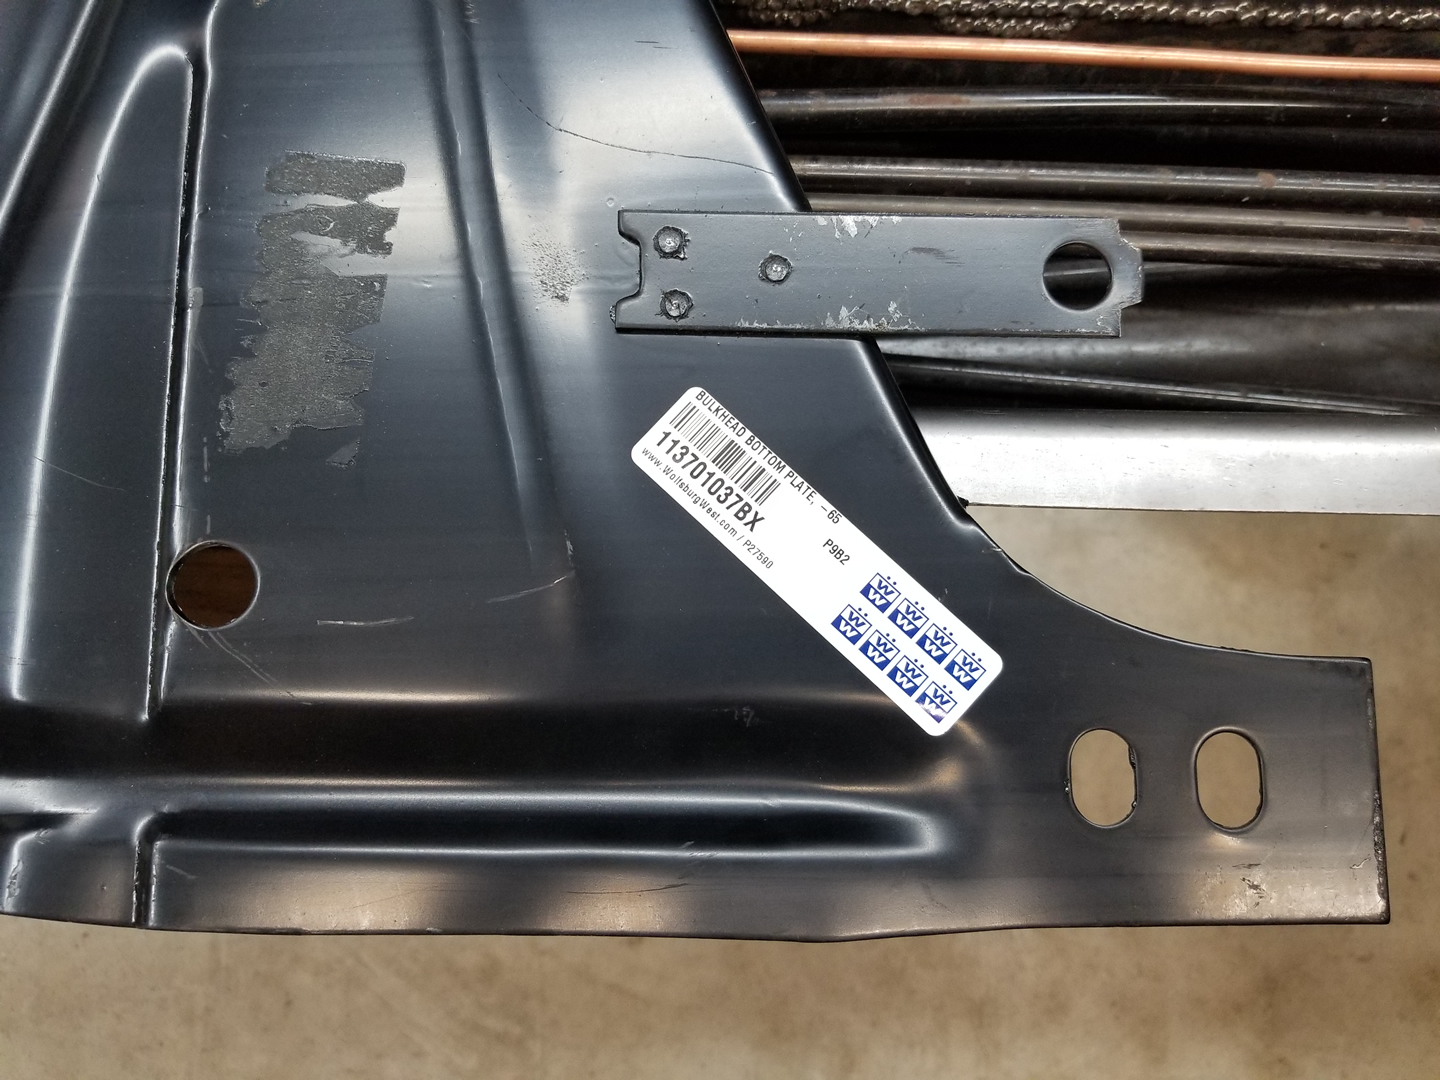
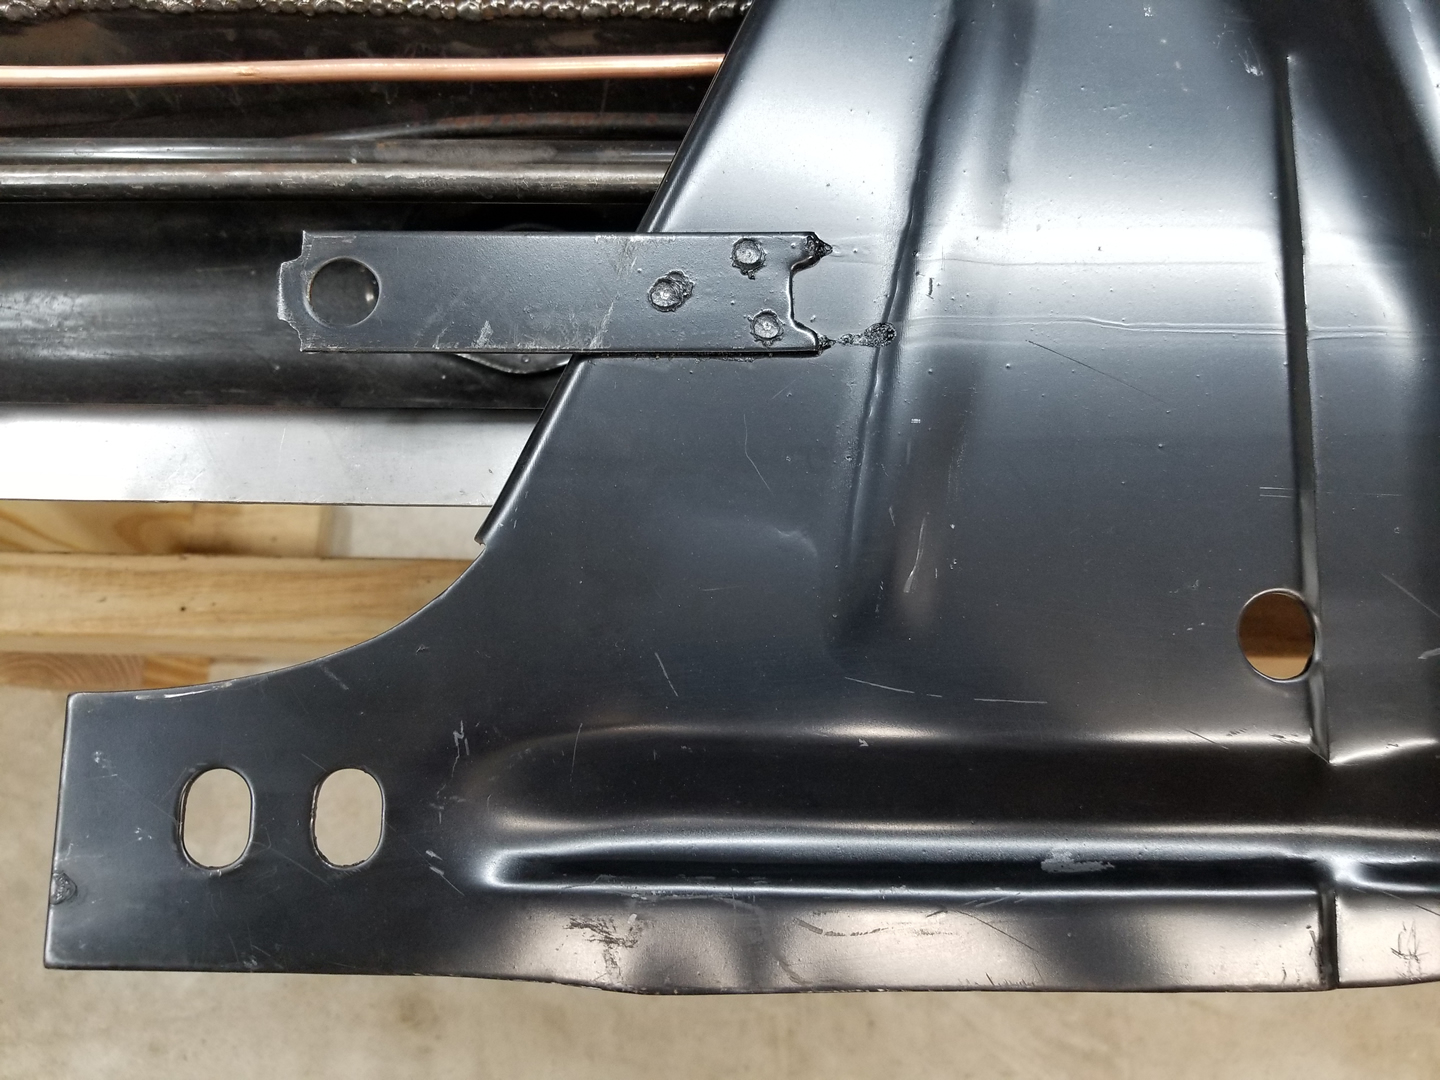
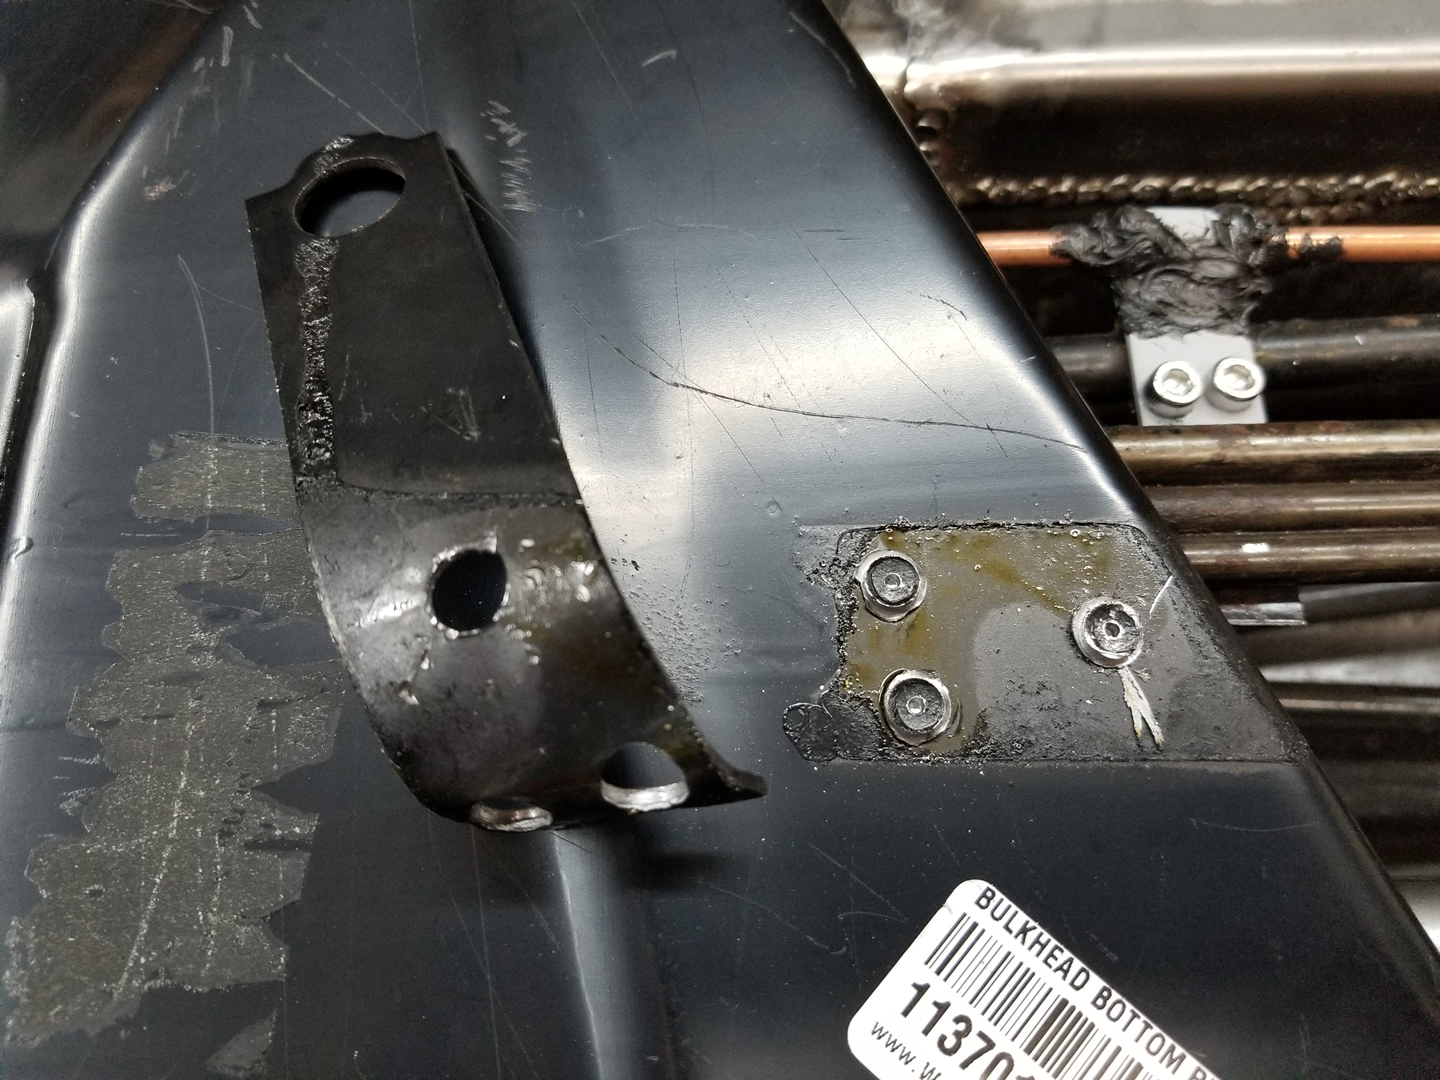
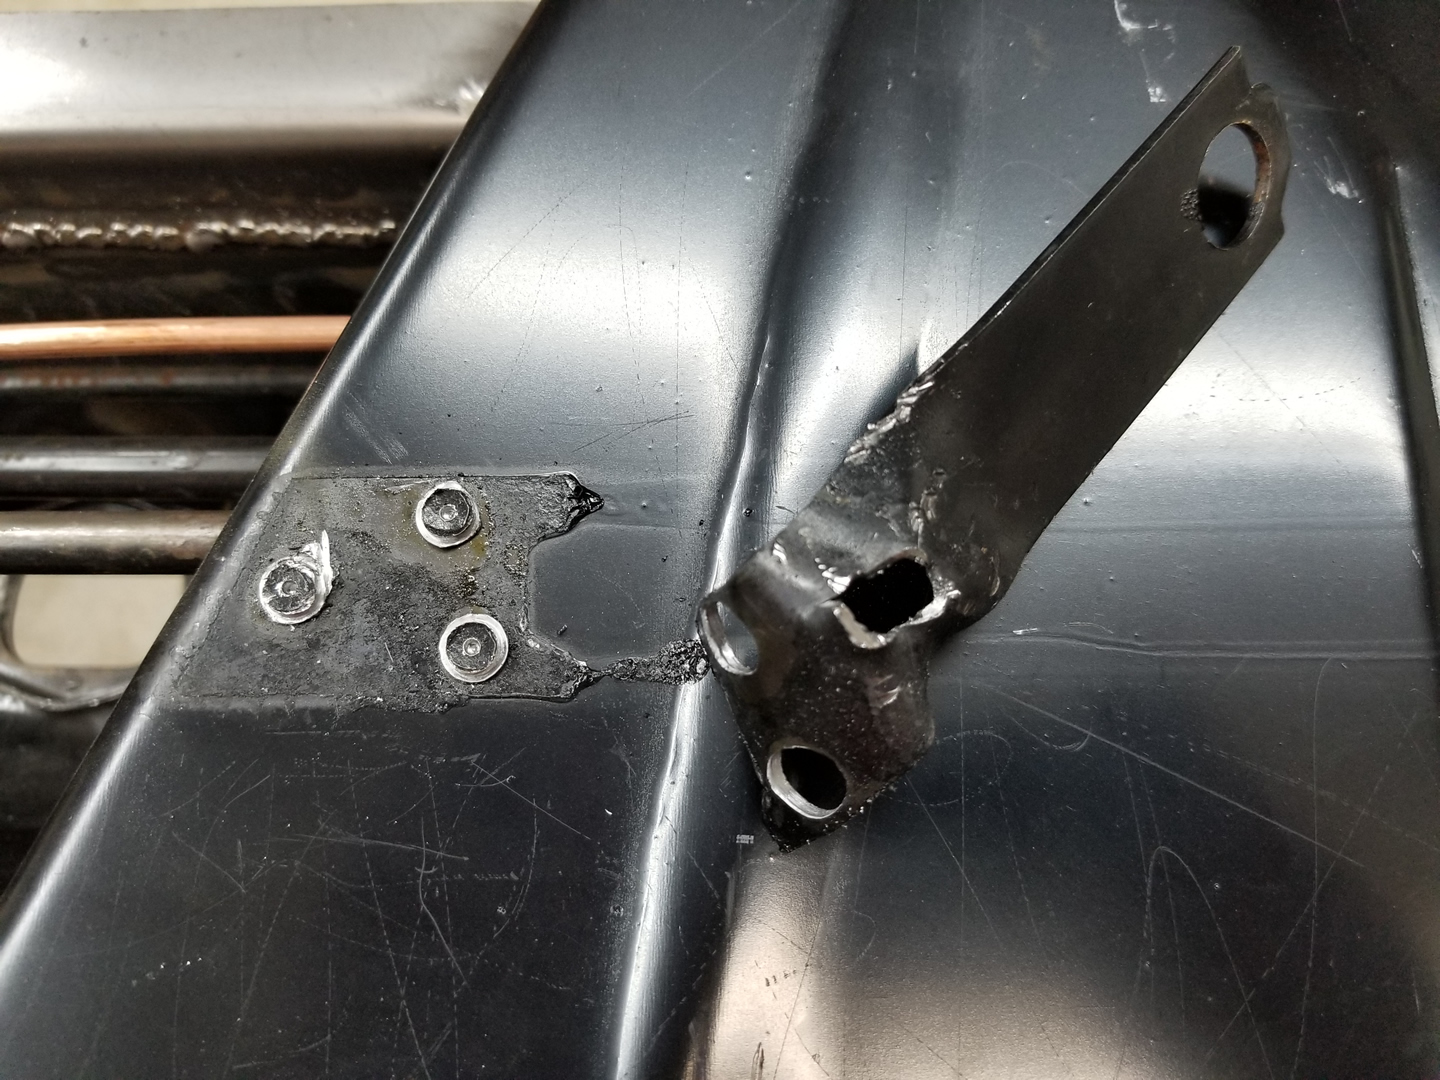
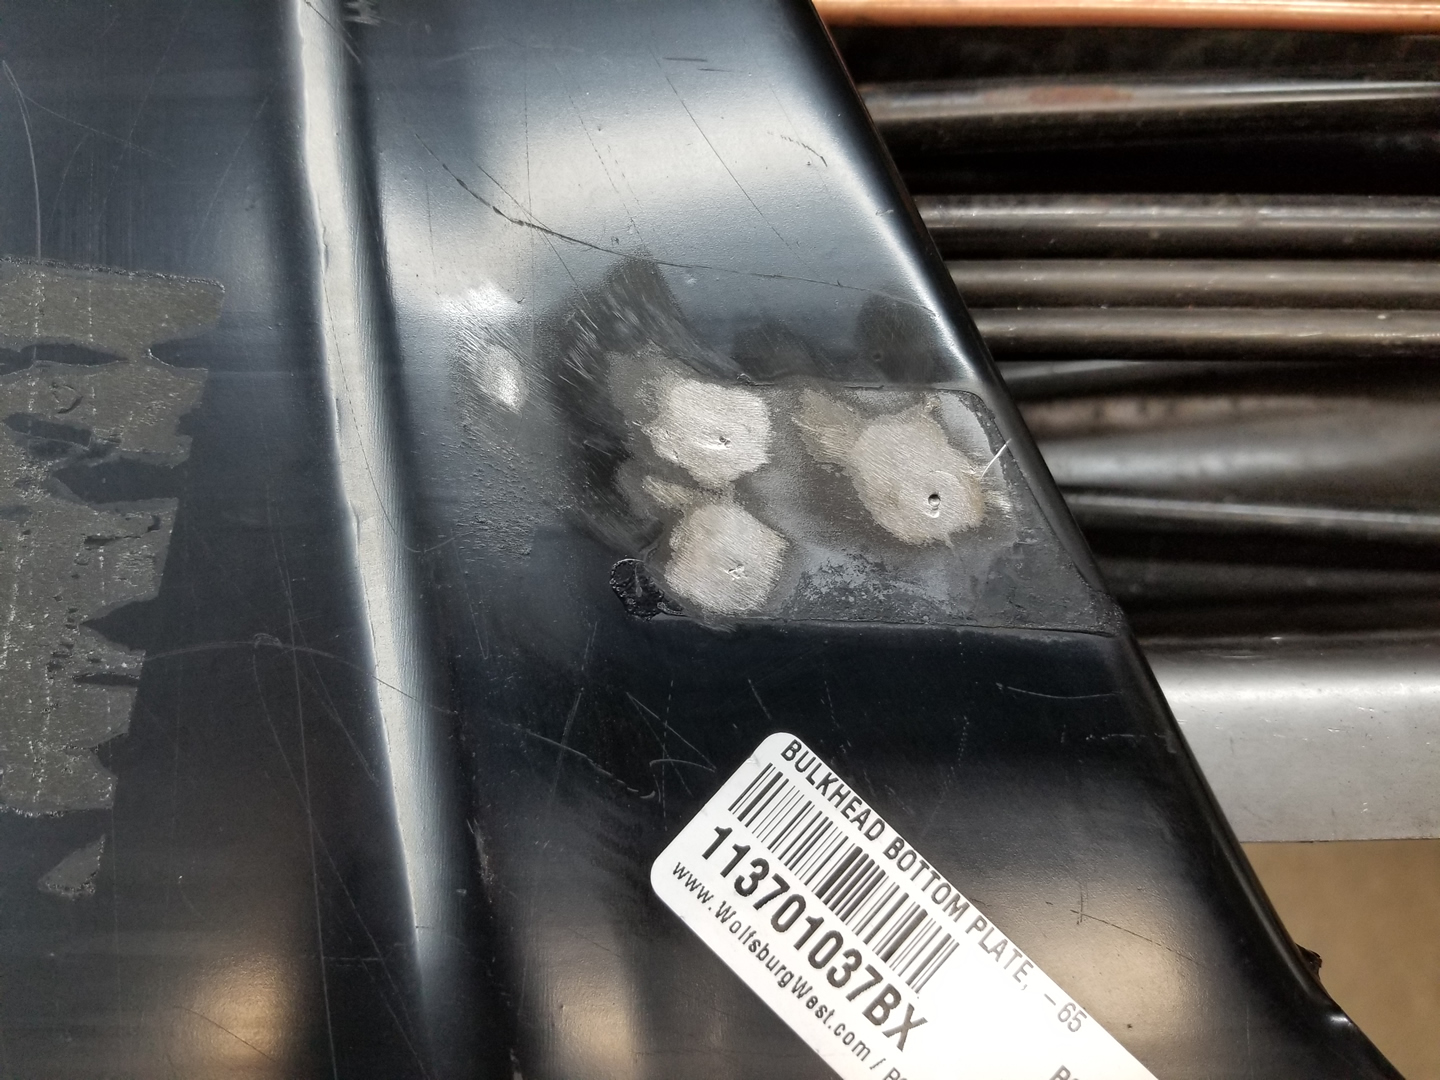
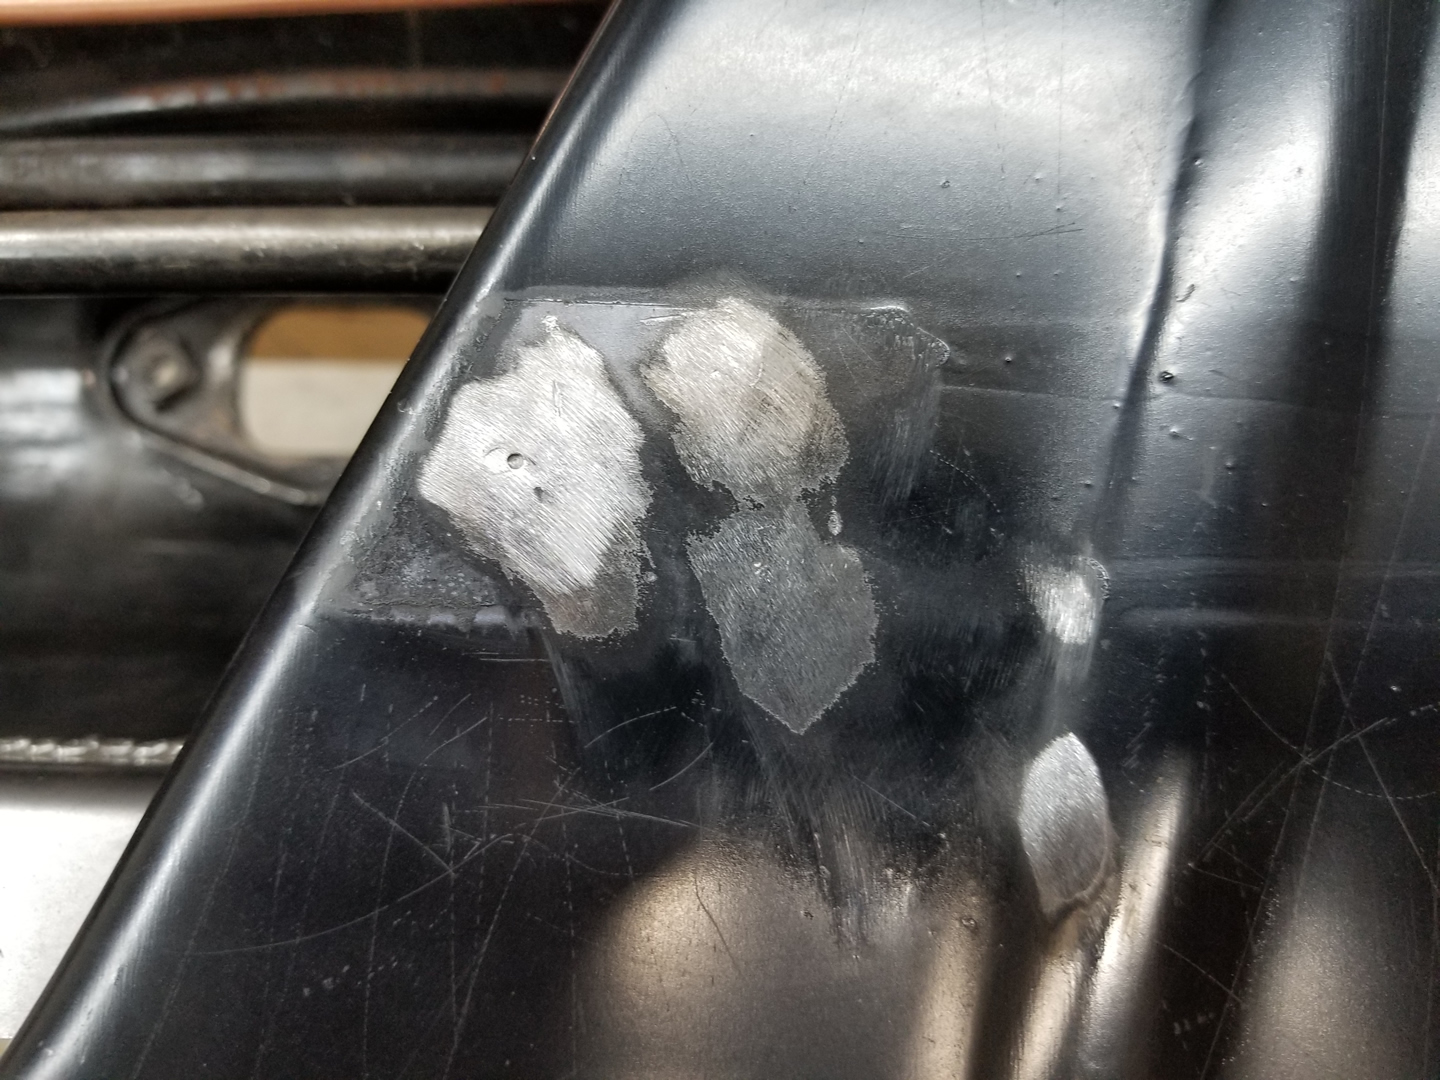
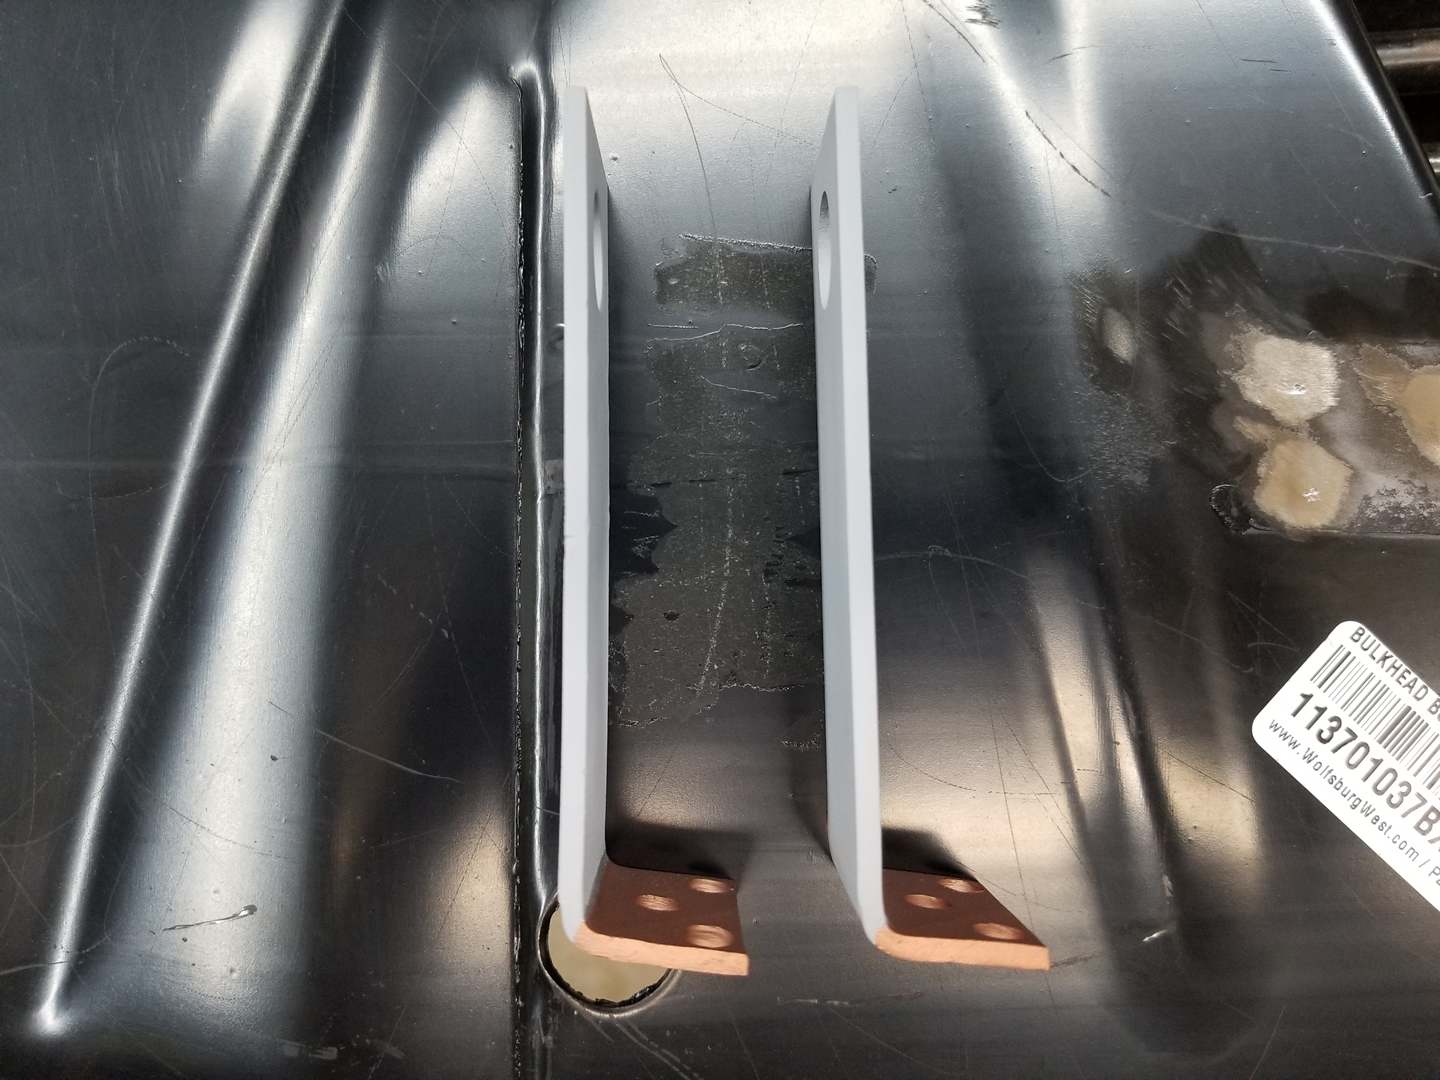
The aftermarket frame head bottom plates come with a flimsy, thin brake hose bracket that has to be bent up into position. This makes it a little short and does not match the original brackets in appearance, the point where it is welded on, nor in strength. I decided to remove these and also remove the ones on the donor frame head to use instead. I sandblasted the donor brackets, sprayed them with primer, and also sprayed the areas to be welded with weld-through primer. I will install them later once the welding for the bottom plates, the Napoleon hat, and the floor pans are done.
|
|
|
|
|
|

|

|
|
Fitting and Welding the Frame Head Bottom Plate
by Garage Weasel on May.08, 2024, under Chassis
The frame head bottom plate I am using for replacement is a Klokkerholm panel made to fit 1956-1965 Beetles. It is very different than the one on my car originally, but this is really the only available option. I purchased two donor frame head assemblies, and both the bottom plates were two rust-damaged to use. These are also very difficult to remove from donor pieces because of all the seam welds. The best option for me is to use this generic one and make it work. There are huge gaps in several places like where it fits over the end of the tunnel and where it fits against the front axel mounting plate.

|

|

|

|

|

|
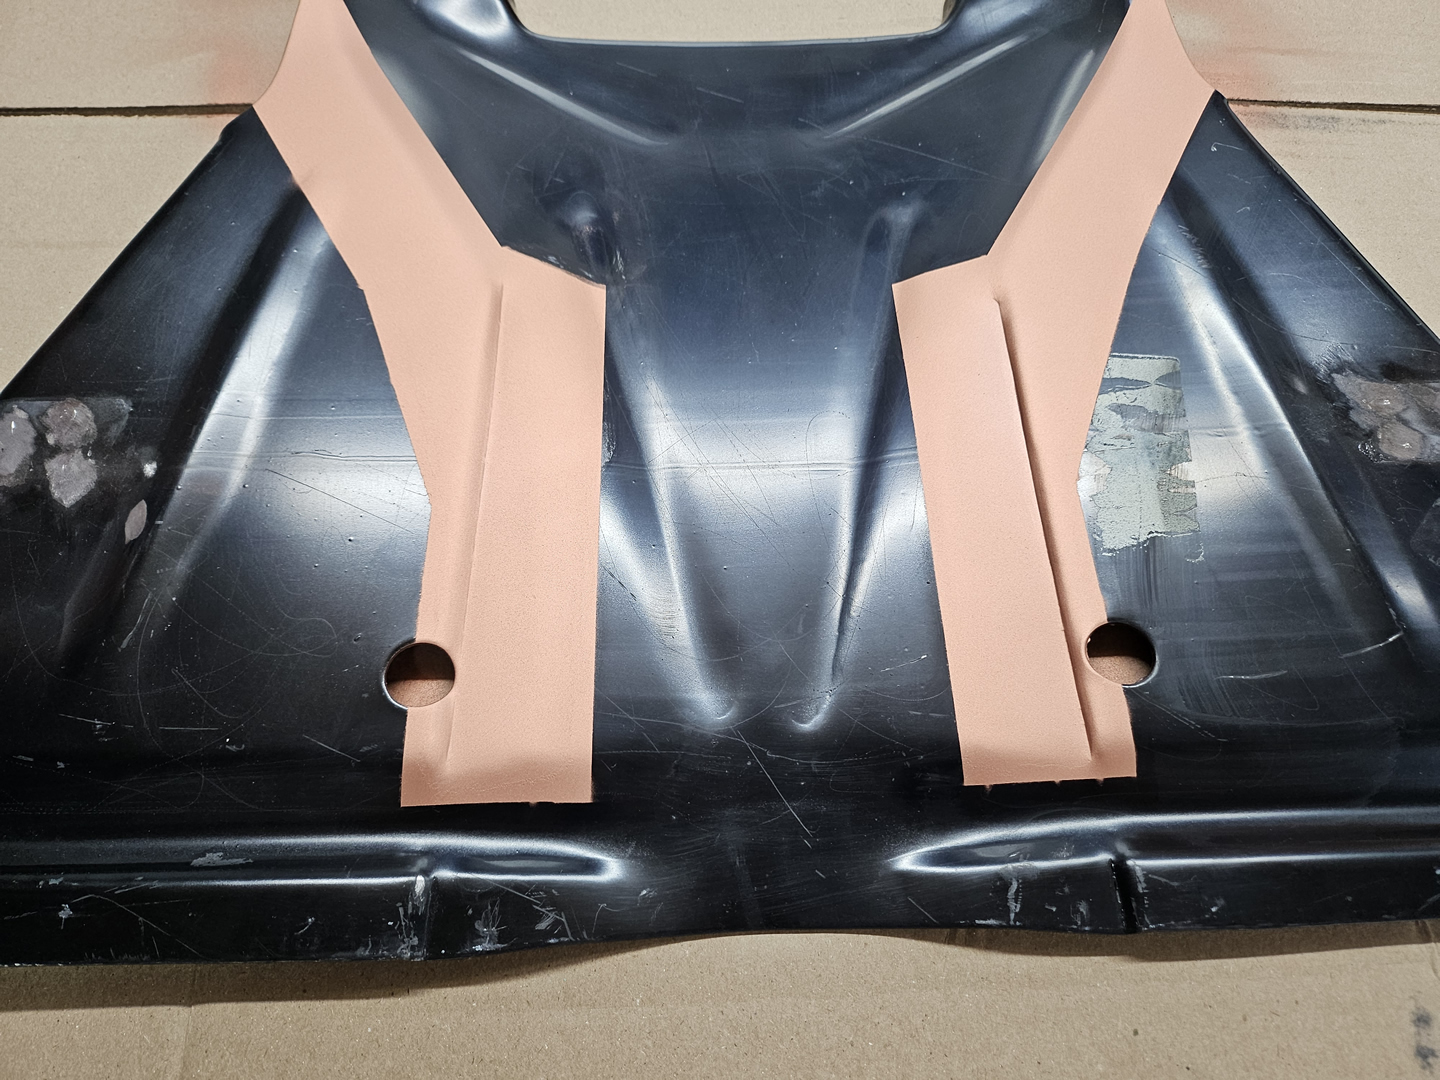
There is a 2-milimeter gap under the replacement plate between it and the tunnel rails. I decided to make spacers and weld them to the plate, so I removed the EDP protective coating sprayed on by the manufacturer and sprayed U-POL Weld #2 Copper Weld Through Primer on the areas to be welded.

|

|

|

|
|
I made the spacers and both spot-welded them to the bottom plate and seam welded them. It is overkill, for sure, but I want to have them firmly attached to the plate. After grinding down the welds, I sprayed them with the weld-through primer as well. I also sprayed weld-through primer on the end of the tunnel bottom plate where it will be welded to the frame head bottom plate.

|

|

|

|

|

|
The last steps before welding the plate on was to drill holes for the areas to be spot welded and to remove the primer on the outside of the frame head.

|

|

|
The replacement was initially bowed and didn't fit flat against the tunnel and was even more bowed after welding on the spacers. To flatten it and pull it down to the tunnel, I used some 2 x 4's and clamps. With this and some adjustable metal clamps I was able to get a close fit.

|

|

|
I started with the spot welds. I was somewhat successful and didn't make too much of a mess of them.

|

|
I flipped the chassis over and welded the areas where the bottom plate fits against the axel mounting plate and the tunnel bottom plate. These were all seam welds. My welding turned out messy, but I was able to get good coverage and penetration.

|

|

|

|

|
I first ground down the spot welds. Not a hard job but it took a while.

|

|
The seam welds on the bottom took hours to grind down due to my lack of welding skills. Lots of shaping and metal sculpting was required. In the end, I had acceptable results.

|

|

|

|
I re-welded the seam weld where the frame head bottom plate is attached to the tunnel bottom plate. The straight weld just didn't turn out very well and a bead weld should be a better weld visually and structurally. I will not ground this down very much as it will be covered with seam sealer and is fairly flat already.

|

|
The next step is fitting and welding the Napoleon hat!
Repairing Donor Heater Channels and Replacing Bottom Plates
by Garage Weasel on Oct.02, 2024, under Body Work
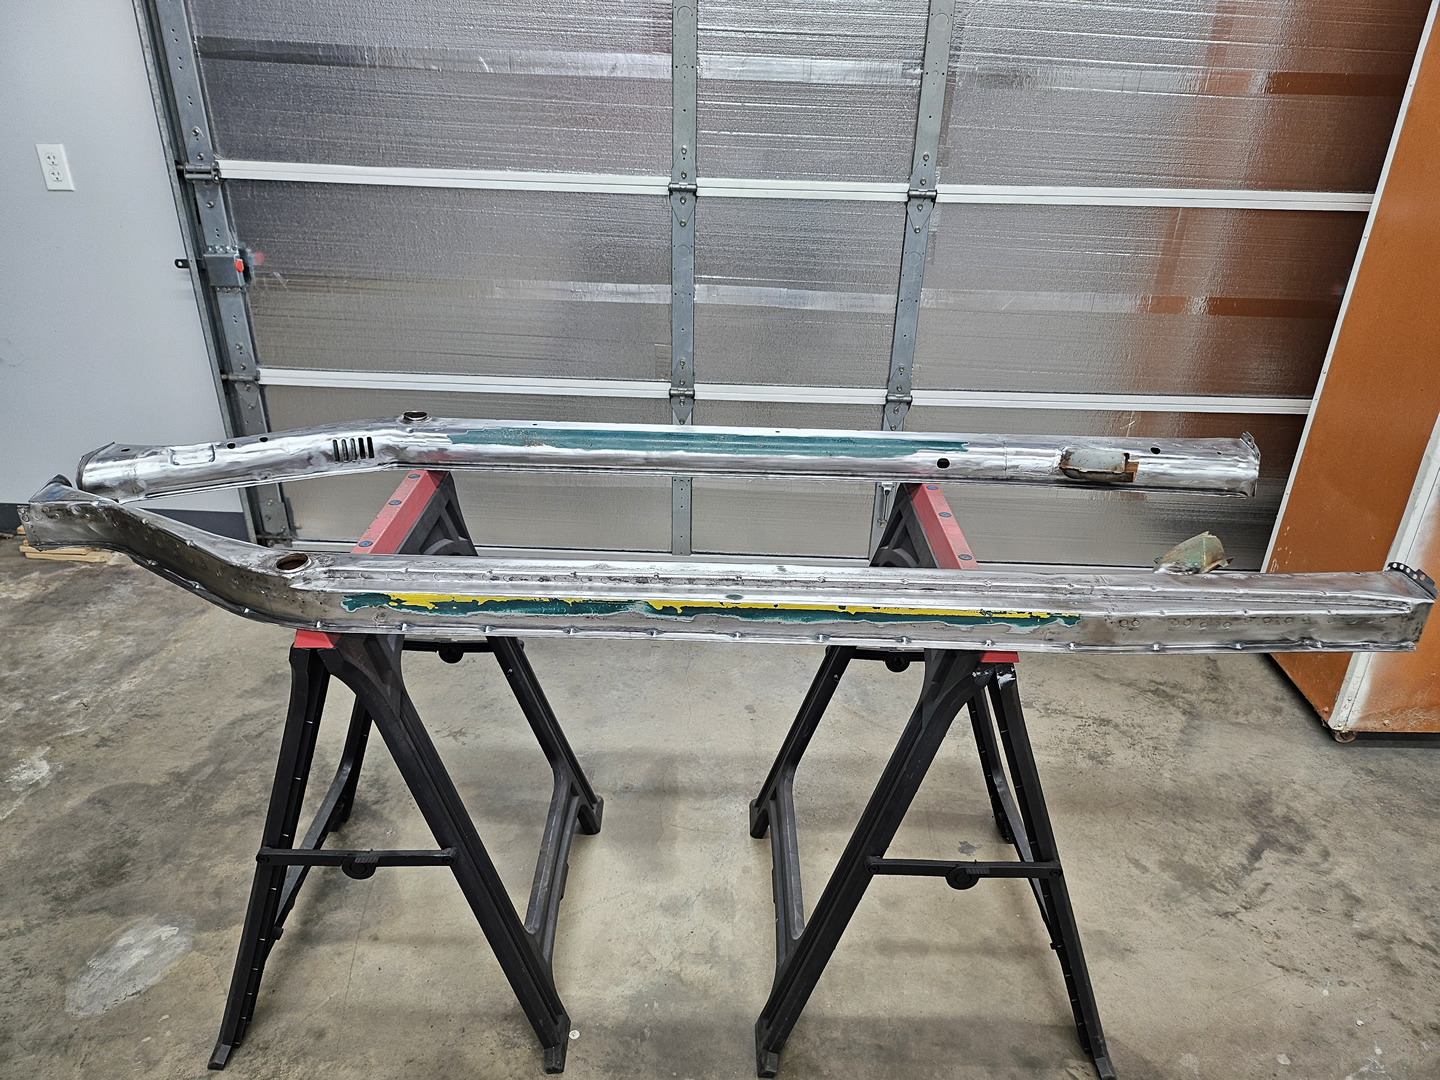
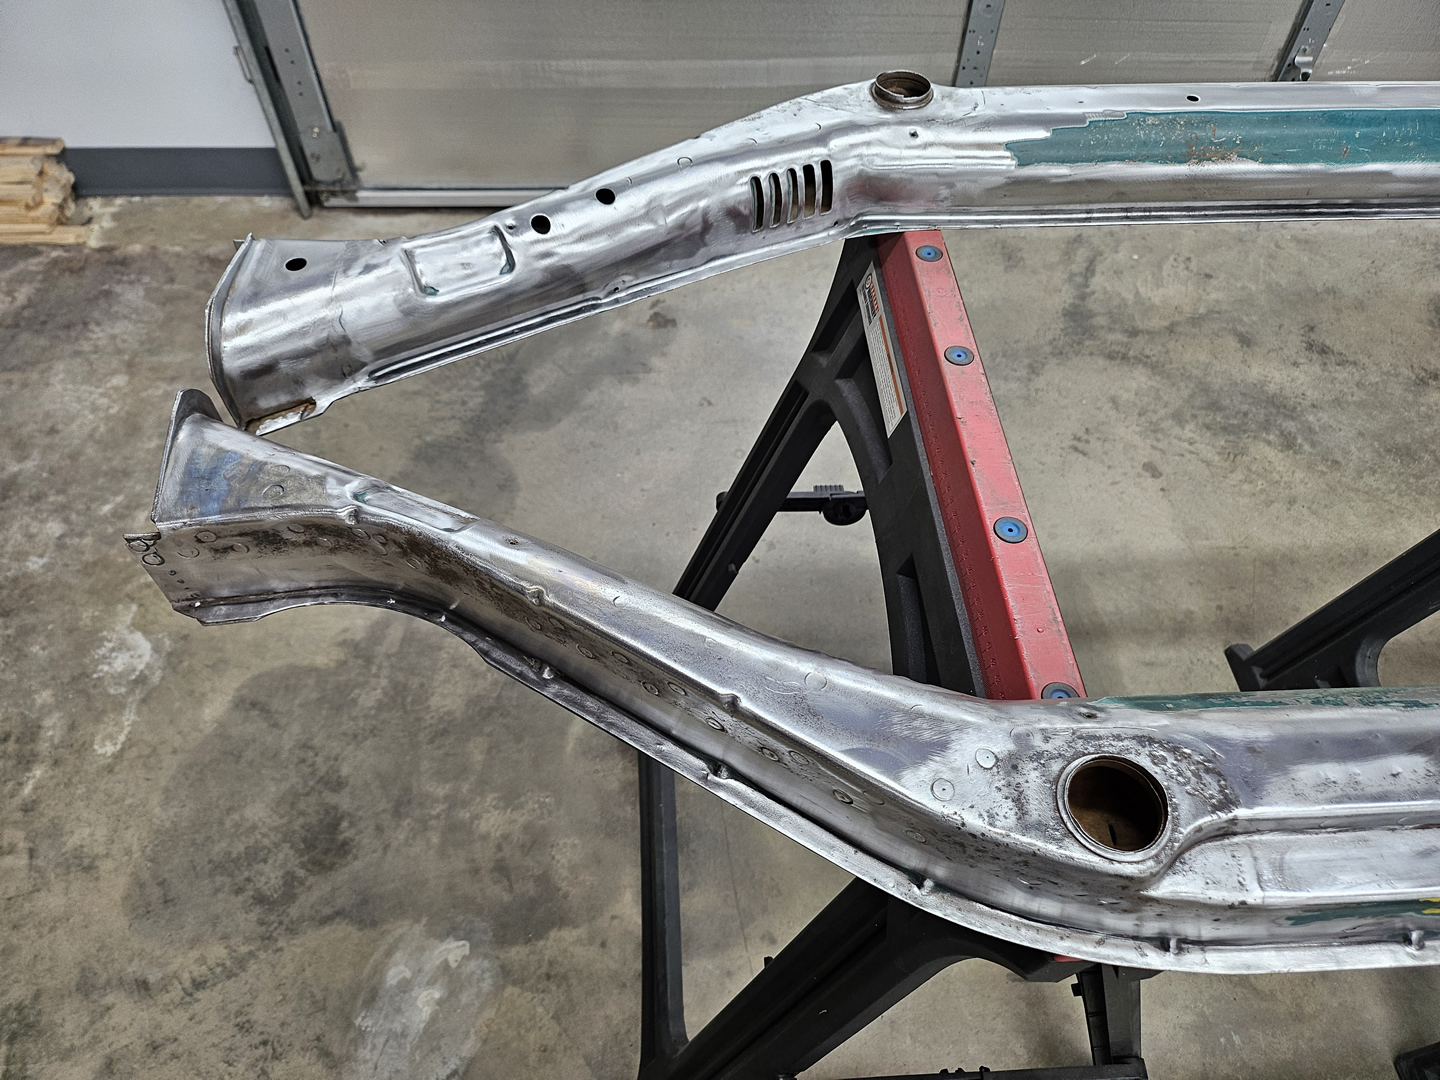
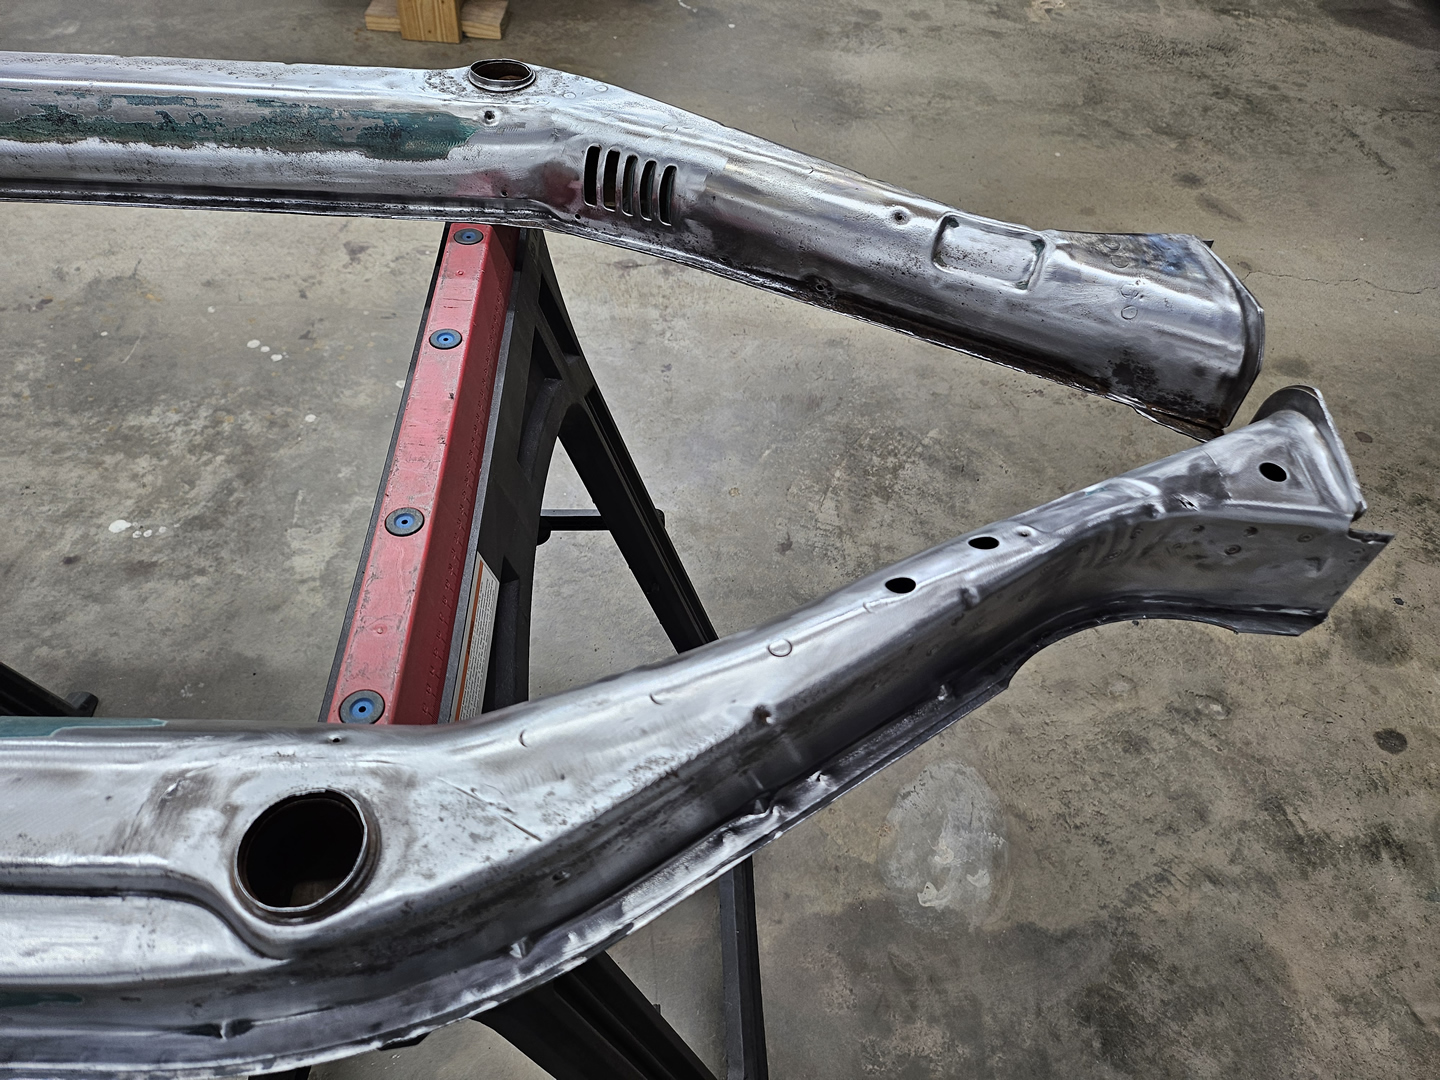
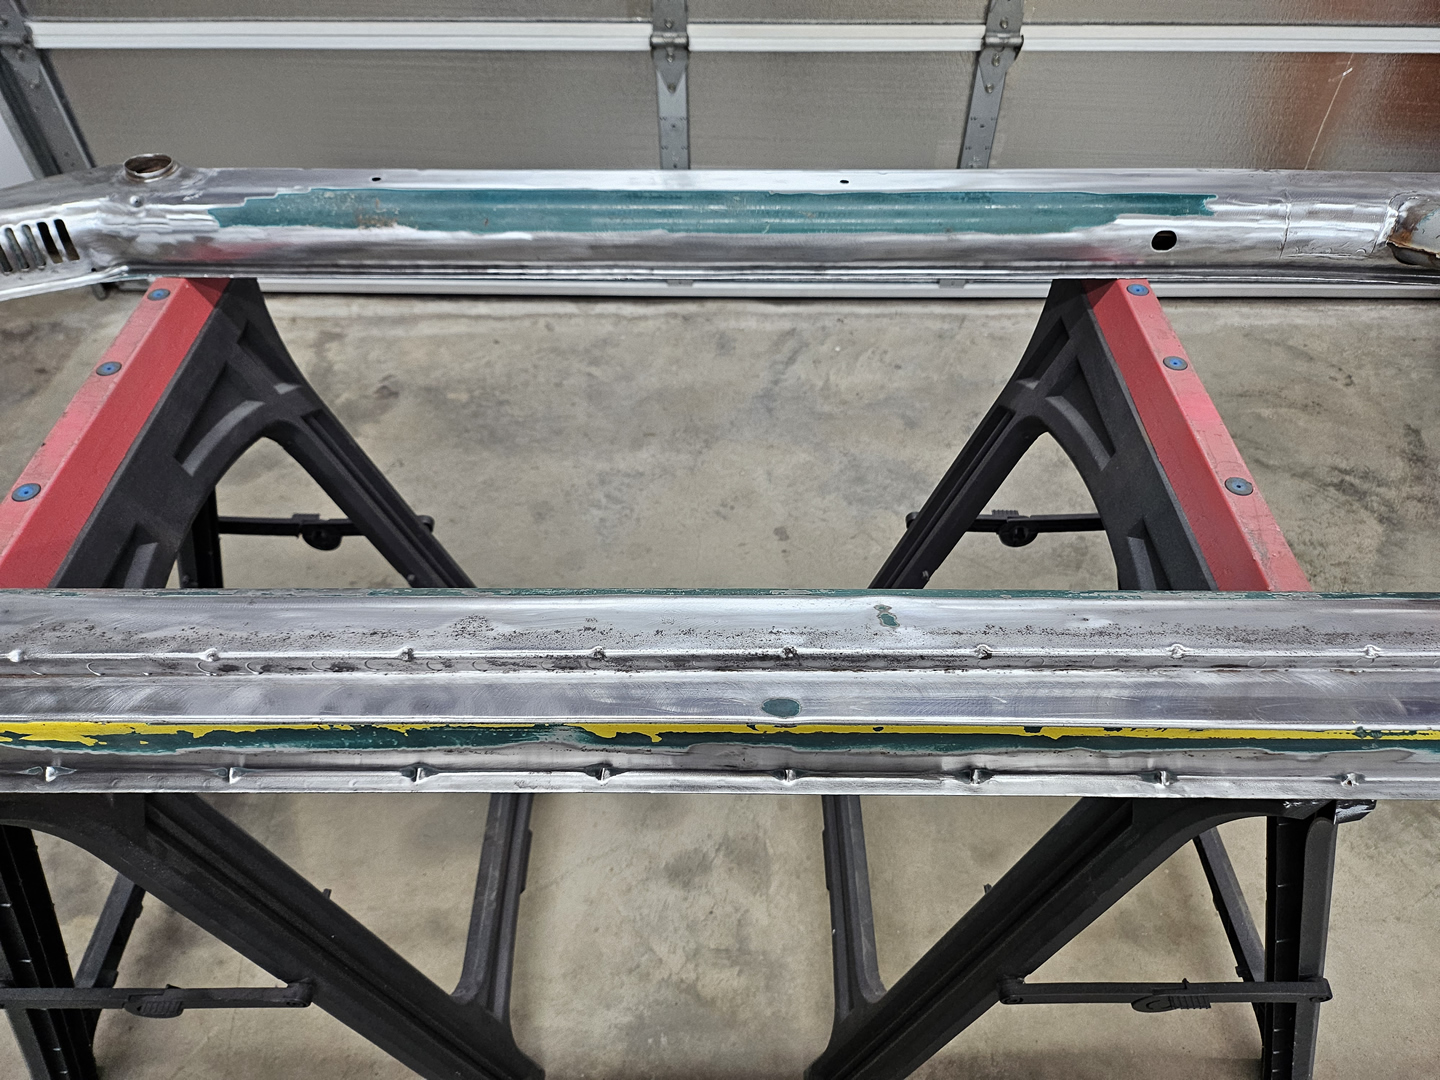
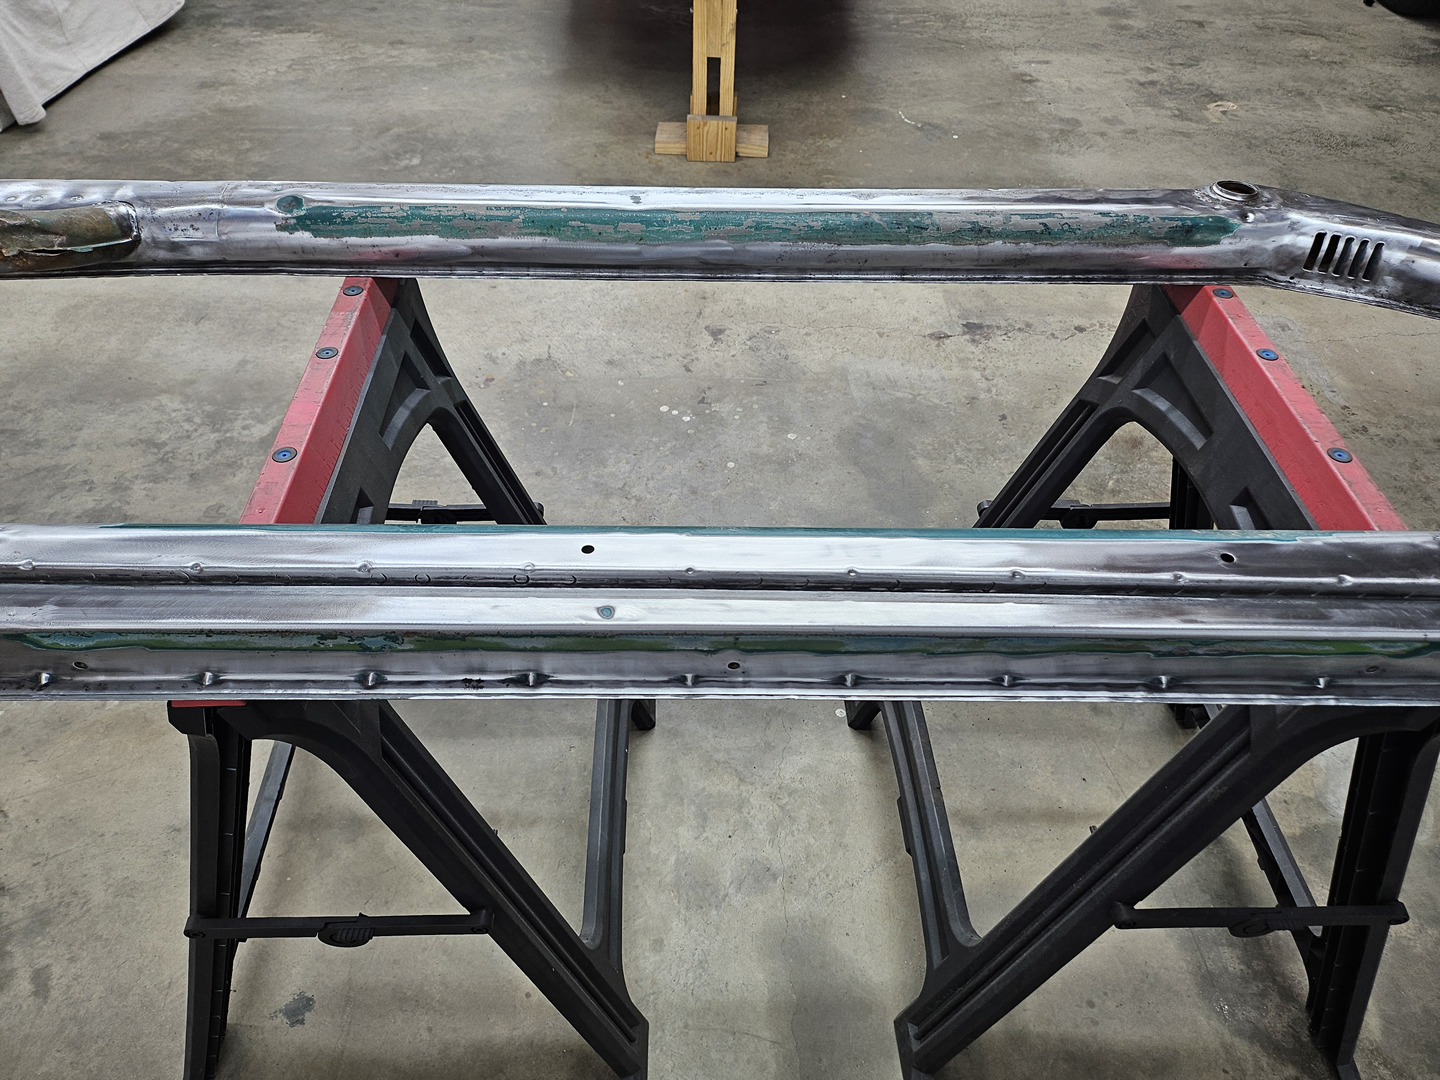
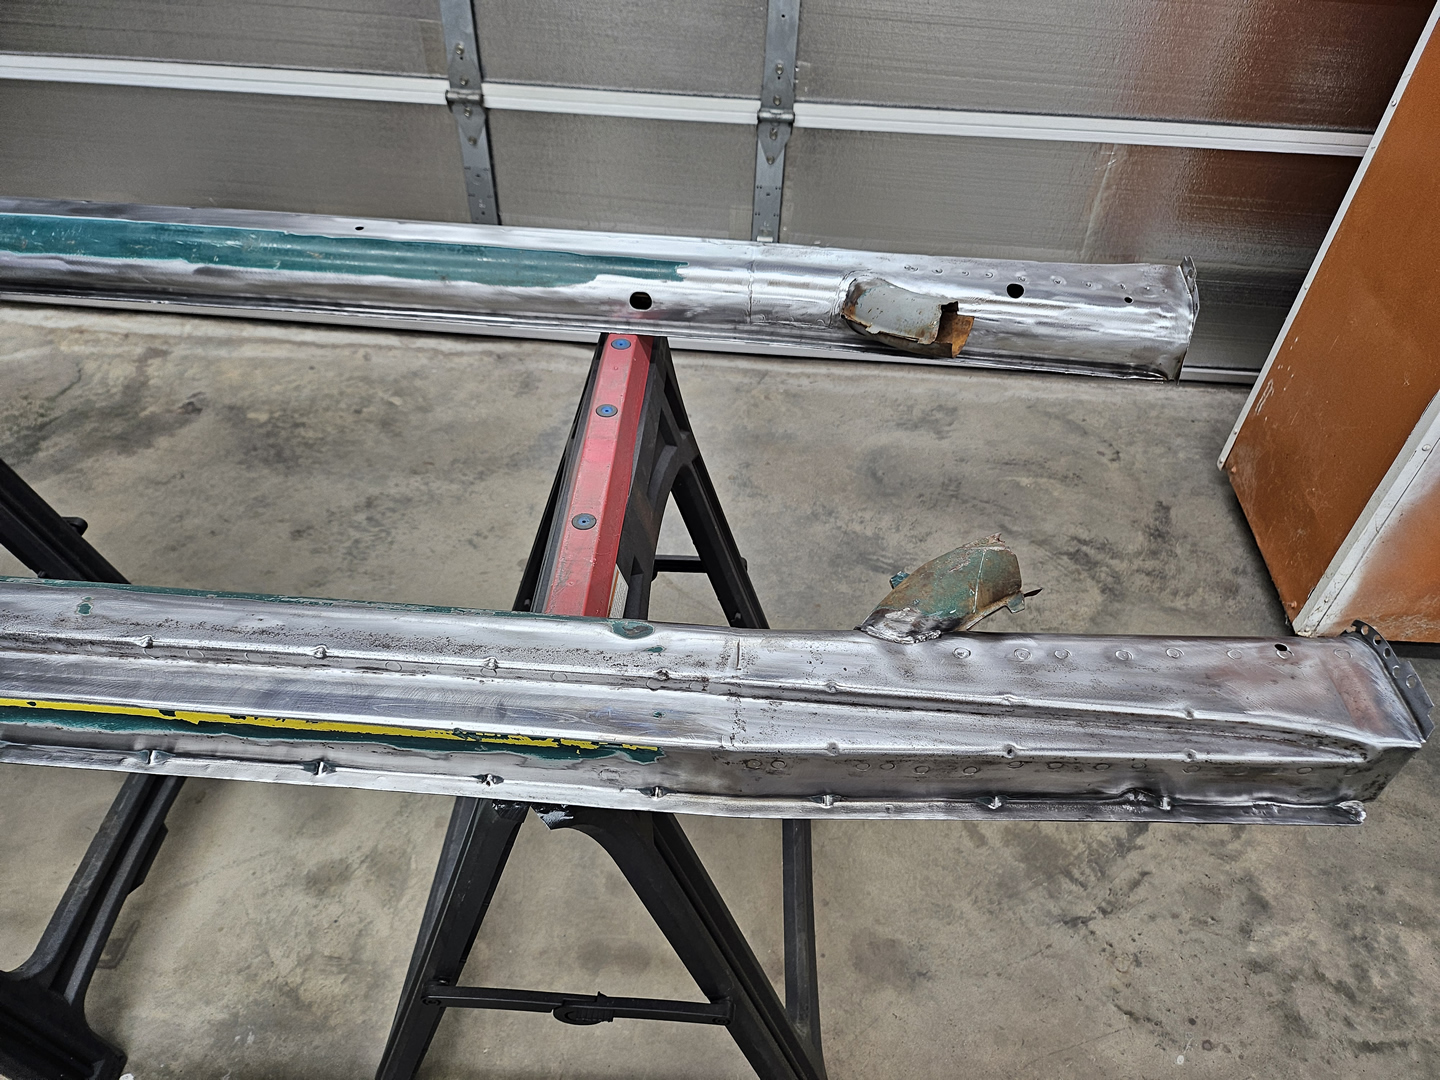
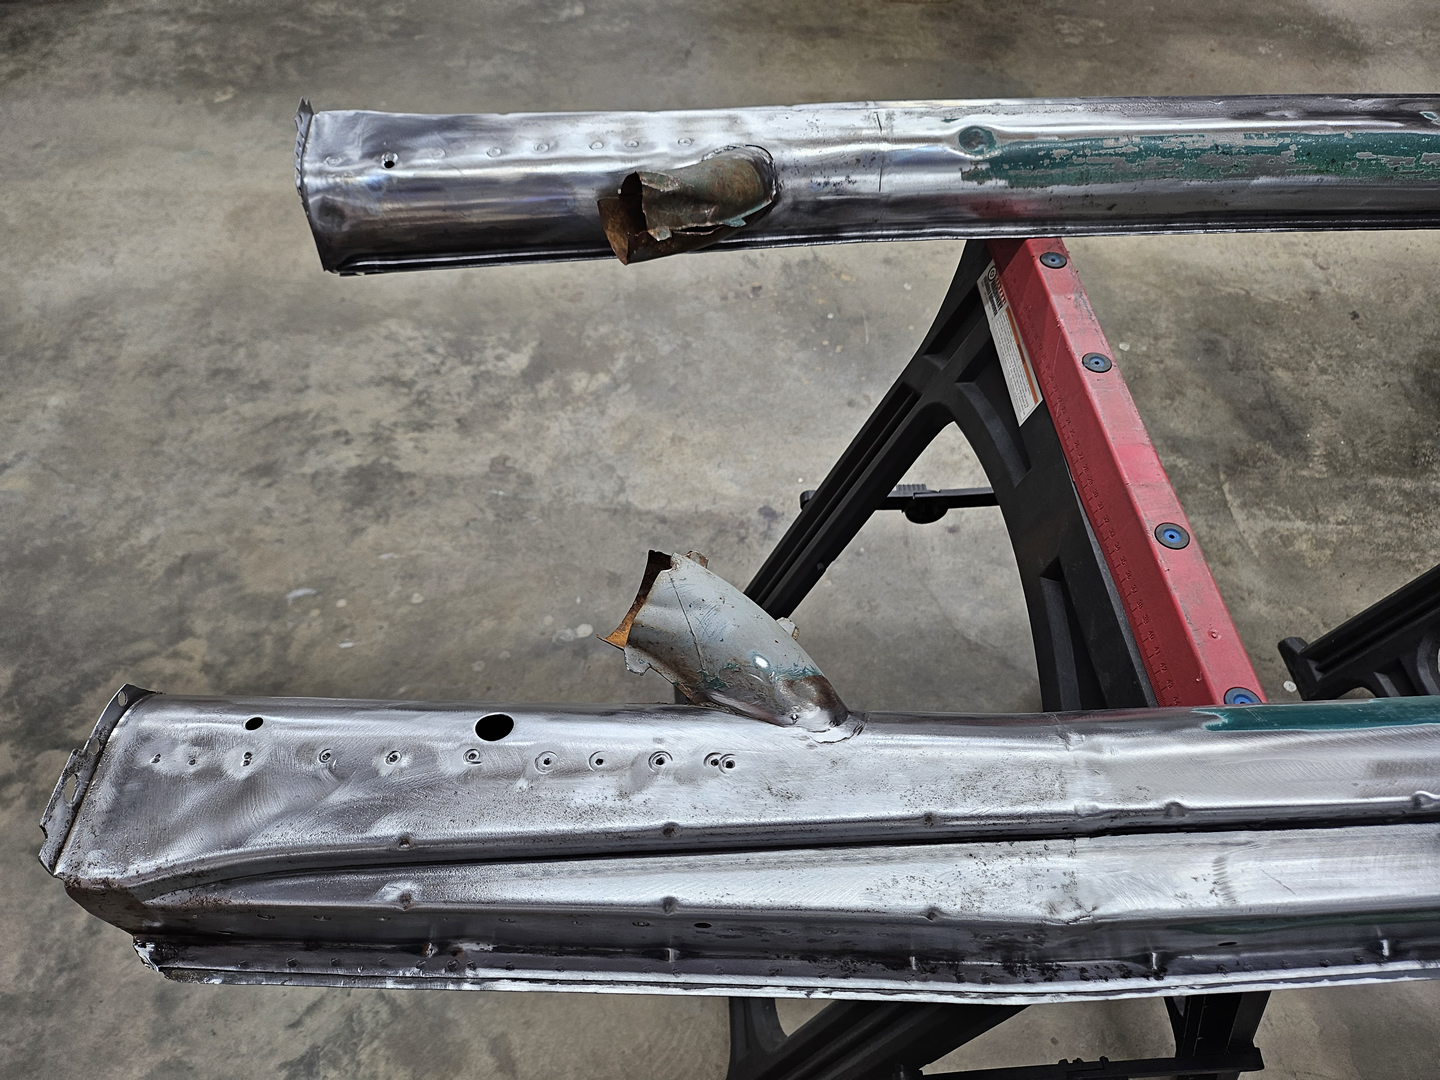
Ten years ago, I purchased two donor heater channels that included the quarter panels. I paid $100 each for them, which is way less than the only acceptable new channels from KlassicFab that are now $500 each with shipping. These will have the bottom plates replaced, which will add another $150 for the Autocraft panels that are almost exactly like the originals. It's a big job to do this, but I want to make sure that they are solid internally and to rust treat and protect them inside and out. Rather than trying to preserve the bottom plates and re-use them, I am going to sacrifice them to make sure that the other parts of the channels are intact. There are many spot welds on the channels, and it would be almost impossible to remove the bottom plates without damaging the plates and/or the channels. There are also quite a few repair that need to be done on both of the channels as well.
|
|
|
|
|
|
|
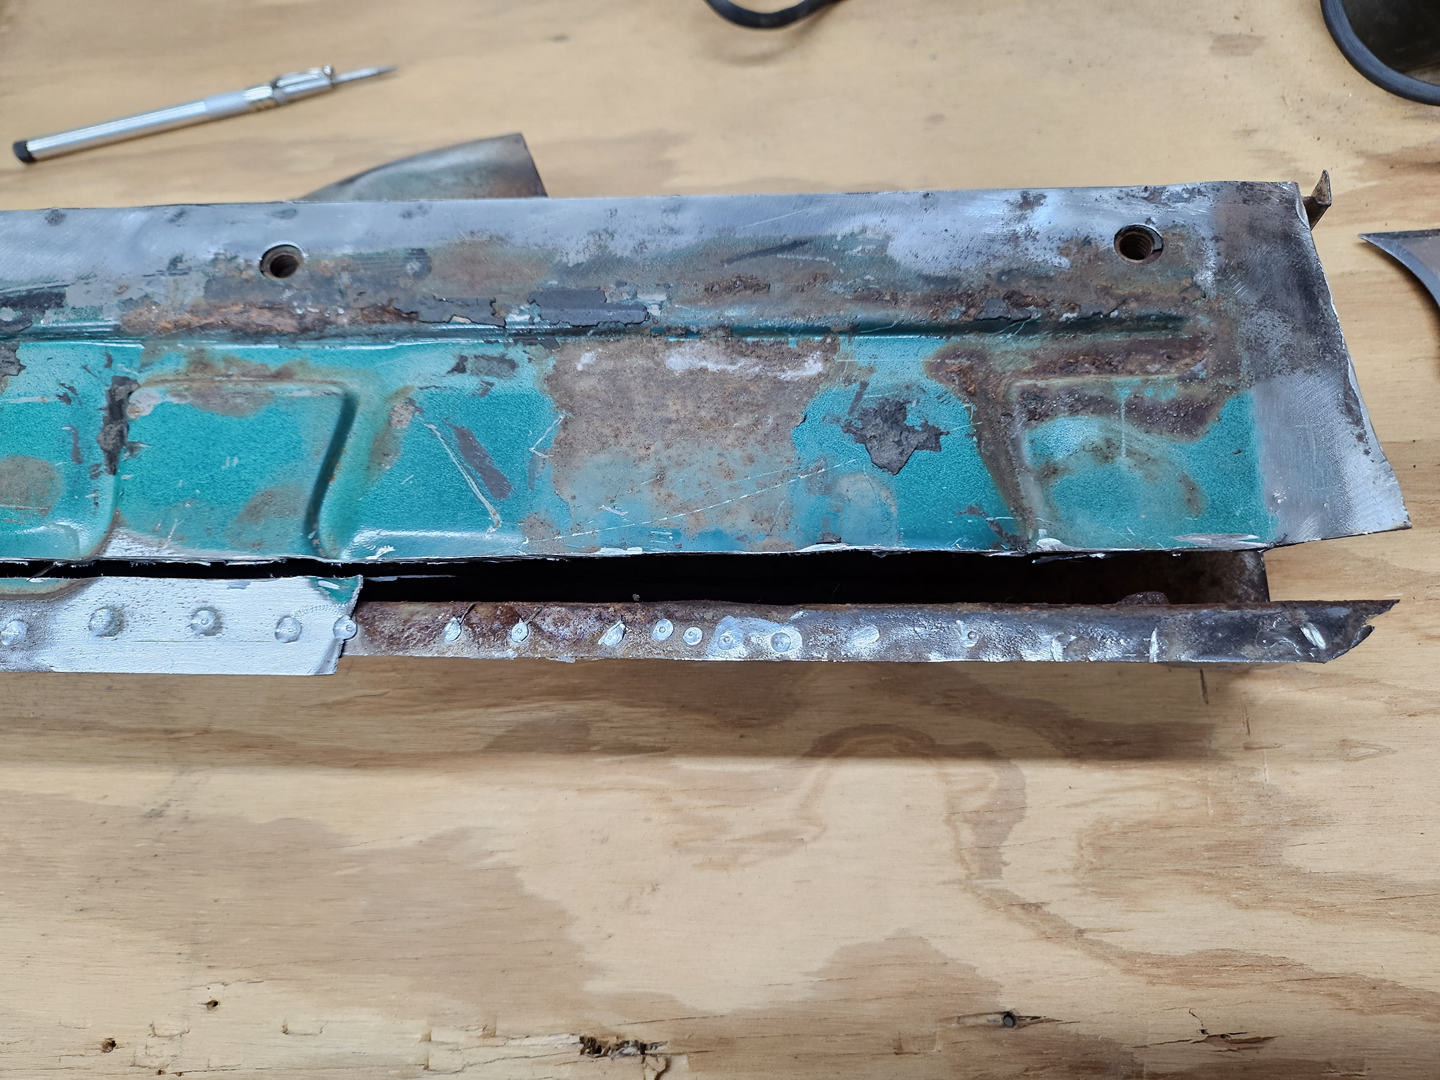
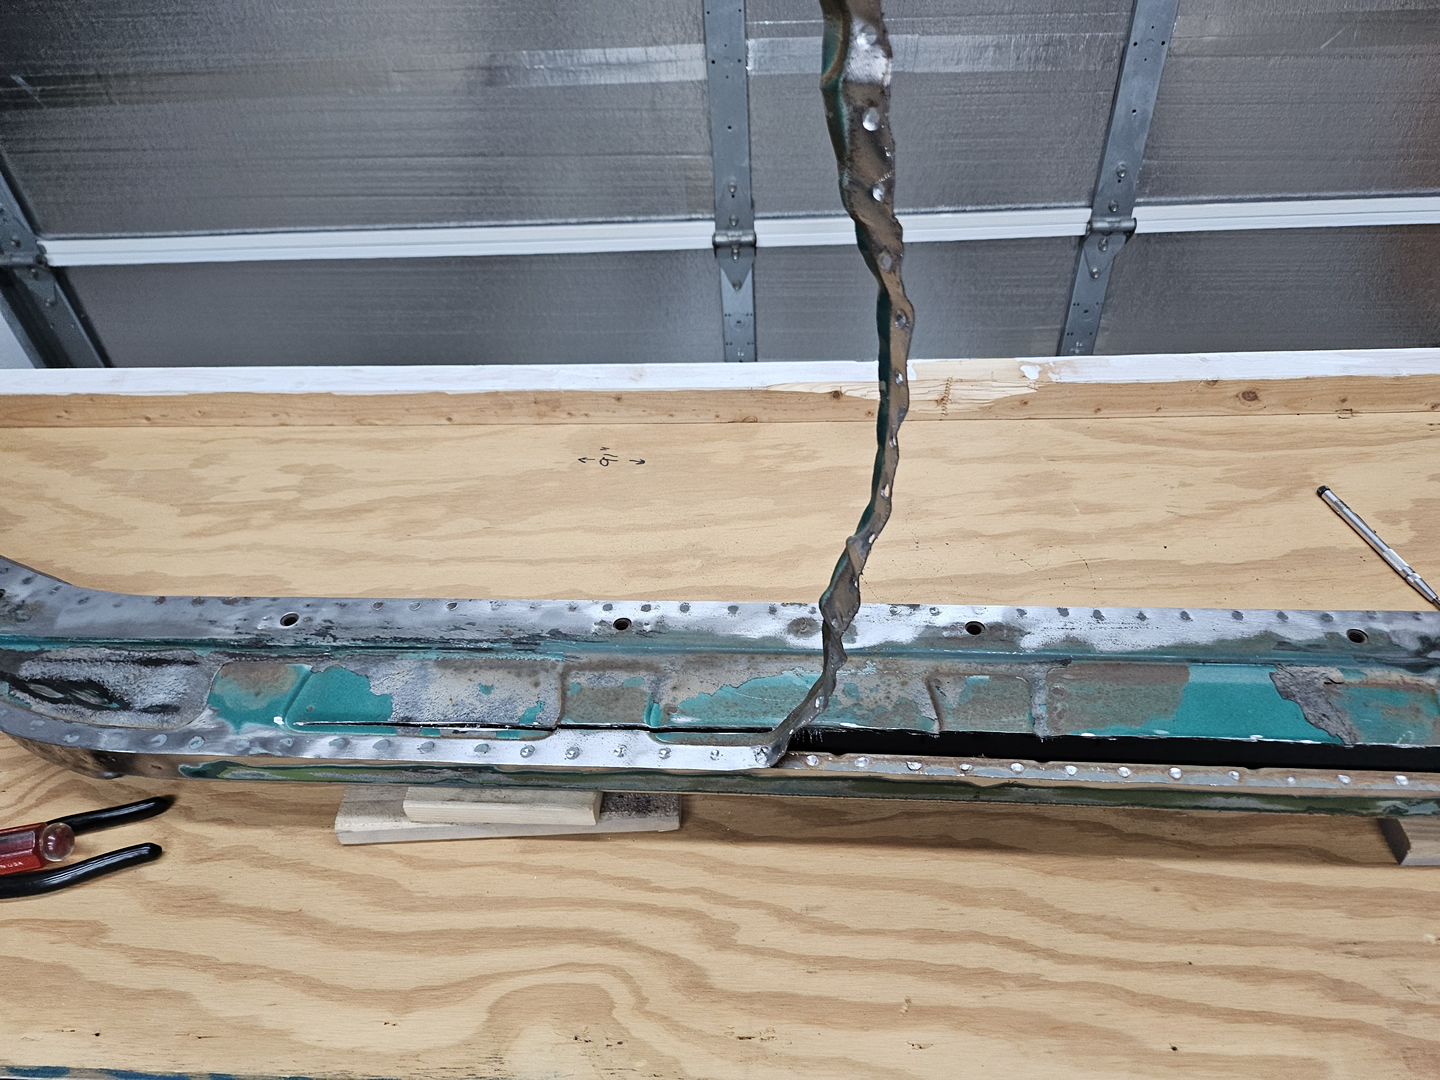
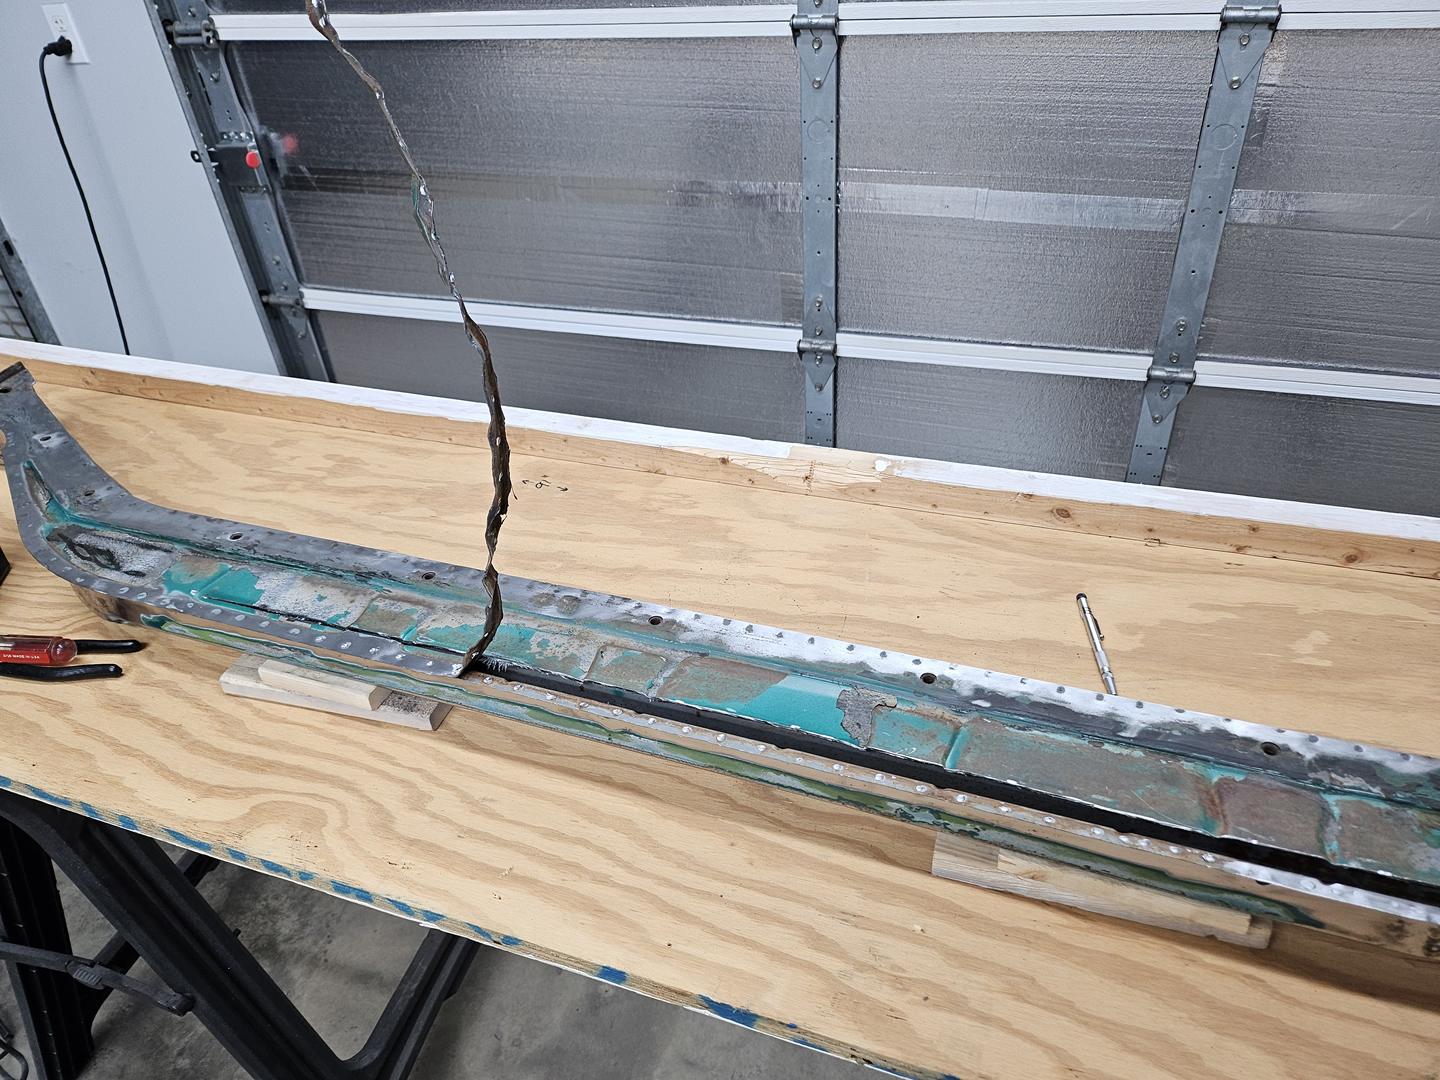
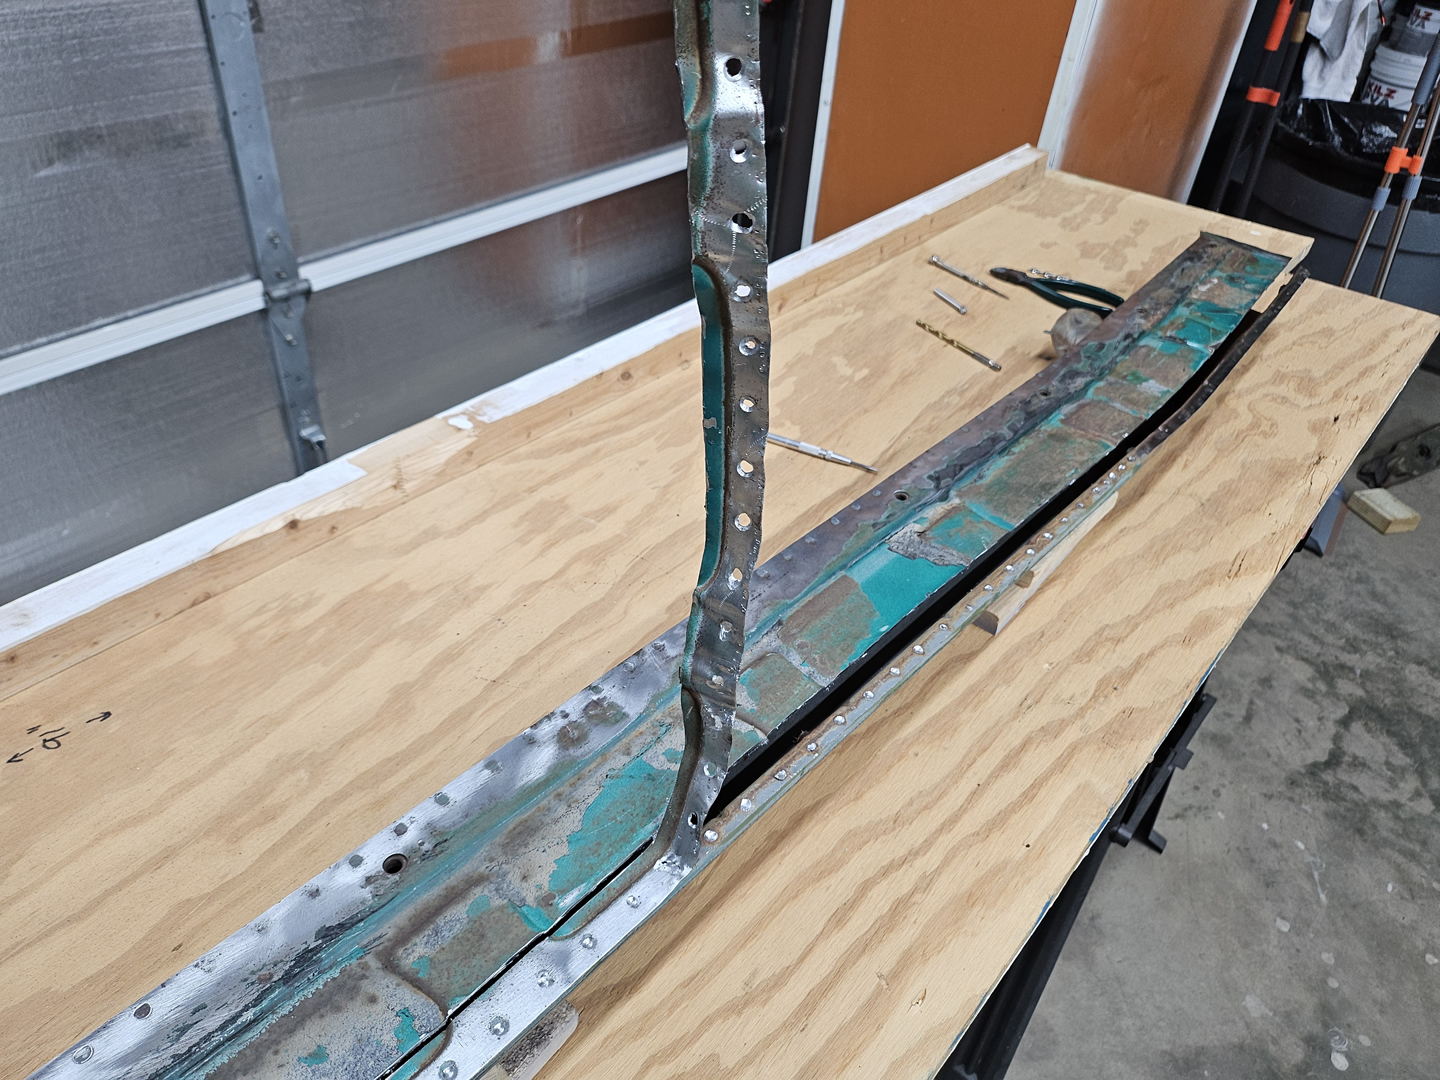
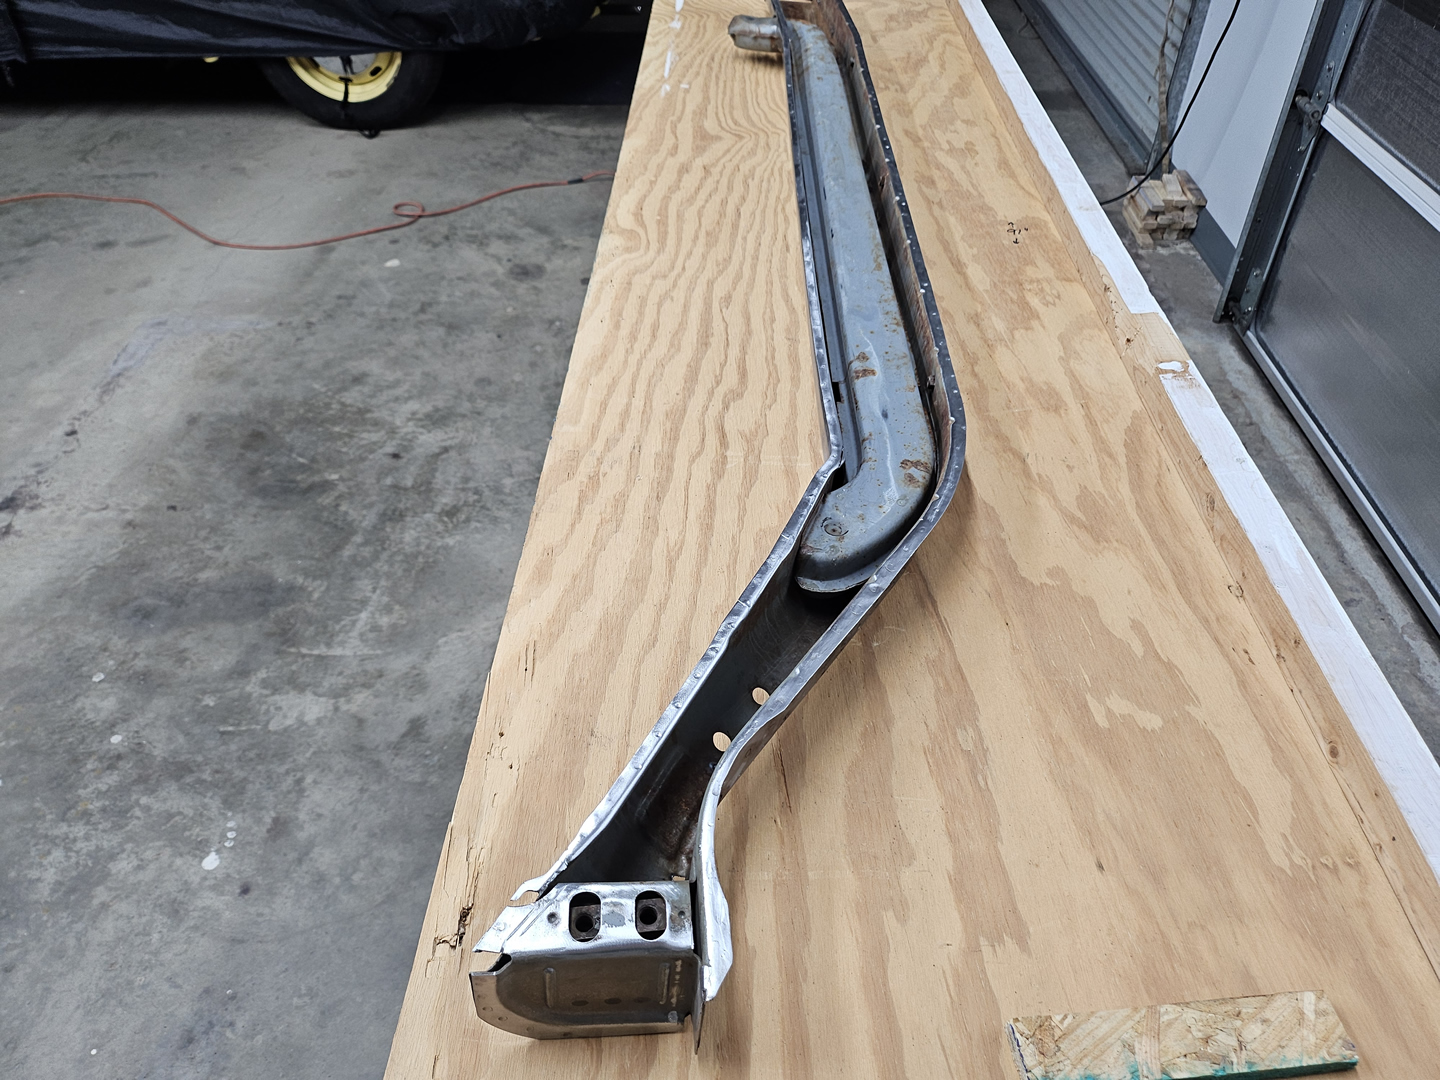
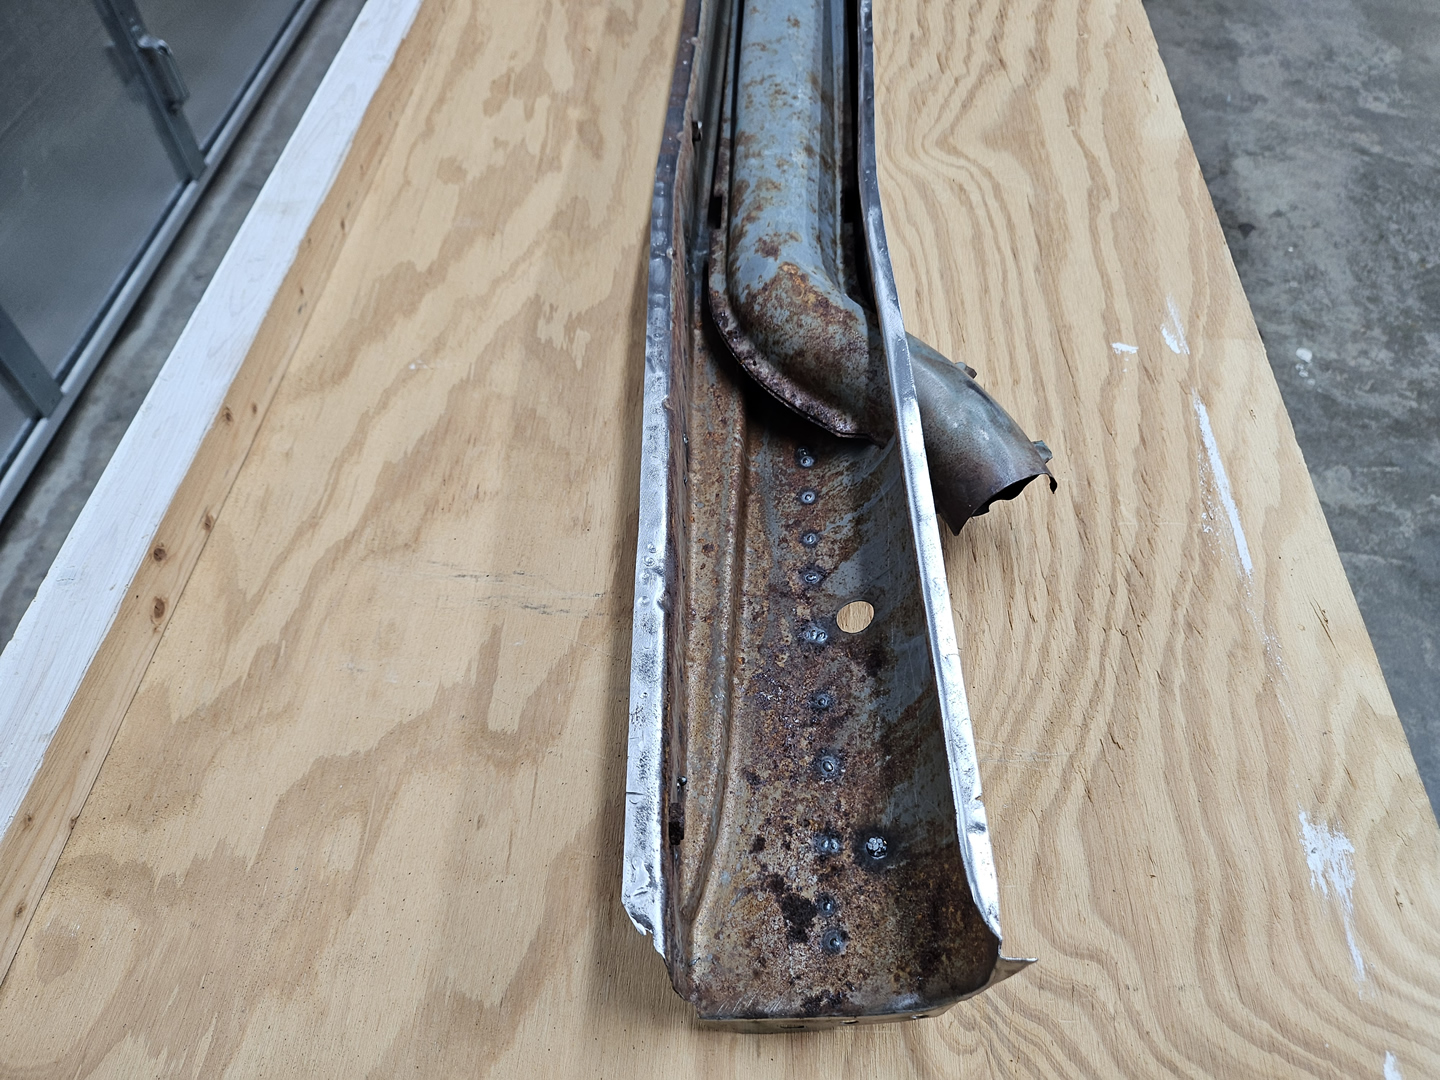
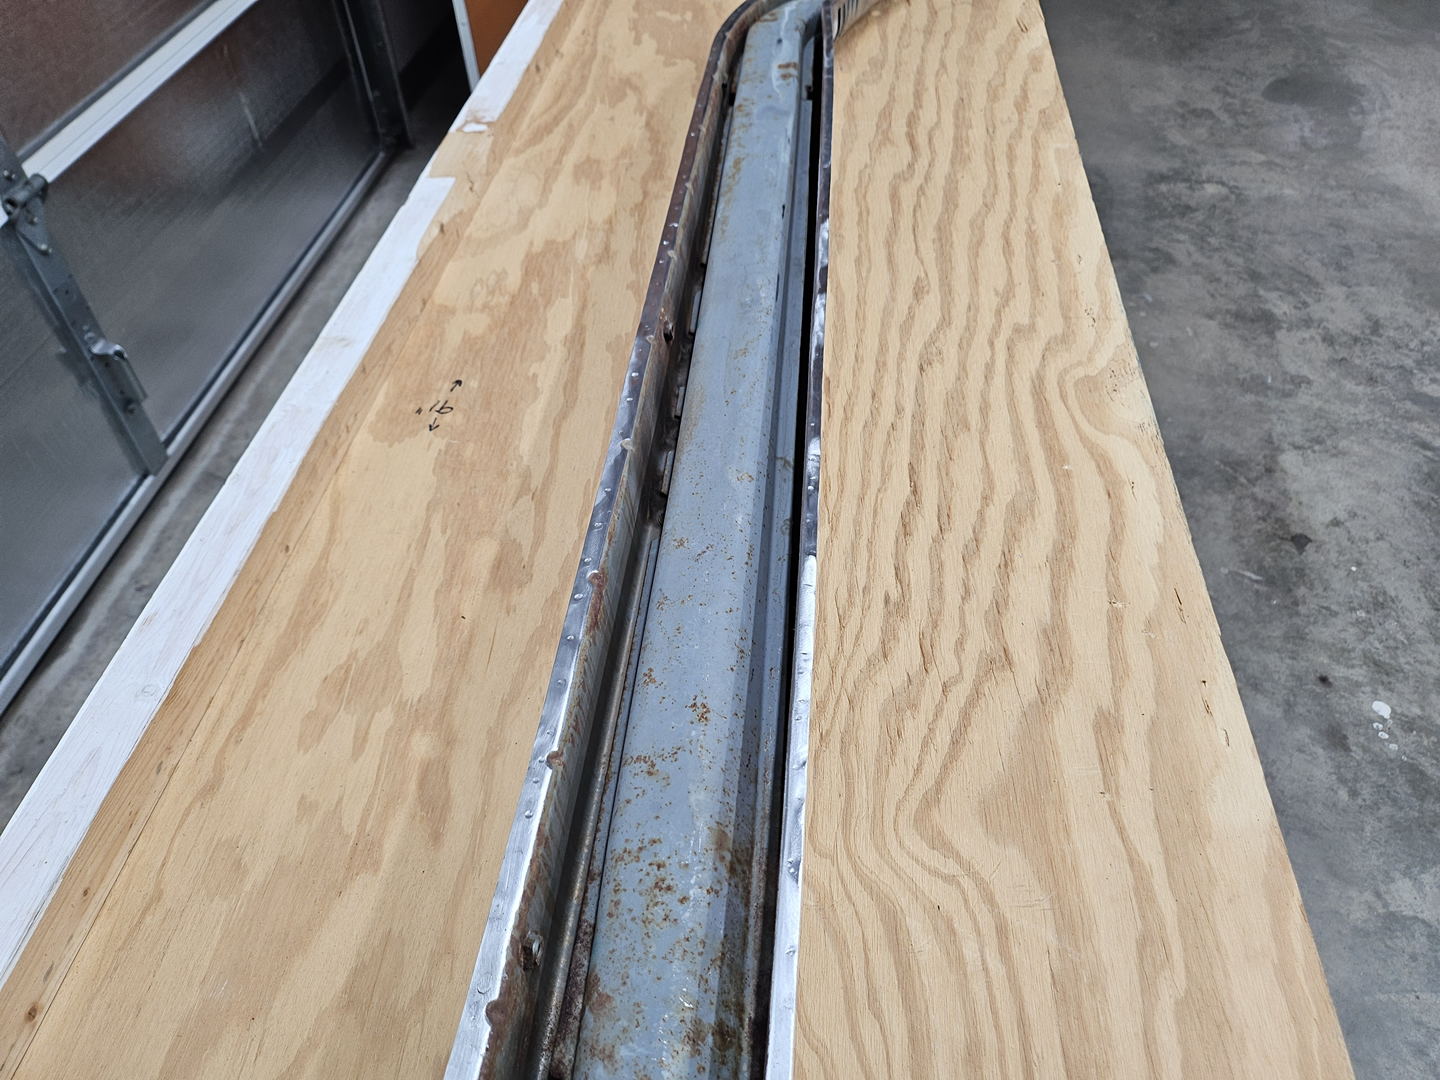
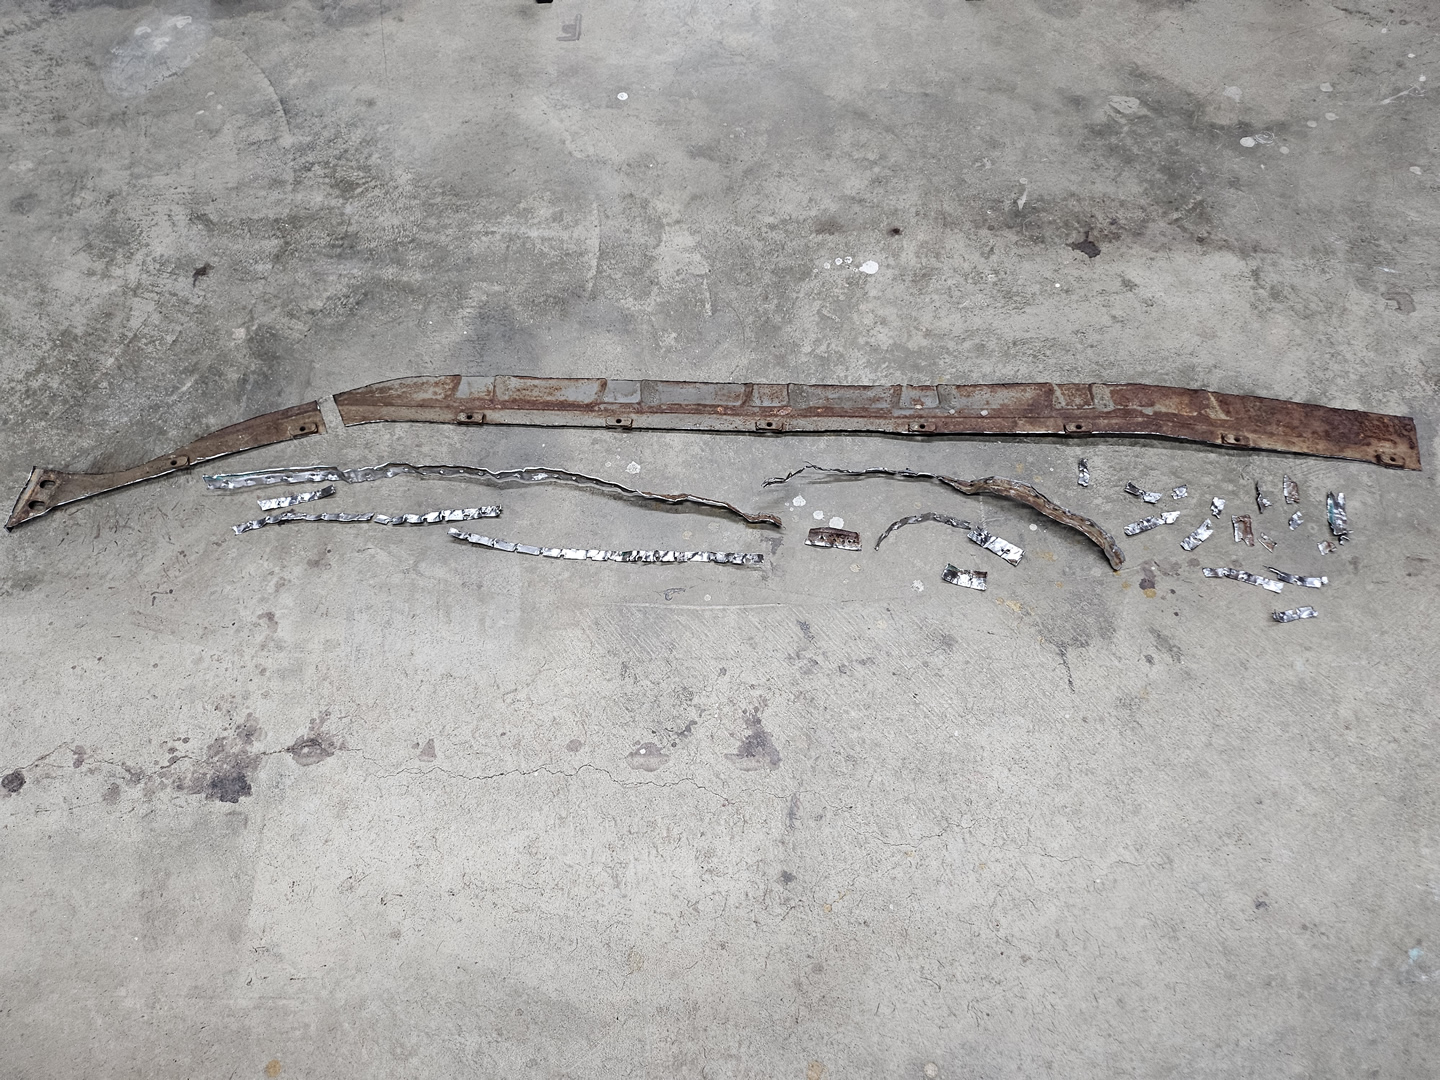
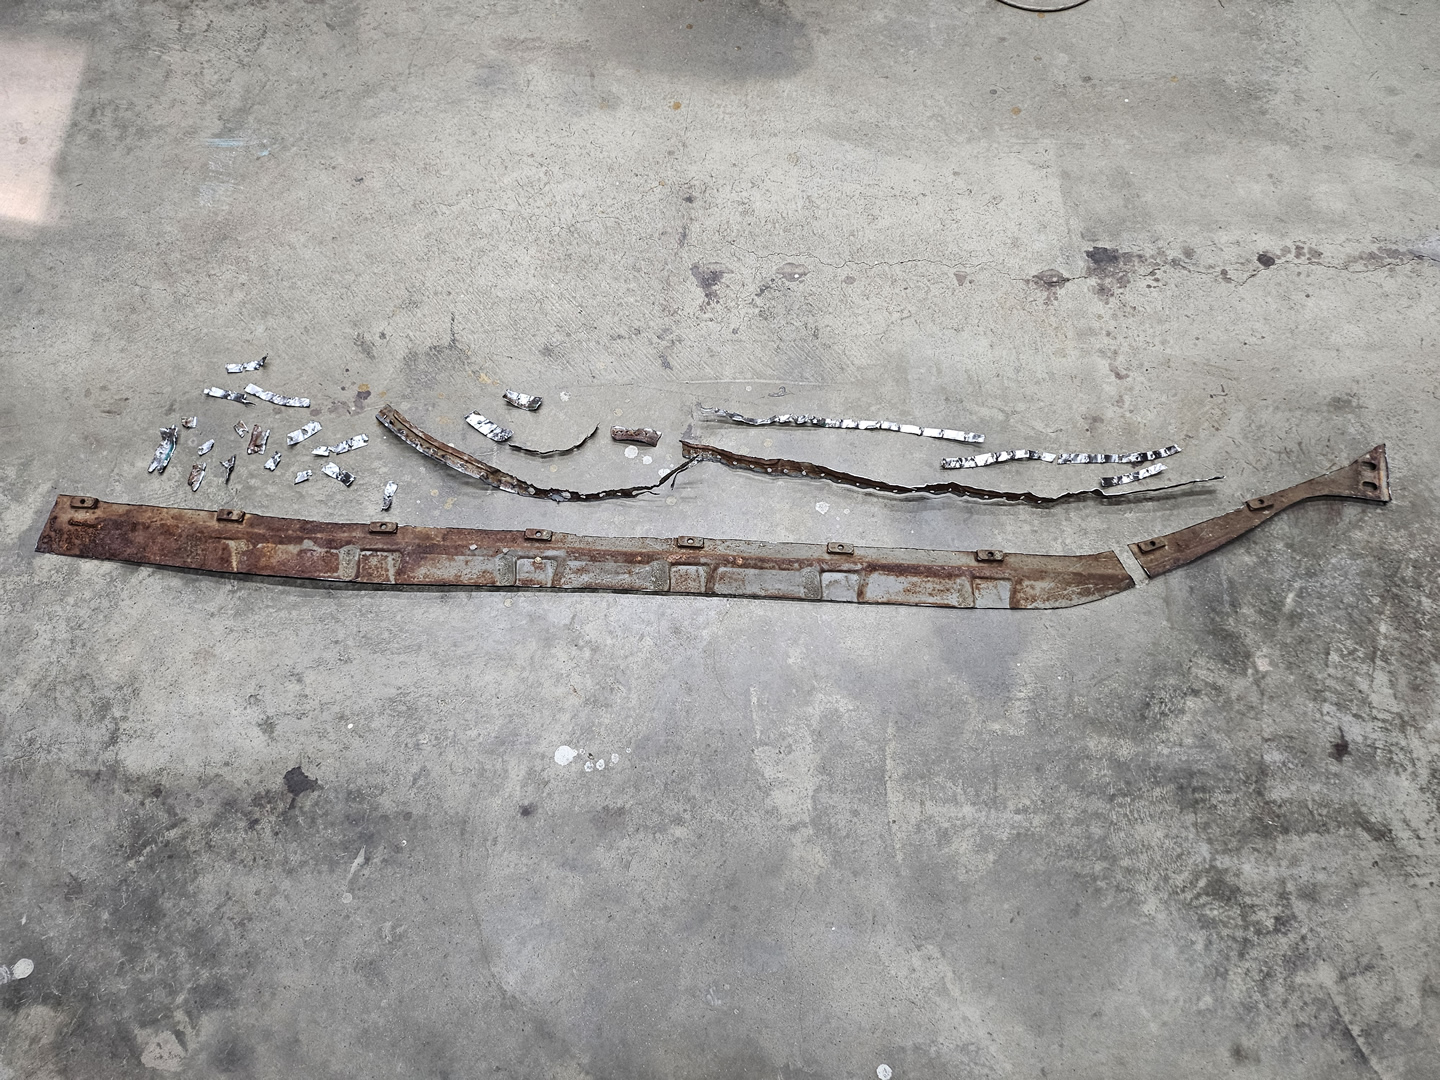
I started on the passenger side heater channel first. It is in the best condition of the two. I first went through and welded up any holes or deep cuts from the spot weld cutters I used when I was removing the remnants of other panels. I then started removing the bottom plate. This is not an easy job. There are around 100 spot welds on each side of the bottom plate. I found that the best way to remove the plate was to grind down into the spot welds, cut the bottom plate on each side about 3/4" from the edge, and then peel off the strip that was left of the plate. This took many hours to do both sides. I took my time and tried to be very careful not to damage the metal underneath the strips. Once all of the plate had been removed, I then ground off the pieces remaining of the spot welds and cleaned up the flanges on both sides. I was pleased to discover that there wasn't a lot of rust on the inside of the channel.
|
|
|
|
|
|
|

|
|

|

|
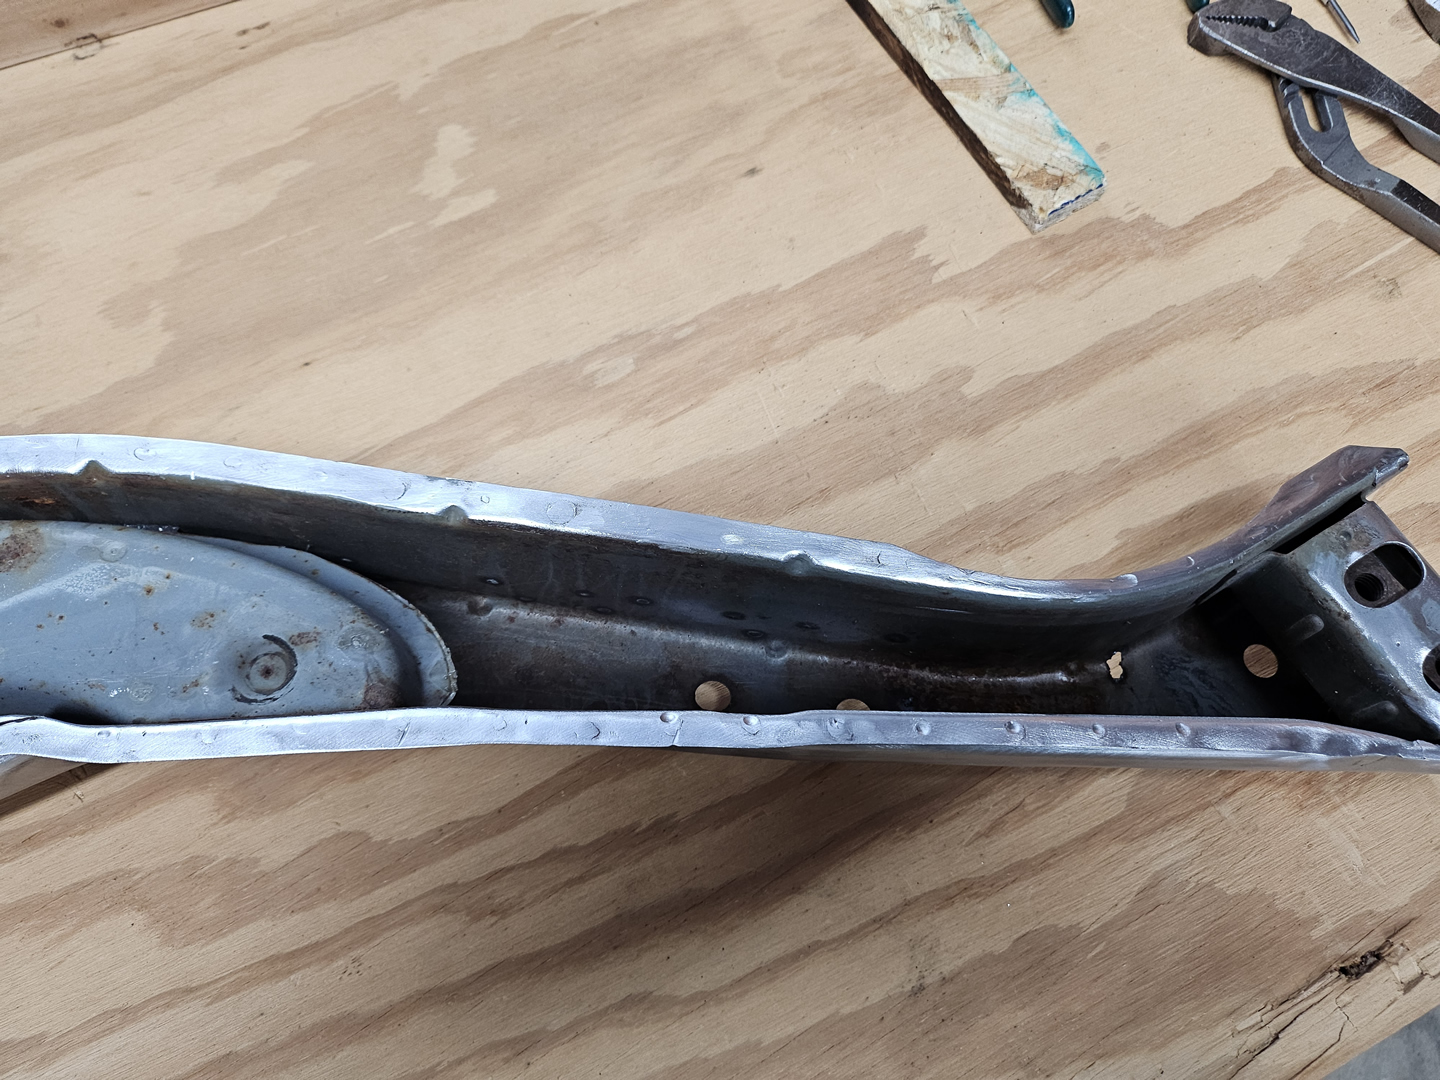
I discovered one weird thing that inner side part of the front end cap where the threaded plate is mounted - this side is not attached to the body of the channel. It is on the outer side, but not on this side. The bottom plate, however, is welded to this part of the end cap. I'm not sure why it is designed this way. Perhaps it is to give it some flexibility to this area when attaching to the bottom of the front firewall.

|

|
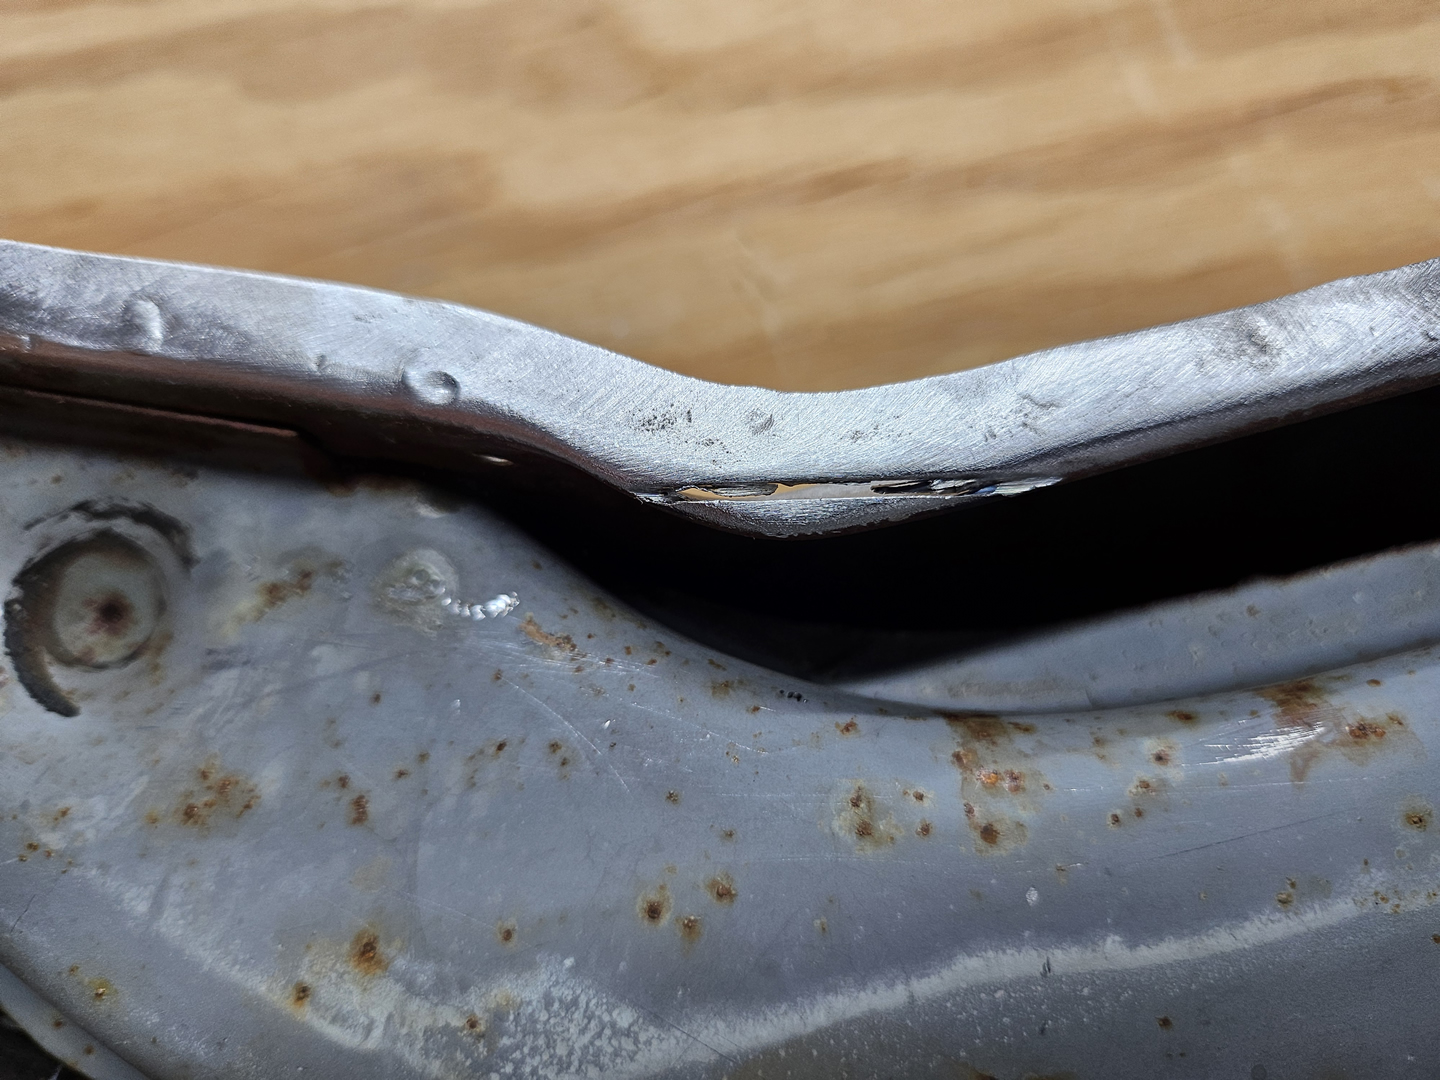
Also, I was a bit careless and cut into a sharp bend of the channel when removing the bottom plate. More welding practice.
|
After the plate was completely removed, I was left with a pile of rusty and twisted metal. Overall, it was worth the effort to remove the bottom plate on this channel as it was very rusted and dented.
|
|
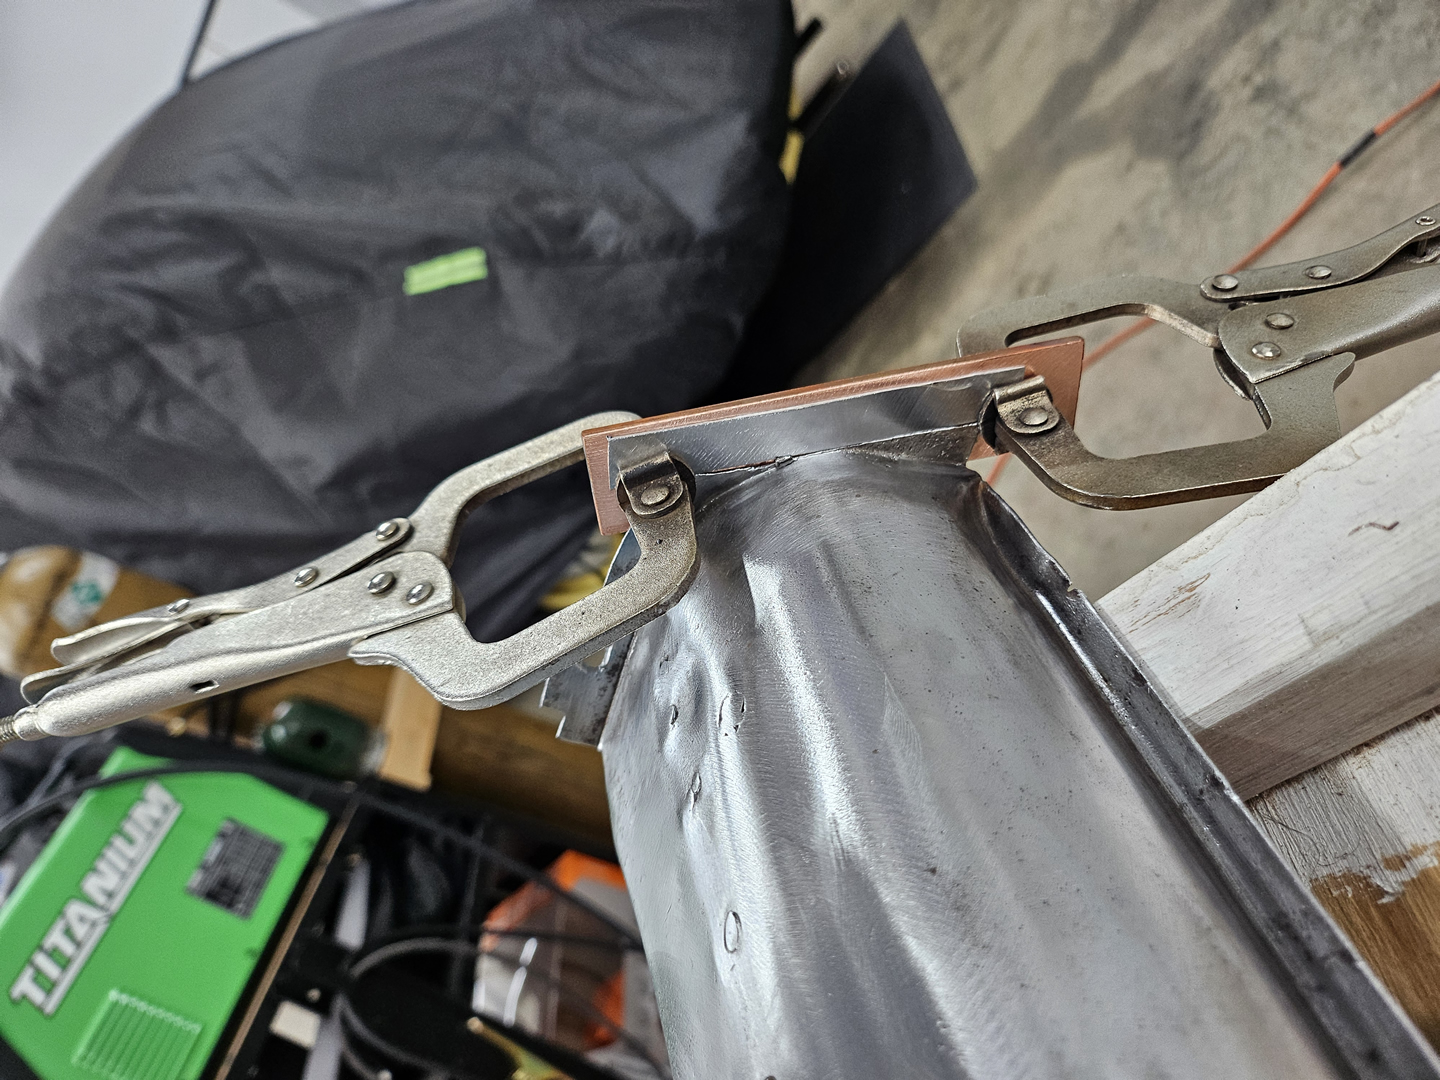
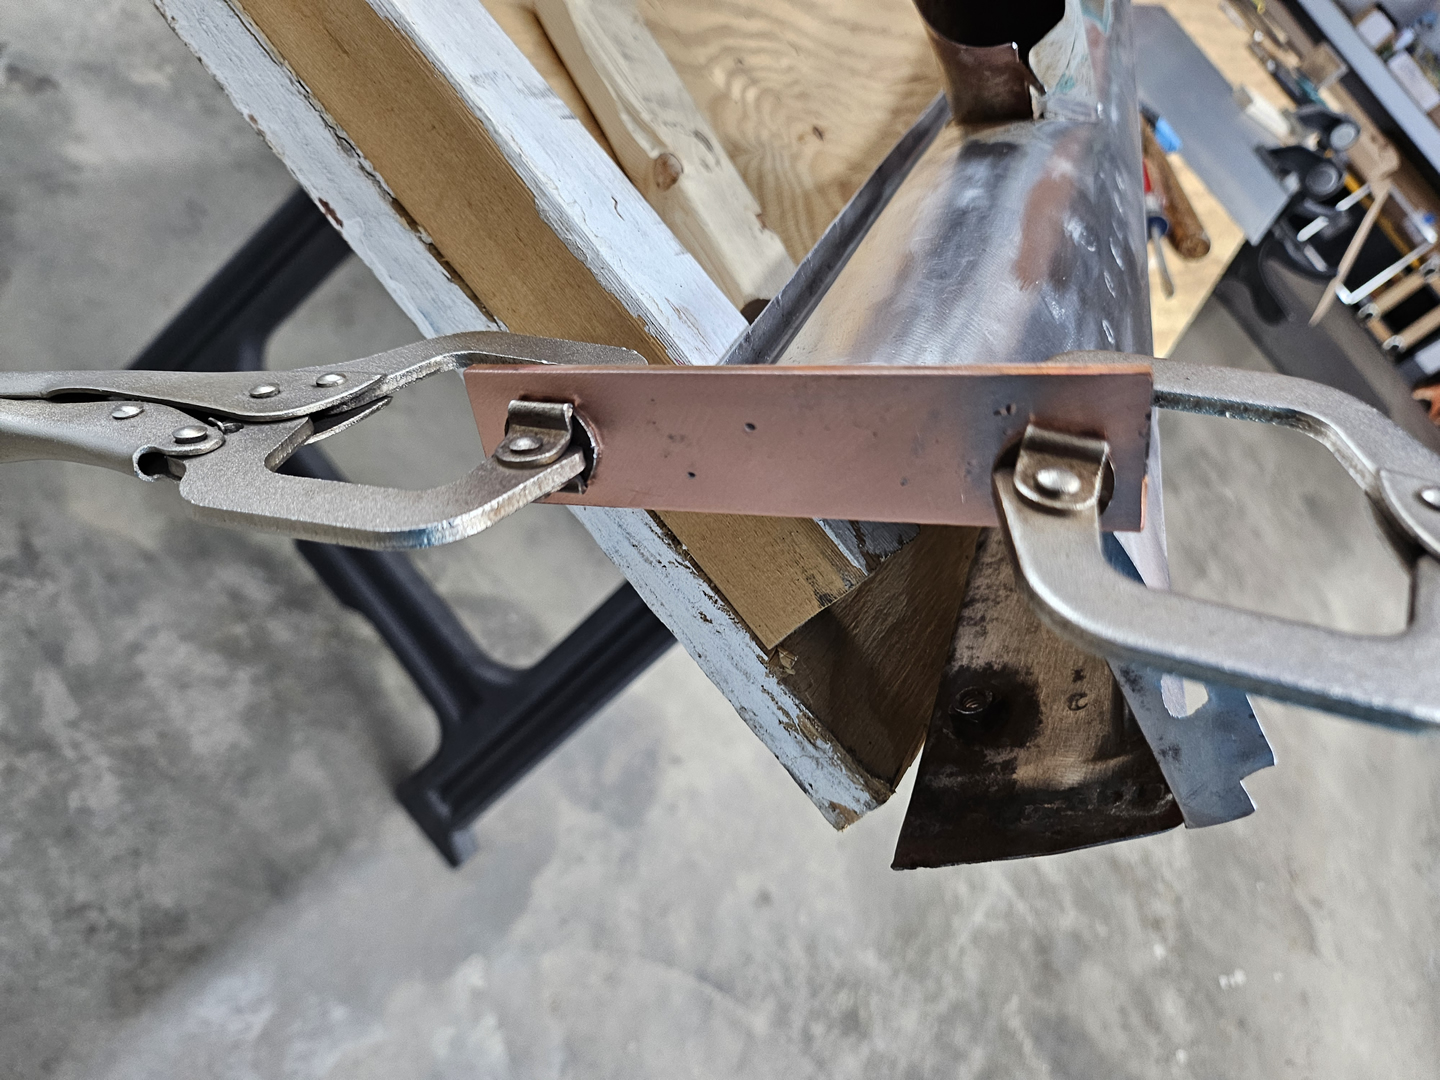
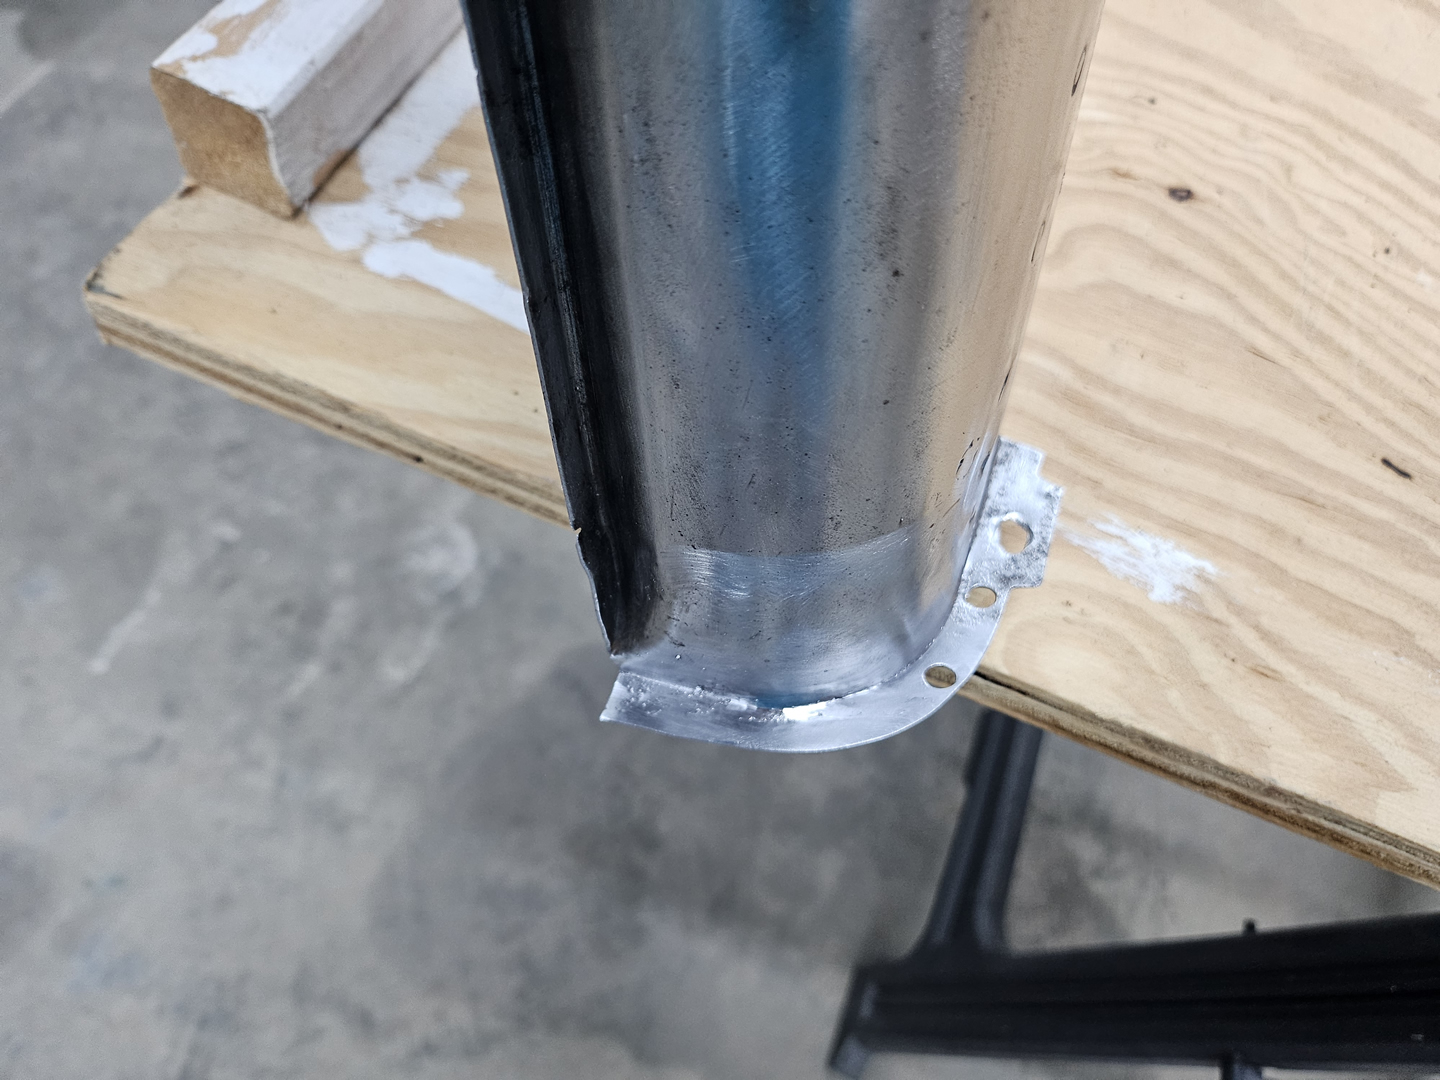
Continuing on with the passenger side heater channel, I decided to repair the flanges on the front and rear ends where they had been cut by the person who cut them off of the donor car. I did the rear flange first. This is where the heater channel is attached to the rear cross members. I used 20-gauge stock which matches the original metal. I used a piece of a flat copper bar which not only holds the repair piece flat and in place, but allows me to weld with a little more heat and get better penetration without blowing through the metal.
|
|
|
Next, I patched in a piece on the front flange of the end cap. Here, the flange is actually the end cap and the flange on the flare of the end of the body of the channel. But since I wasn't going to remove the end cap for any reason, I just welded in a single thickness of metal that was equivalent to the two pieces combined.

|

|

|
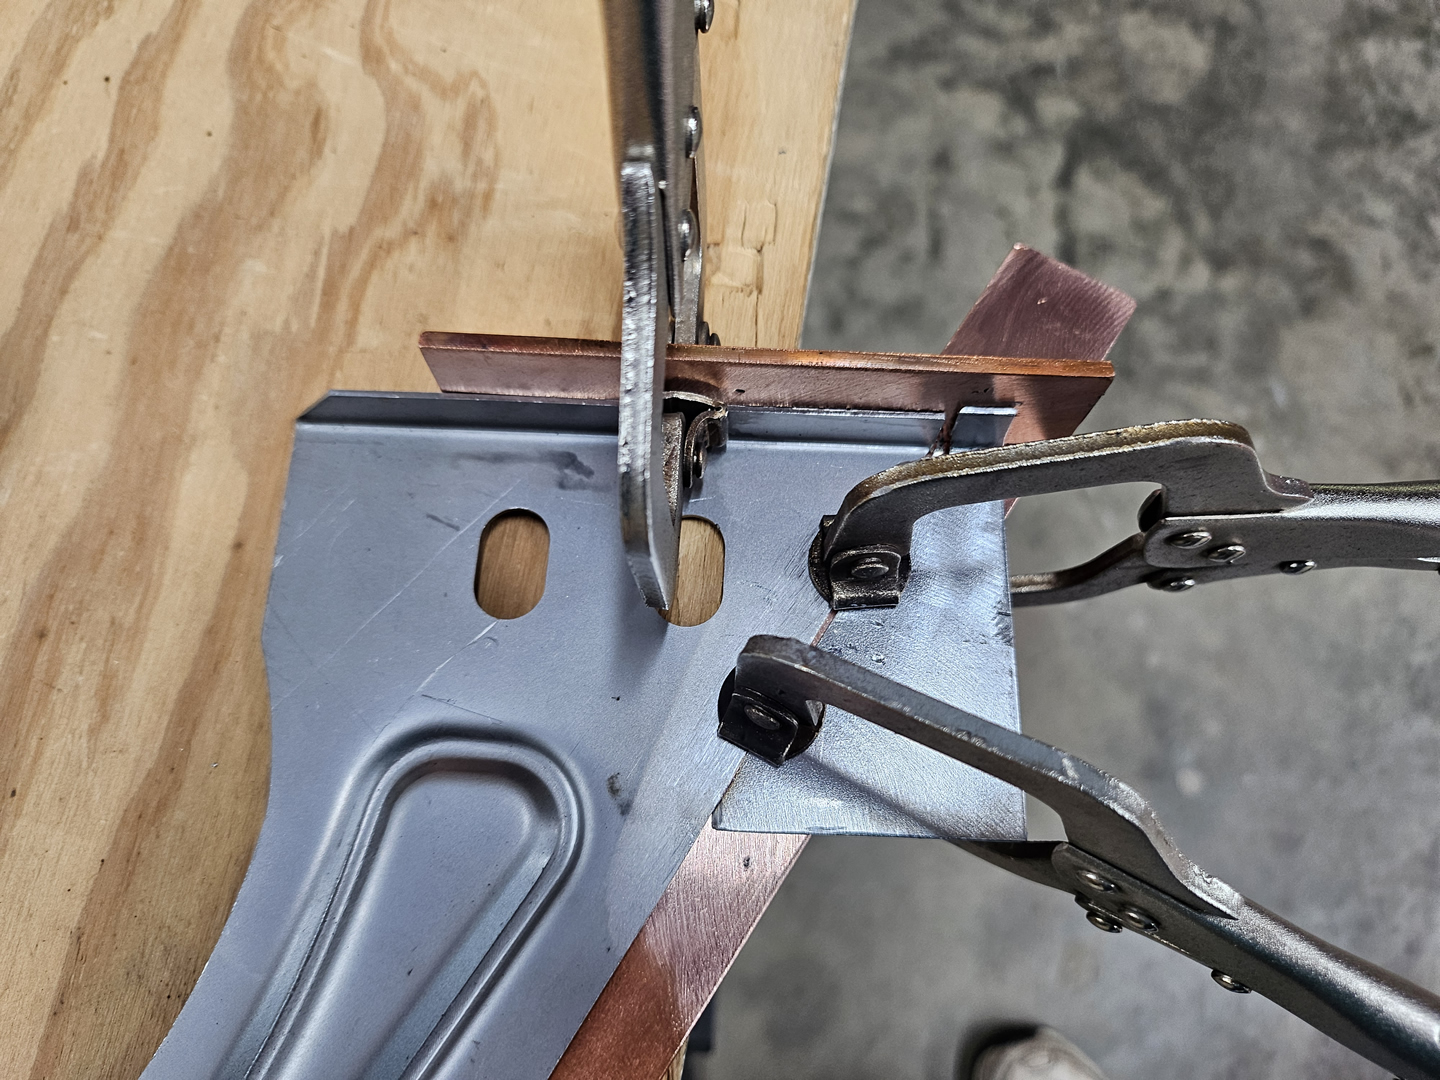
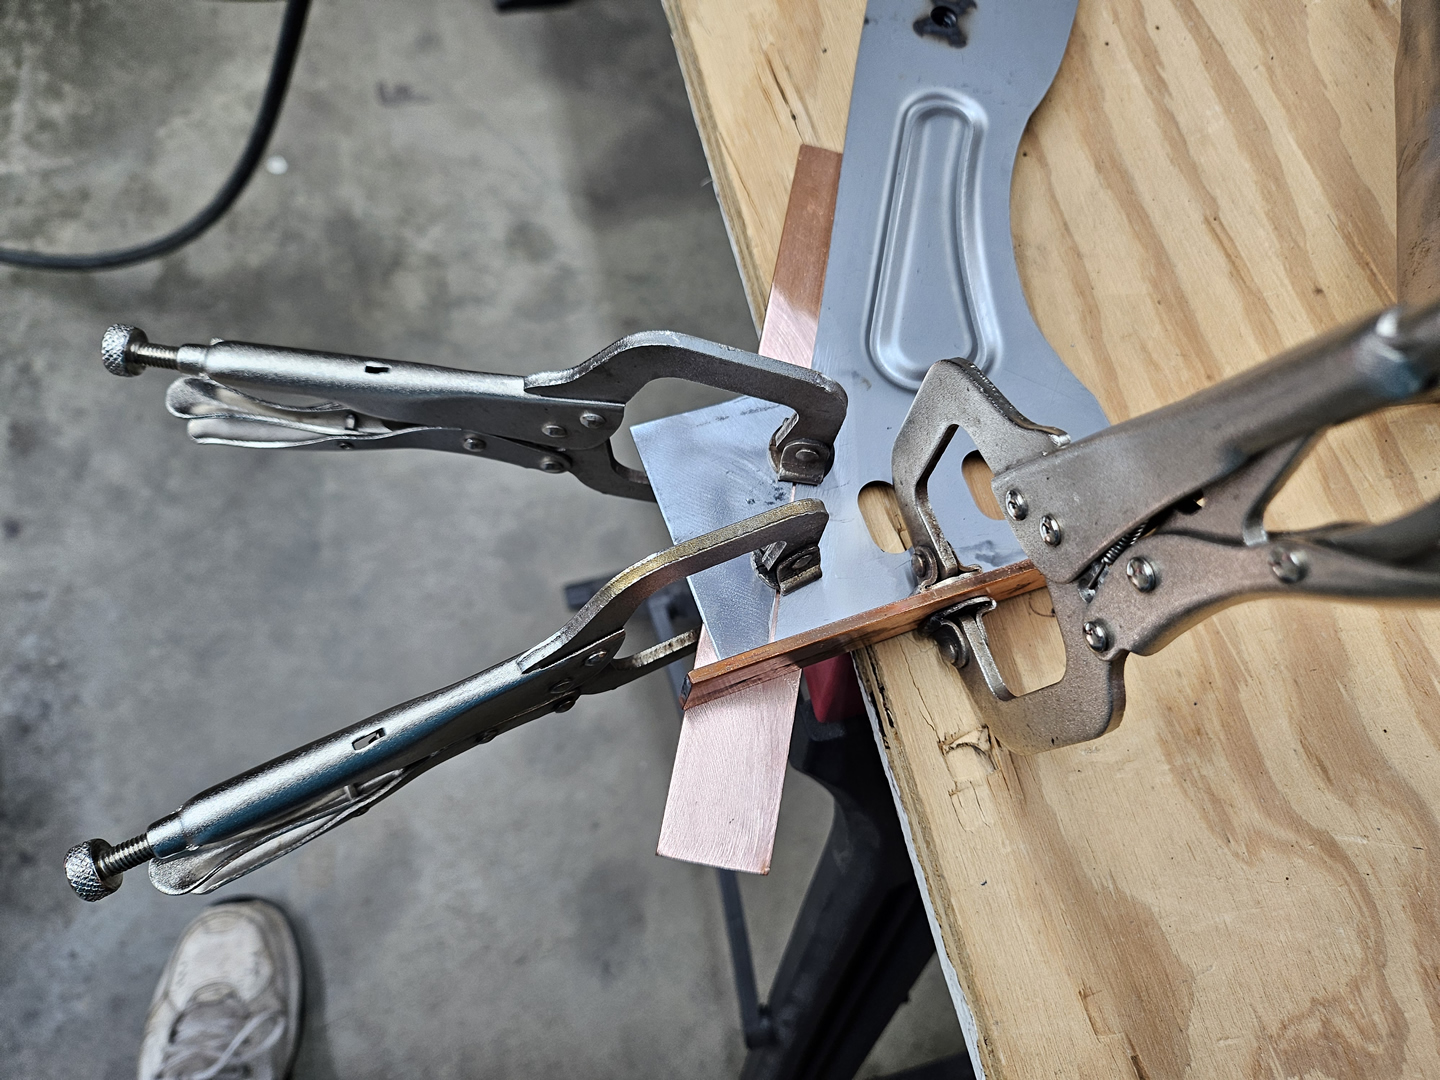
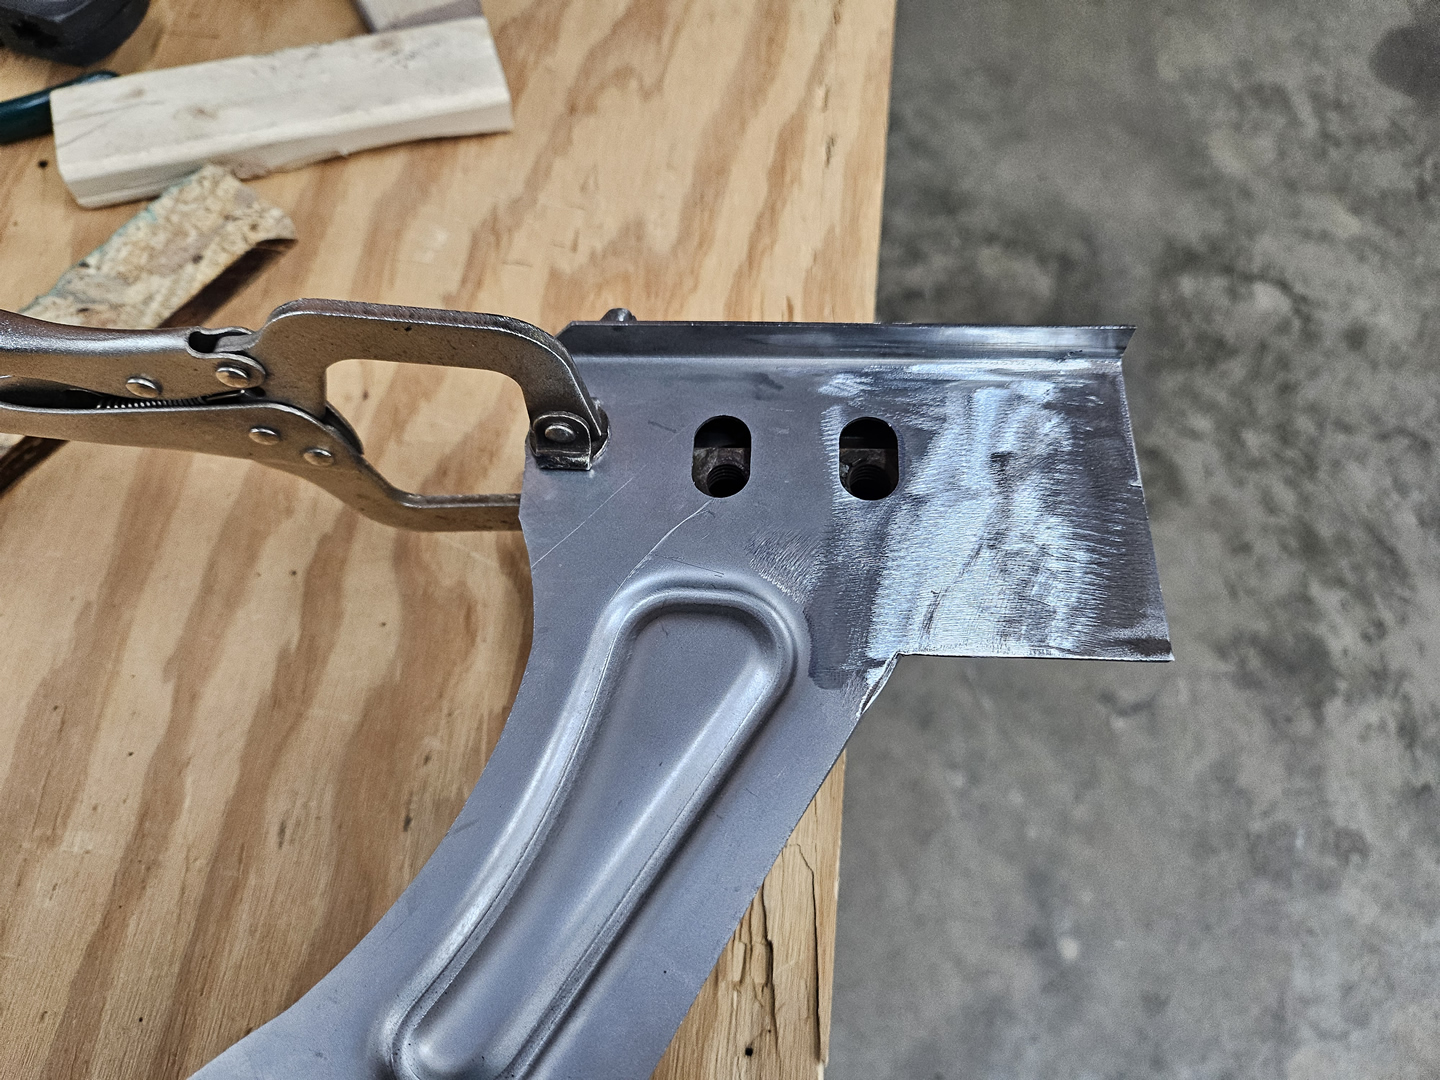
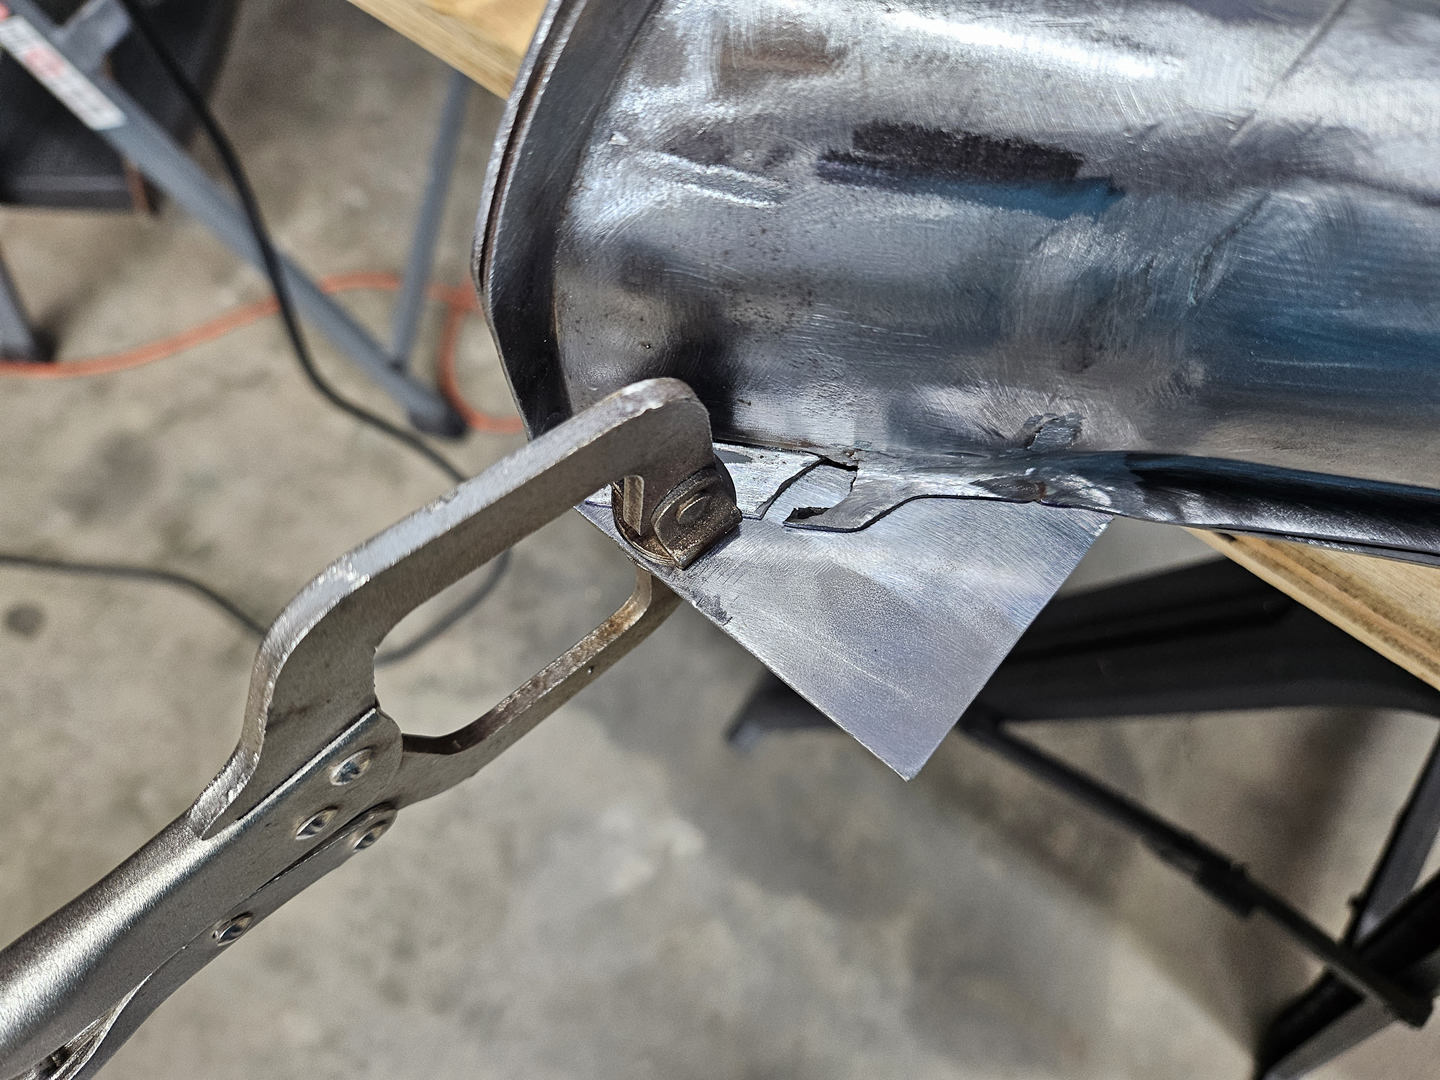
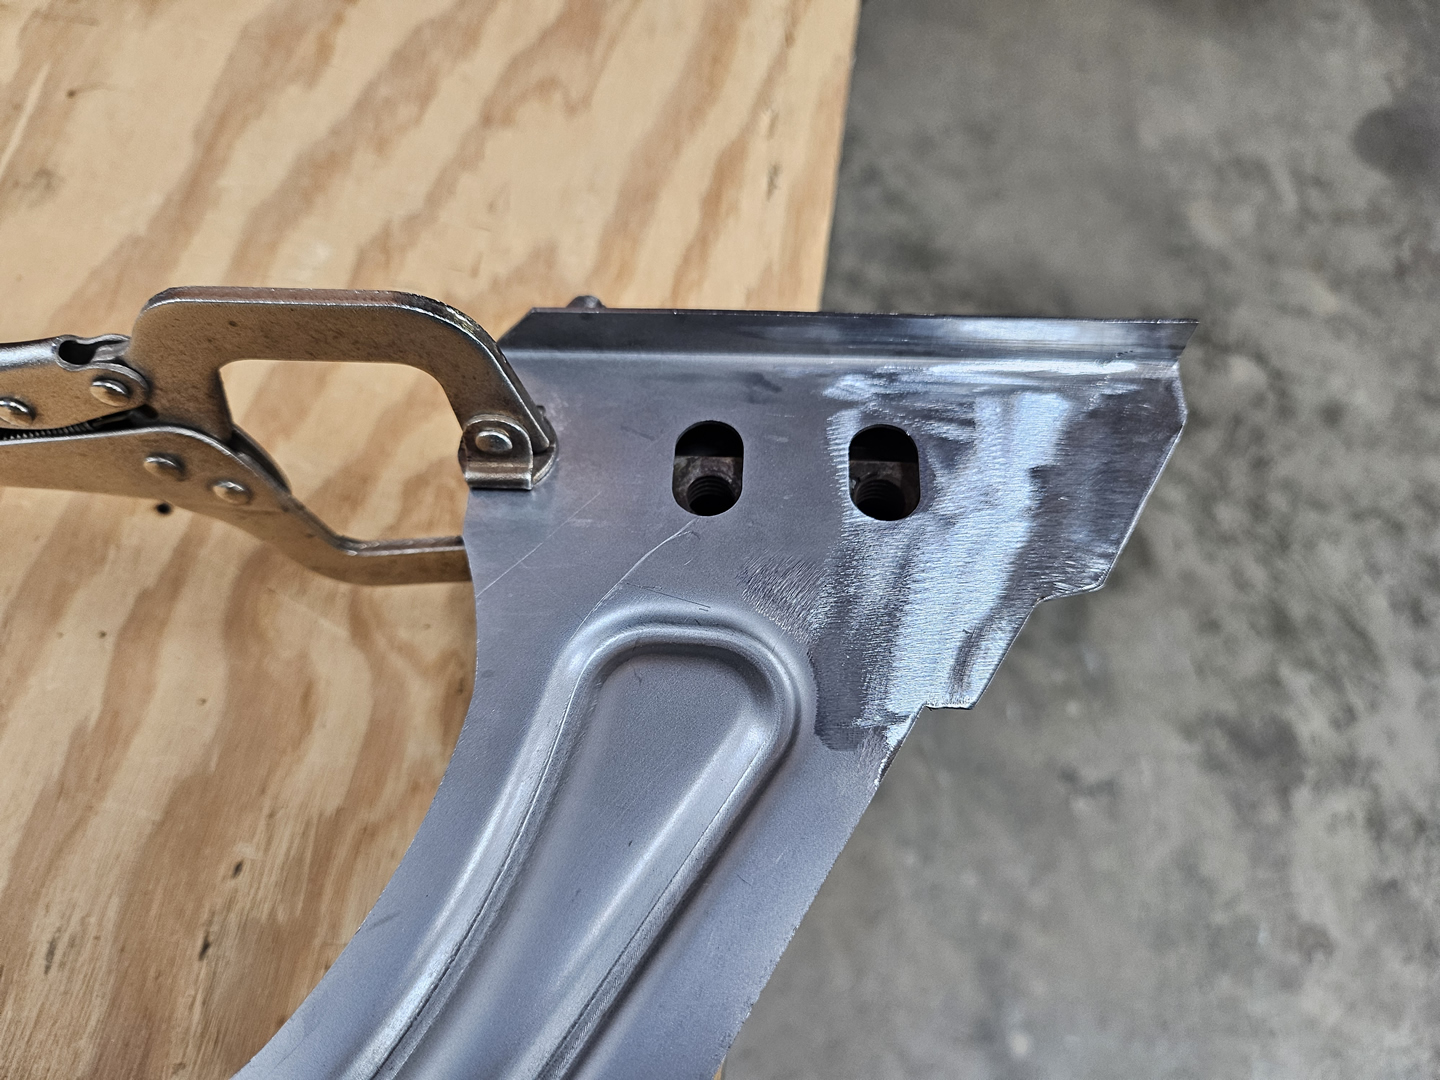
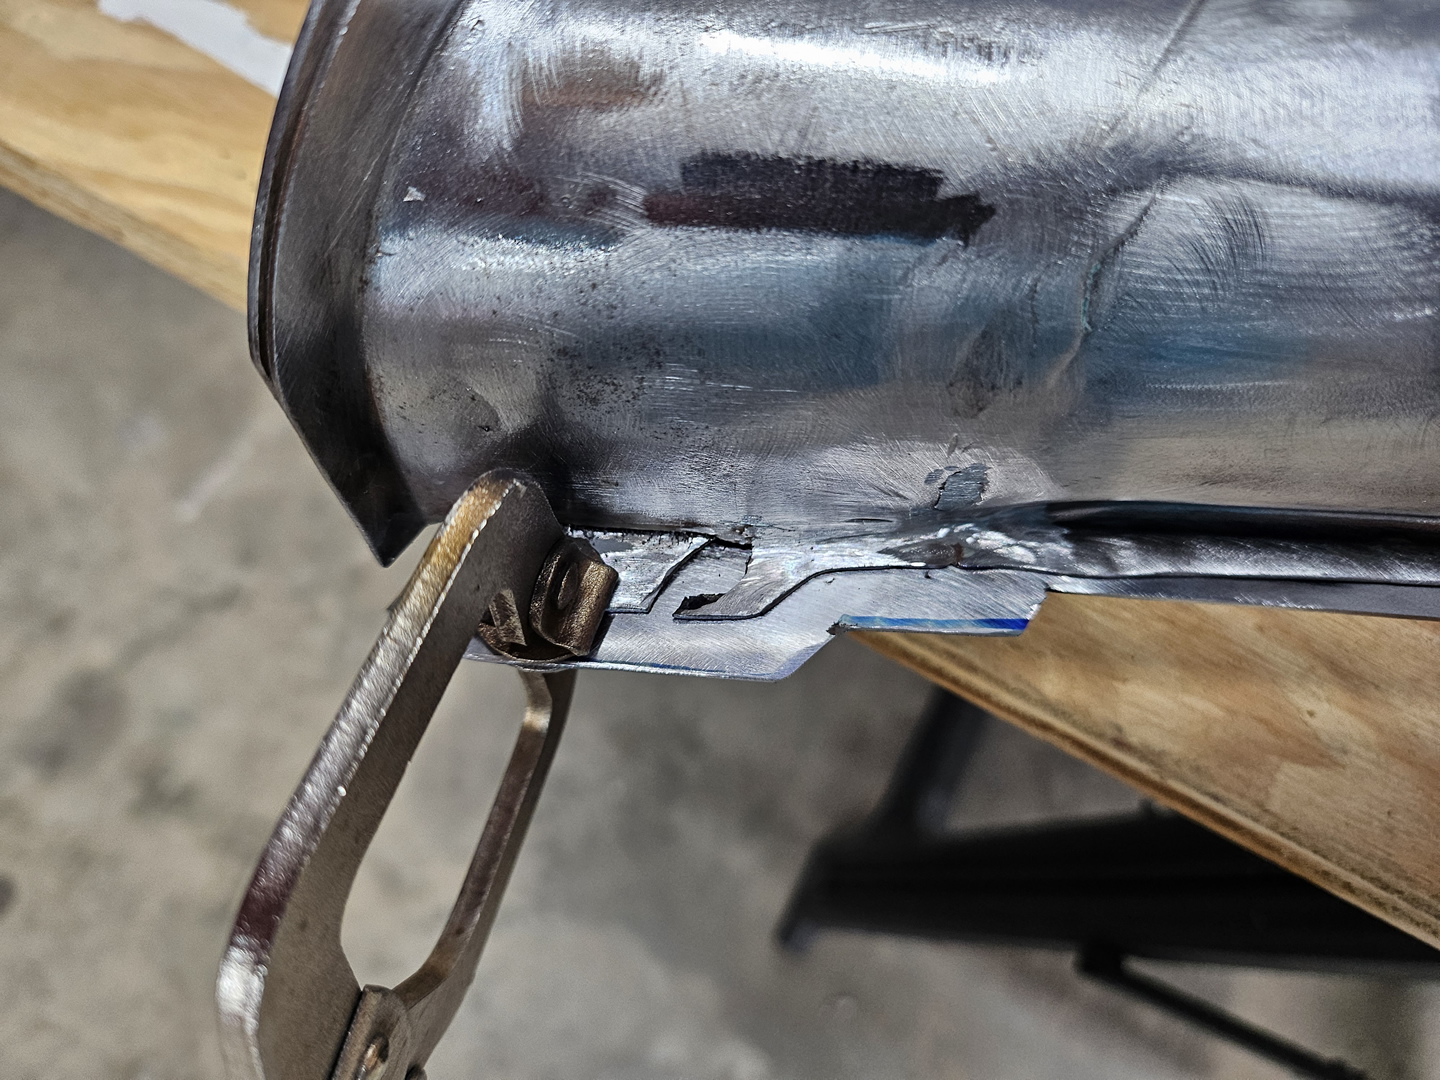
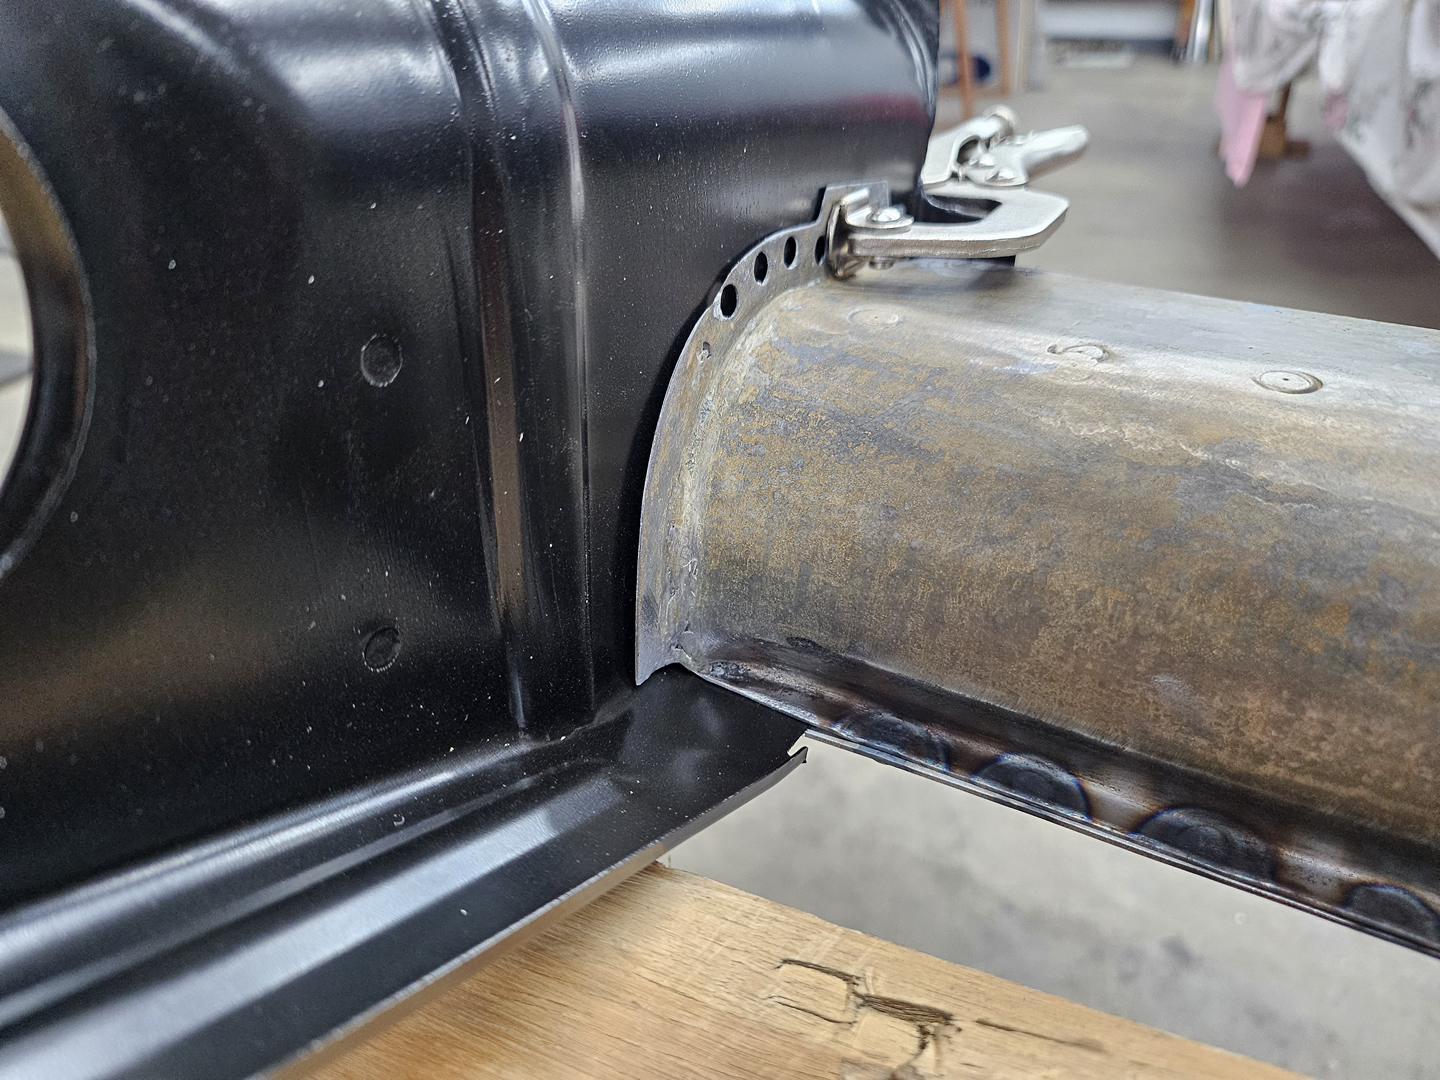
On the bottom plate for the passenger side channel, I added a piece of metal to flare out the inner side of the front edge. Both heater channels had this flare on the inner sides and I am matching what they had originally. This area is seam-welded to front firewall. I'm not sure if this is necessary, but test fitting the channels to the front firewall indicated that this would help to have more metal to seam weld this weld joint. I made the piece oversized and I will trim it later after the bottom plates are welded on and then when fitting the panels.
|
|
|
|
|
|
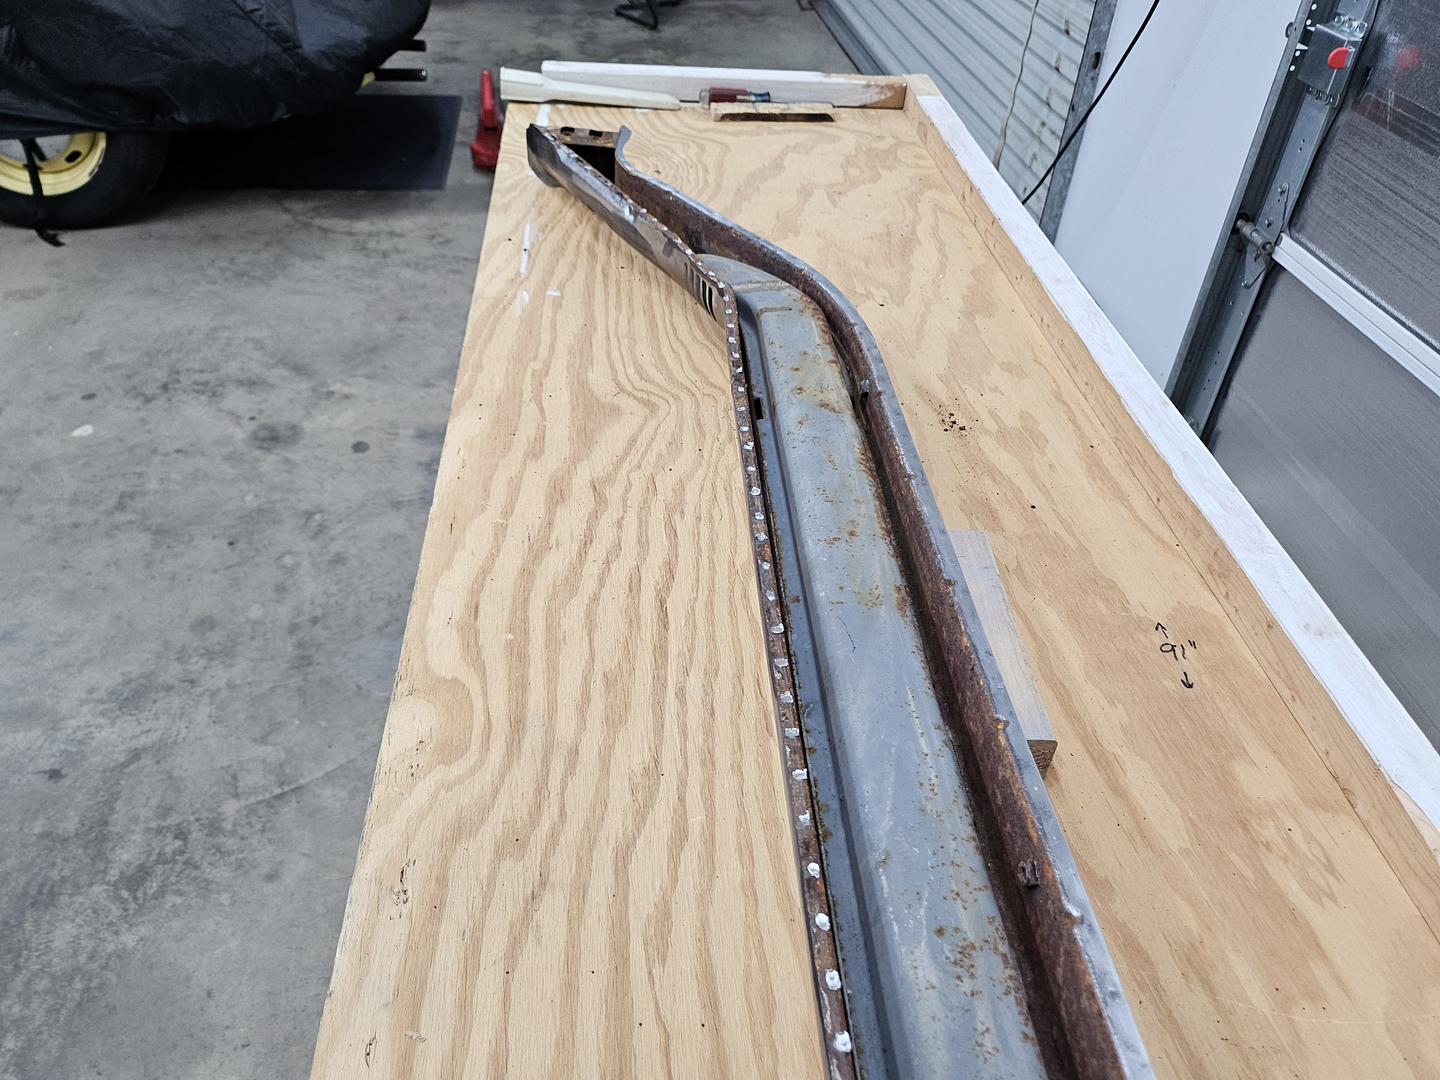
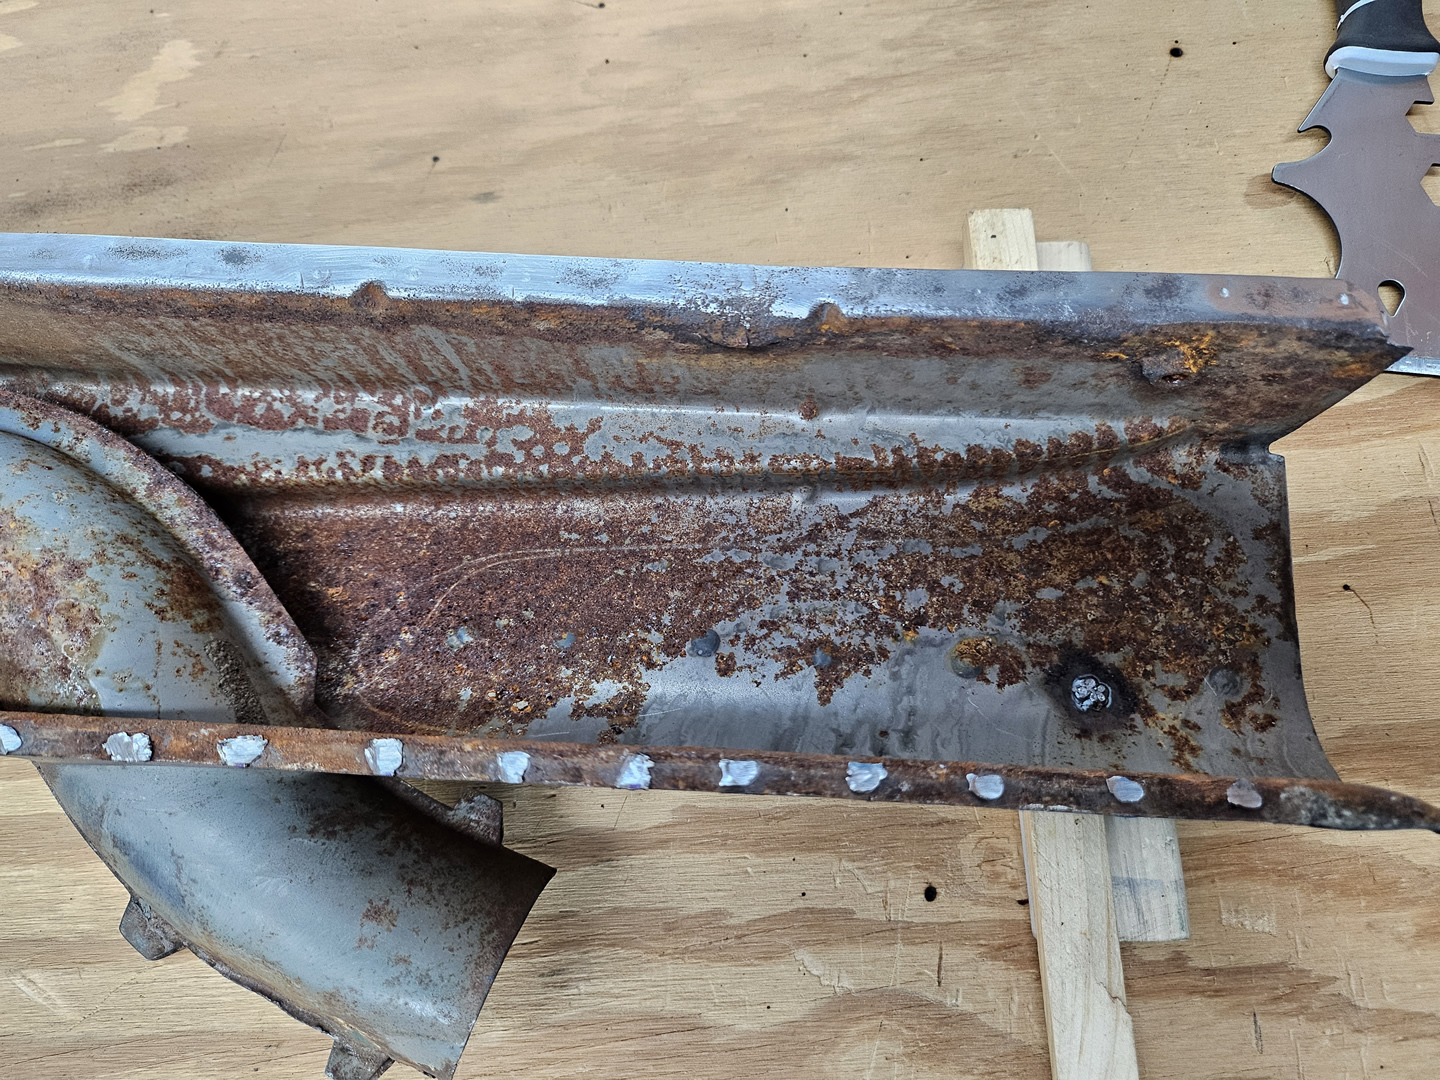
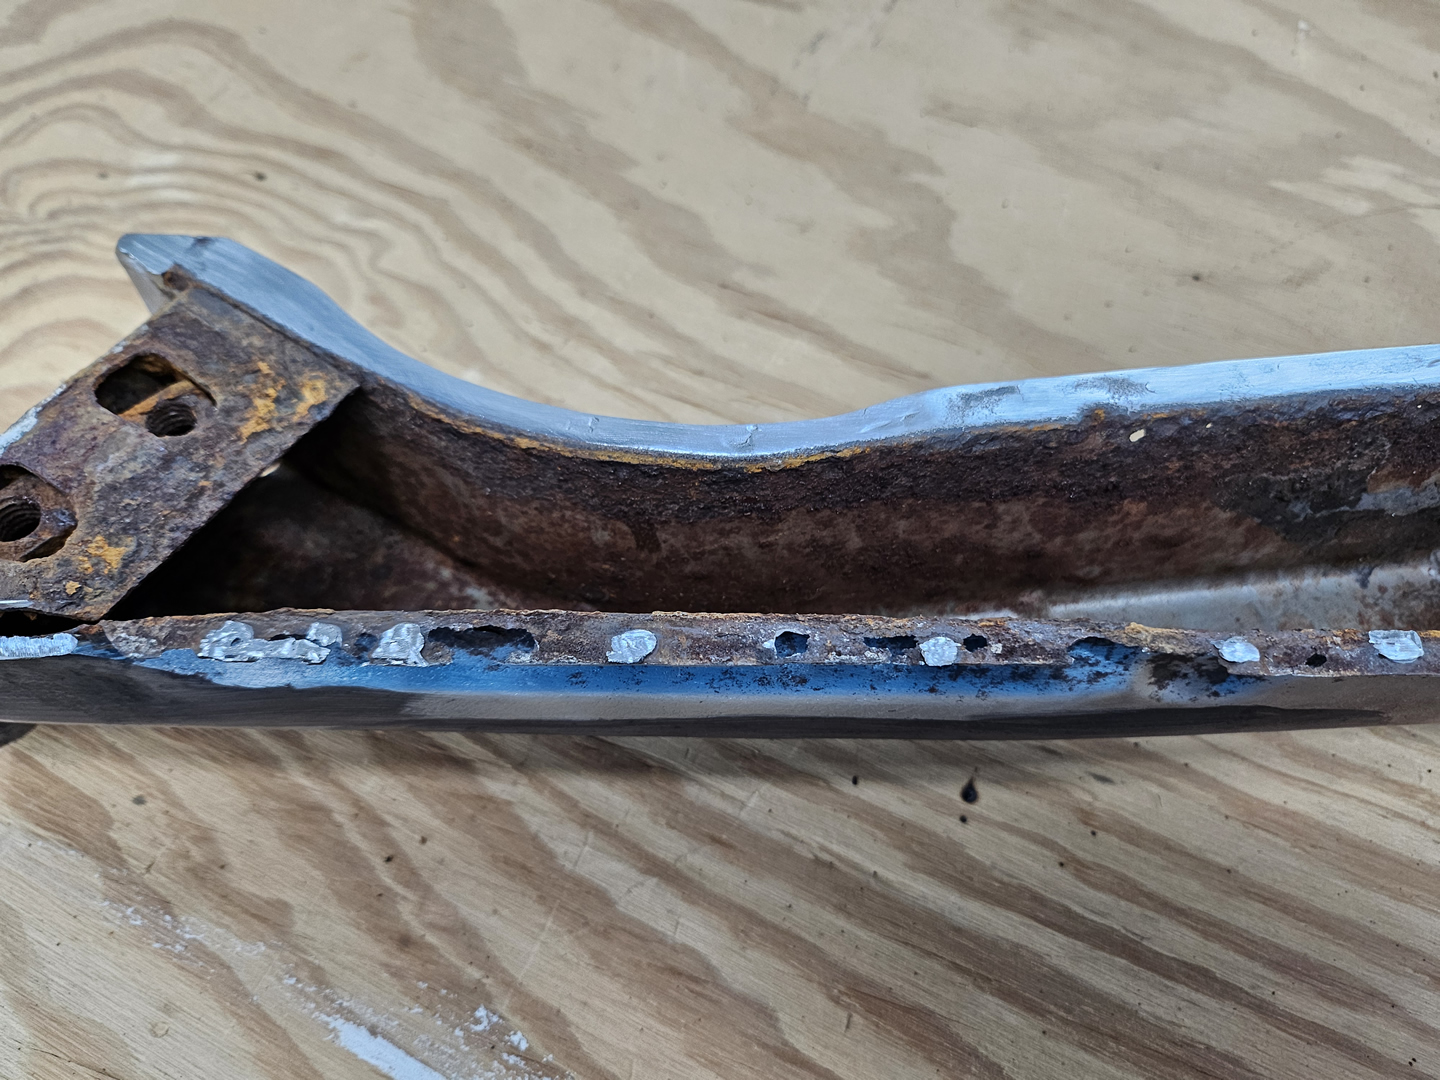
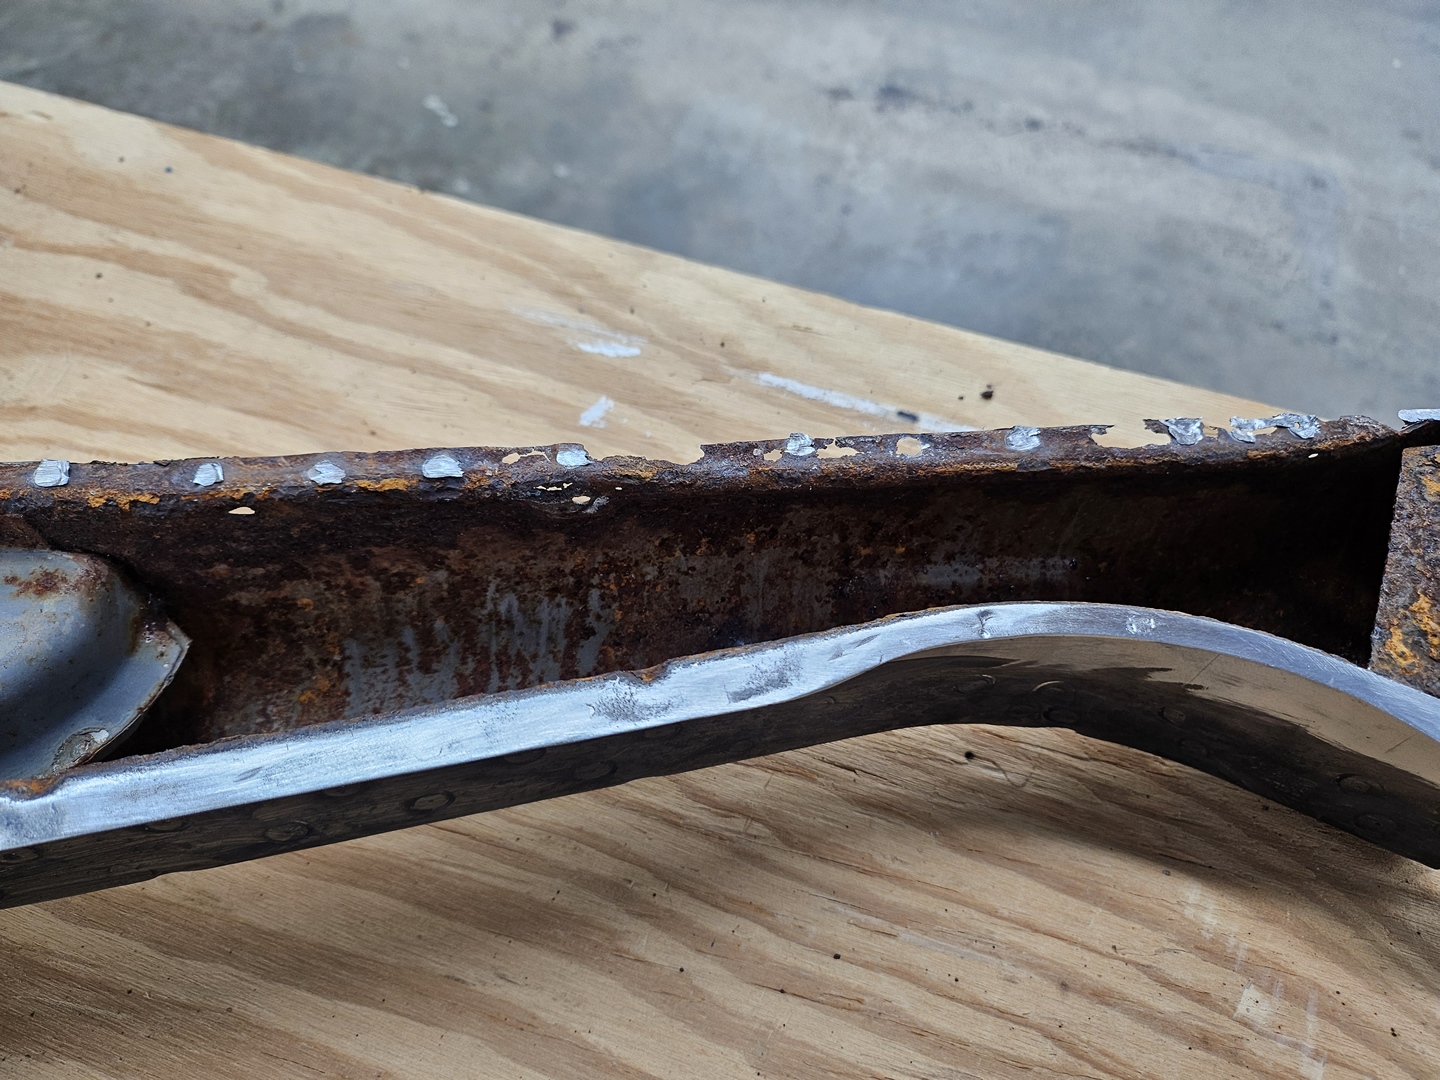
Now on to the driver side heater channel. I removed the bottom plate and again, it took several hours to grind out the spot welds and peel off the plate. This side has way more rust and quite a bit of rust damage on the front end. I will have to make and replace a few areas and will need to remove the front end cap and rebuild it. I welded up any scars from the spot weld cutter when I removed the remnants of the panels when I first got the channels, and also welded up any carpet nail holes. This channel also had many unneeded holes in it, and I filled them as well.

|
|
|
|
|

|

|
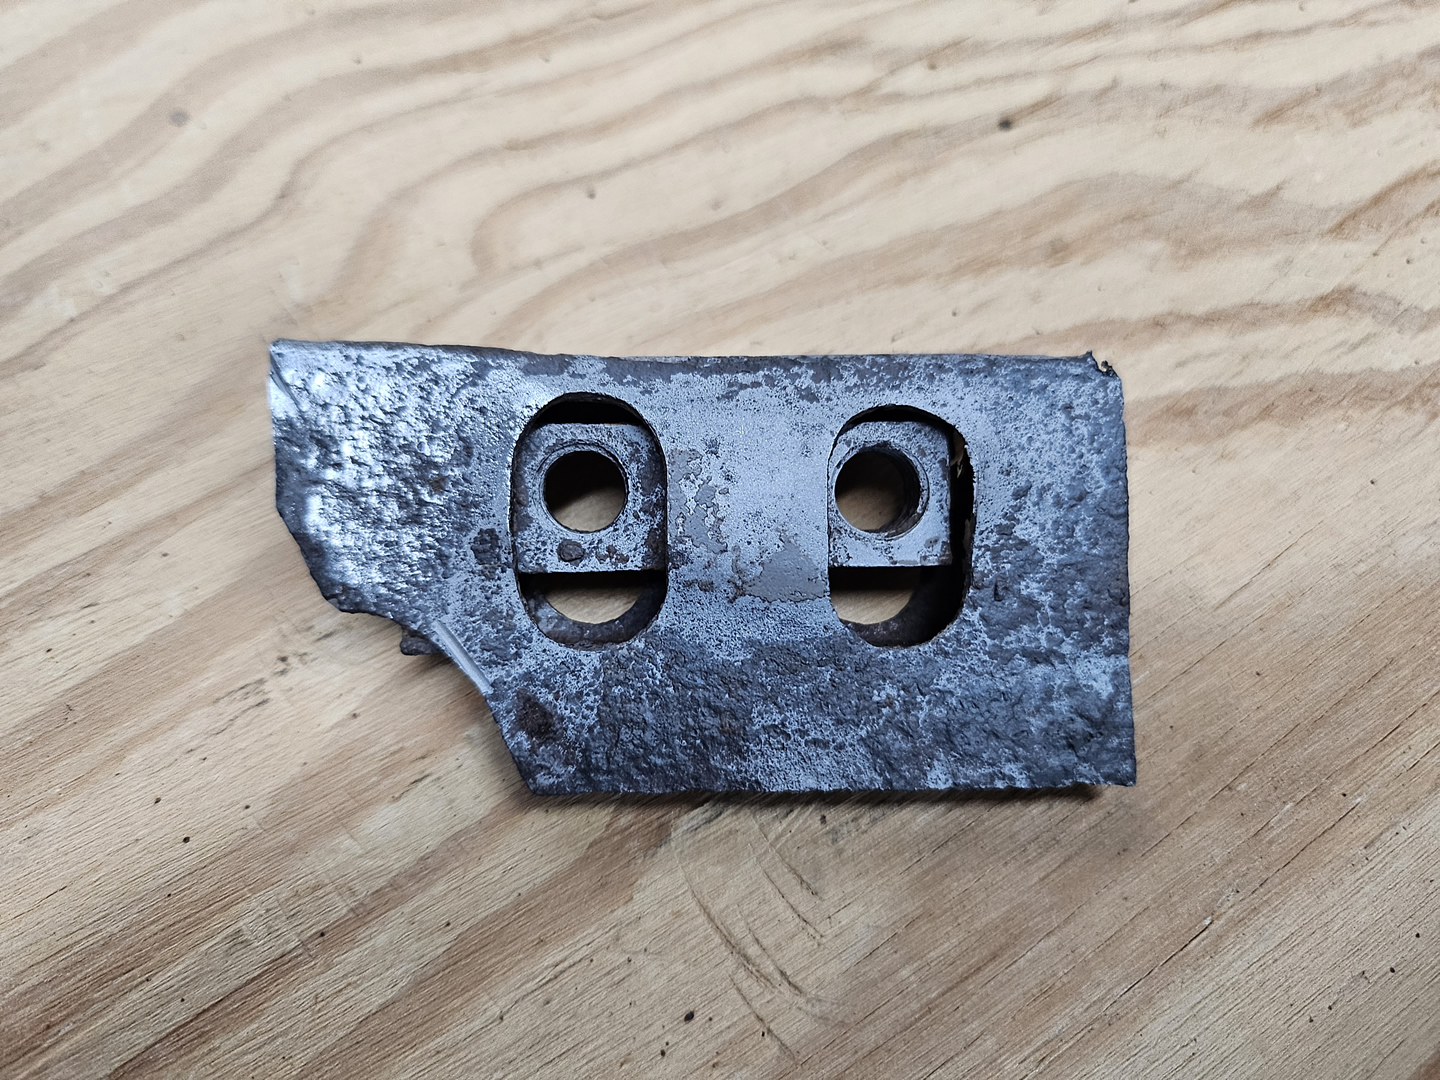
I removed the end cap and it is in very bad condition. I sandblasted it just so I could tell just how bad the rust damage is. I will definitely need to cut out a section of it where the threaded plate and its cage are attached, as well as replacing the cage and the threaded plate.

|

|

|

|

|

|

|

|
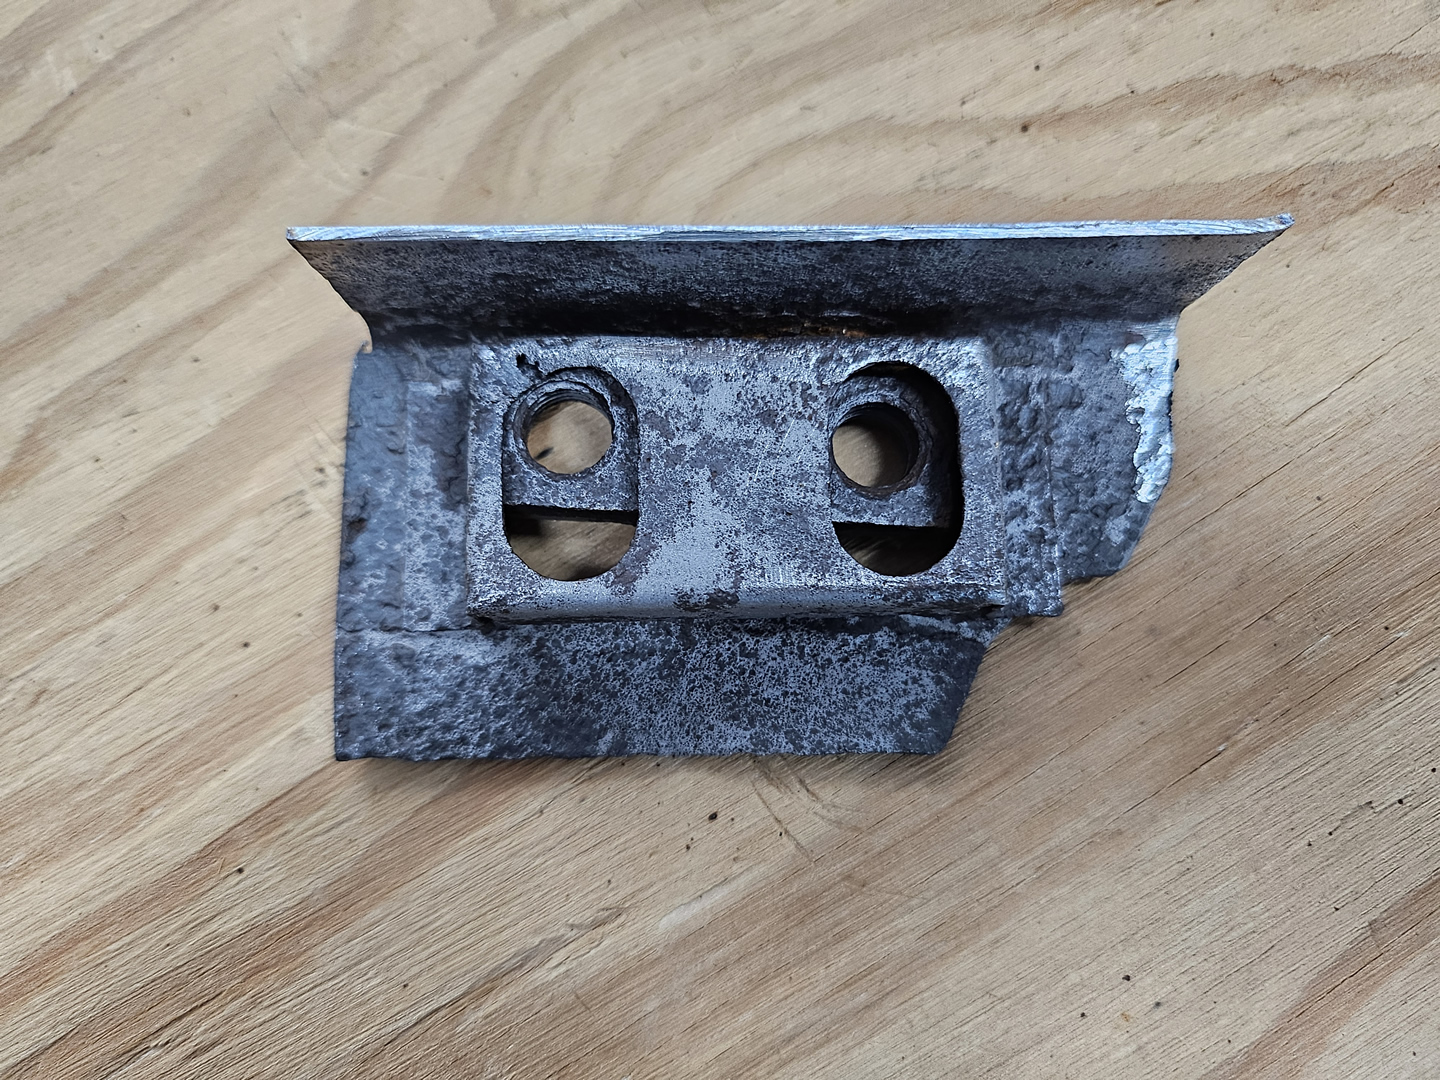
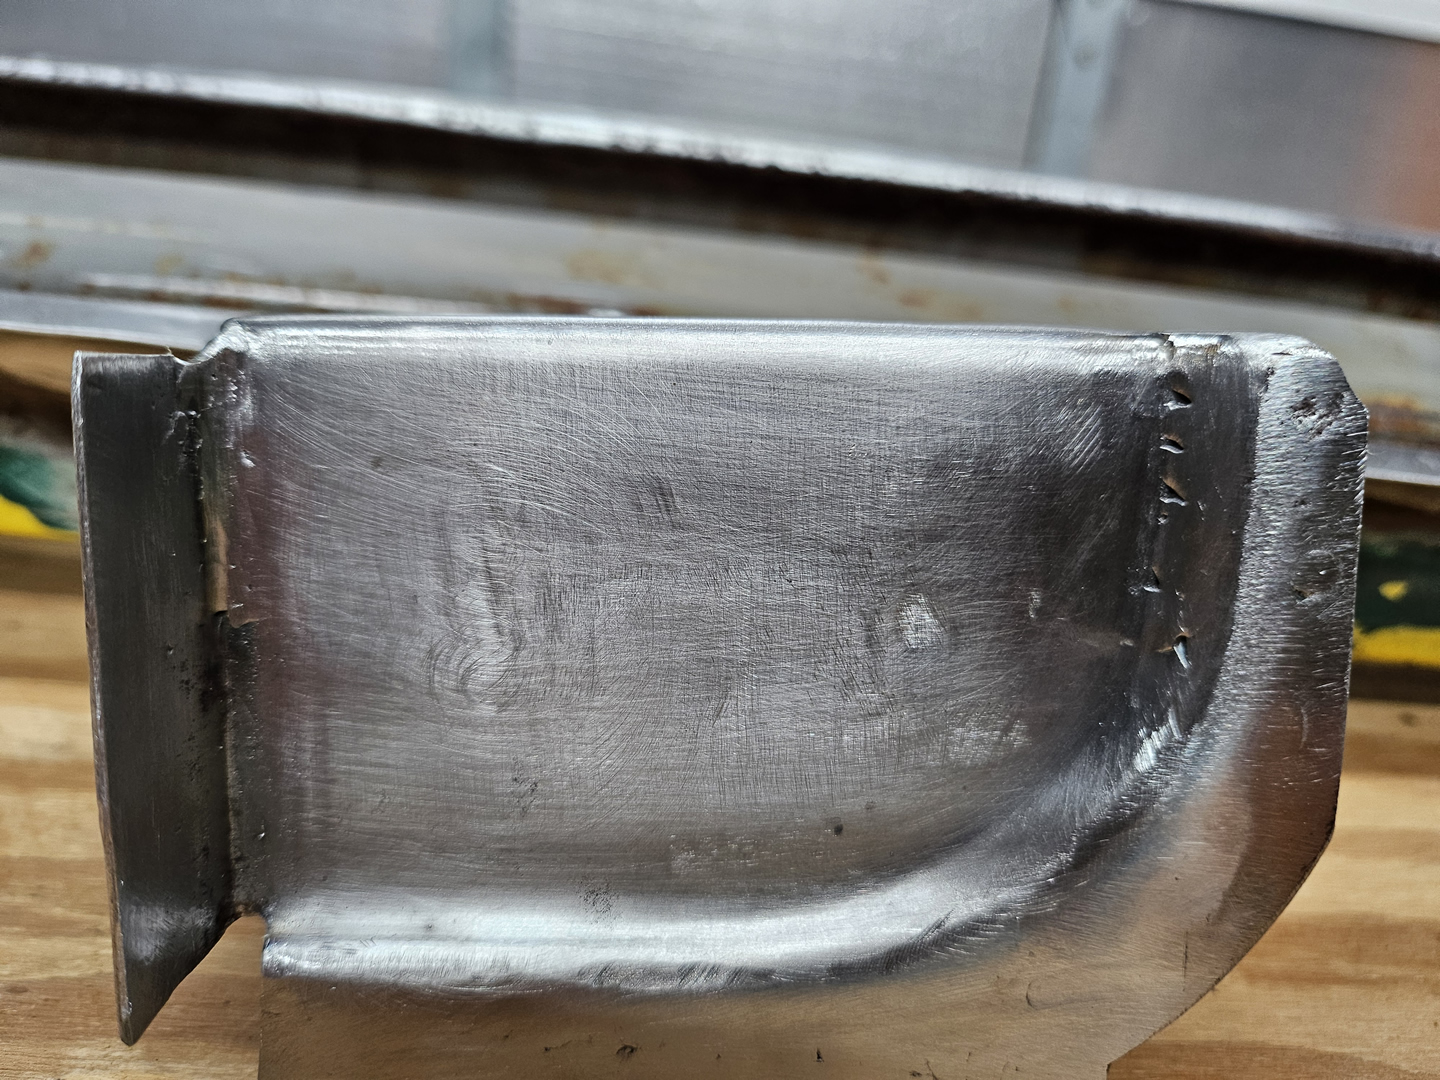
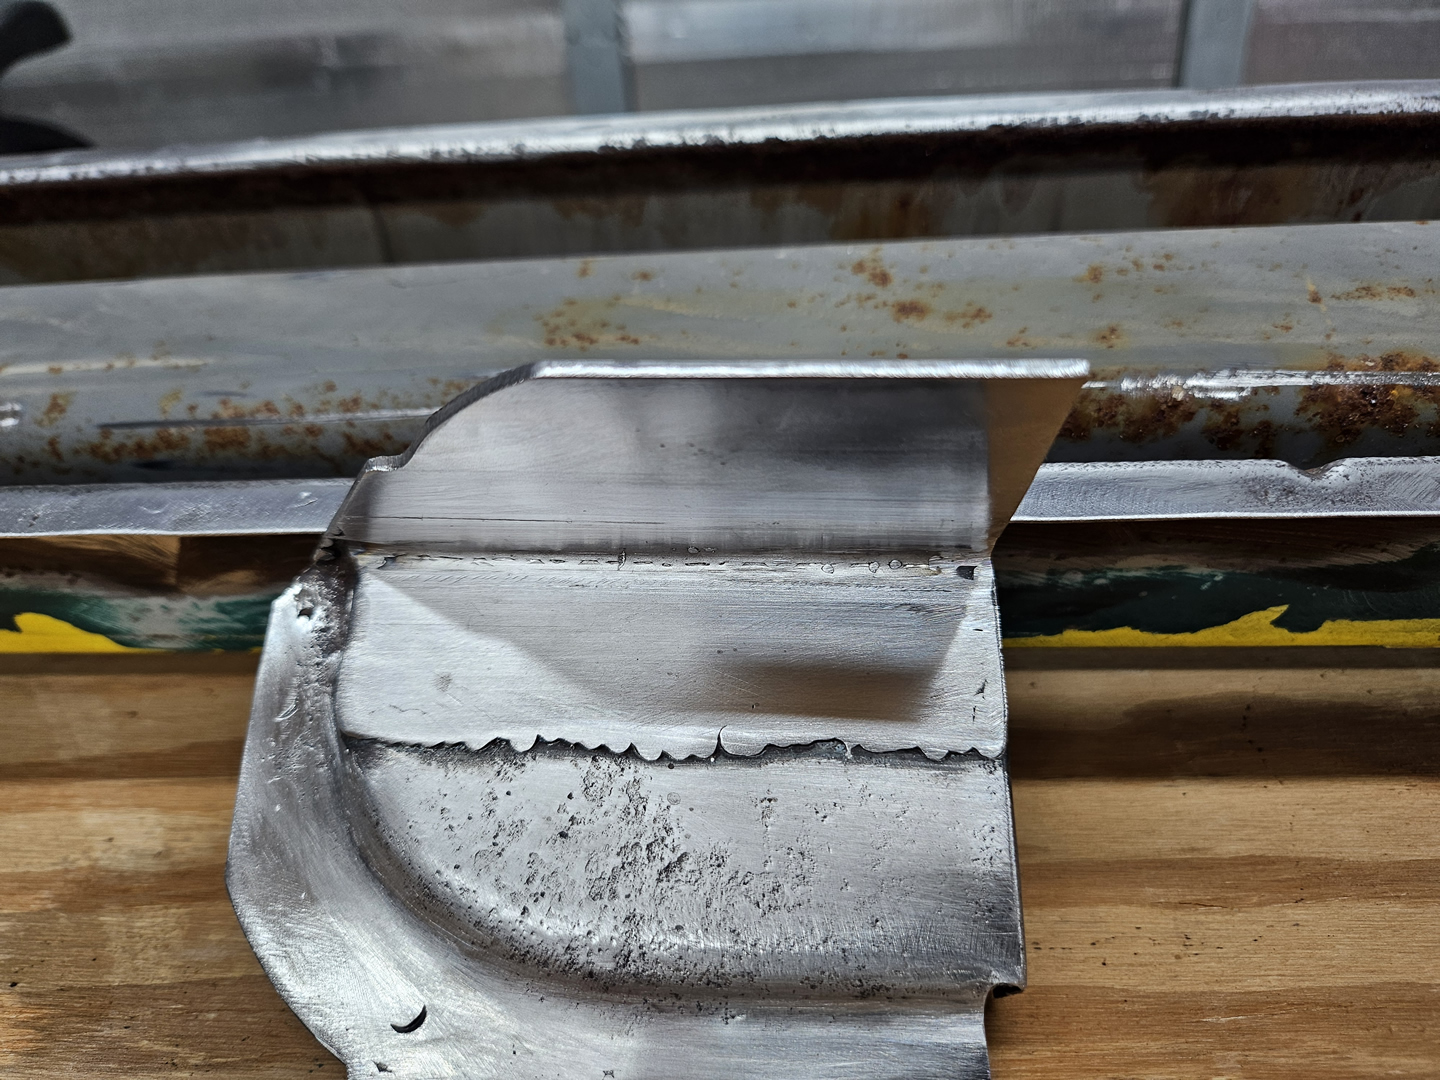
So I cut out a section of the worst damage and fabricated a new section. The original section was 18-gauge, but I used a piece of 14-gauge material just to make it a bit stronger. I also filled in the holes I made with the drill bits when removing it from the body of the channel.

|

|
|
|
|
|

|
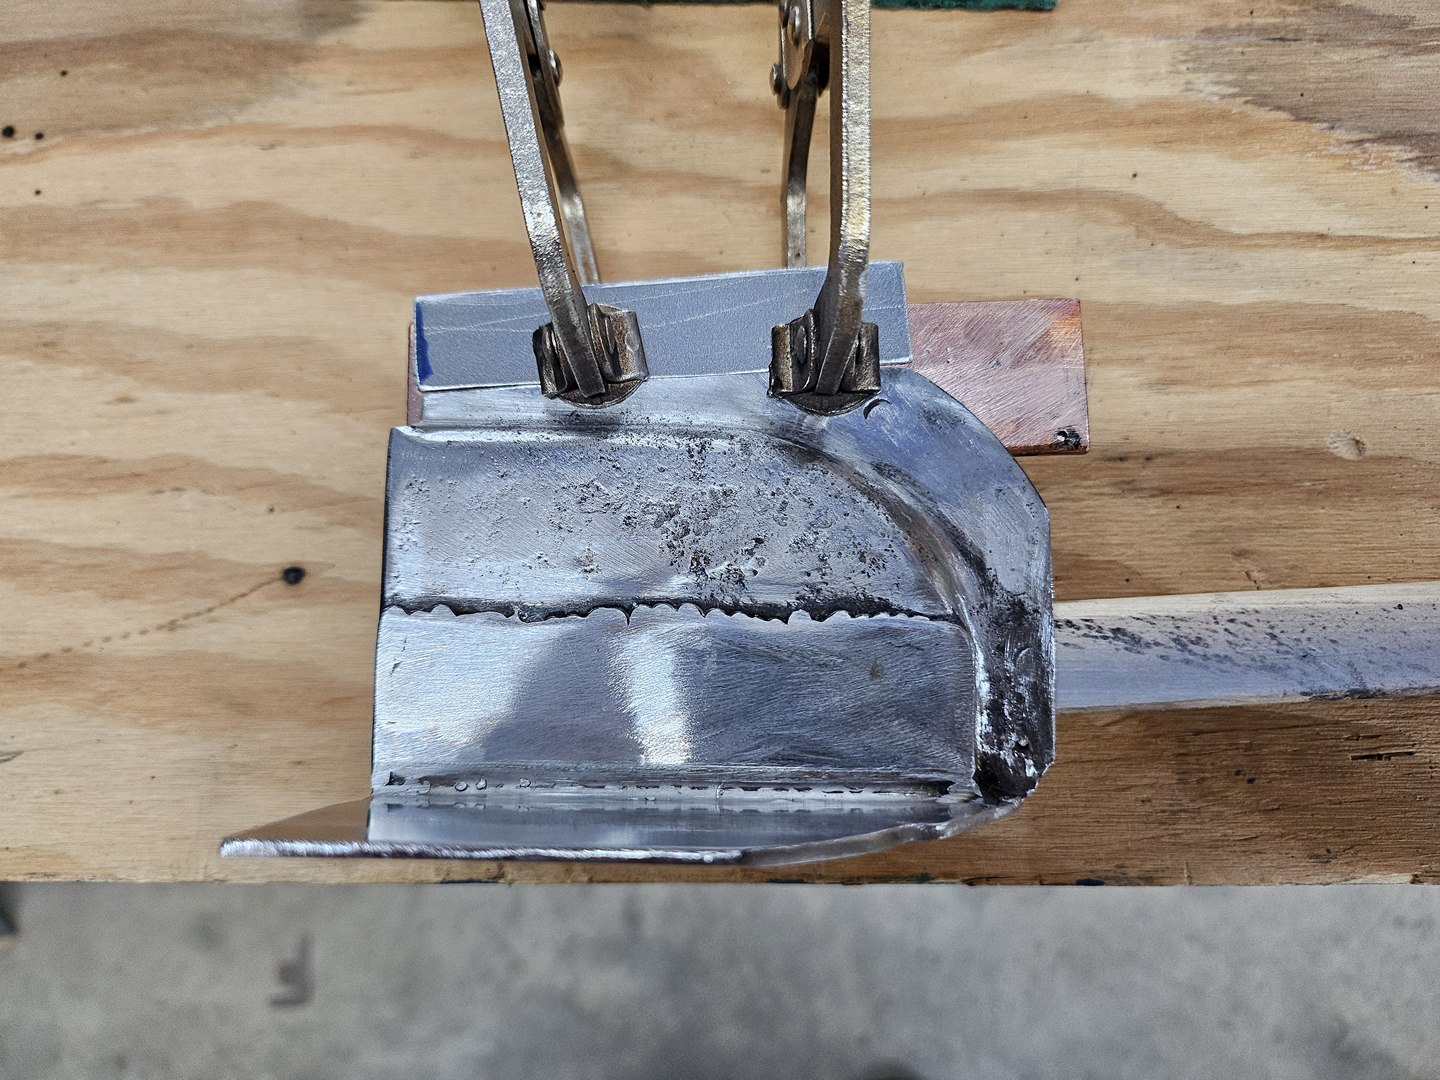
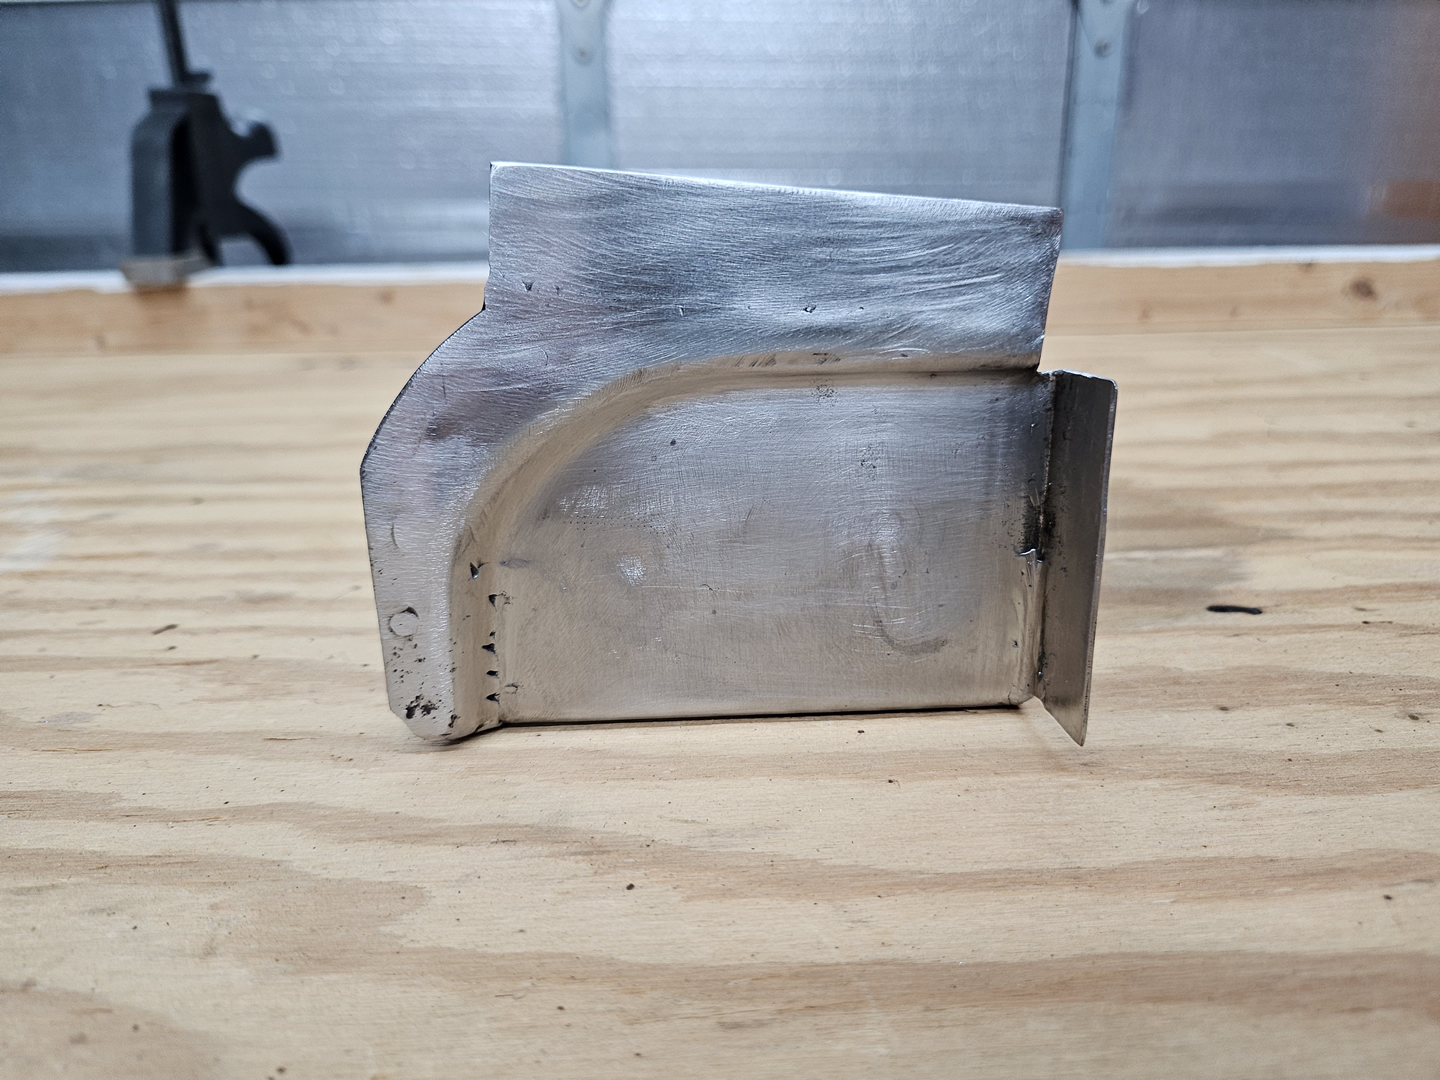
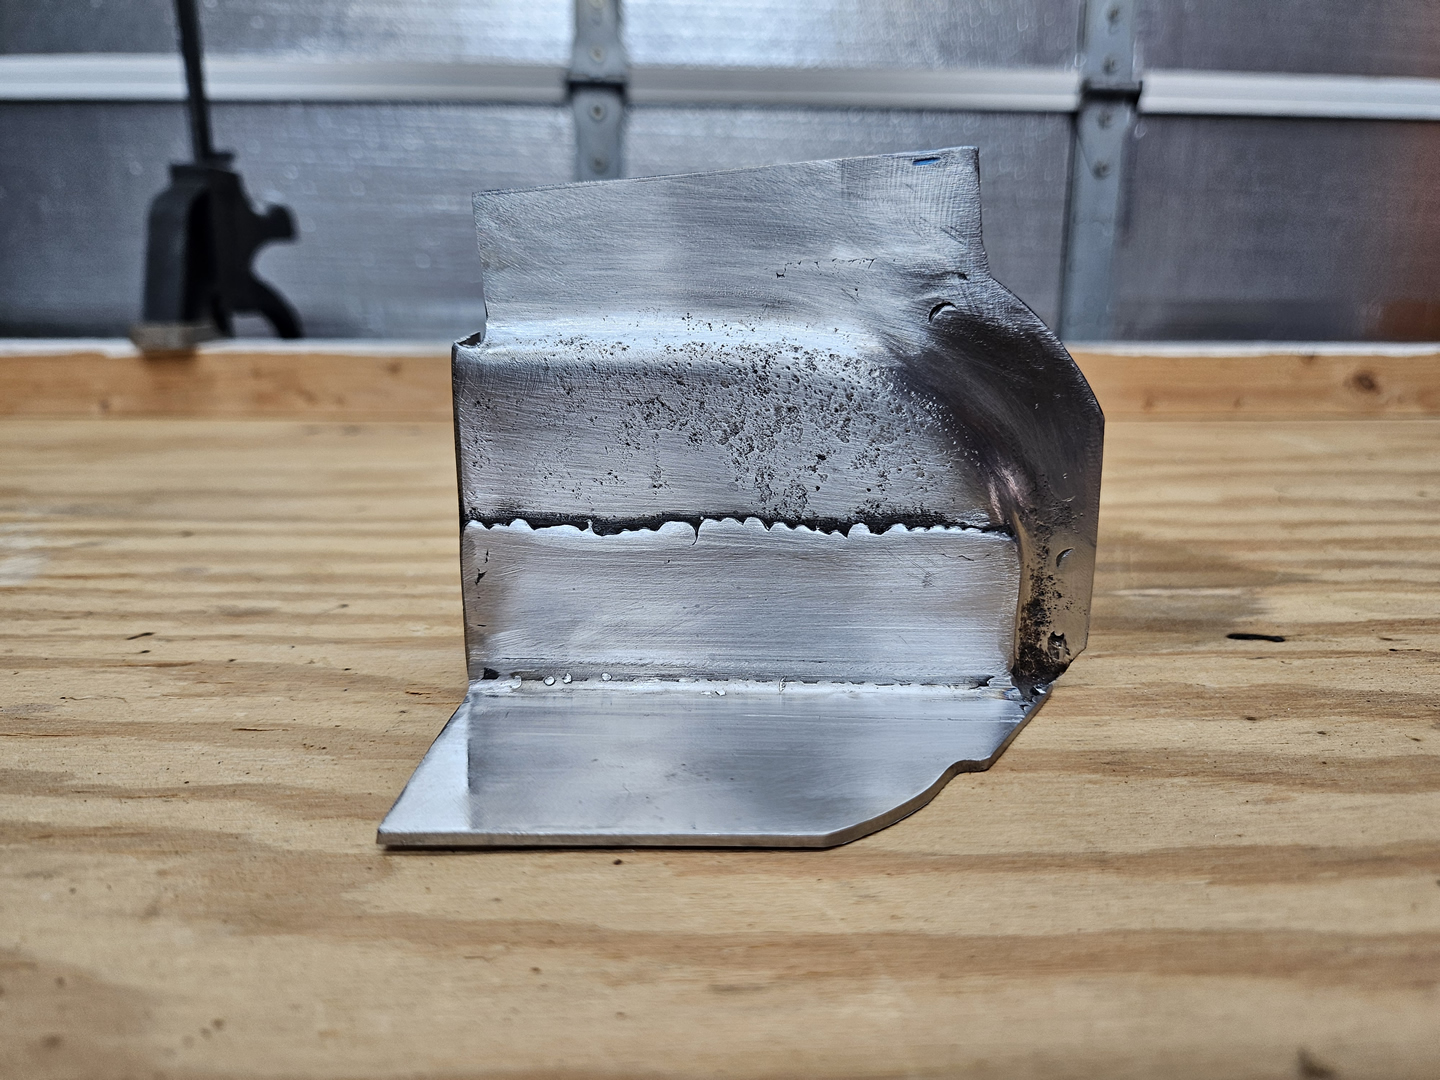
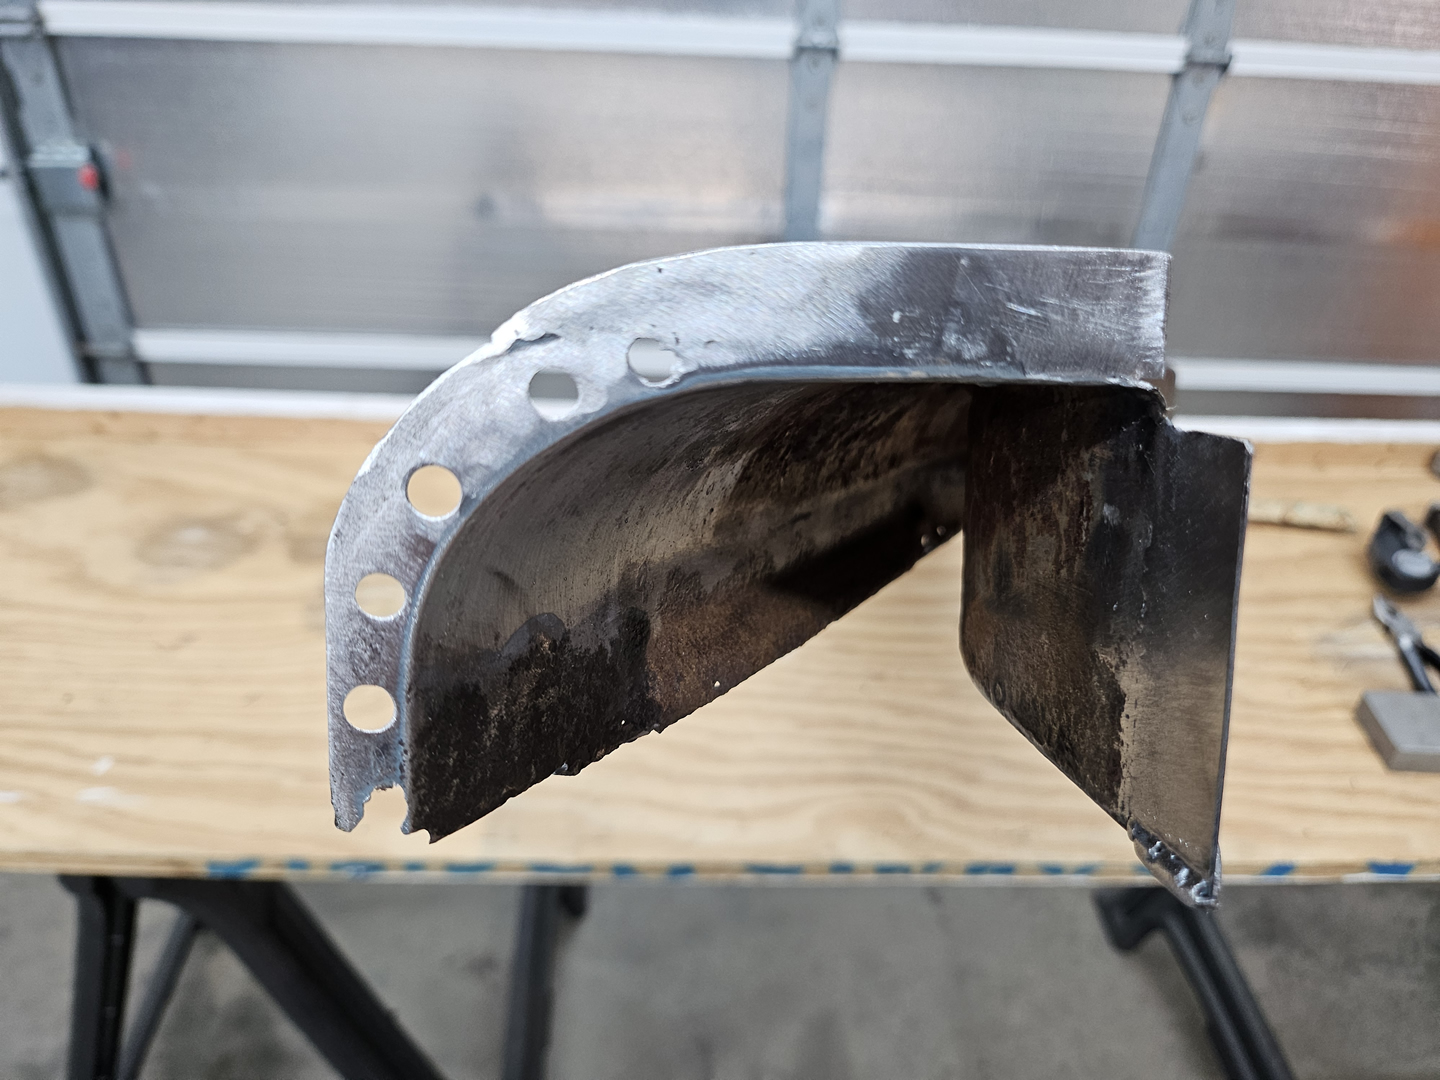
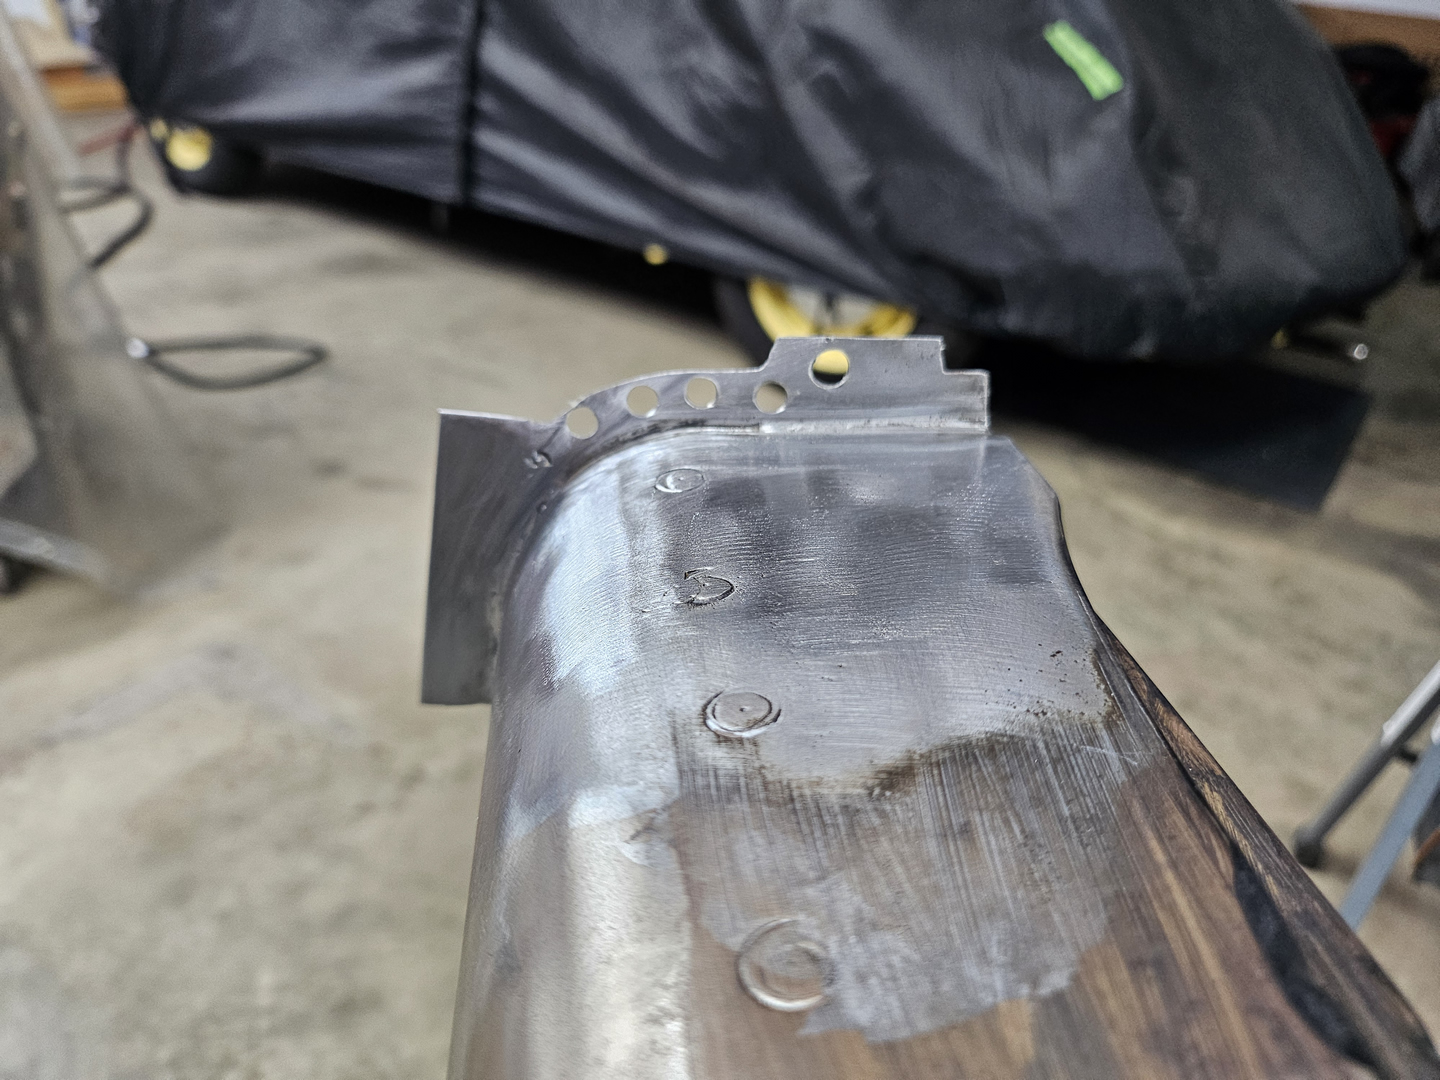
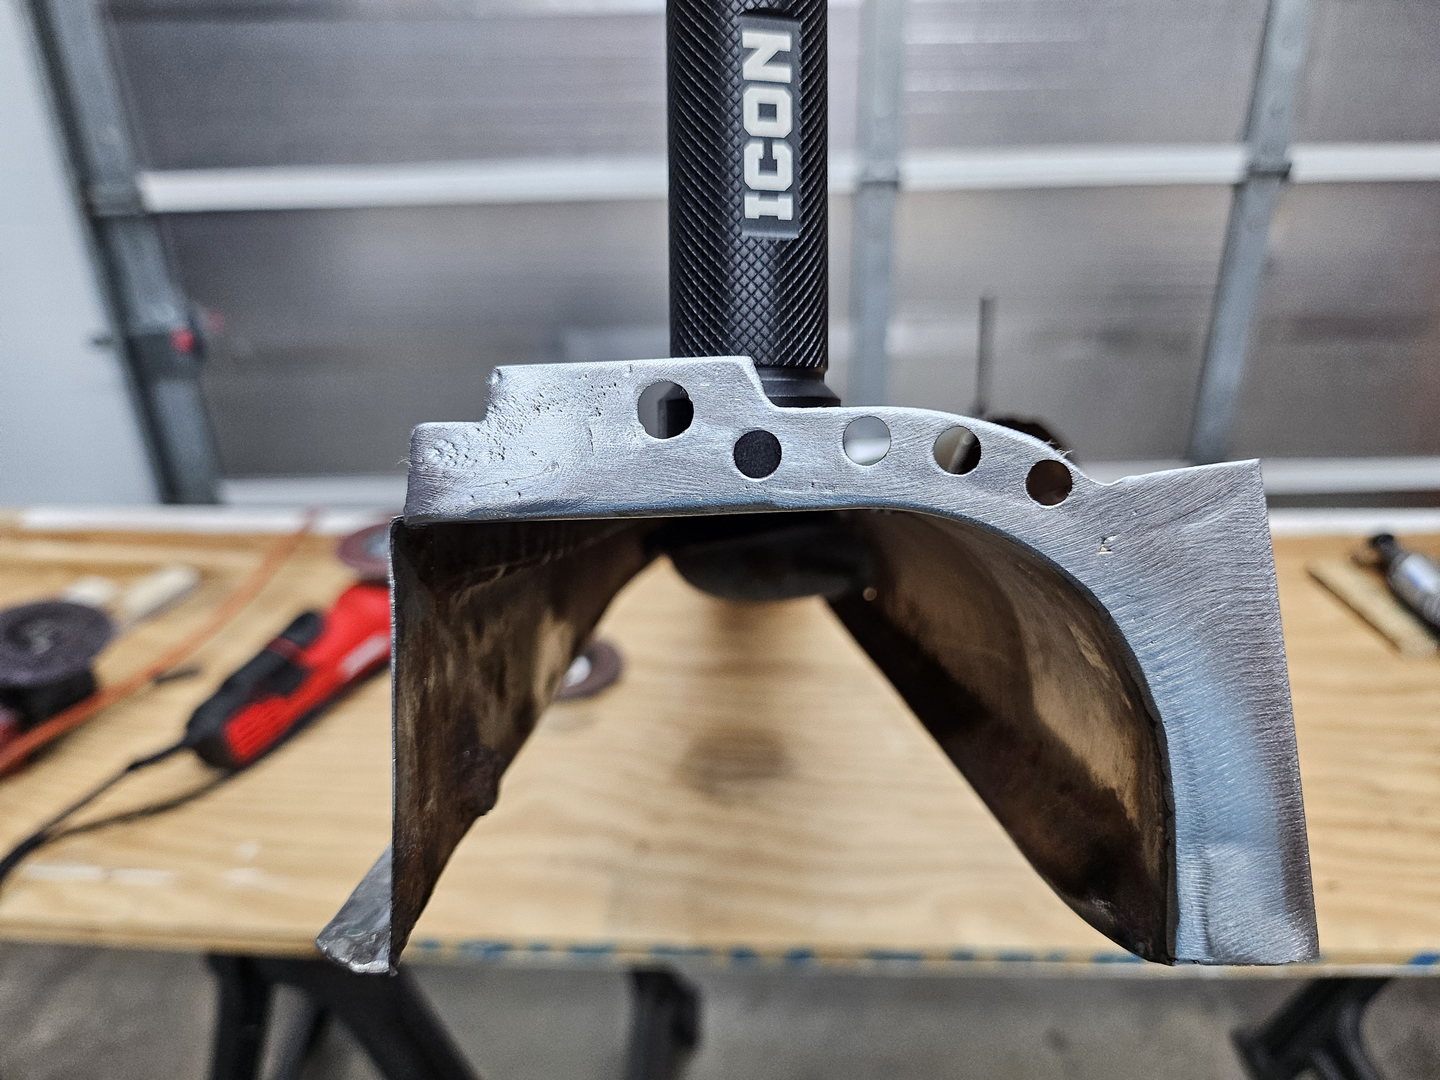
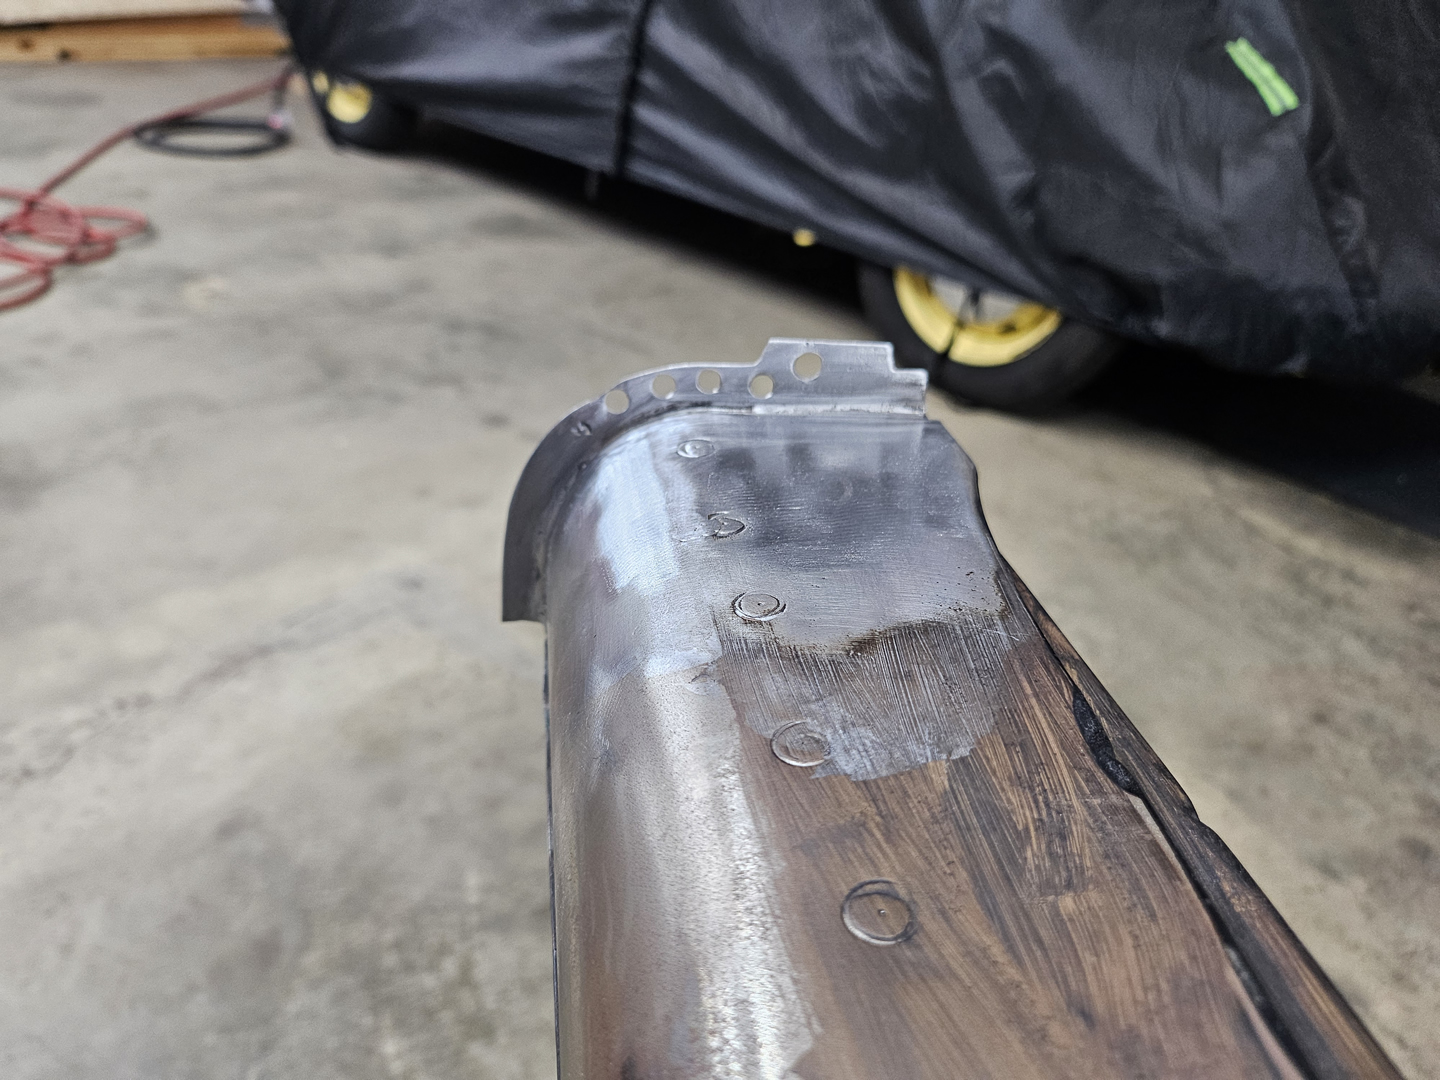
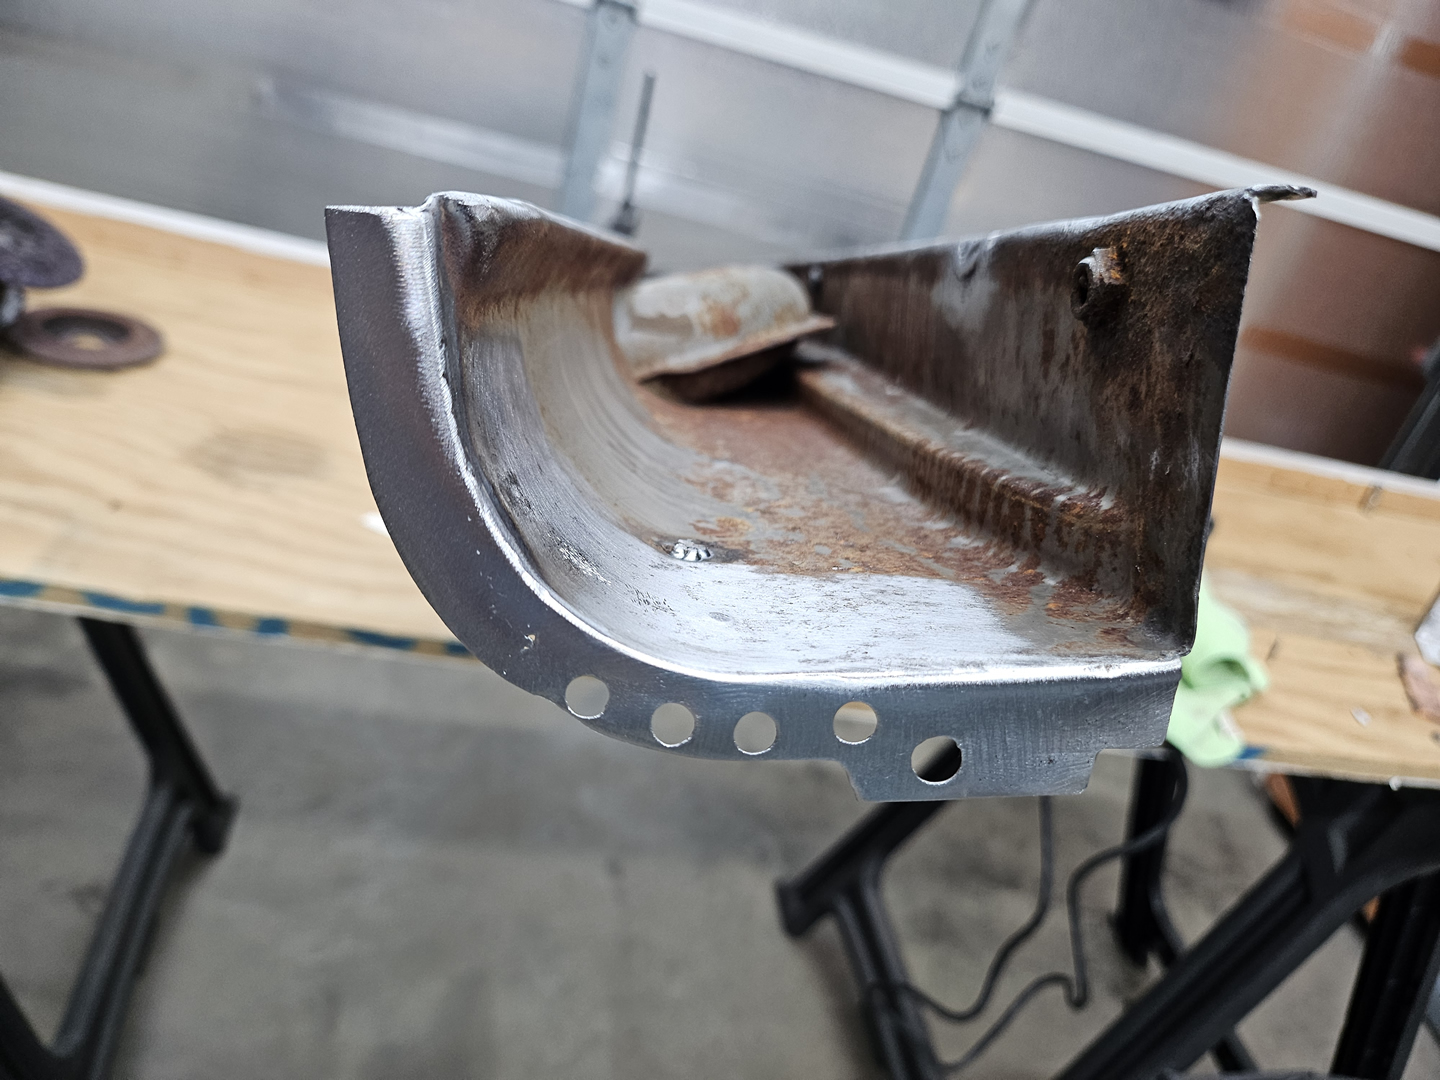
I also welded on a piece where the flange had been cut off when the channel was removed from the donor car. I will trim it once I weld it back on to the channel body.

|
|
|
|
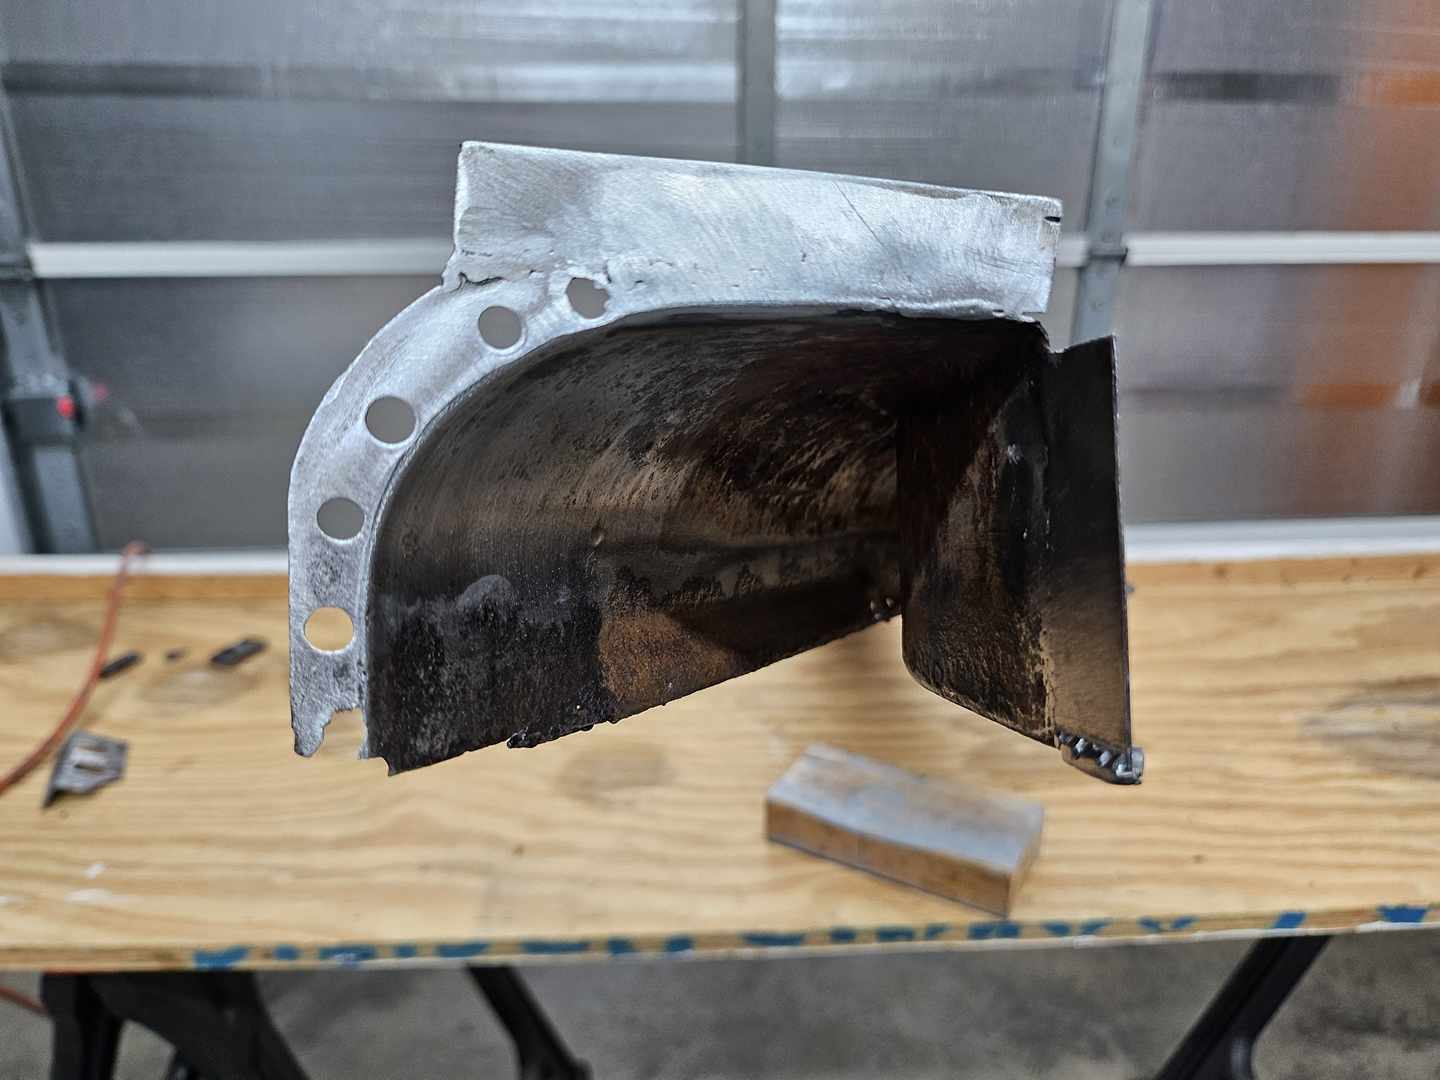
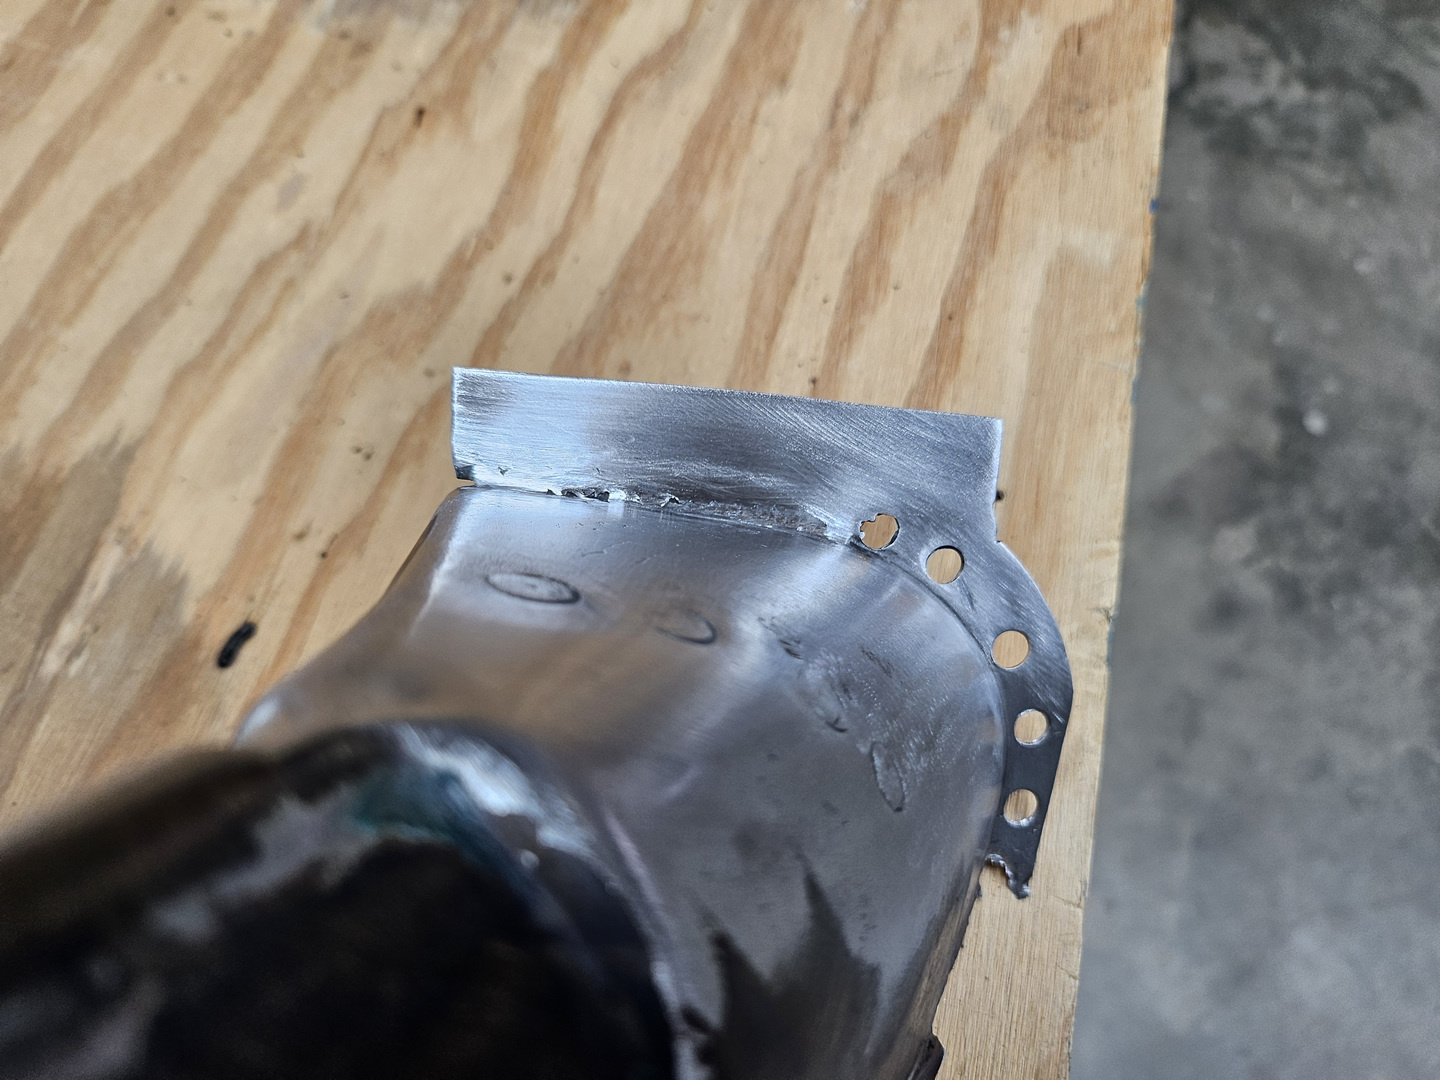
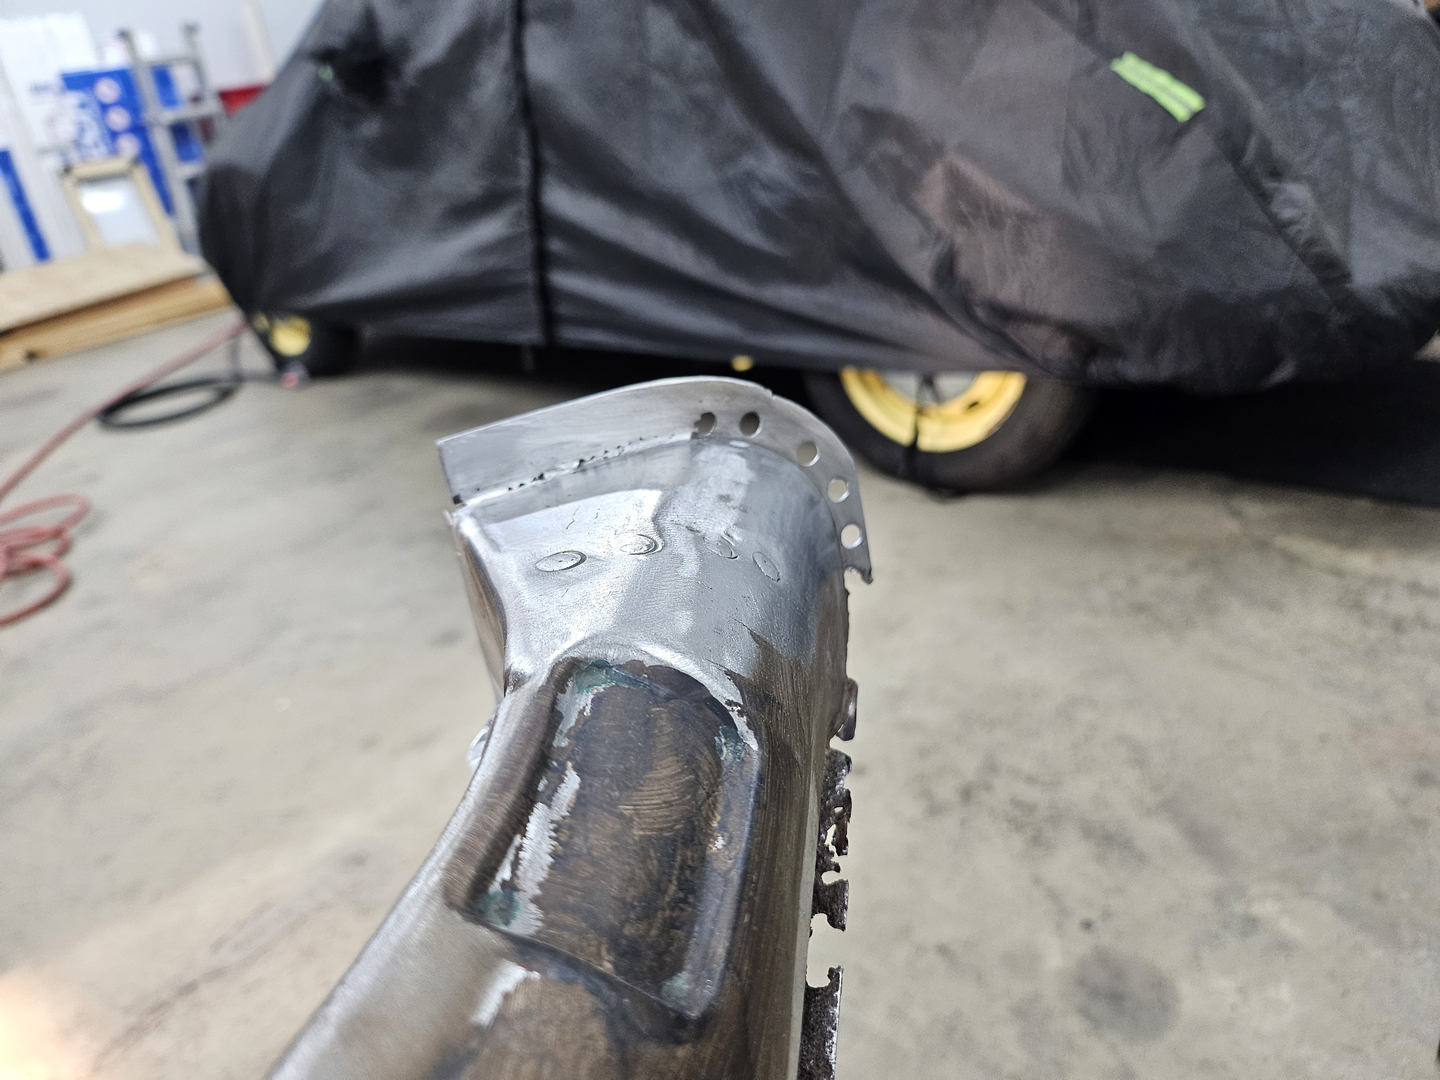
I did the same and repaired the front flange on the channel body.
|
|
|
|
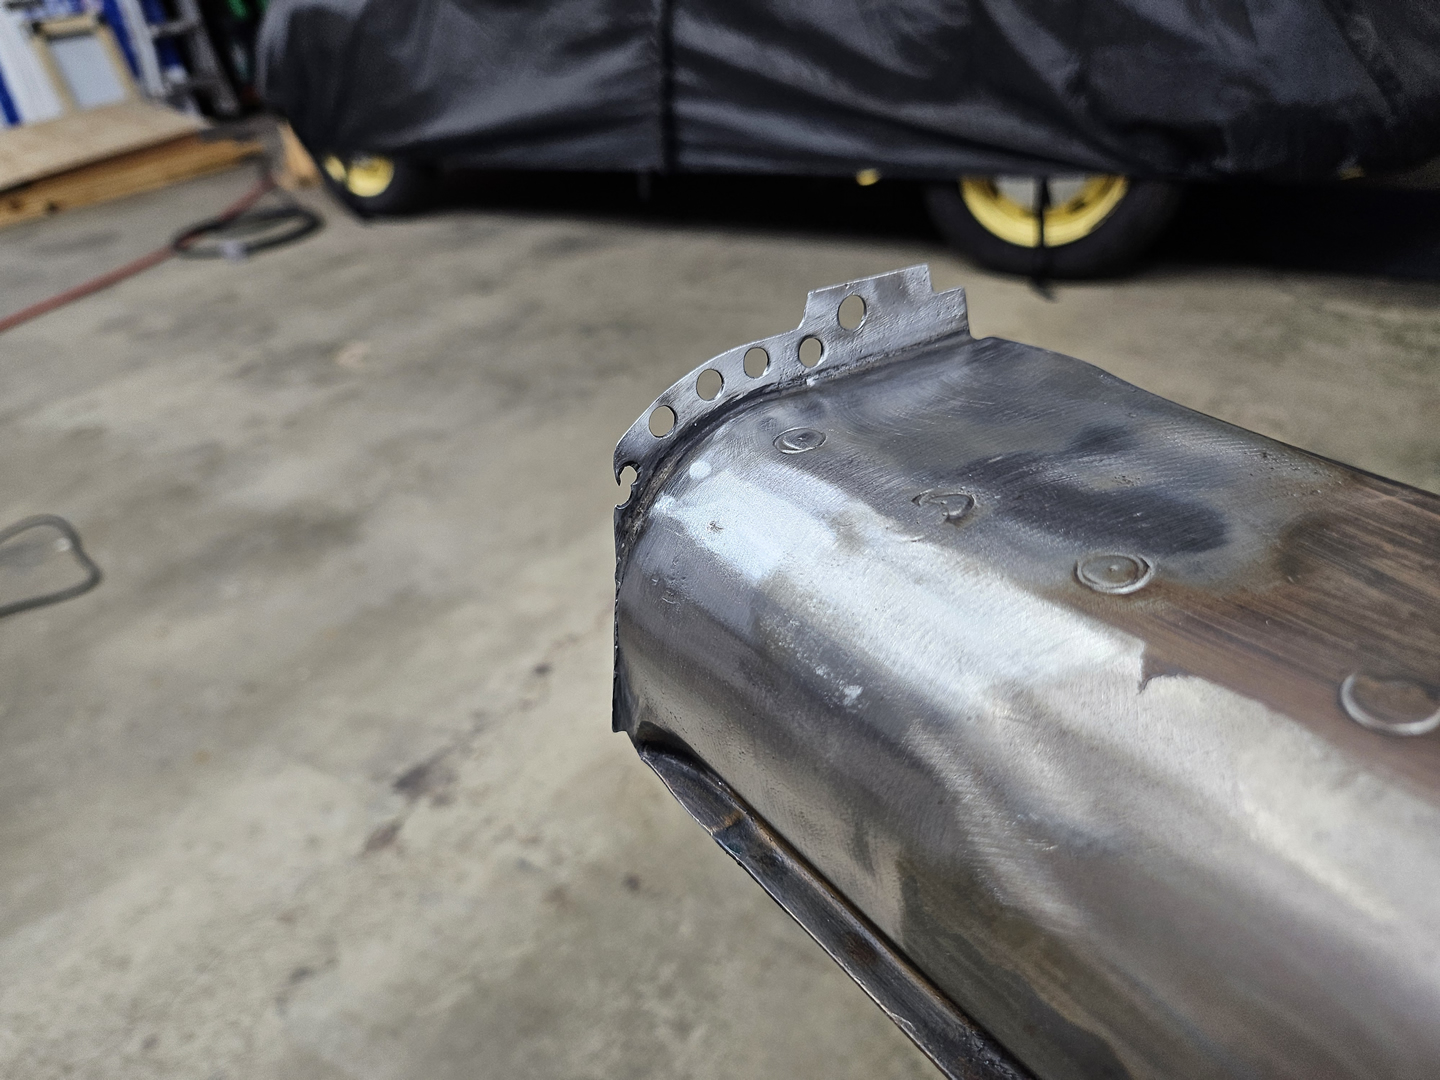
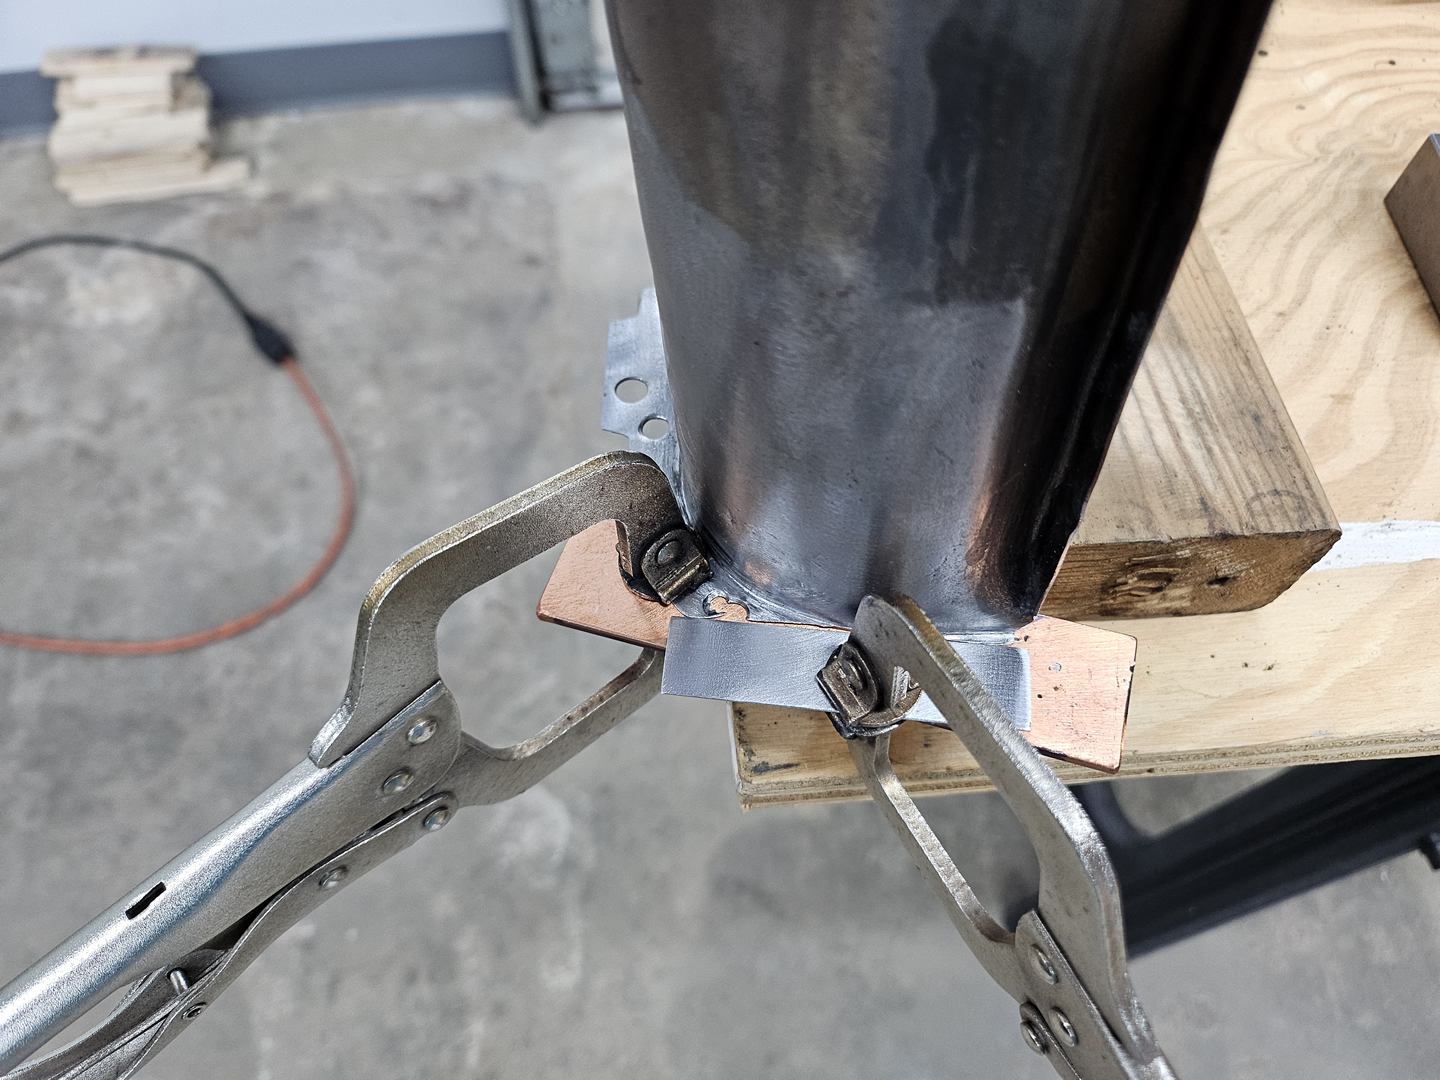
And I repaired the flange on the rear end of the body as well.
|
|
|
|
|
|
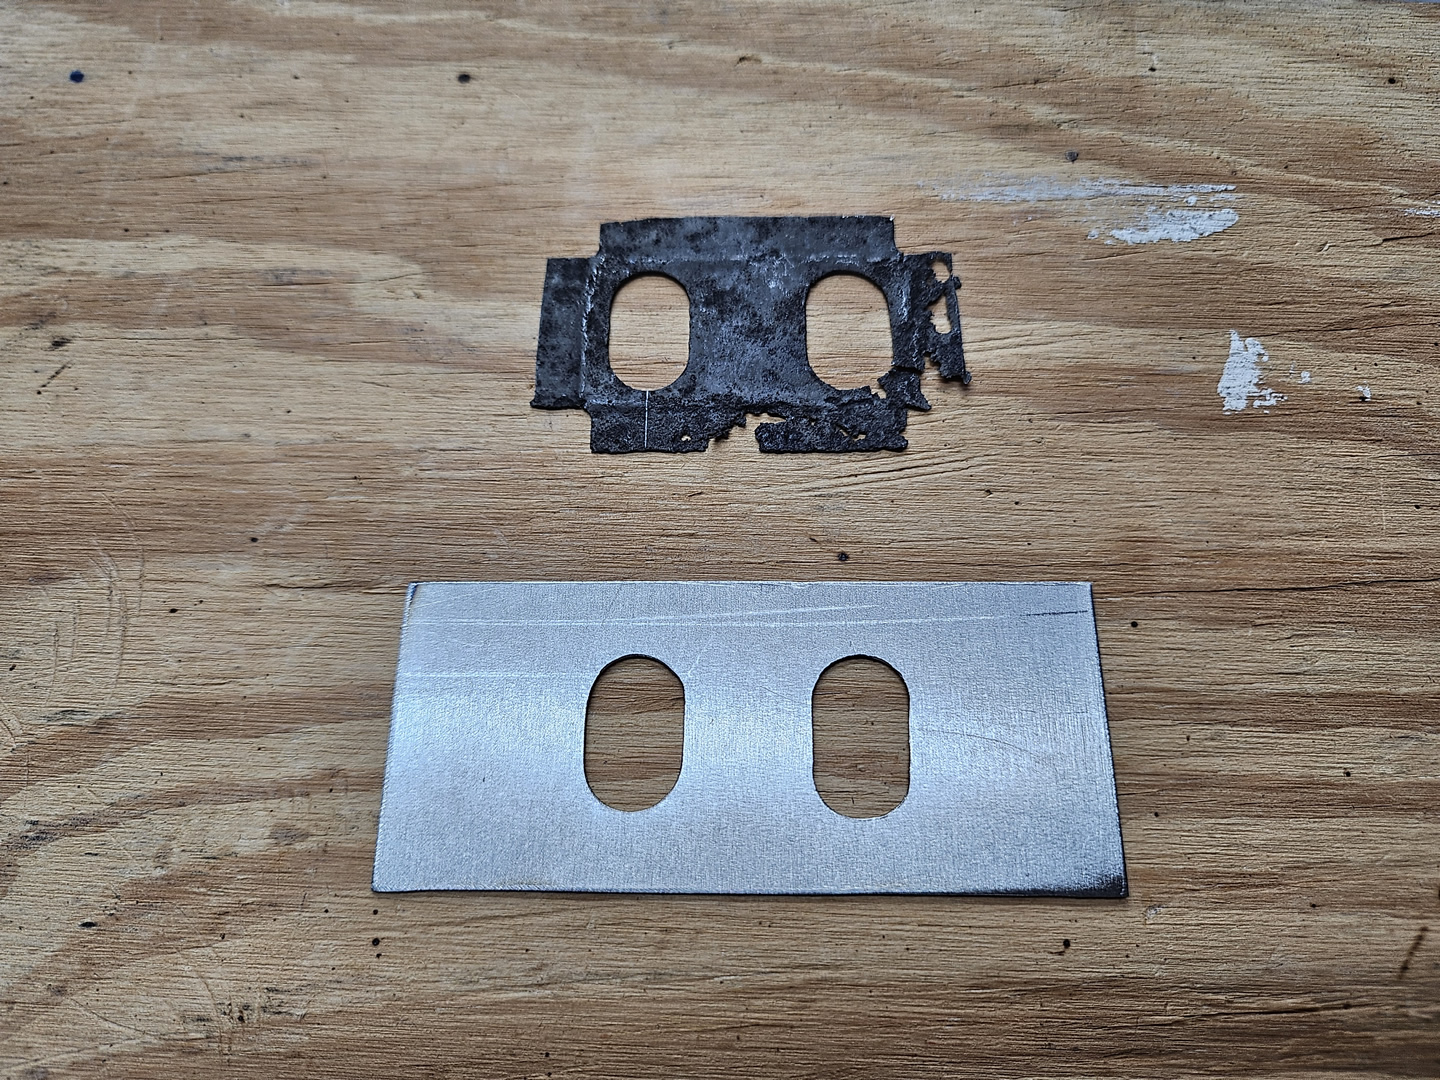
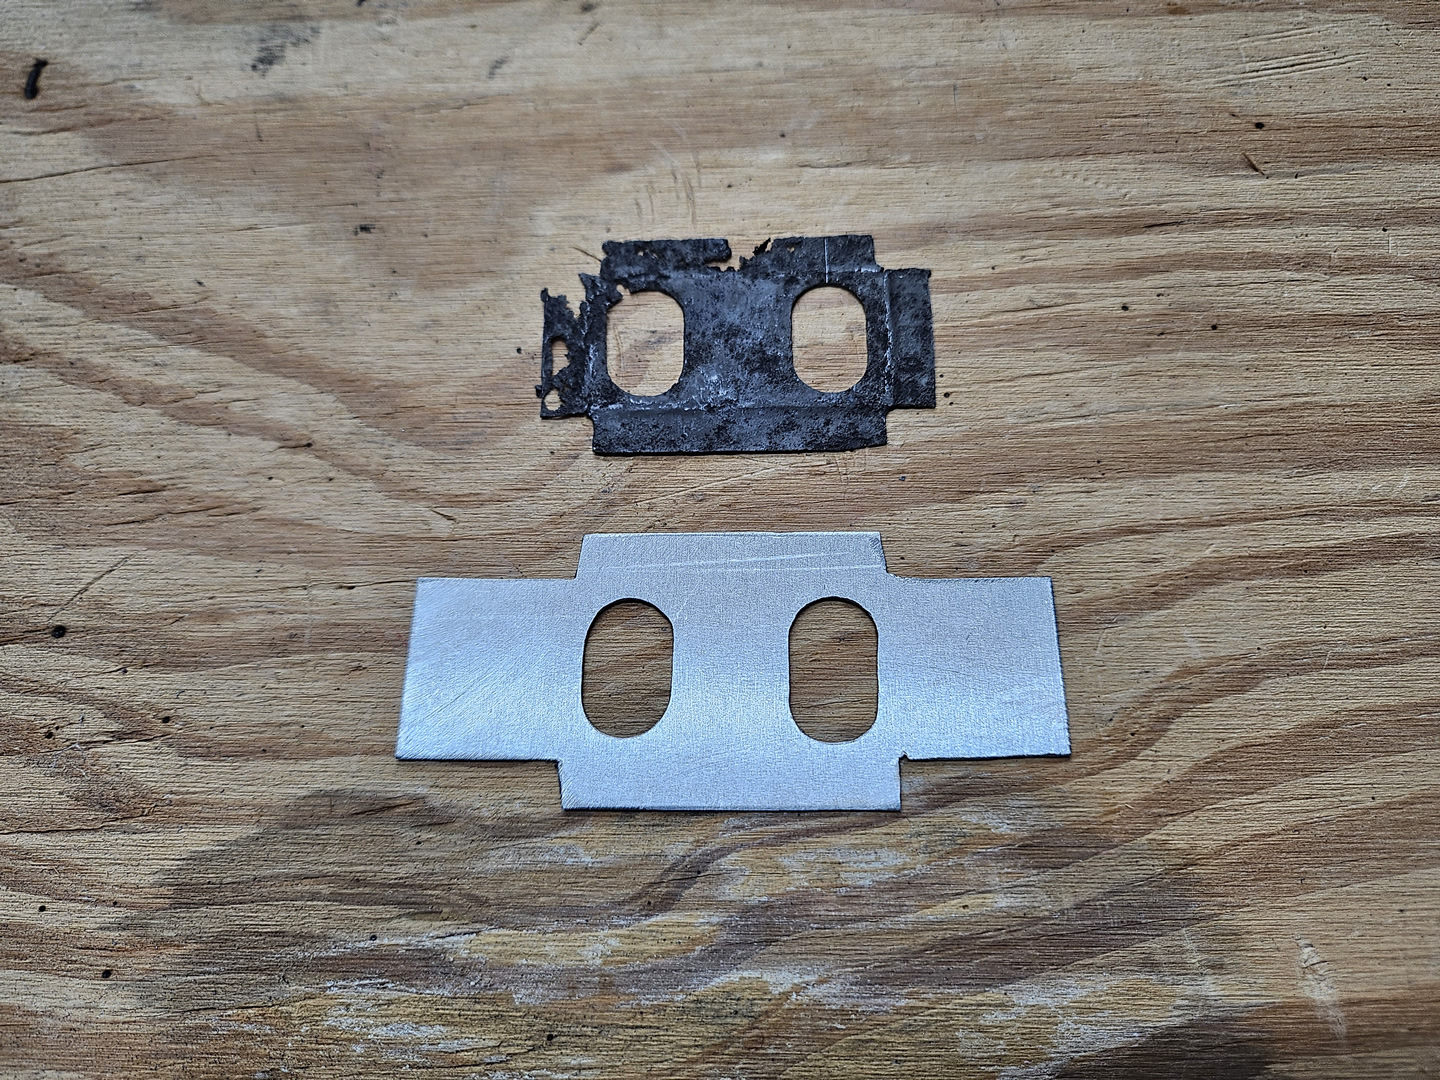
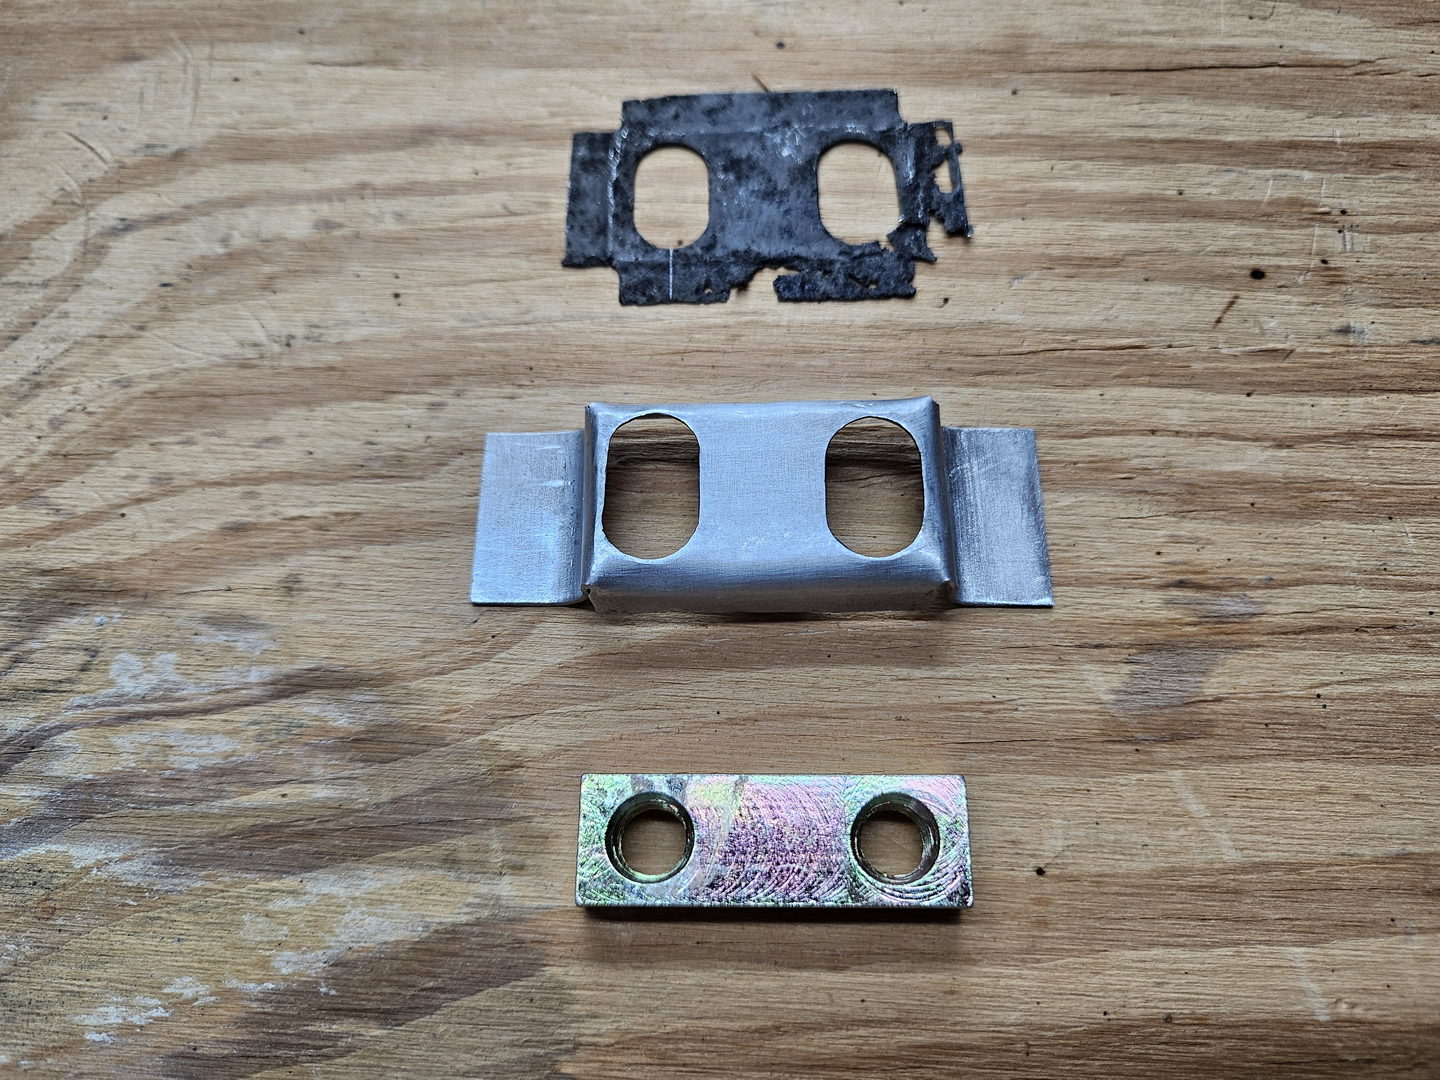
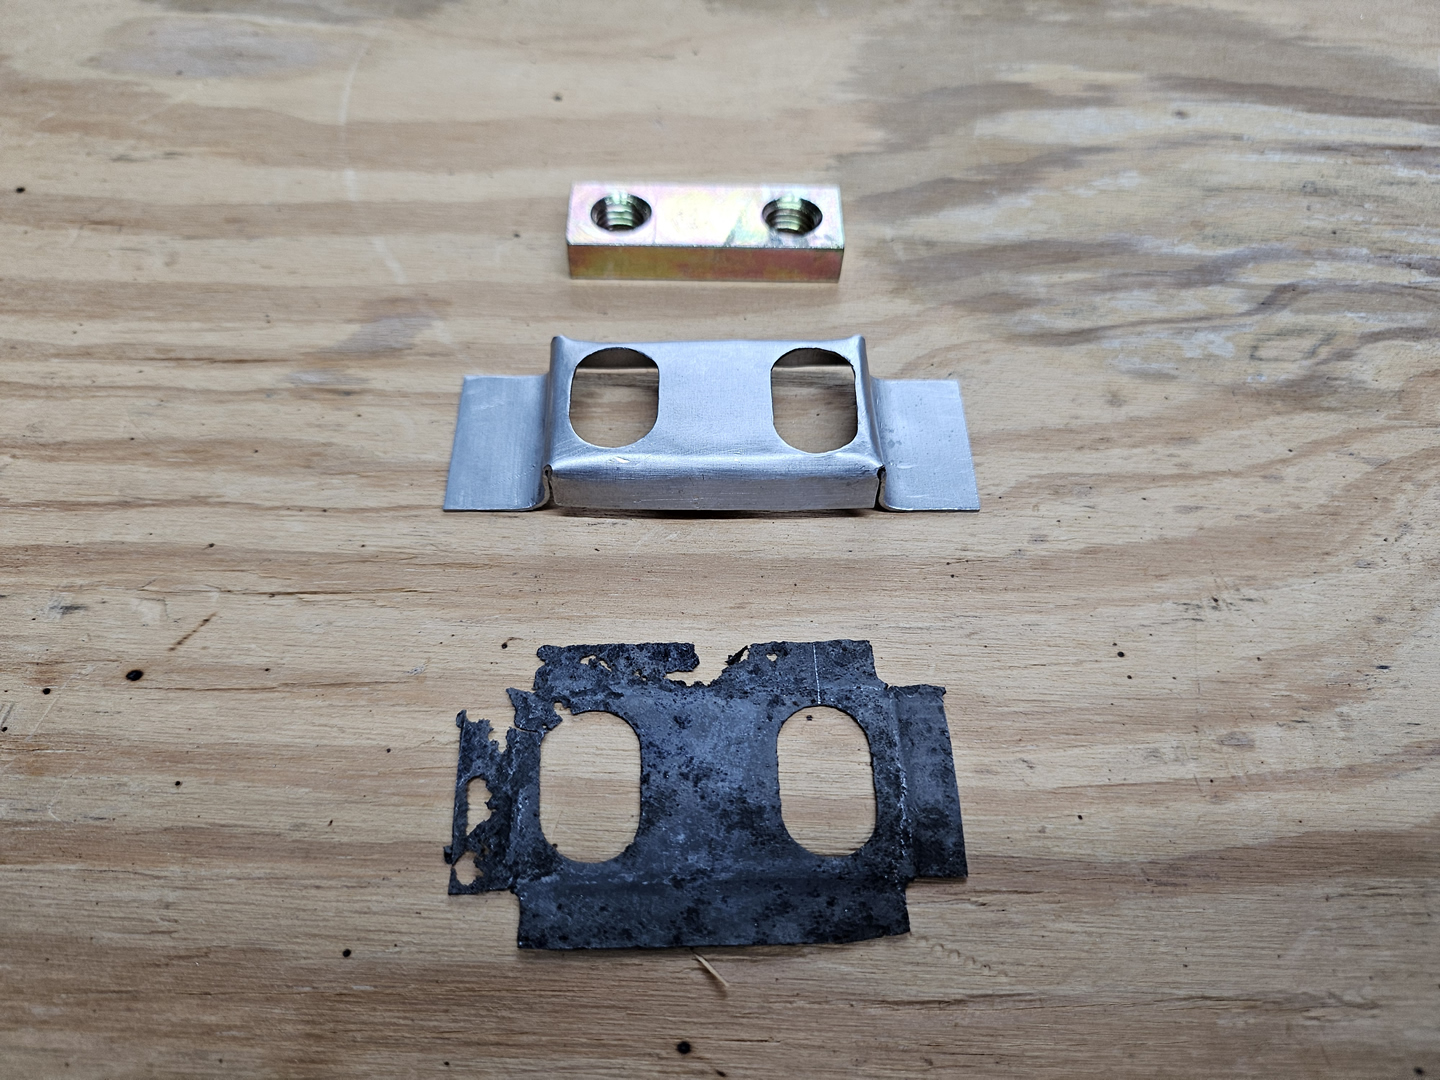
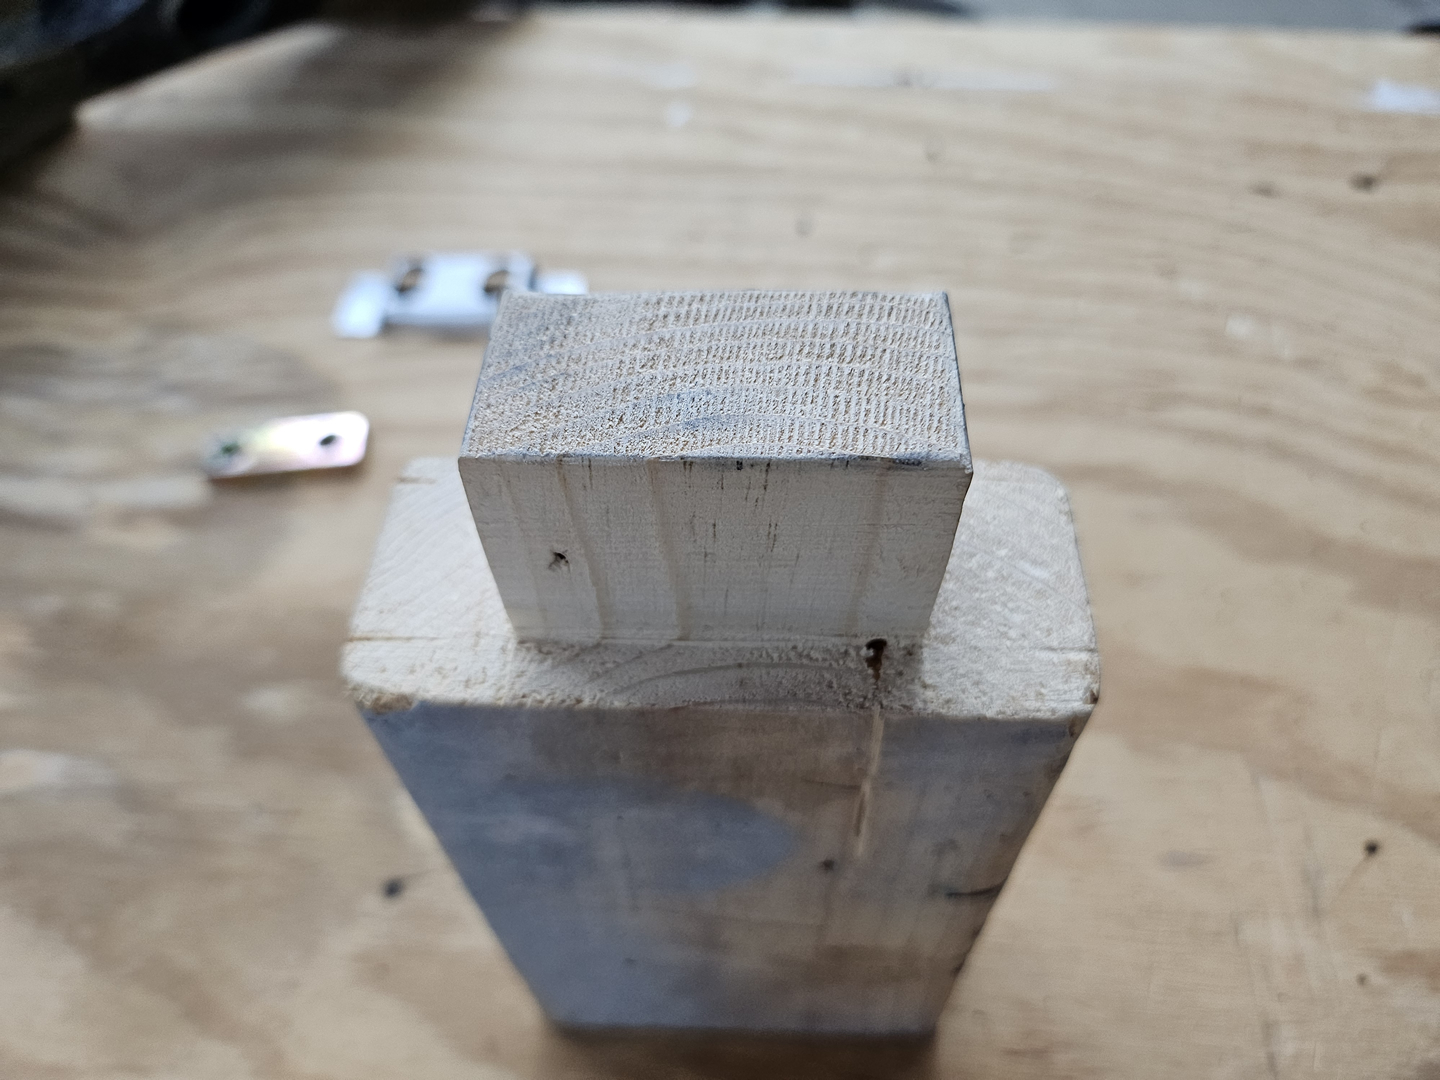
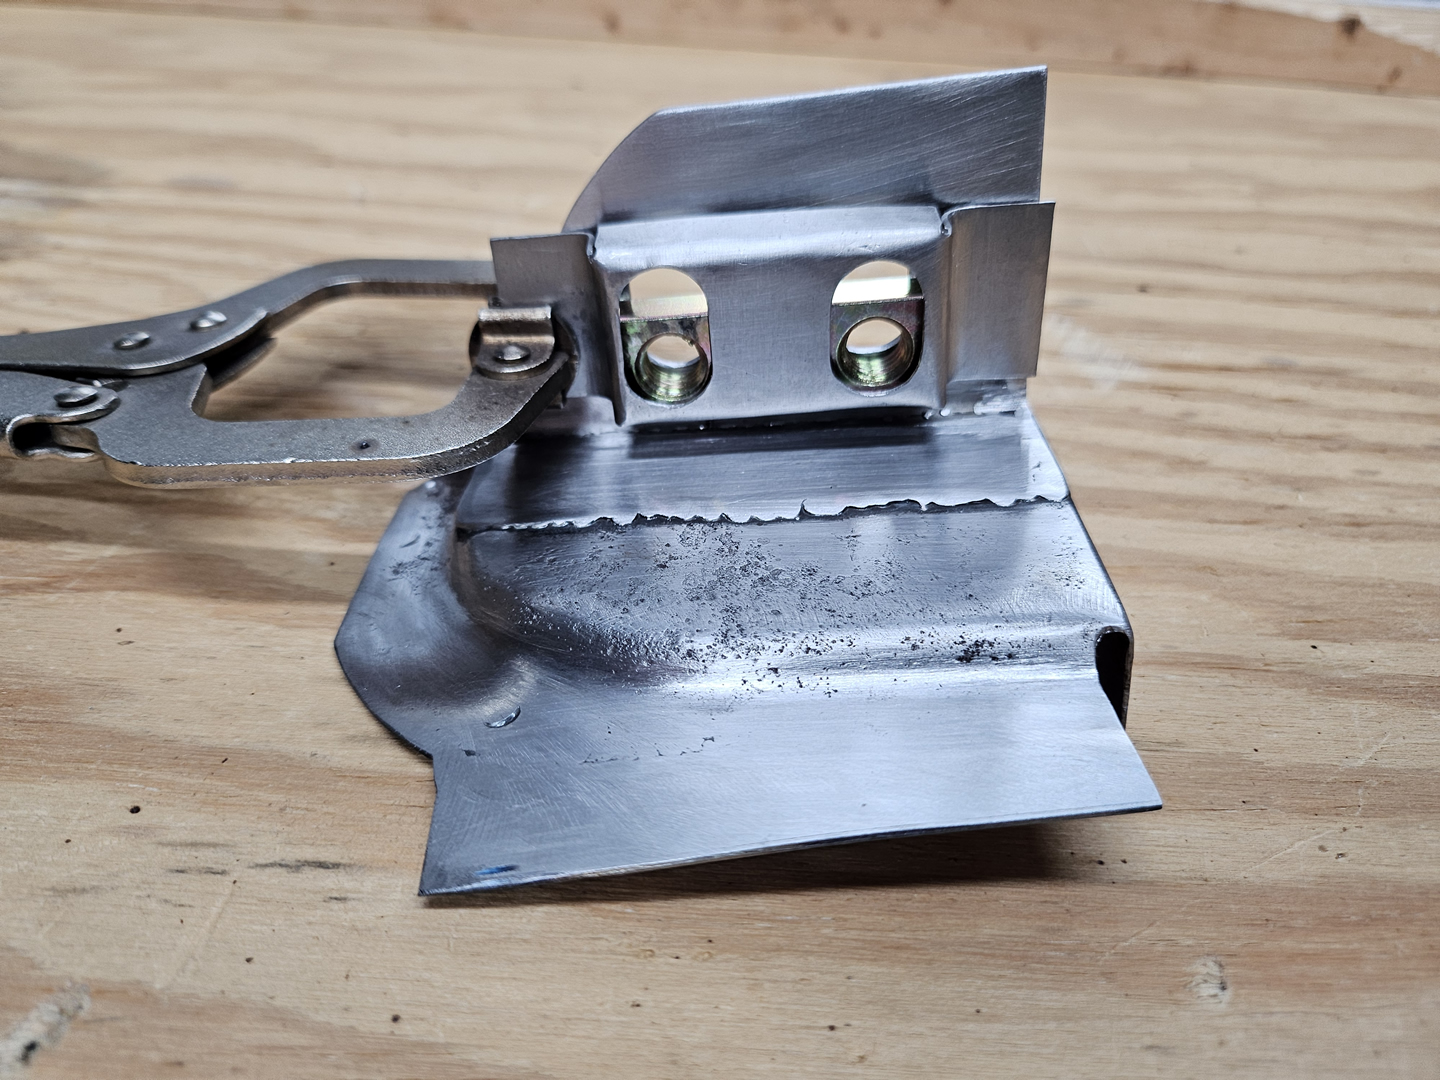
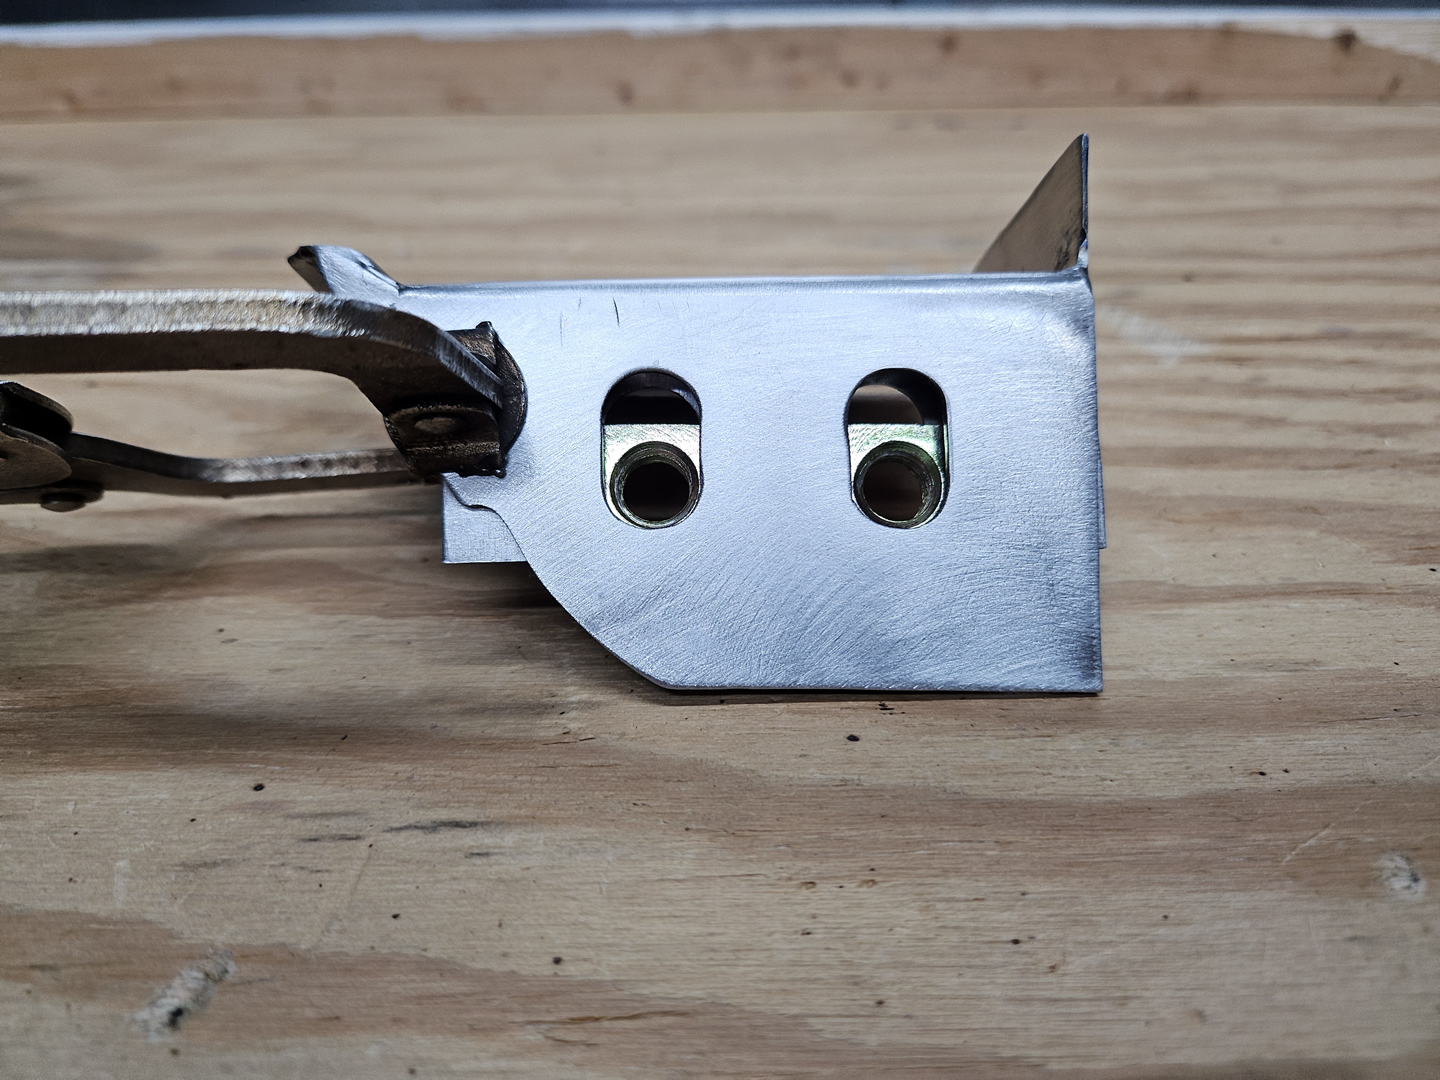
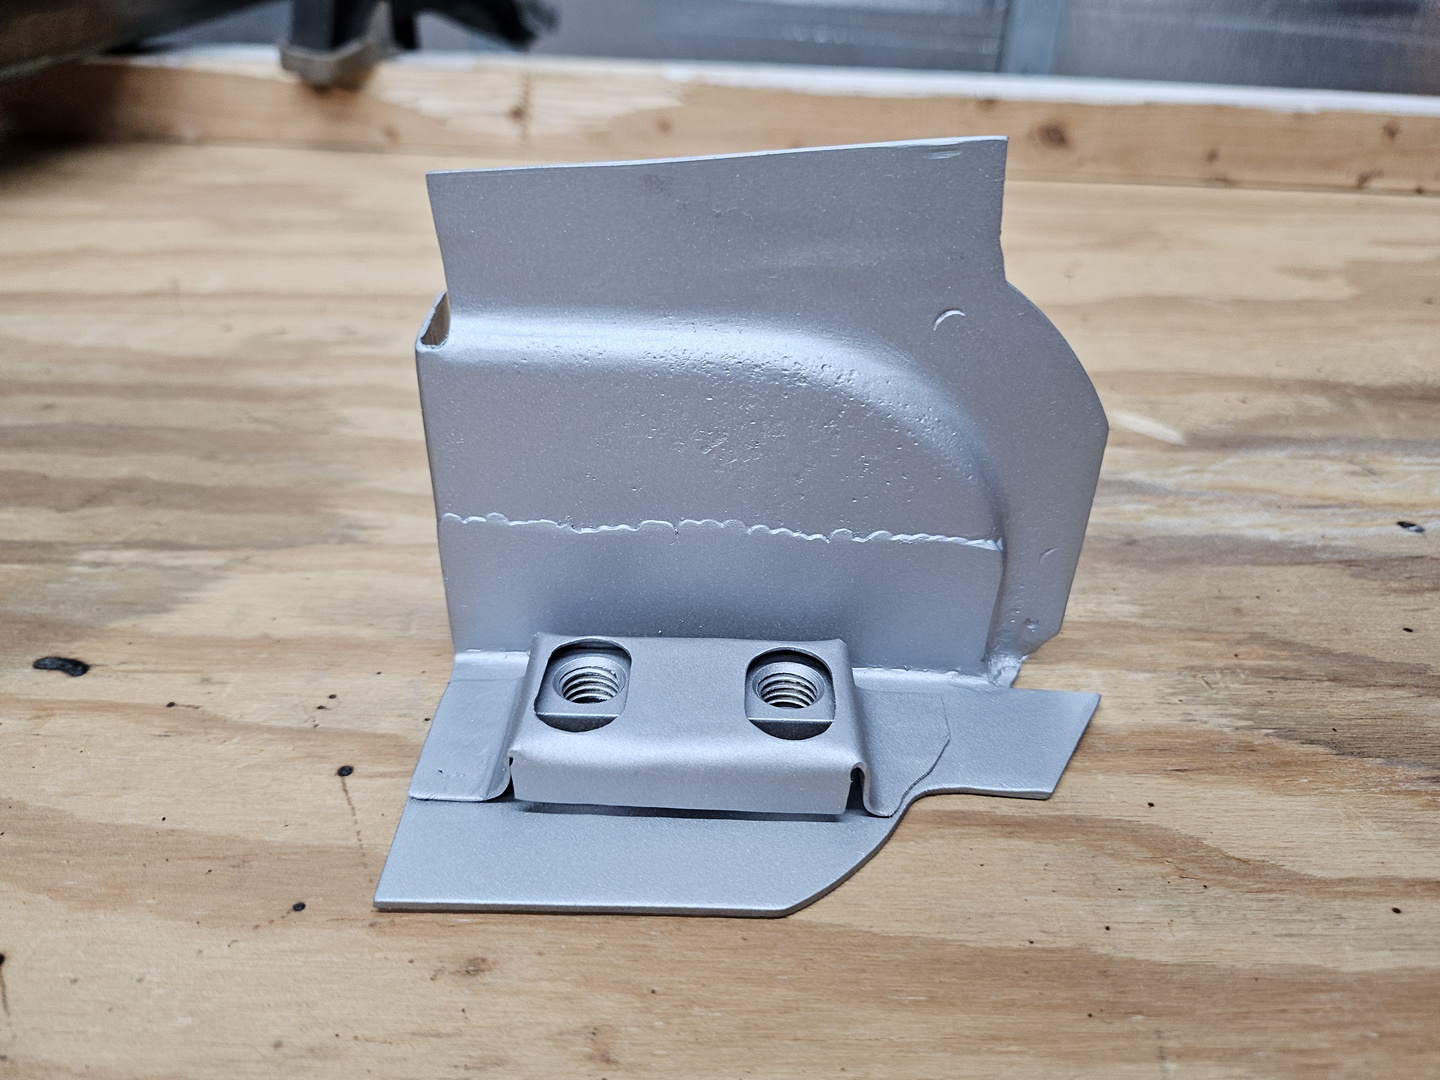
Since I couldn't find anyone in the US that was selling a replacement threaded plate cage, I decided to make one myself. I cut off the original one and flattened it out to help determine what pattern I would need to replicate it. I made a wood form or buck to help shape it, and it did help a little. I made the cage out of 20-gauge metal and it was a little too thick to bend over the form. I basically used pliers and a small hammer and was able to get it fairly close to the original. I made it the same dimensions as the original, but the replacement threaded plate was a little wider than the original plate. I had to take a little metal off of the ends of the plate and then it fit. It doesn't have the same amount of side-to-side play in it that the original one did and hopefully that will not be a problem. I will have to remember that when fitting the channels to the body. I sprayed the mating pieces with weld-through primer and welded the cage onto the end cap.
|
|
|
|
|

|

|

|
|
|

|
|
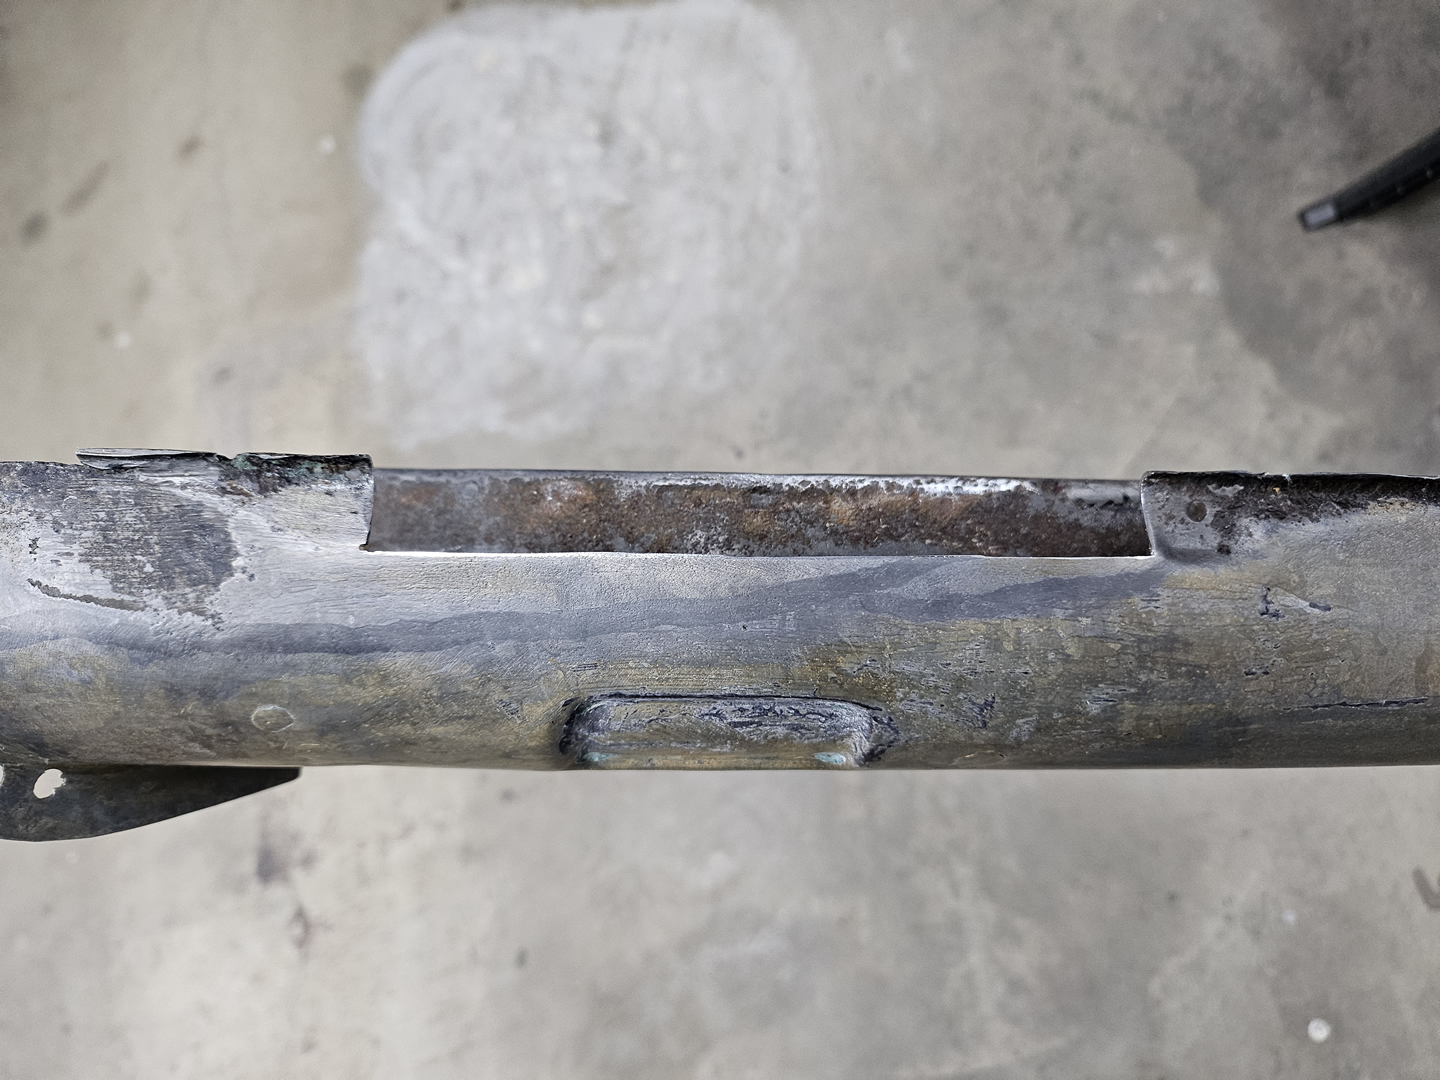
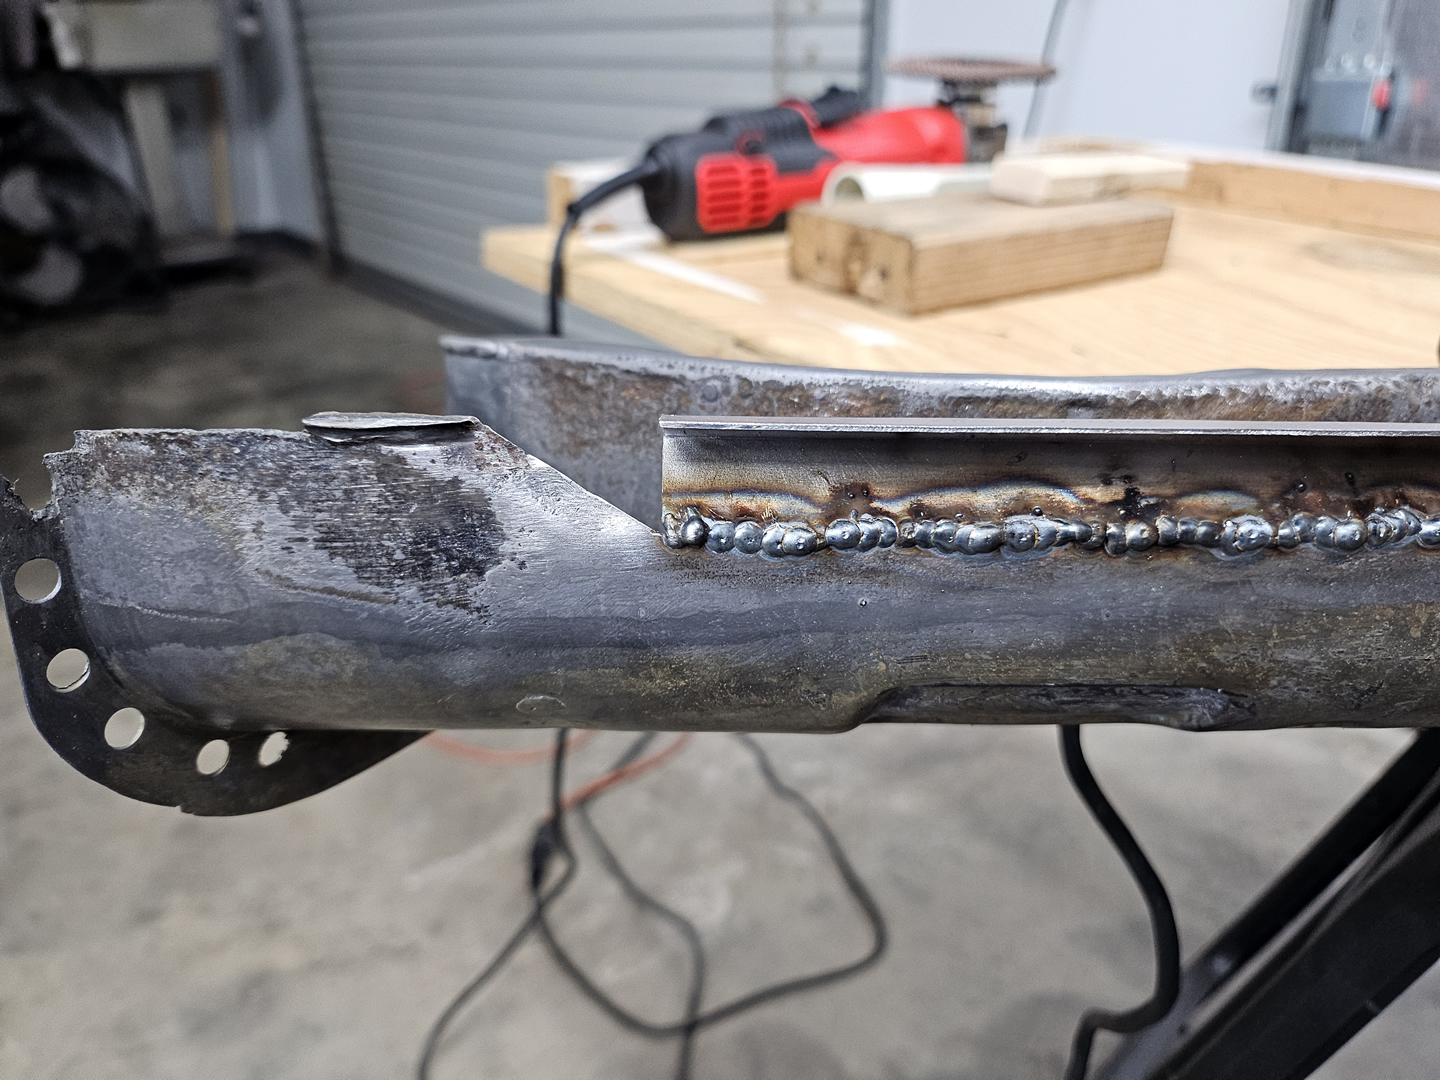
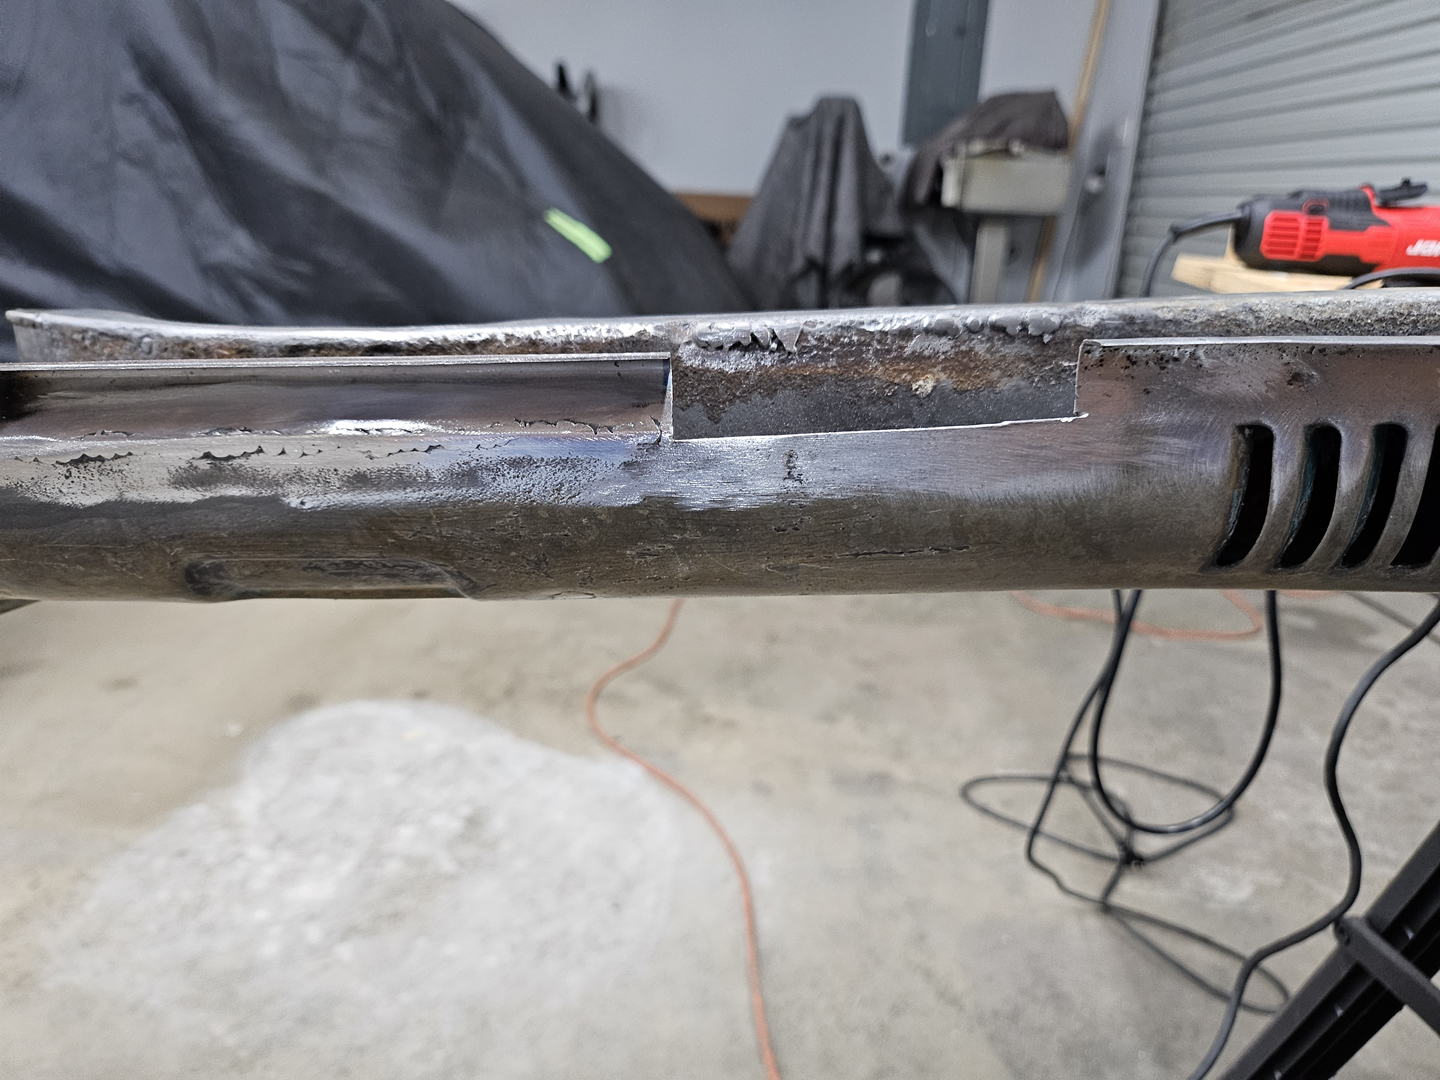
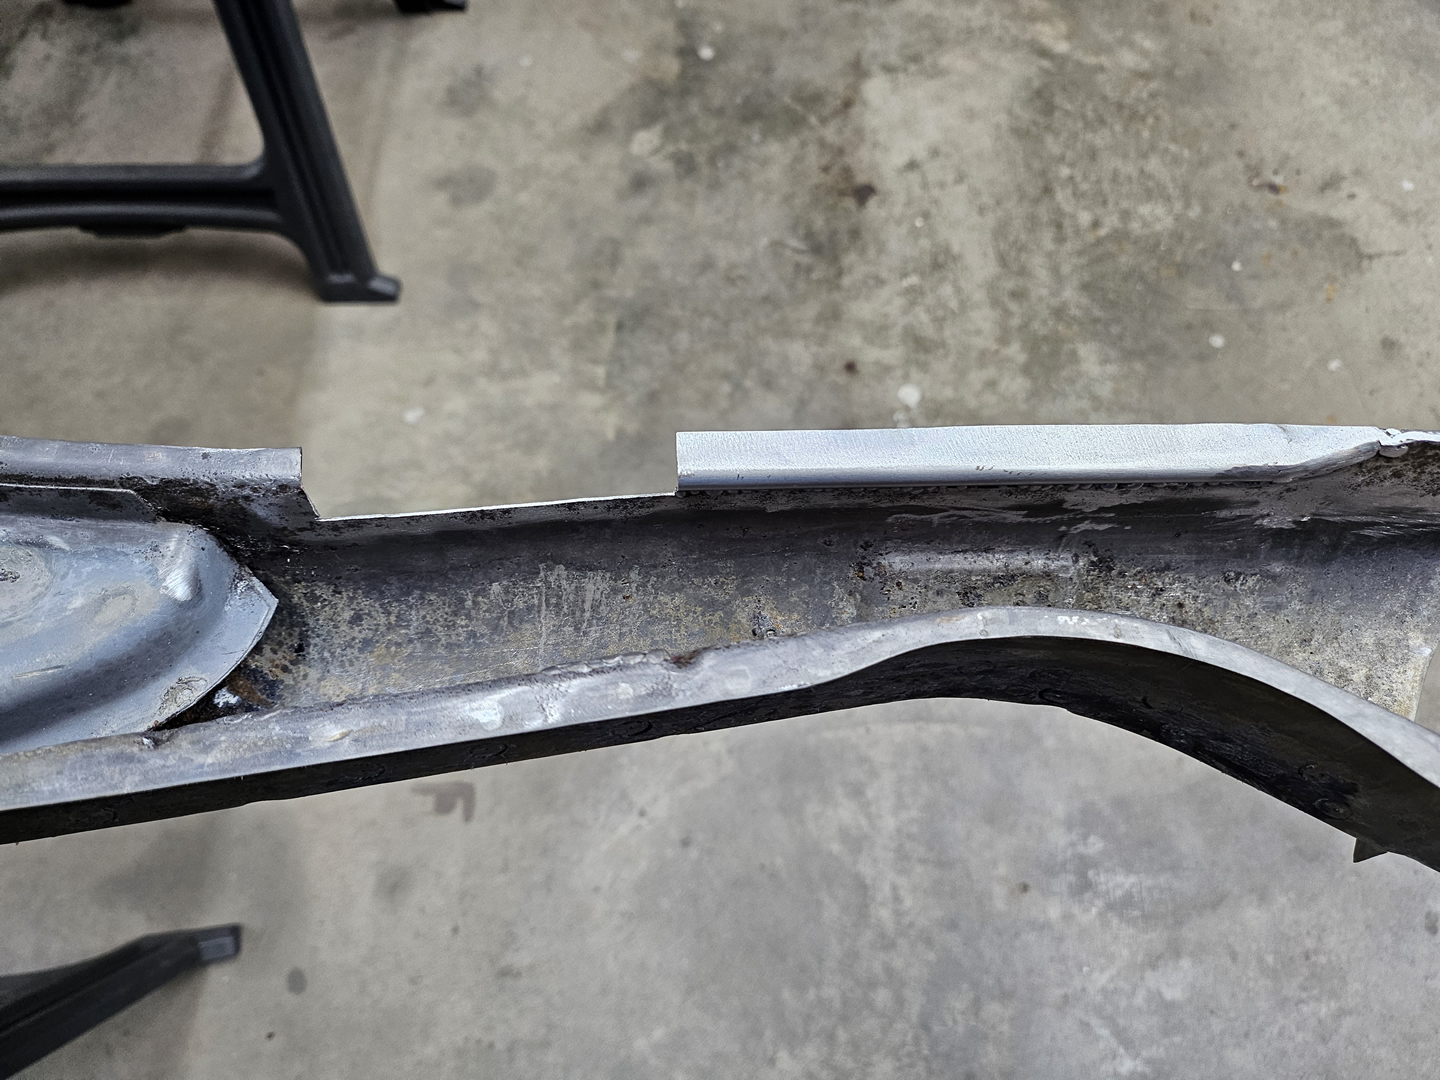
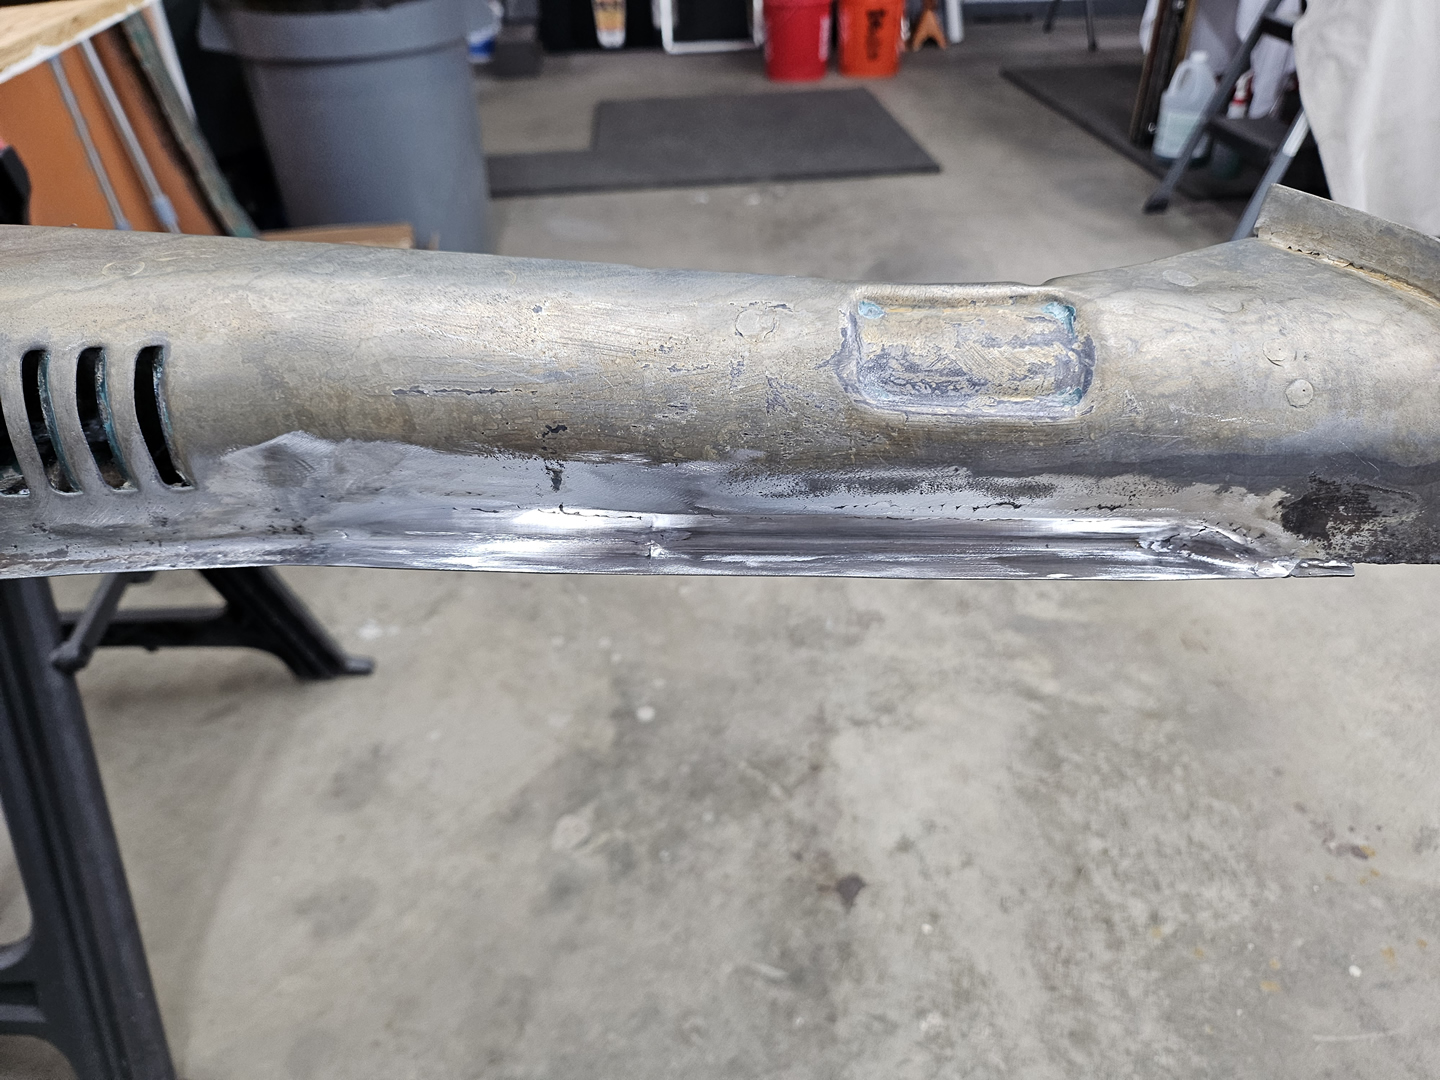
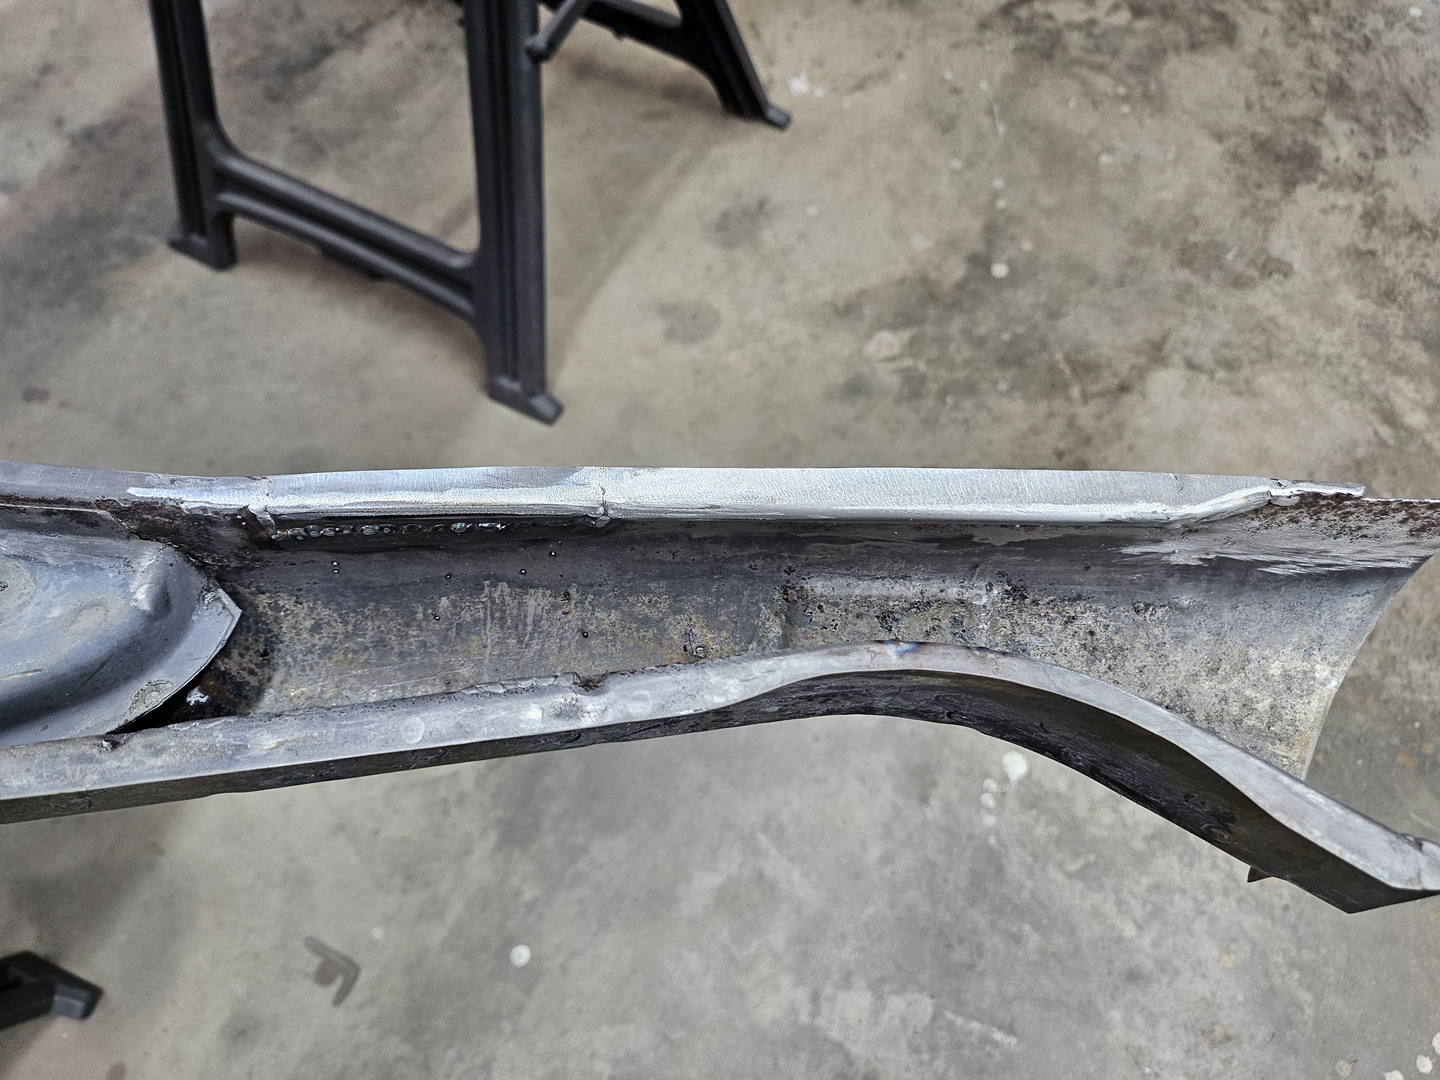
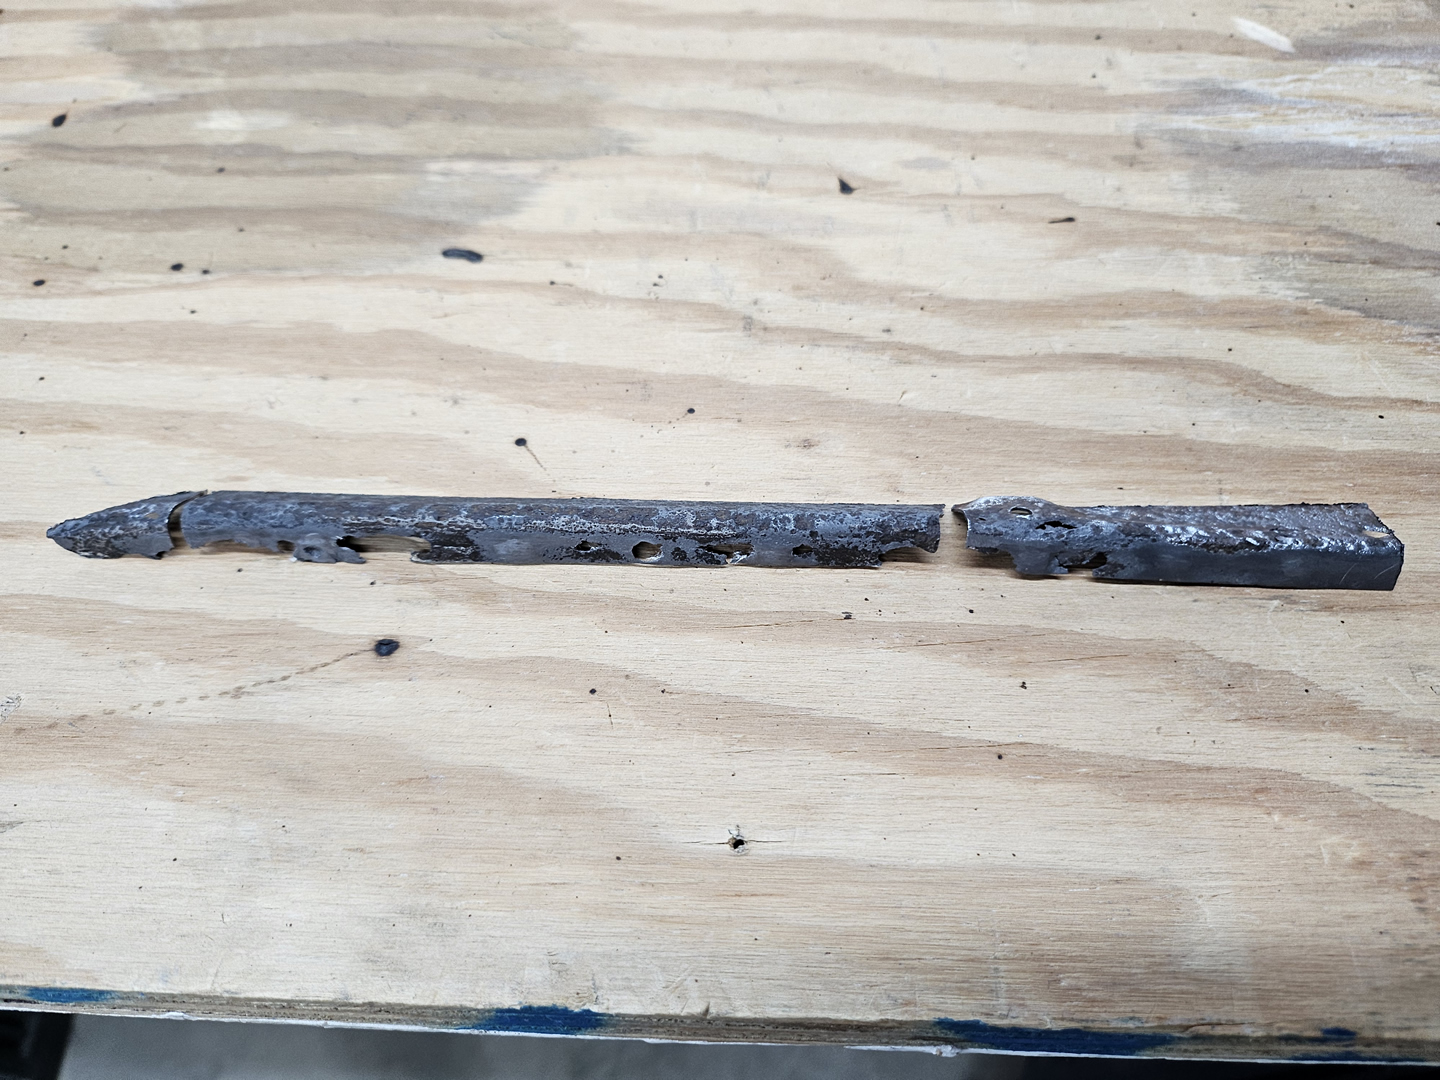
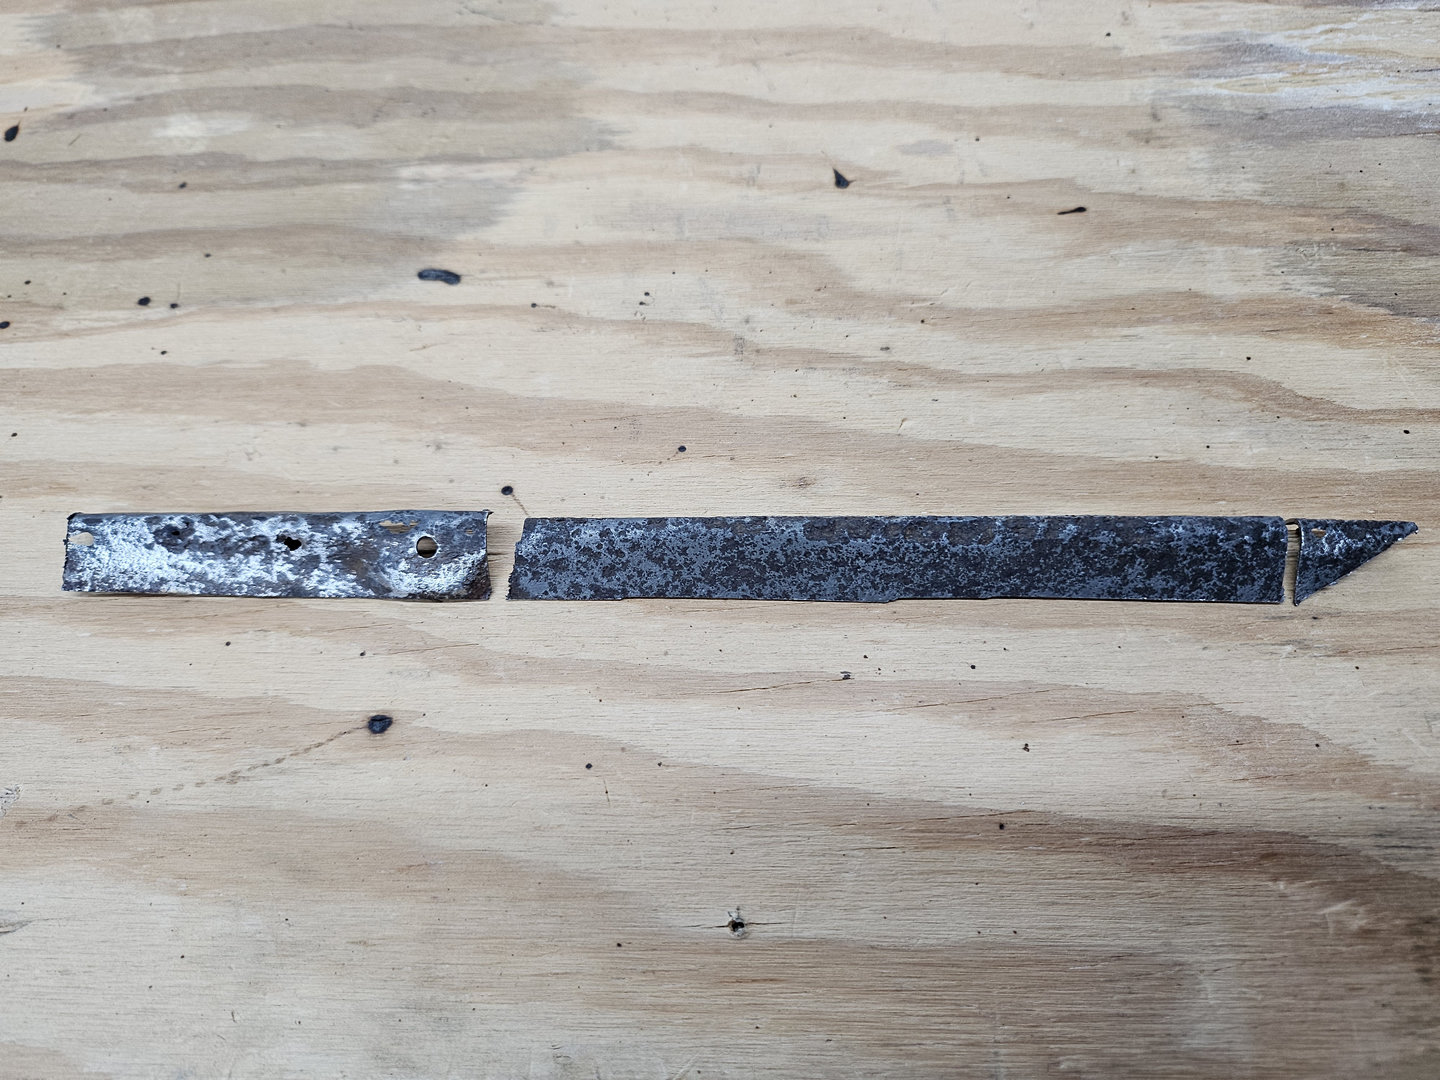
Next, I decided to tackle the rust damage on the channel body. There were a few areas on the front where the bottom plate is attached that had small holes, but there was good metal around it and the flange where the bottom plate is attached was undamaged. In those areas, I welded up the holes and any pits around them. However, on the inner side of the front section, there was whole area of the bottom plate flange was eaten through with rust as was an area 1/2" above it. This area had many different contours and shapes, and I decided it make it in three sections to simplify the process. It took some time, but I did get it done.
|

|
|
|
|
|

|
|
|
|
Now I can put the end cap back on. I sprayed the mating surfaces with weld-through primer and welded it back on. It has been a lot of work repairing the rust damage on the driver side channel, but it was definitely better than spending $500 for a suitable replacement.

|

|

|

|
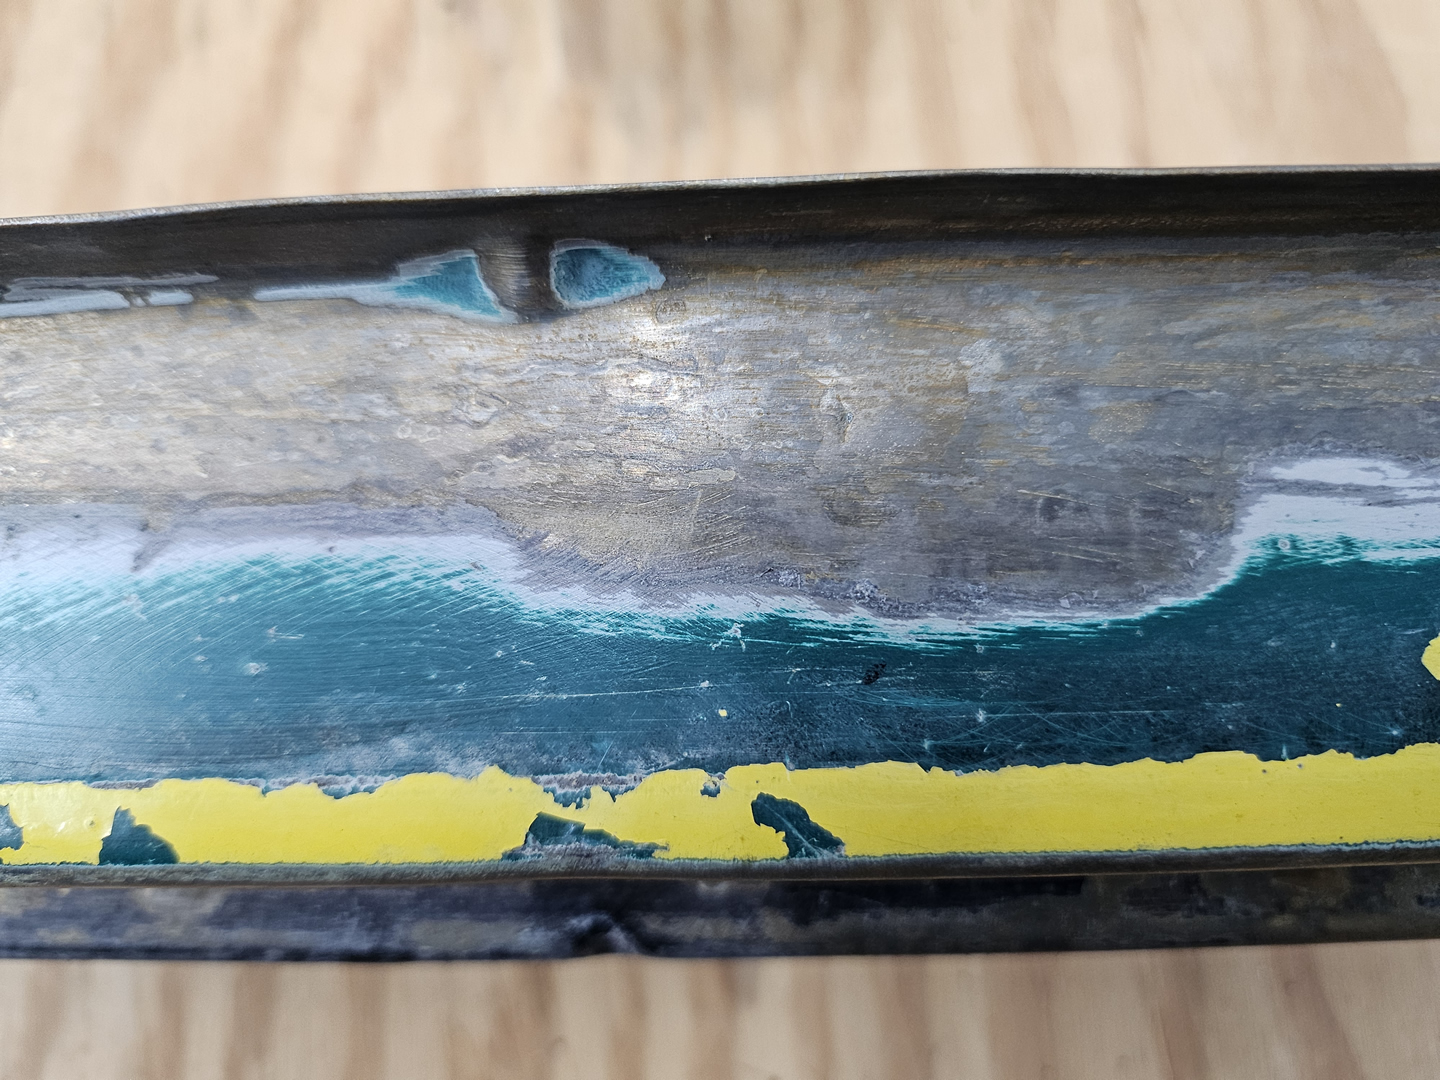
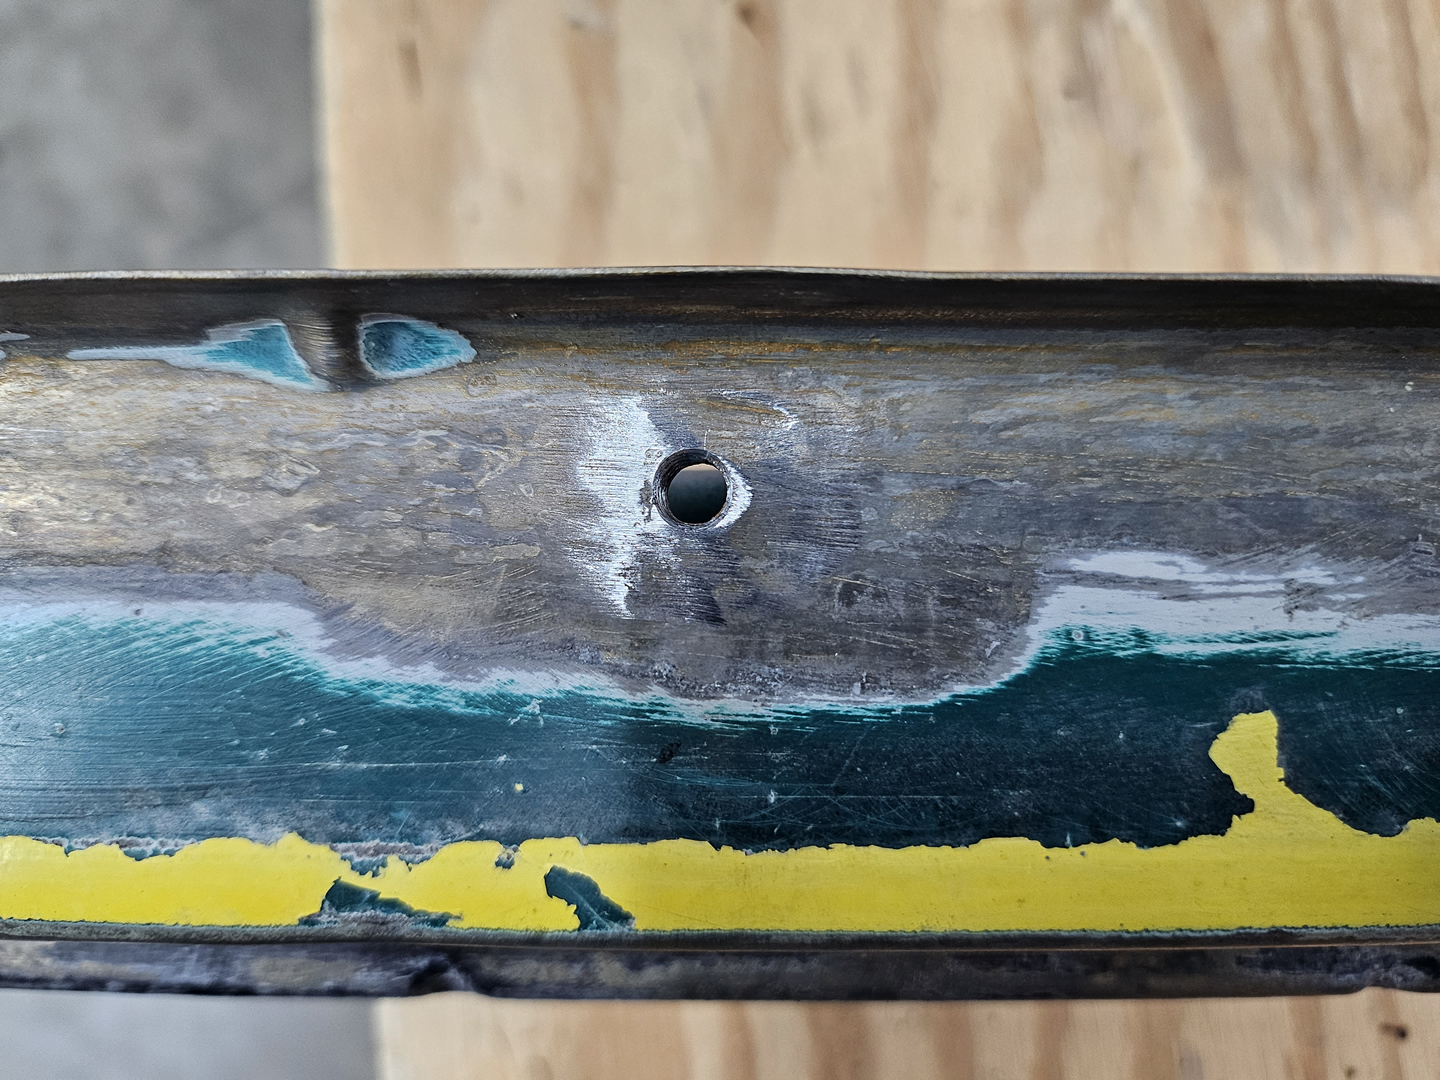
This leaves one last difficult repair task on the driver side channel. Whoever had the car that this channel was removed from at some point welded up the holes and captive nut for the running board bolts. I was able to locate the centers of the nuts and drill out and tap all four of them. If I could have accessed them from the inside of the channel, it would have made this an easier task. But the heater pipe is in front of three of the four nuts and I was not going to remove the pipe just for that. That would be much more work than drilling and taping the nuts from the outside, or even rewelding the holes and re-tapping them again if the first attempts were unsuccessful.
|
|
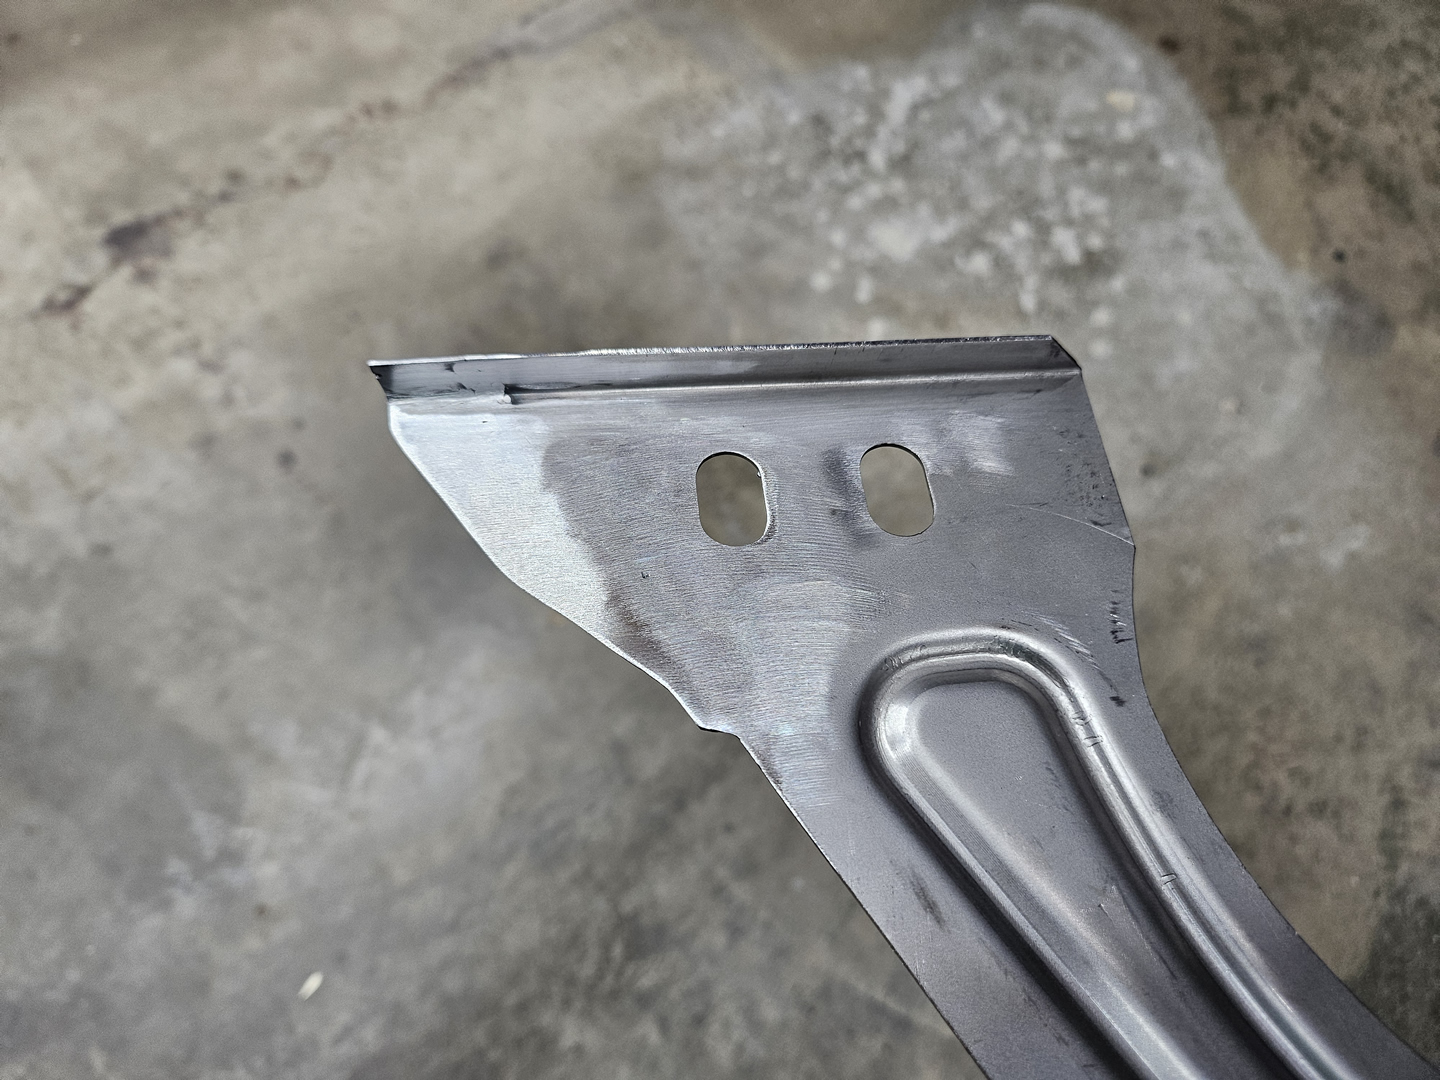
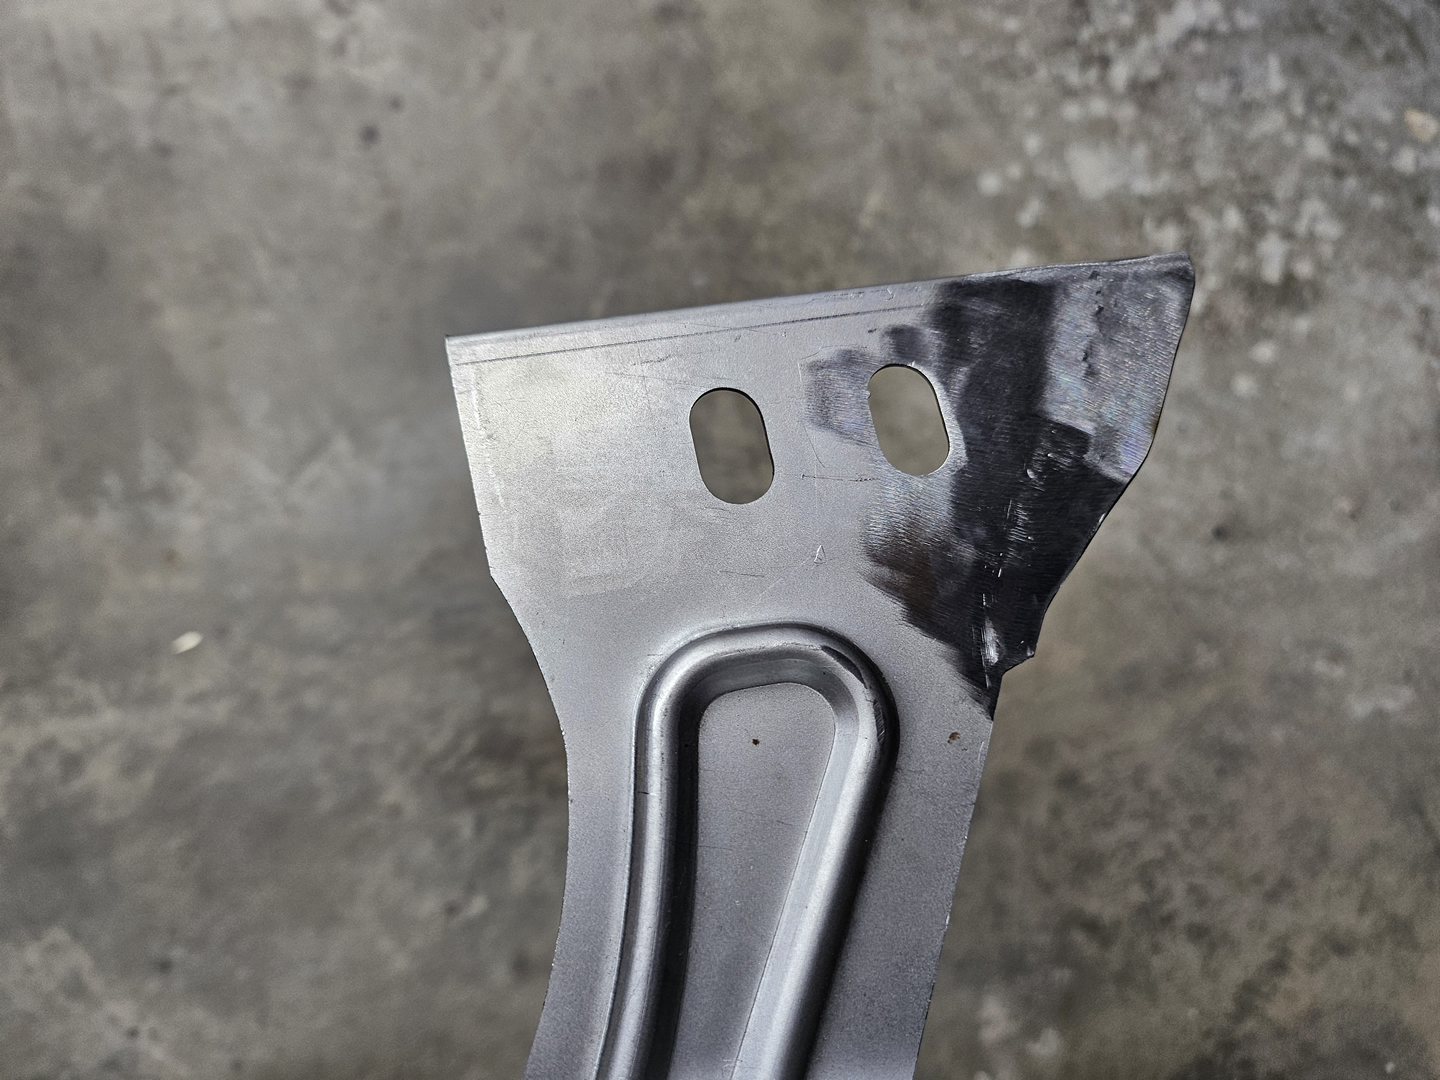
And before I can prepare the driver side bottom plate for welding, I need to add a piece on the inner side of the plate like I did on the passenger side plate to widen it to match where it will attach to the front firewall.
|
|
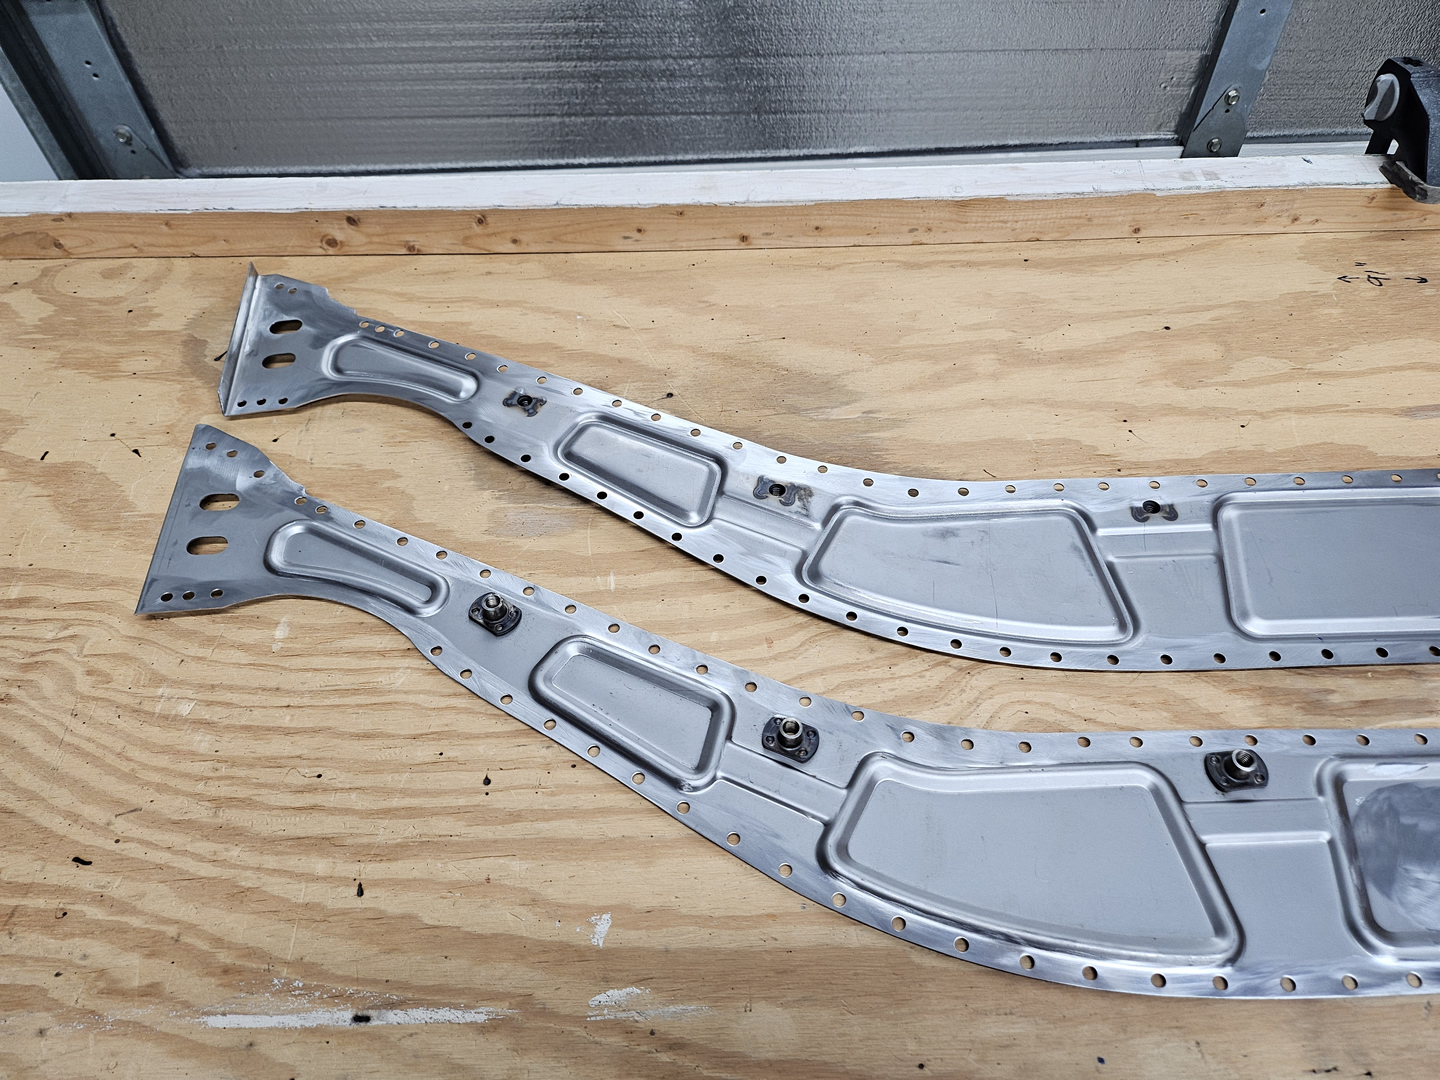
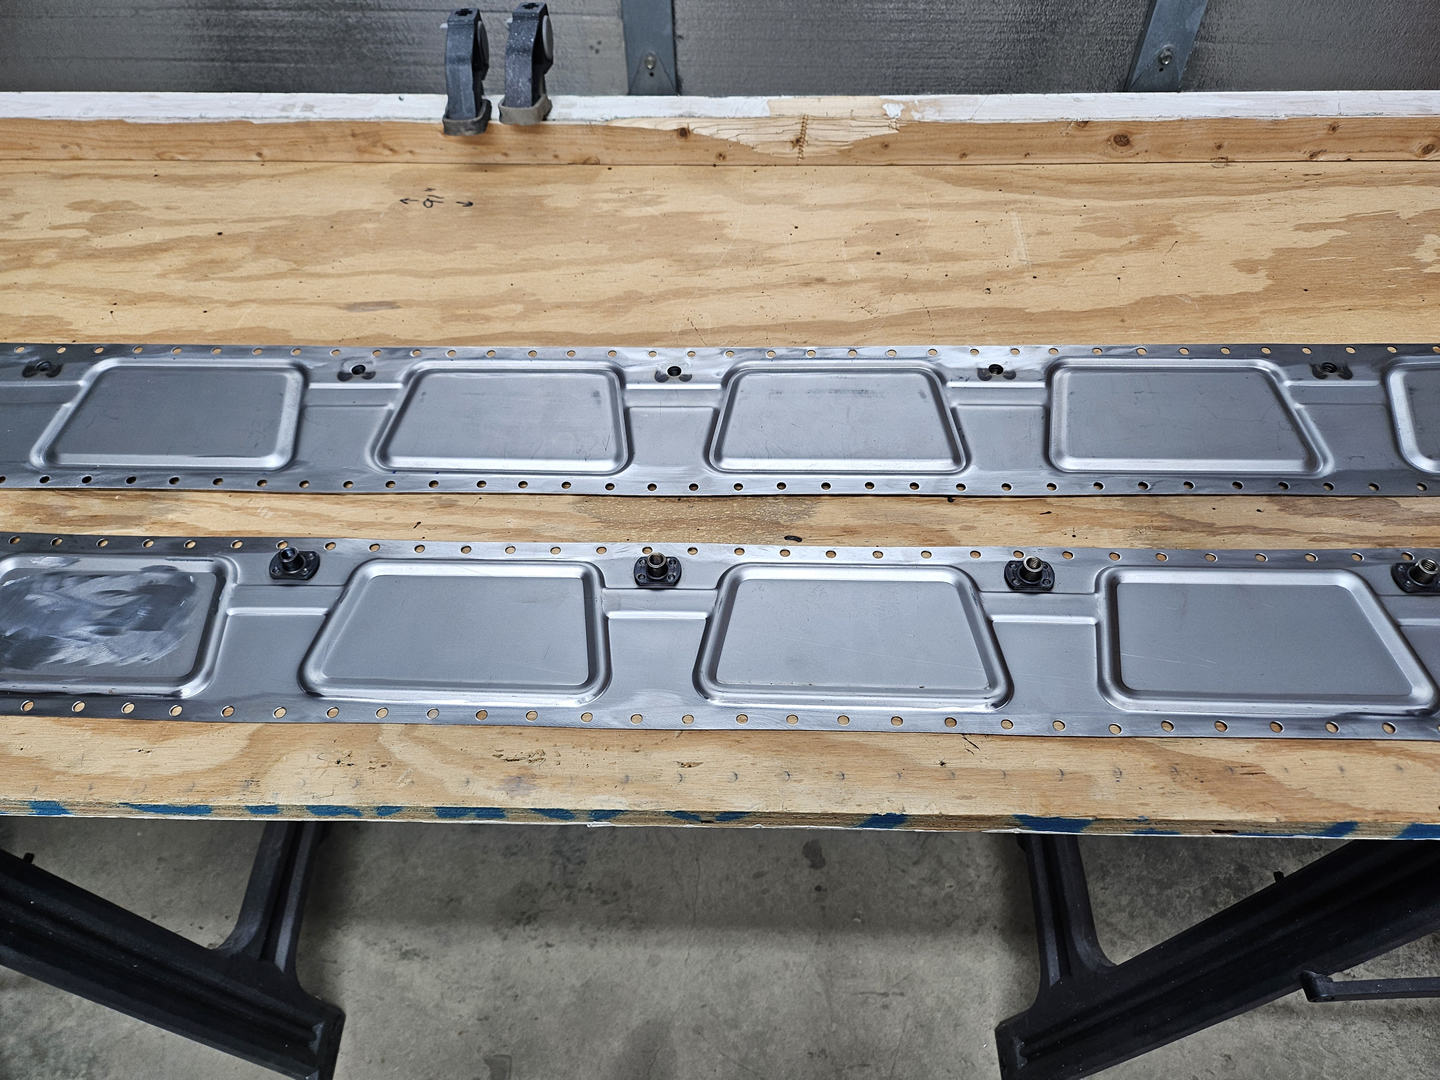
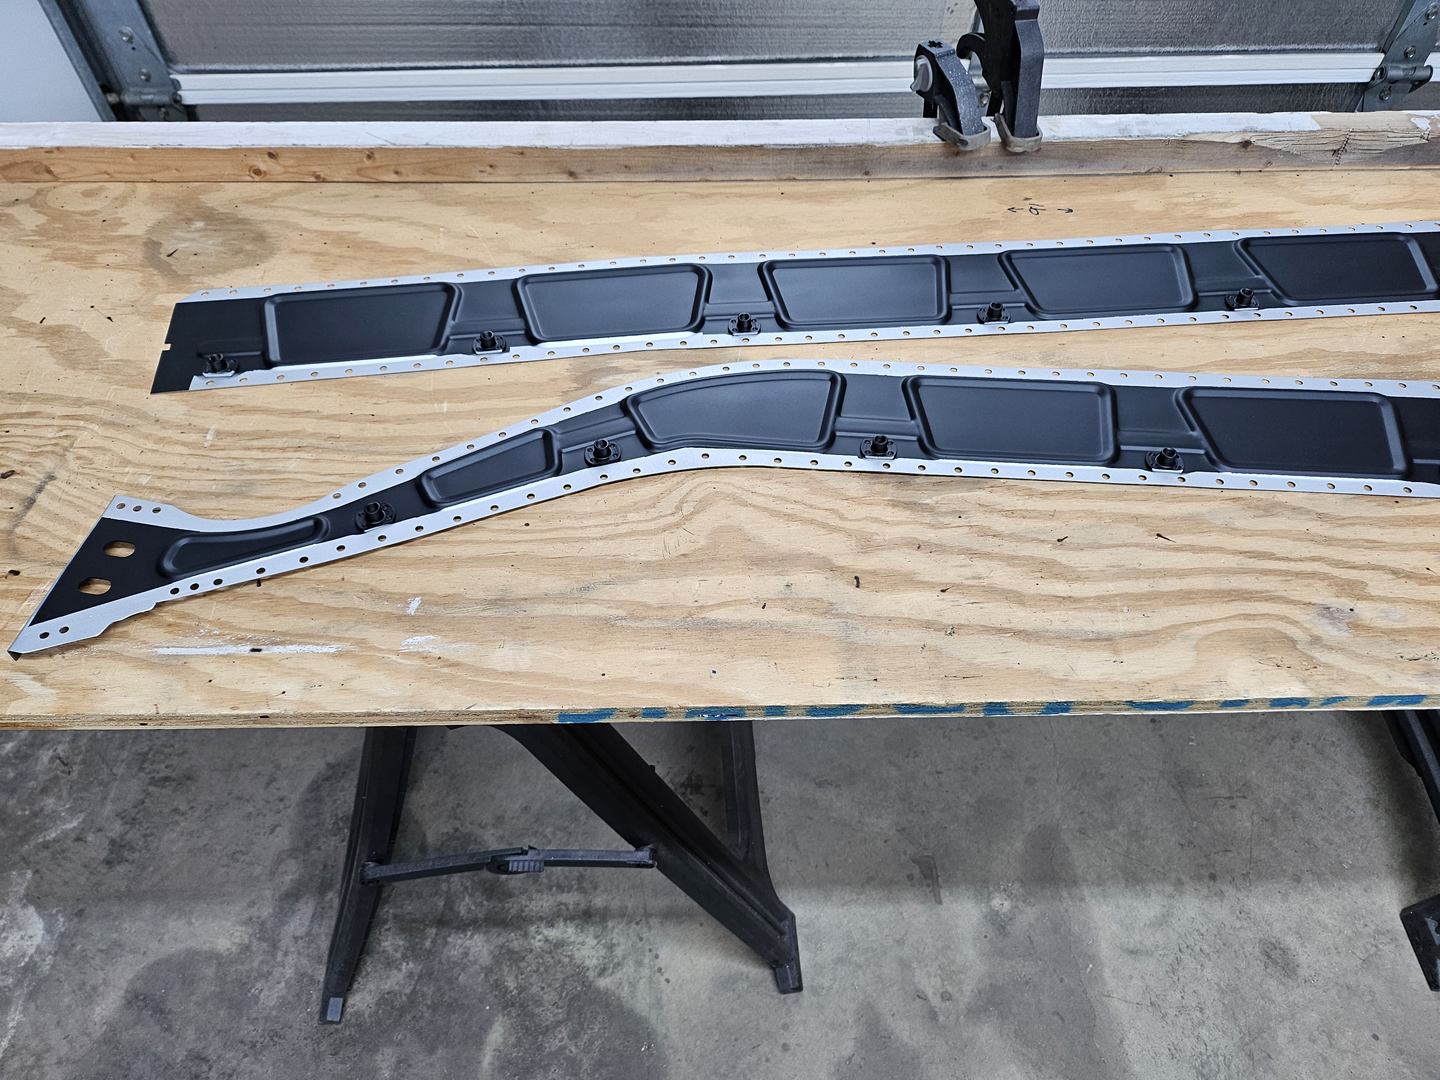
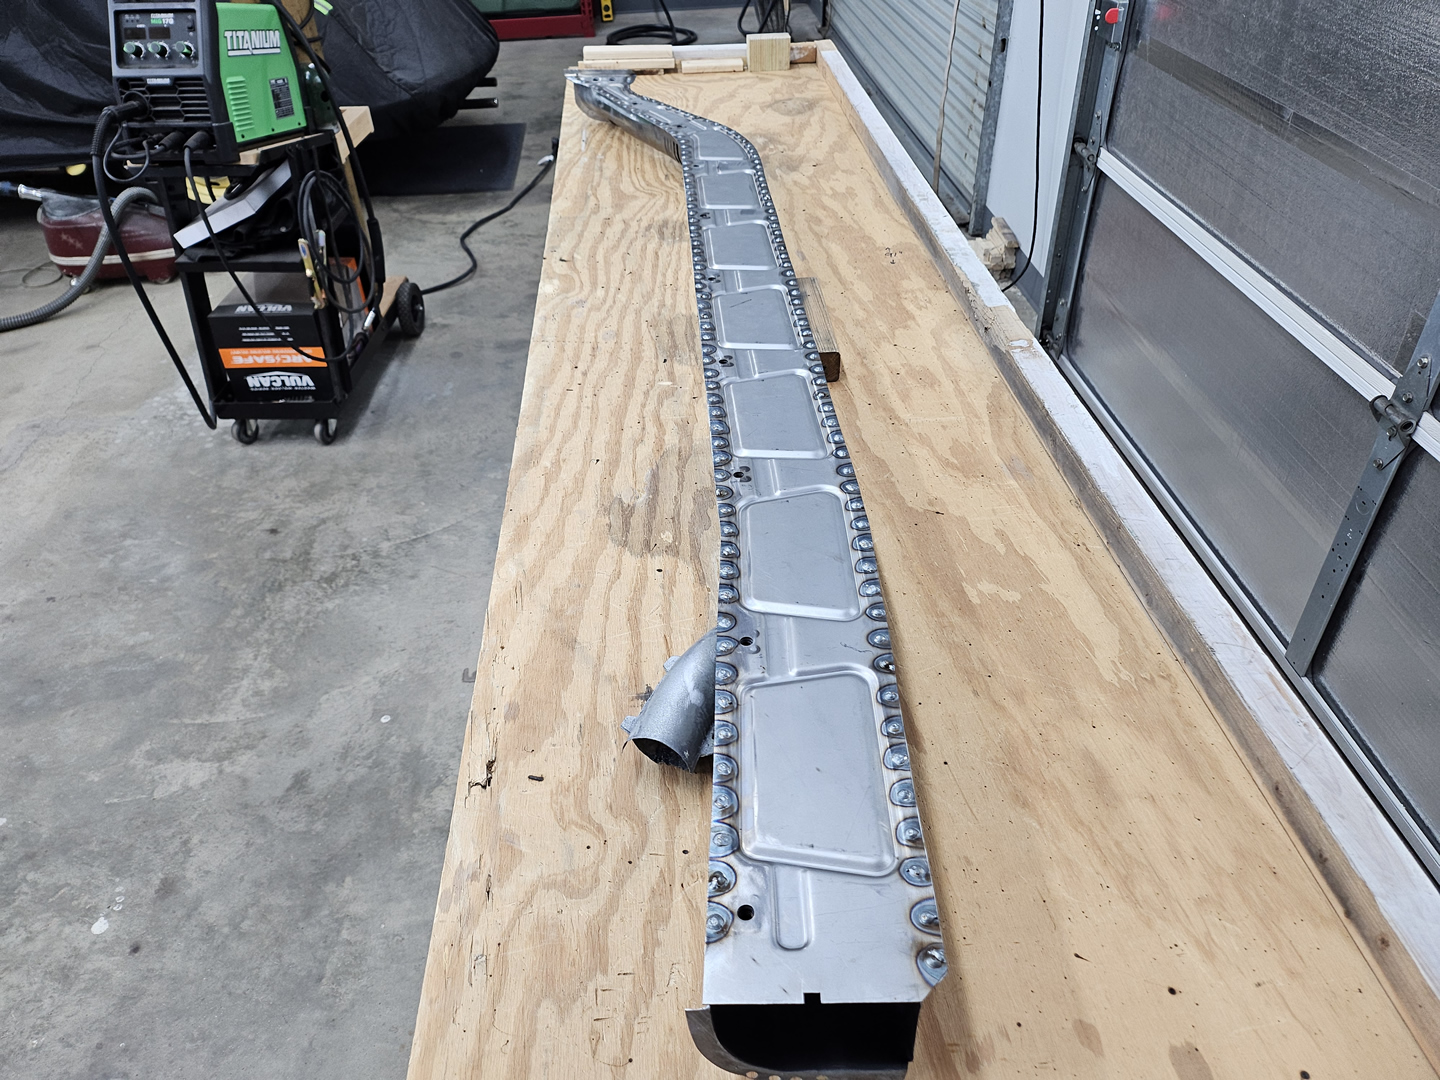
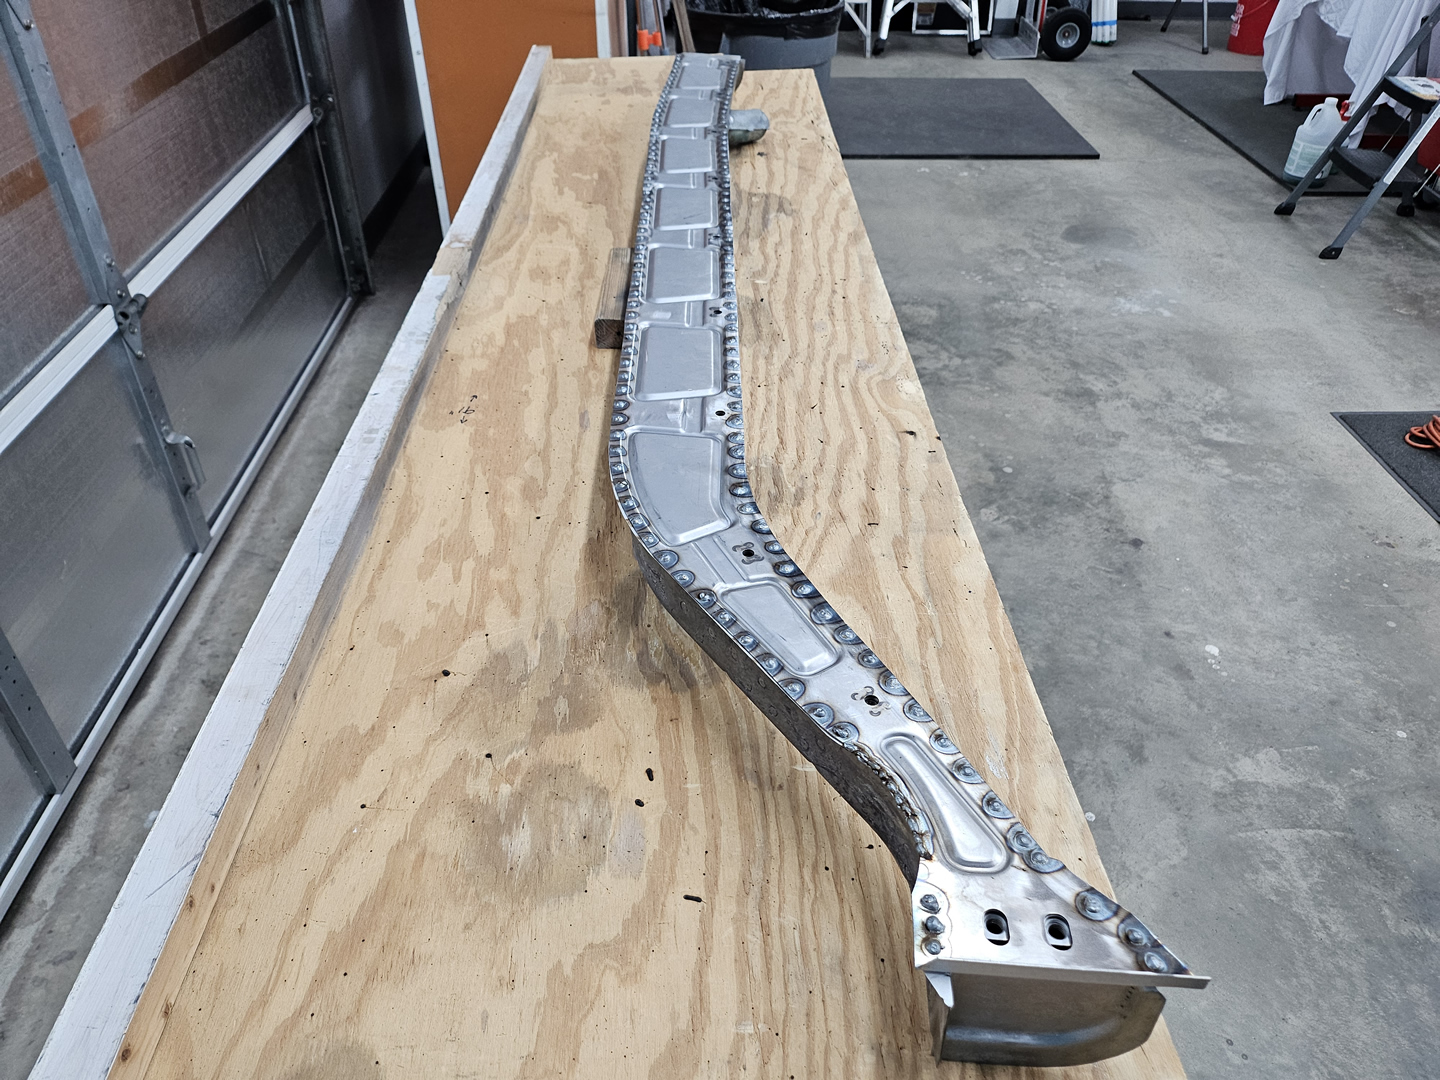
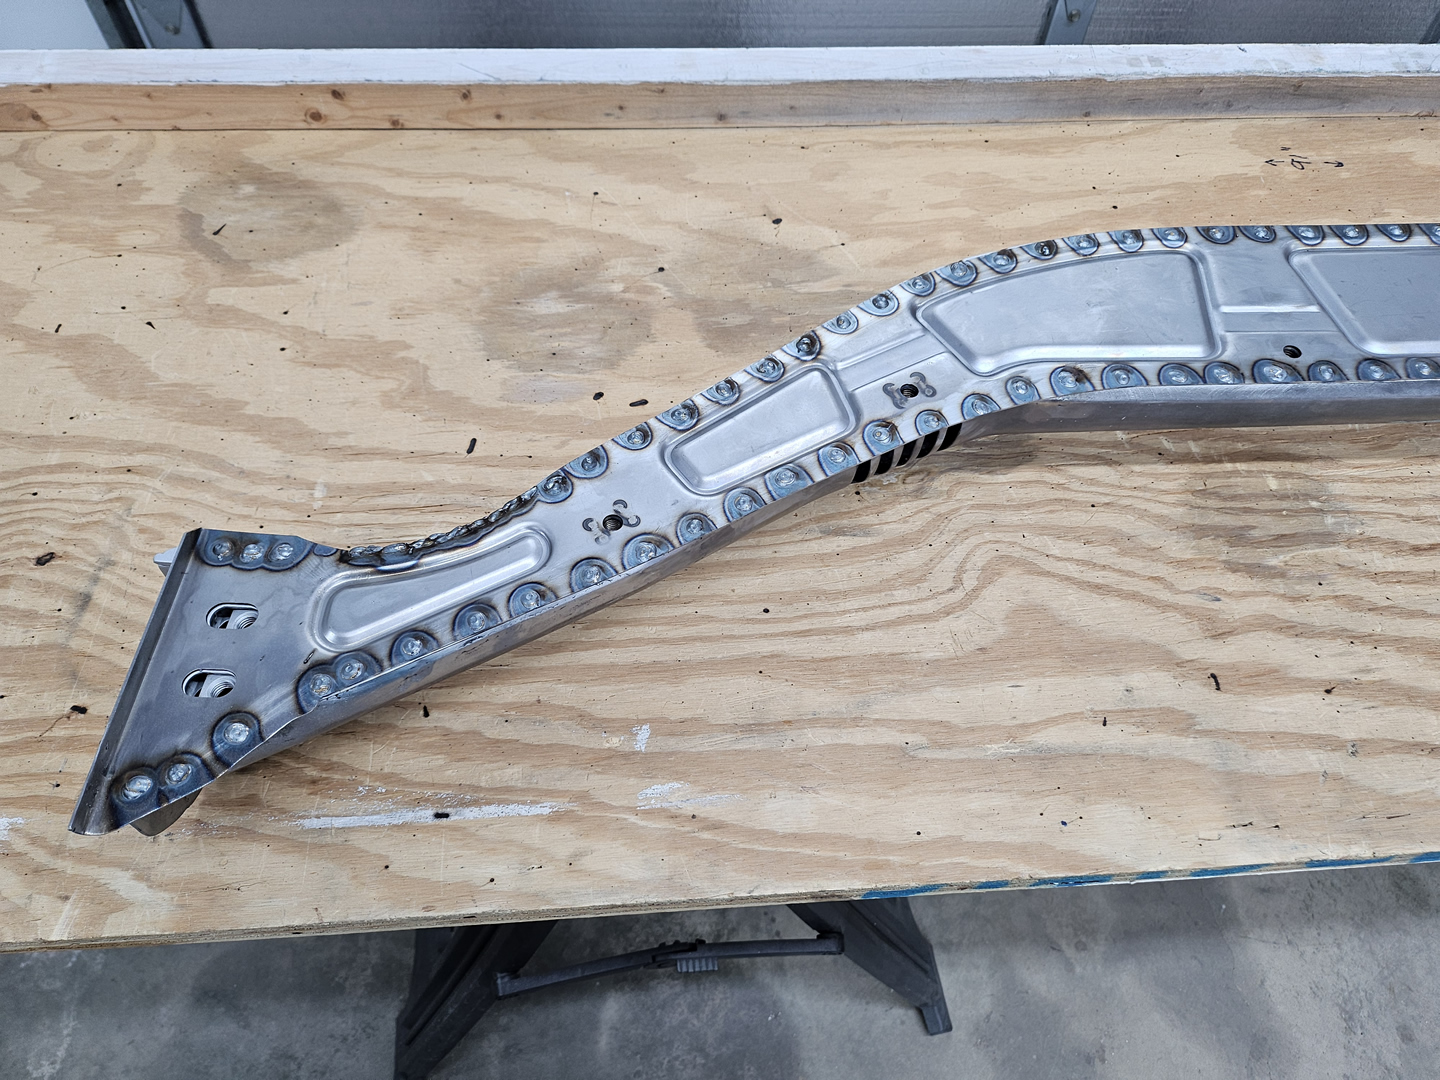
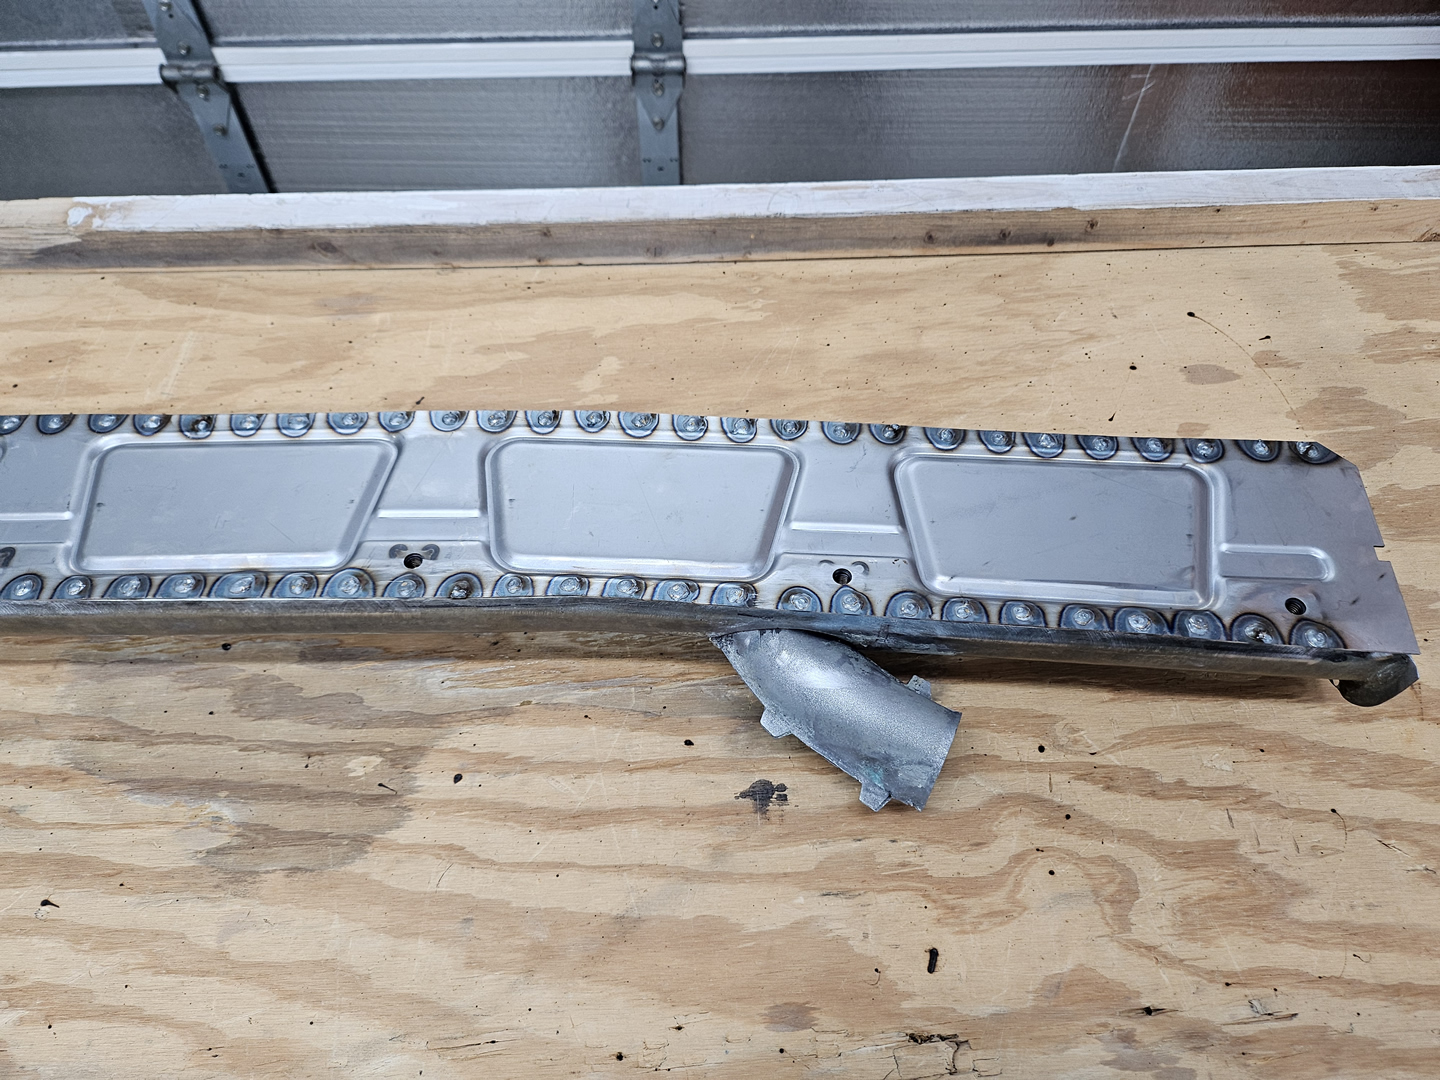
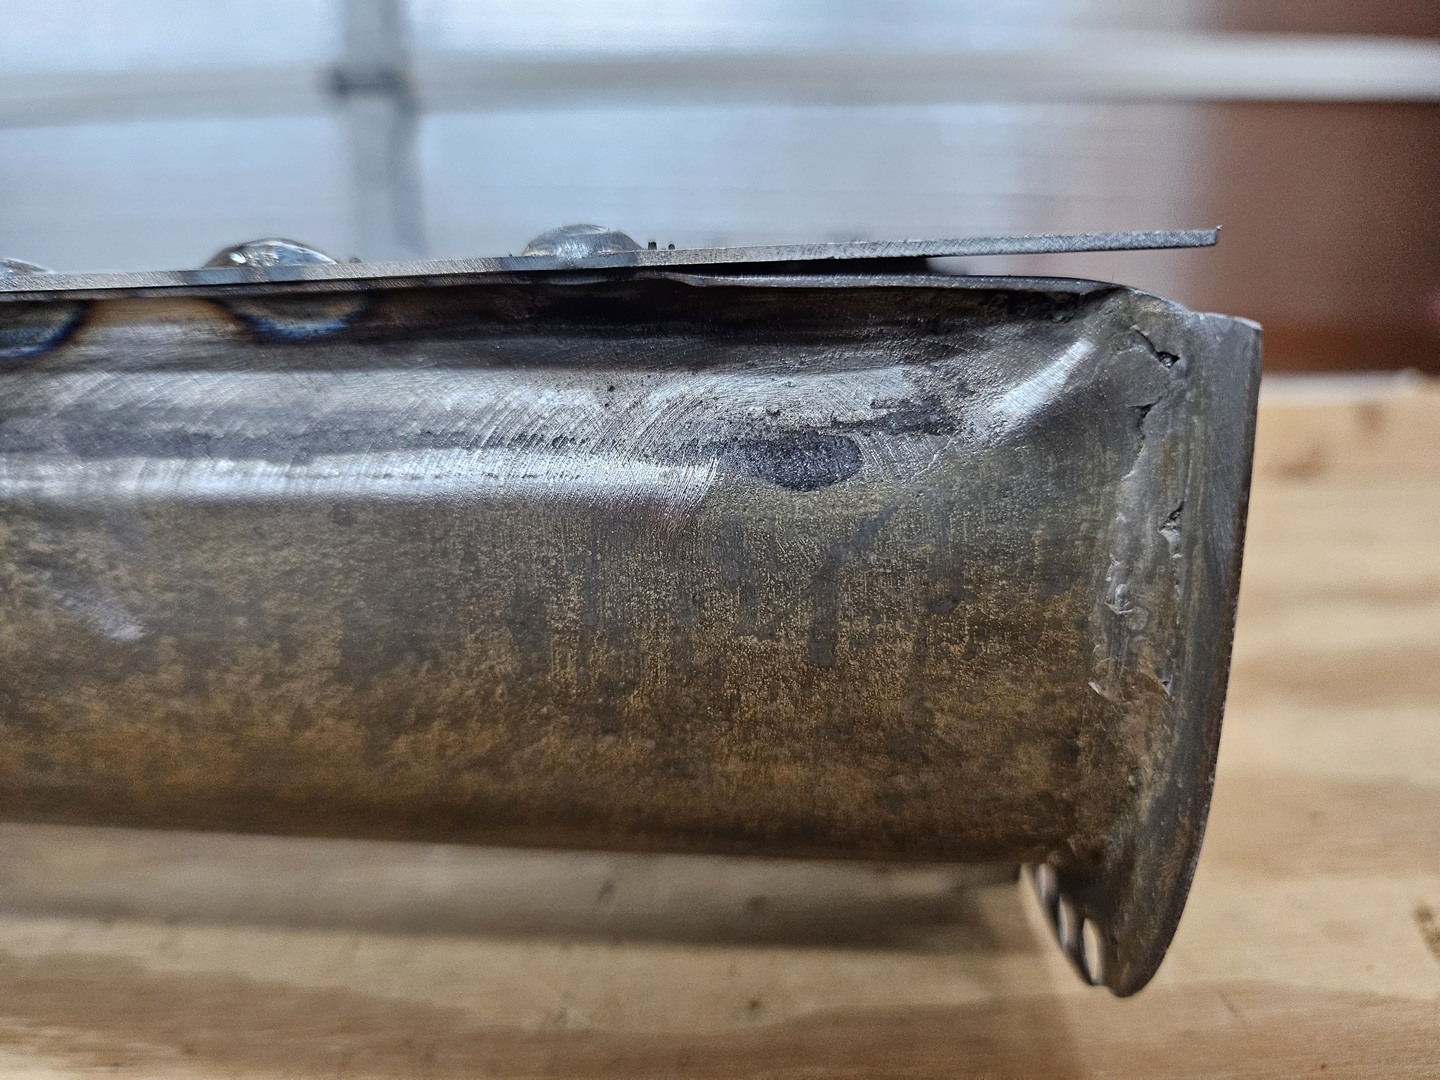
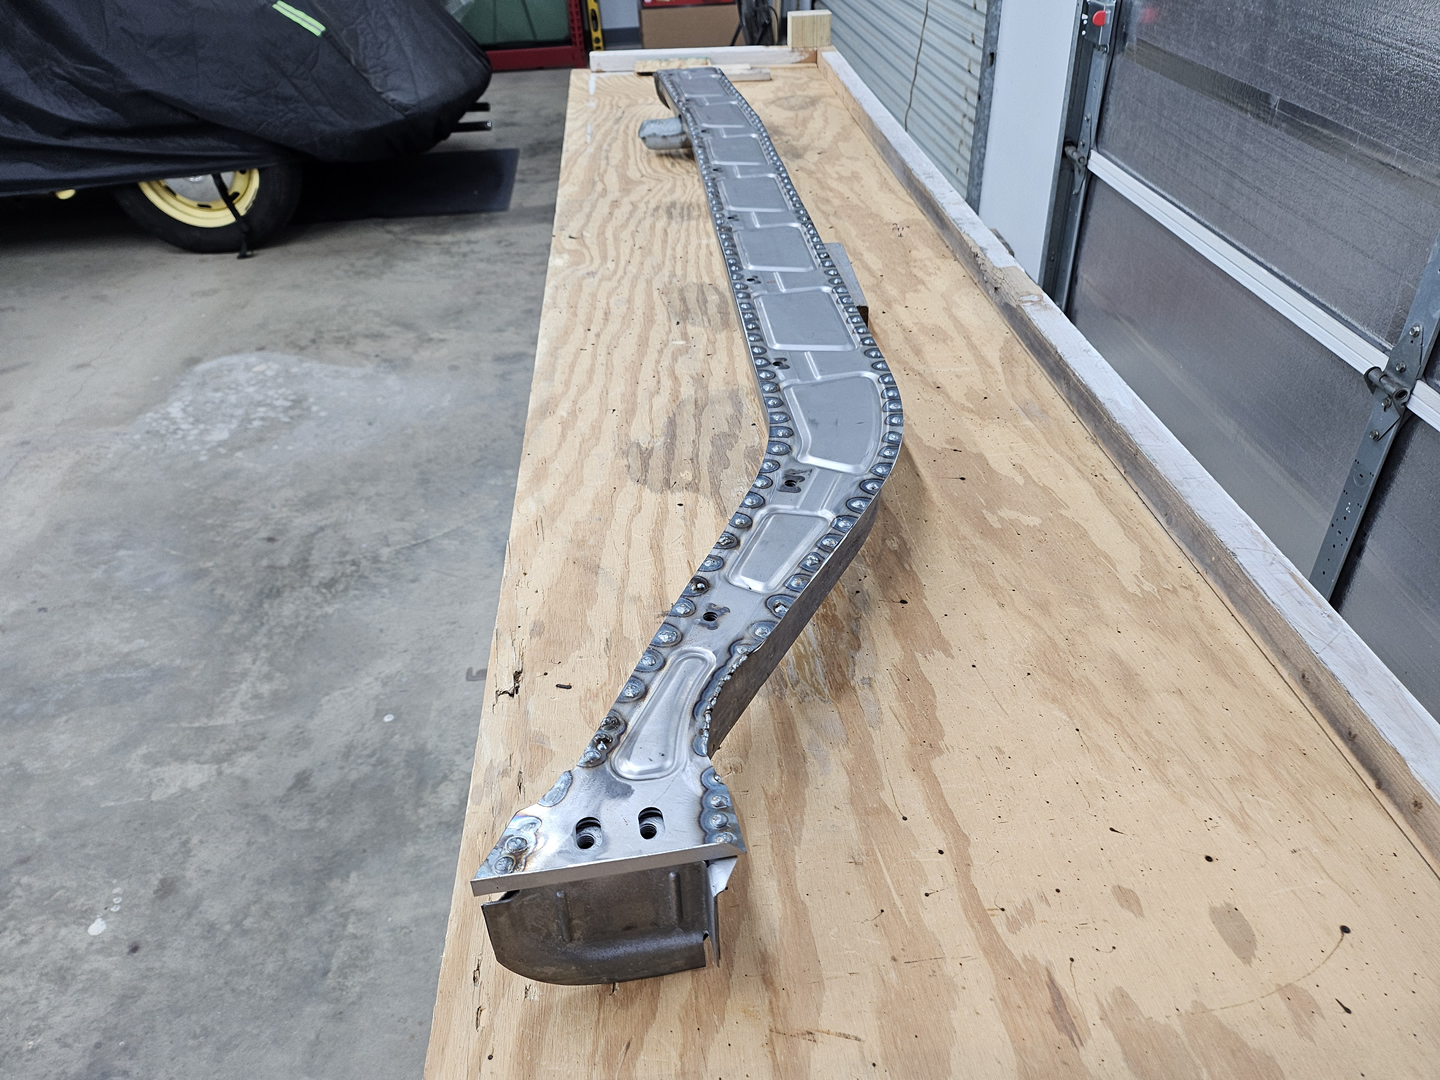
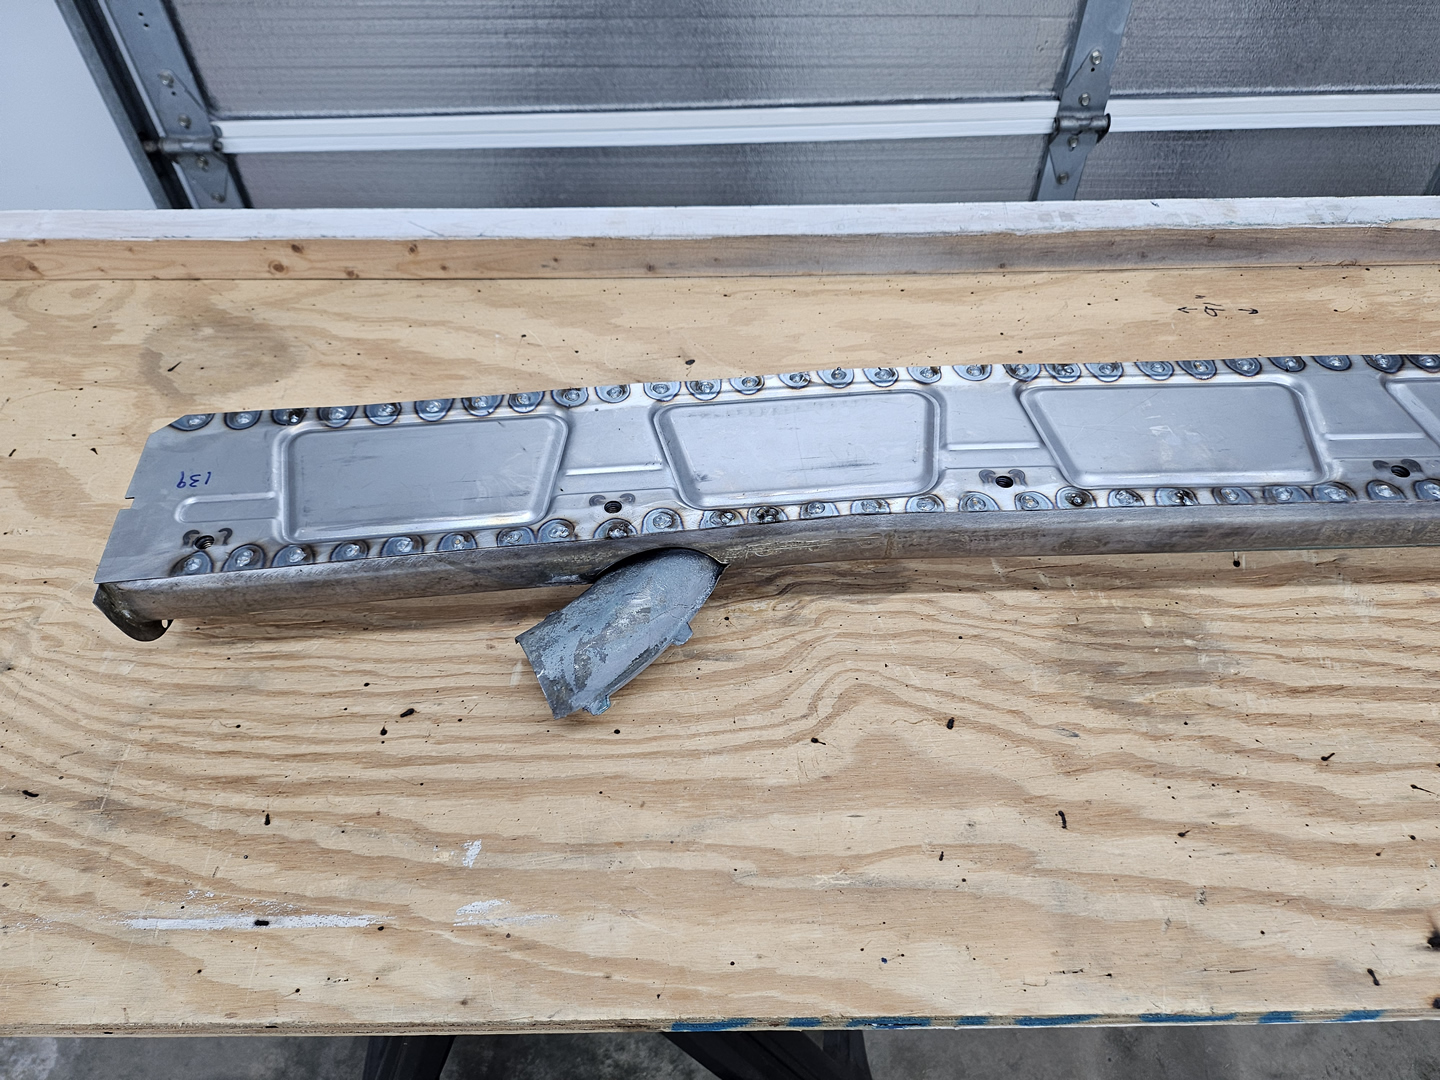
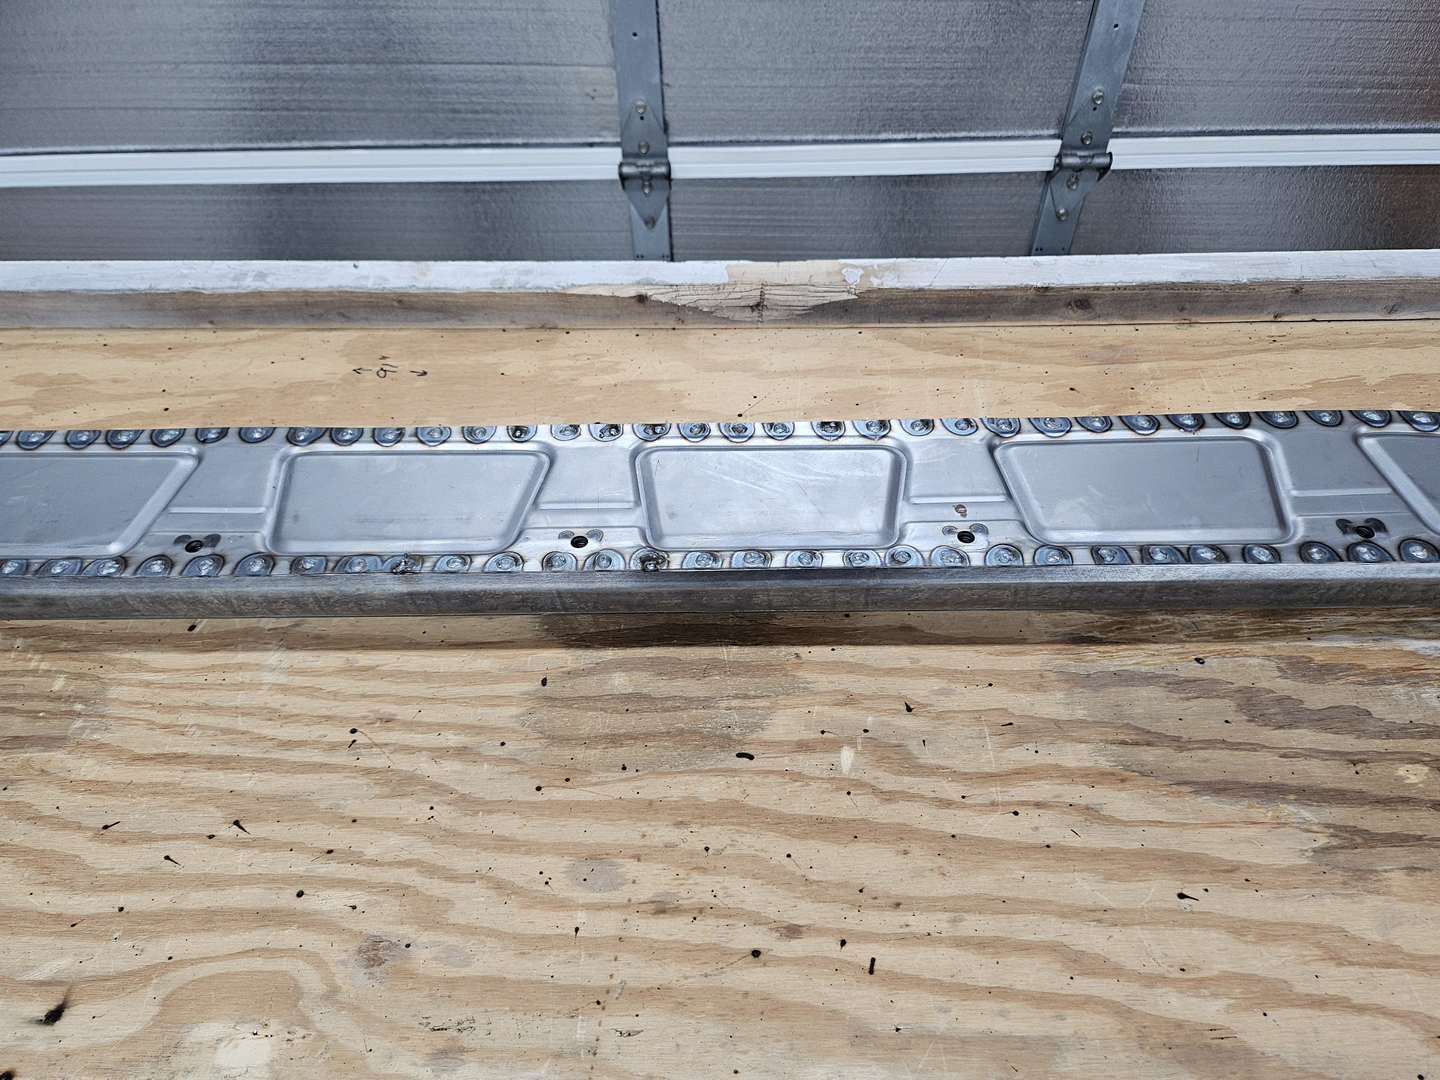
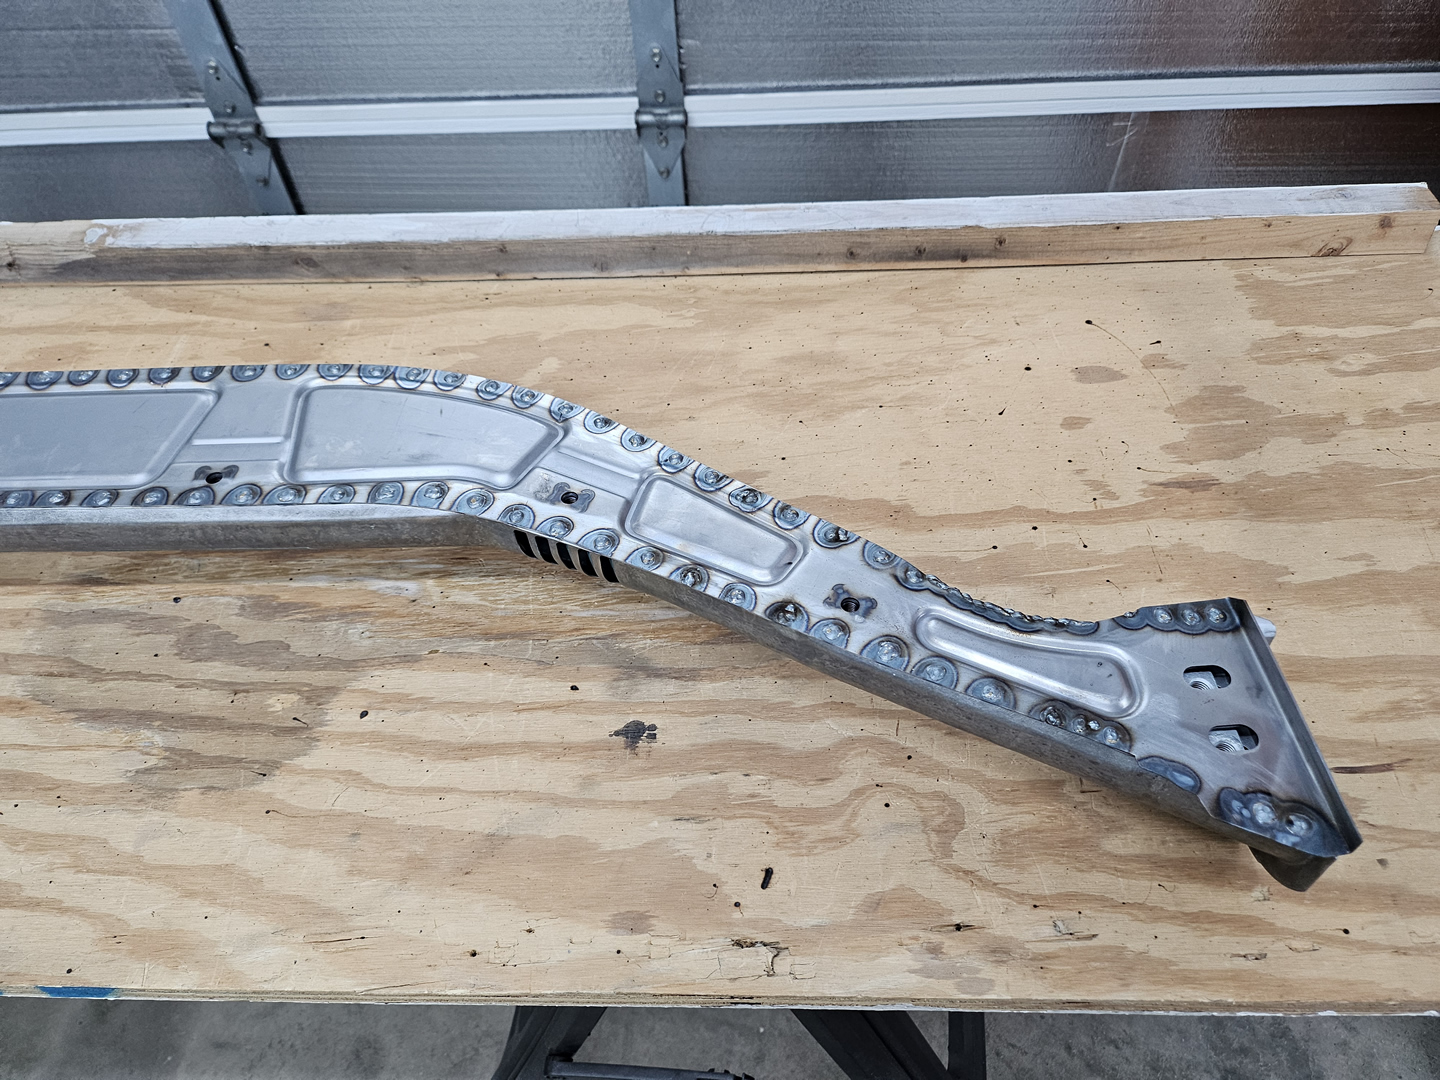
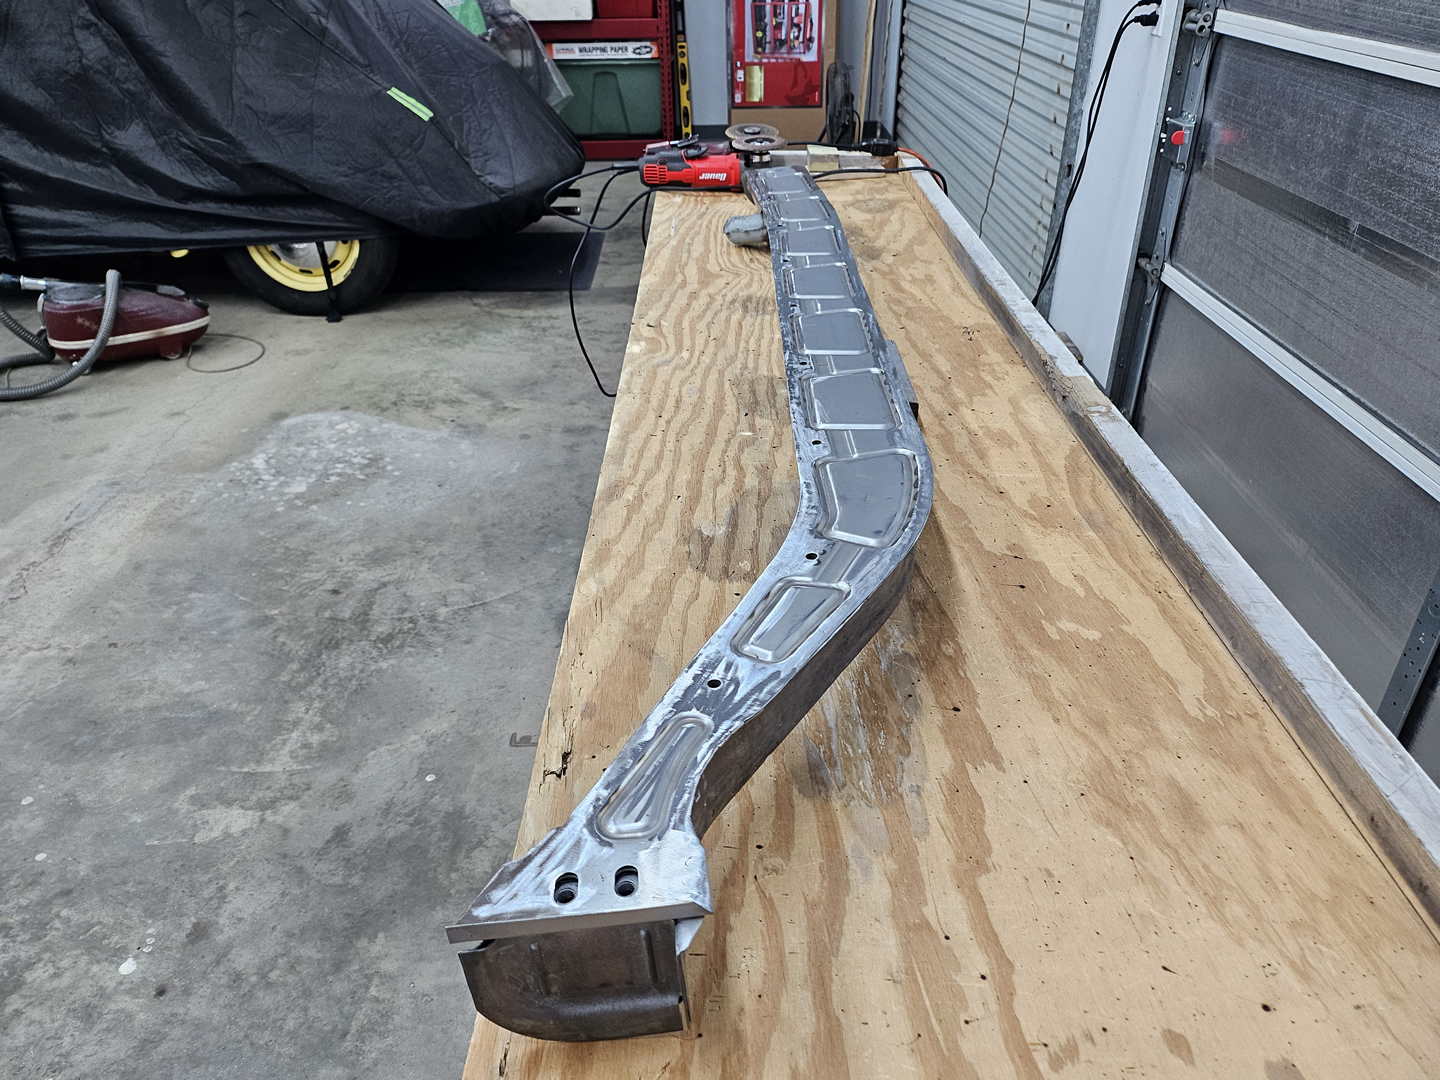
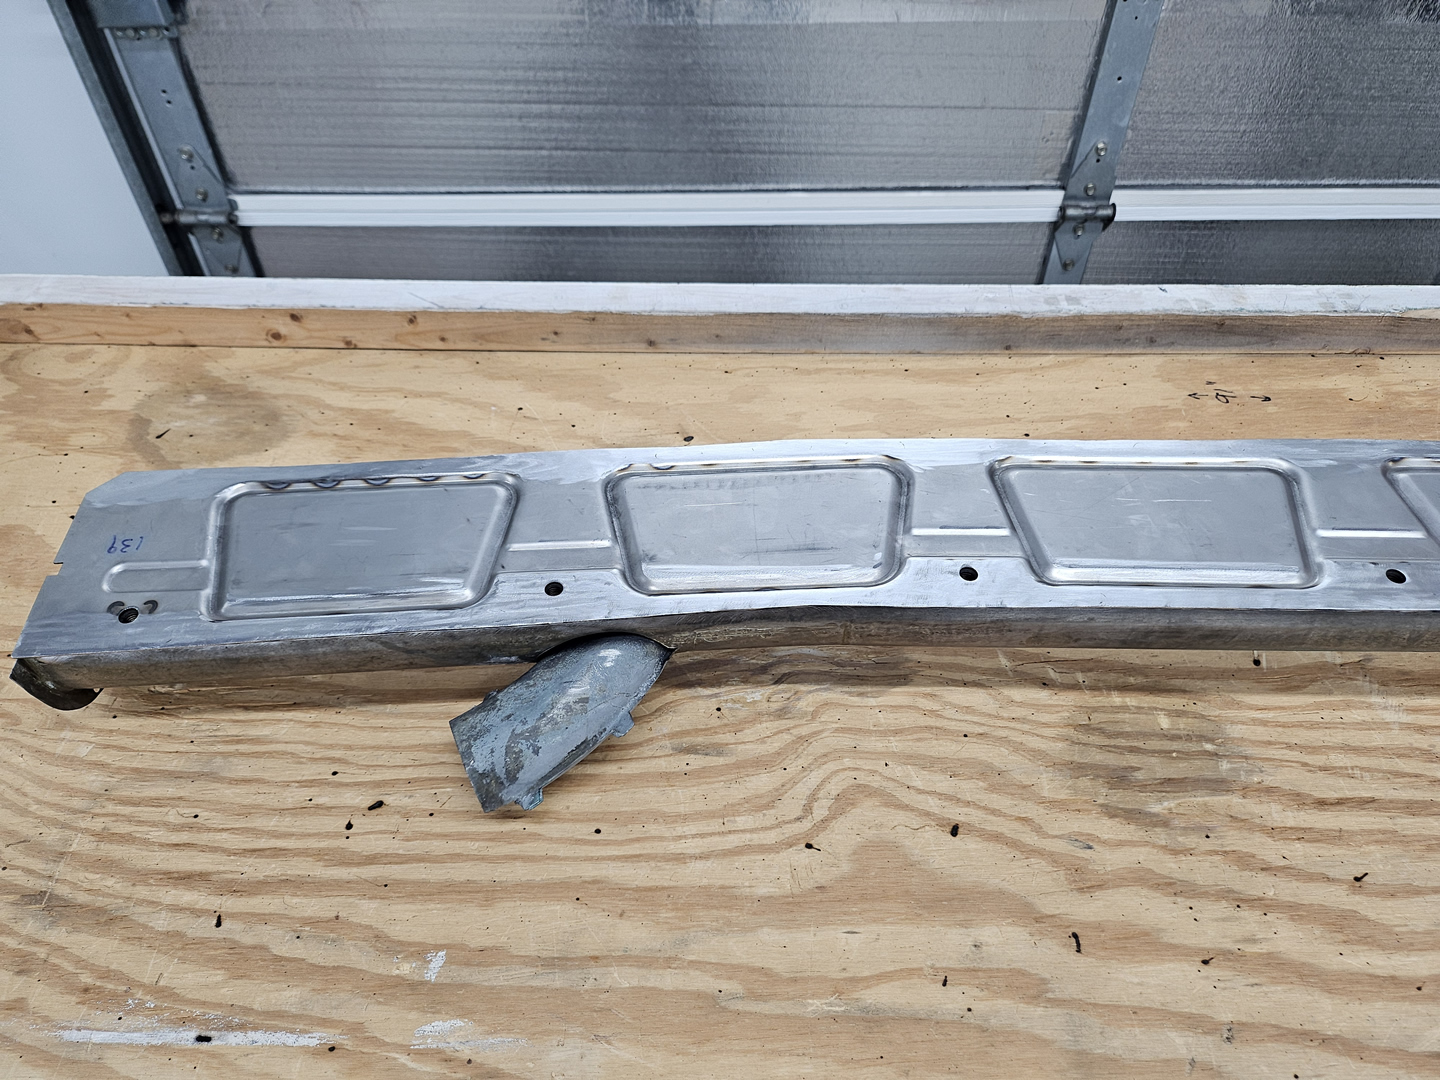
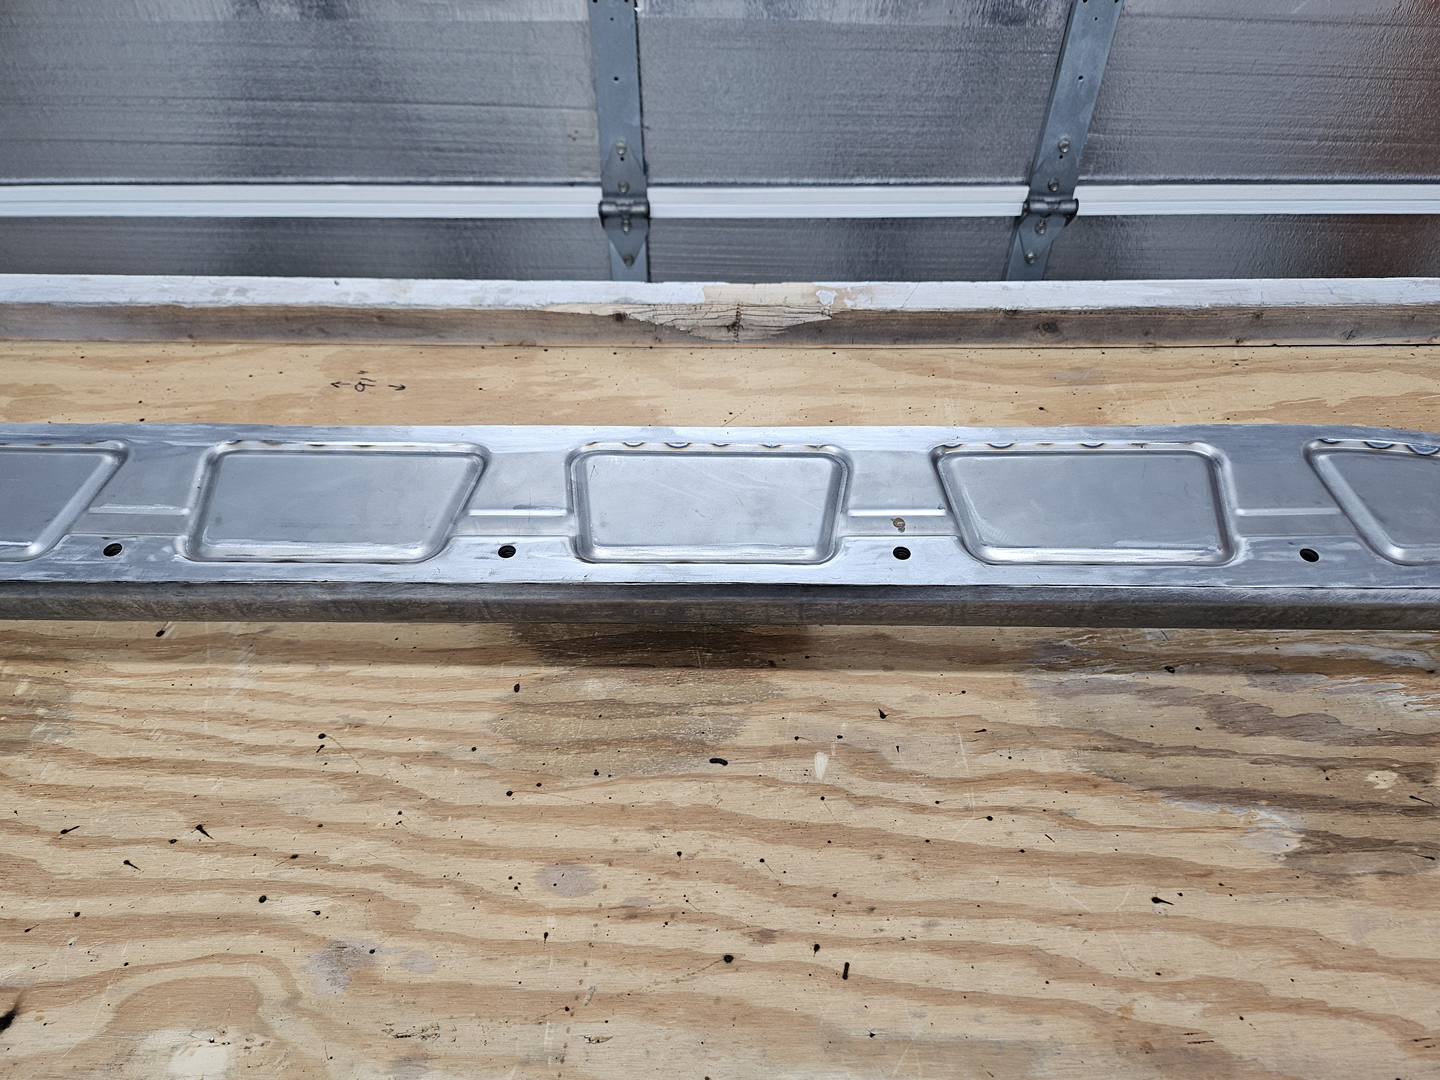
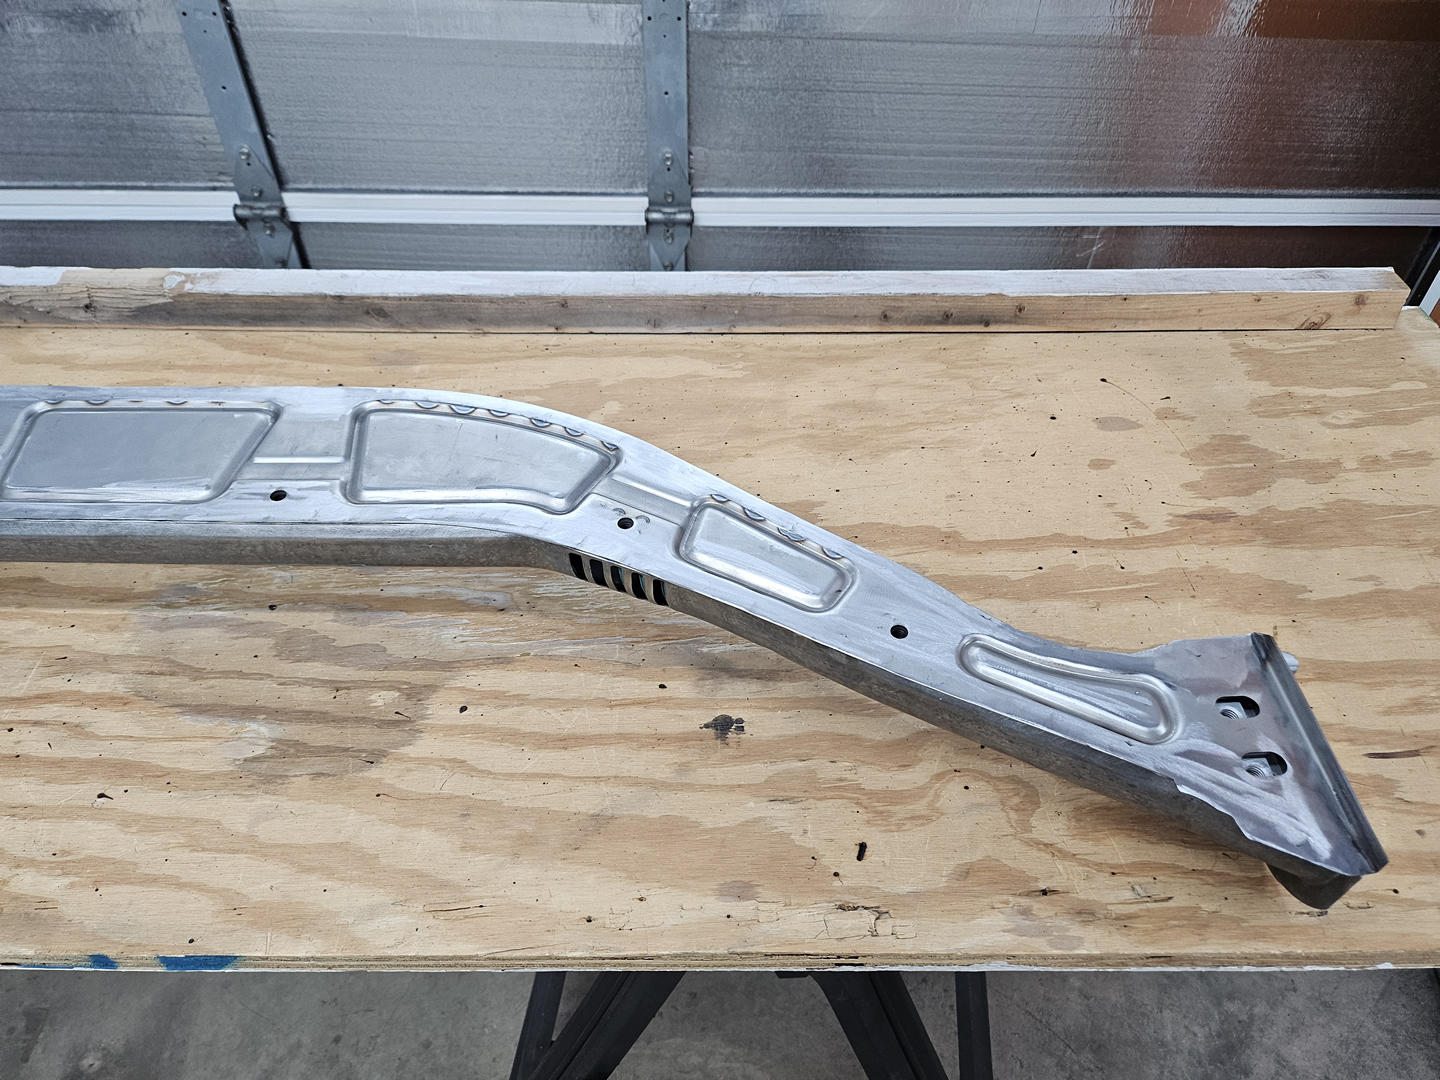
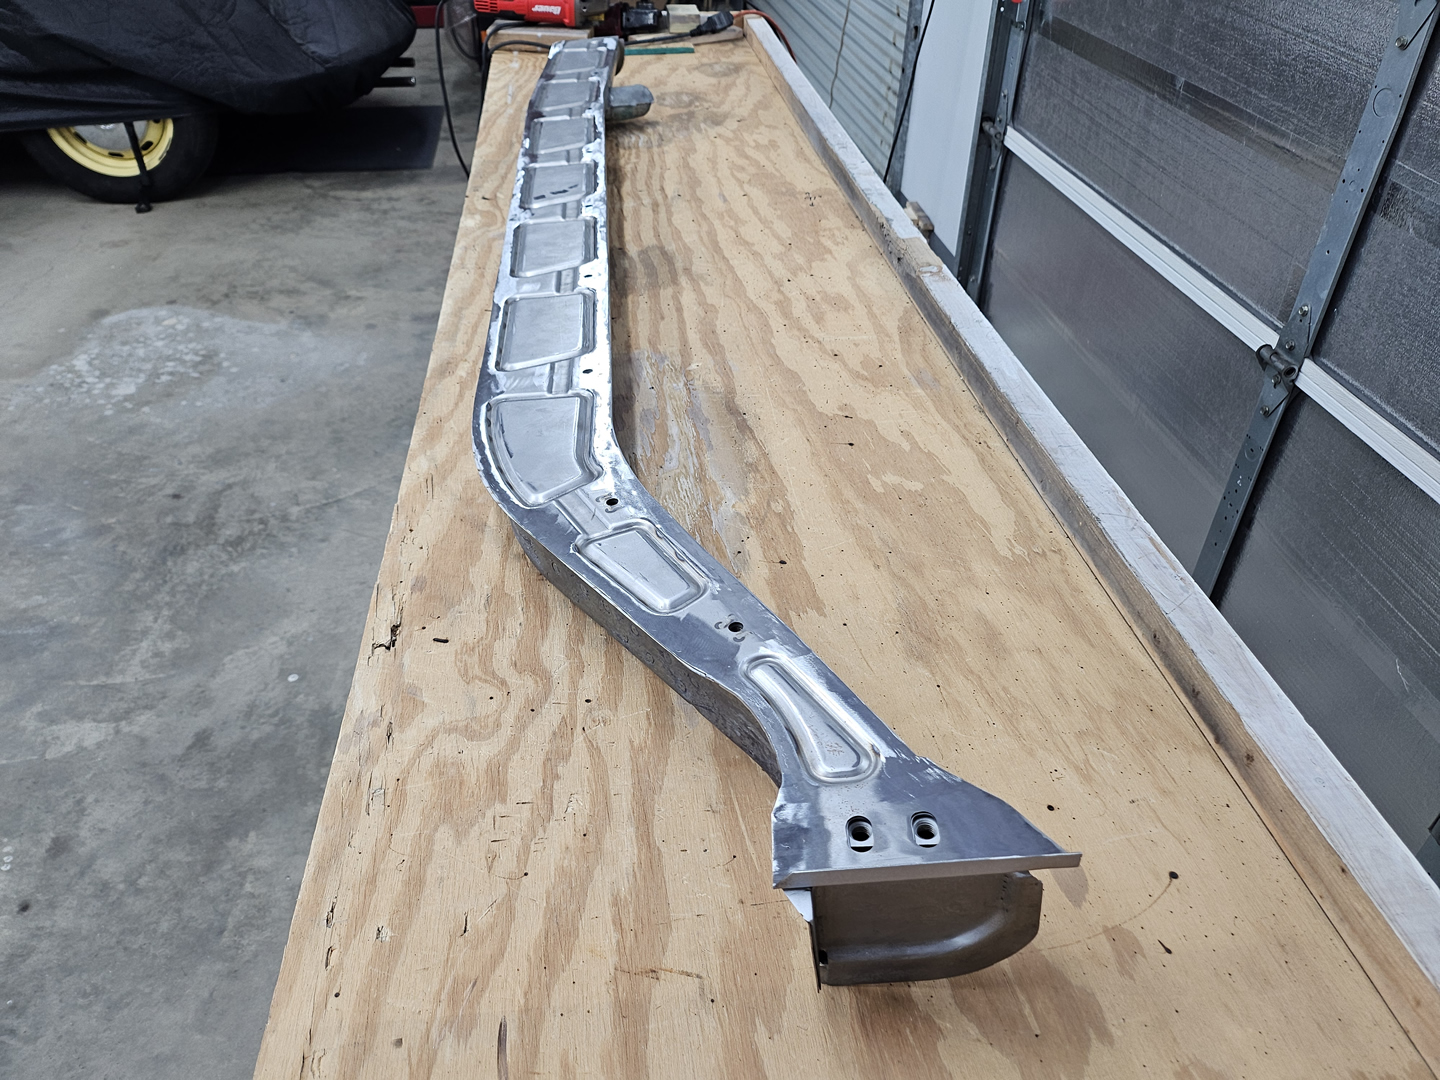
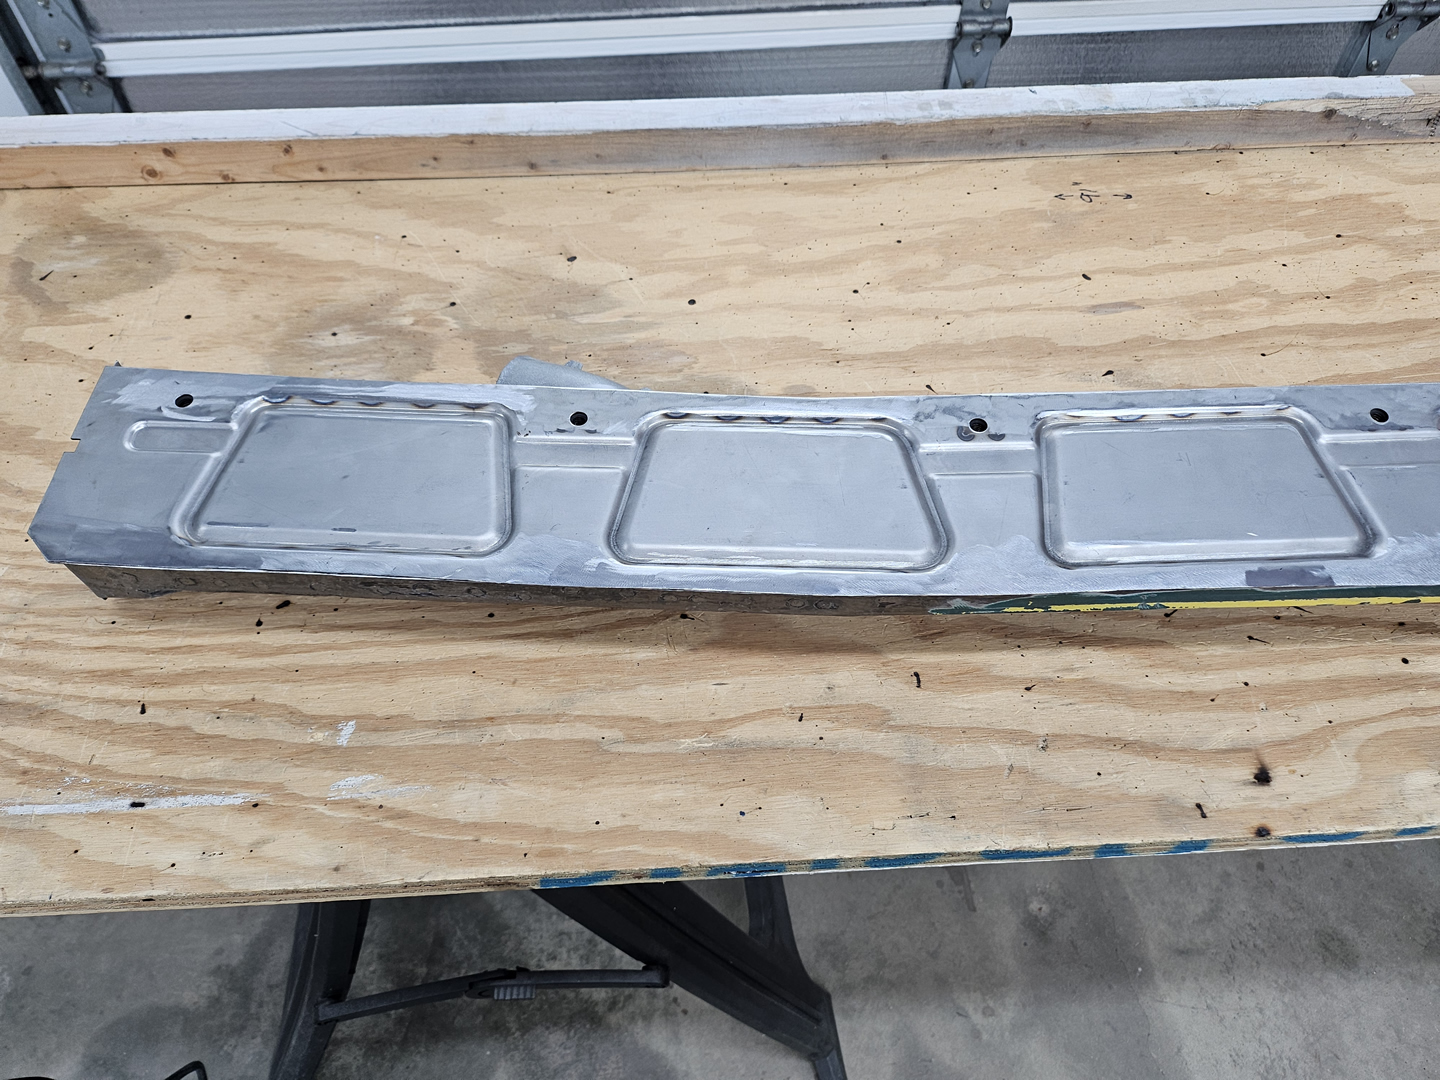
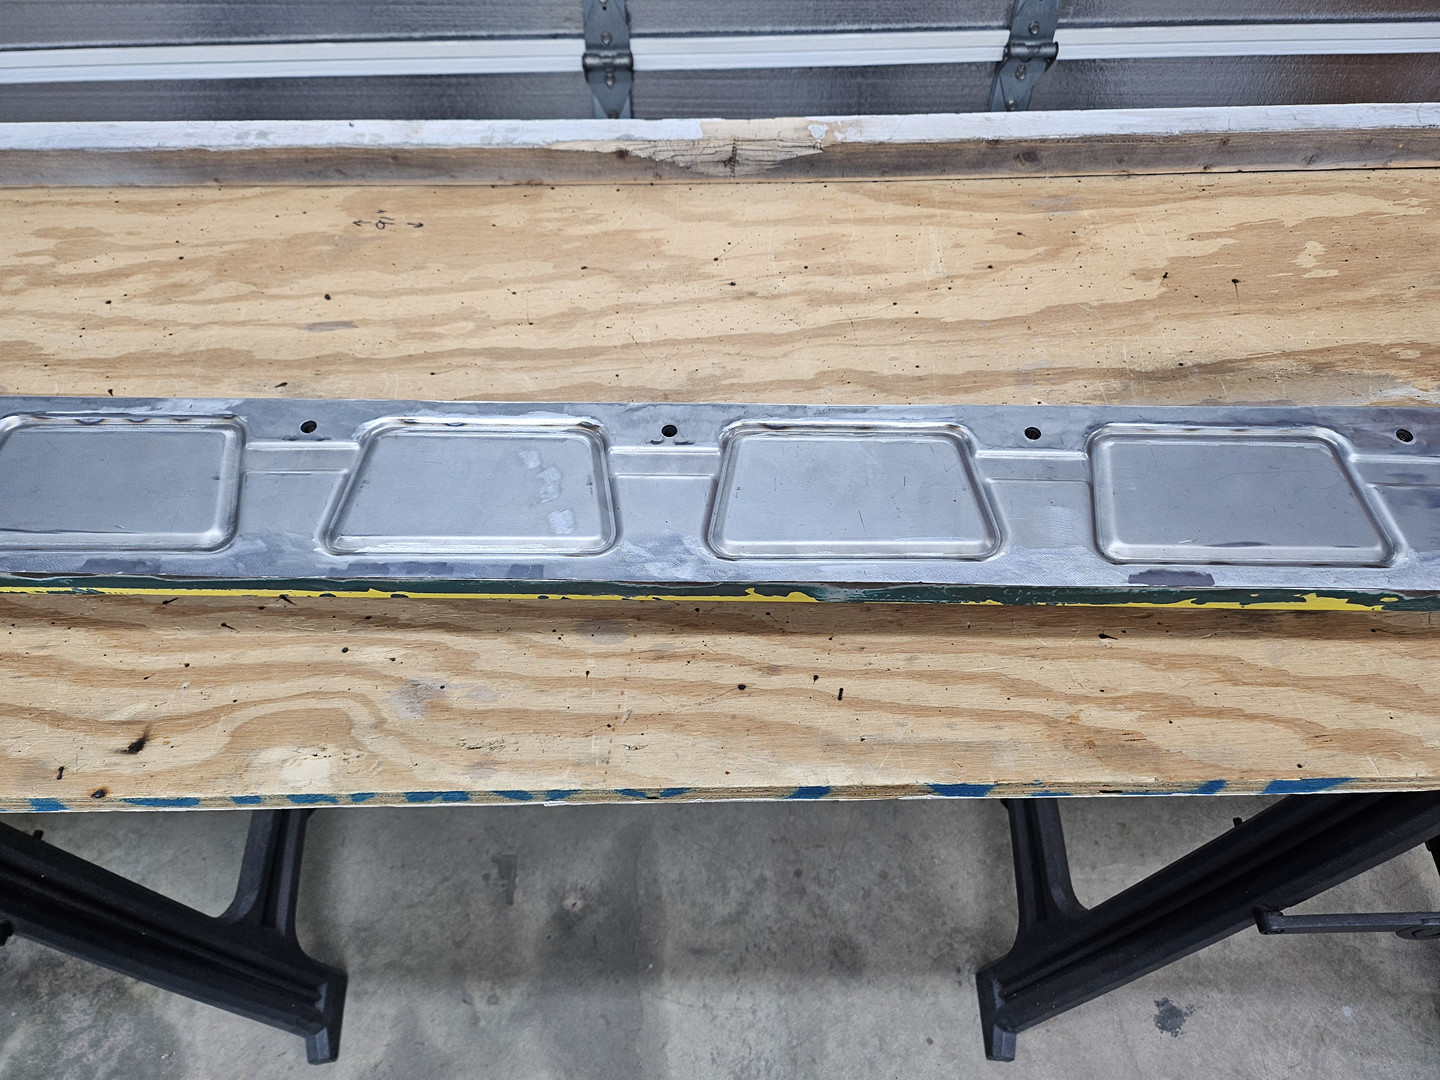
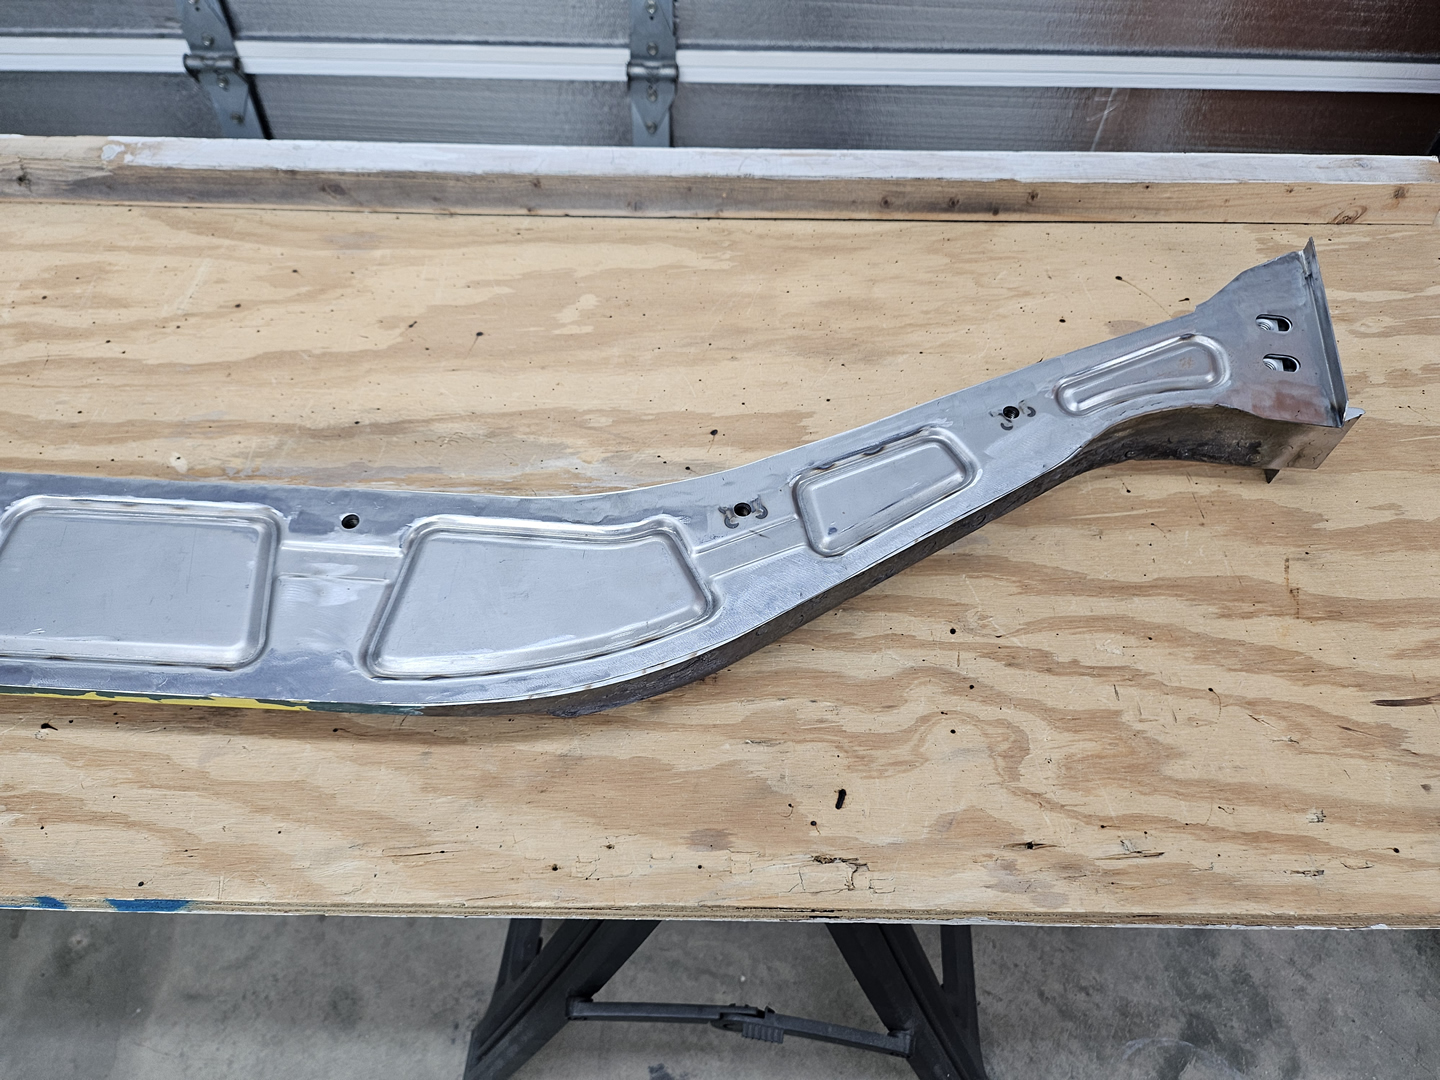
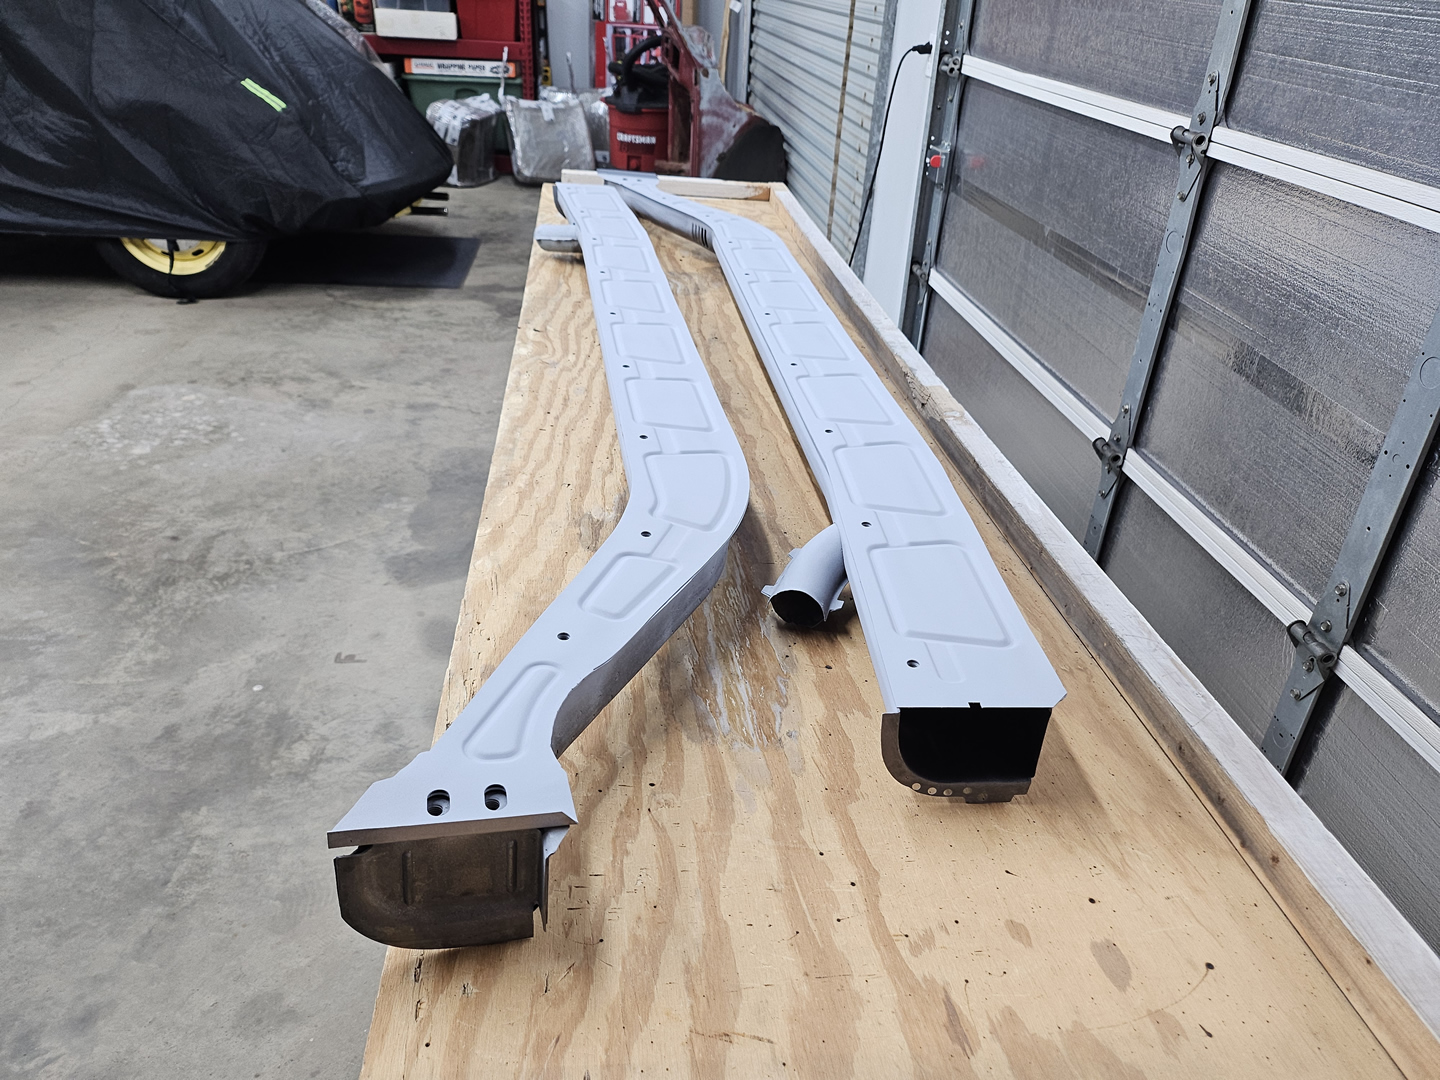
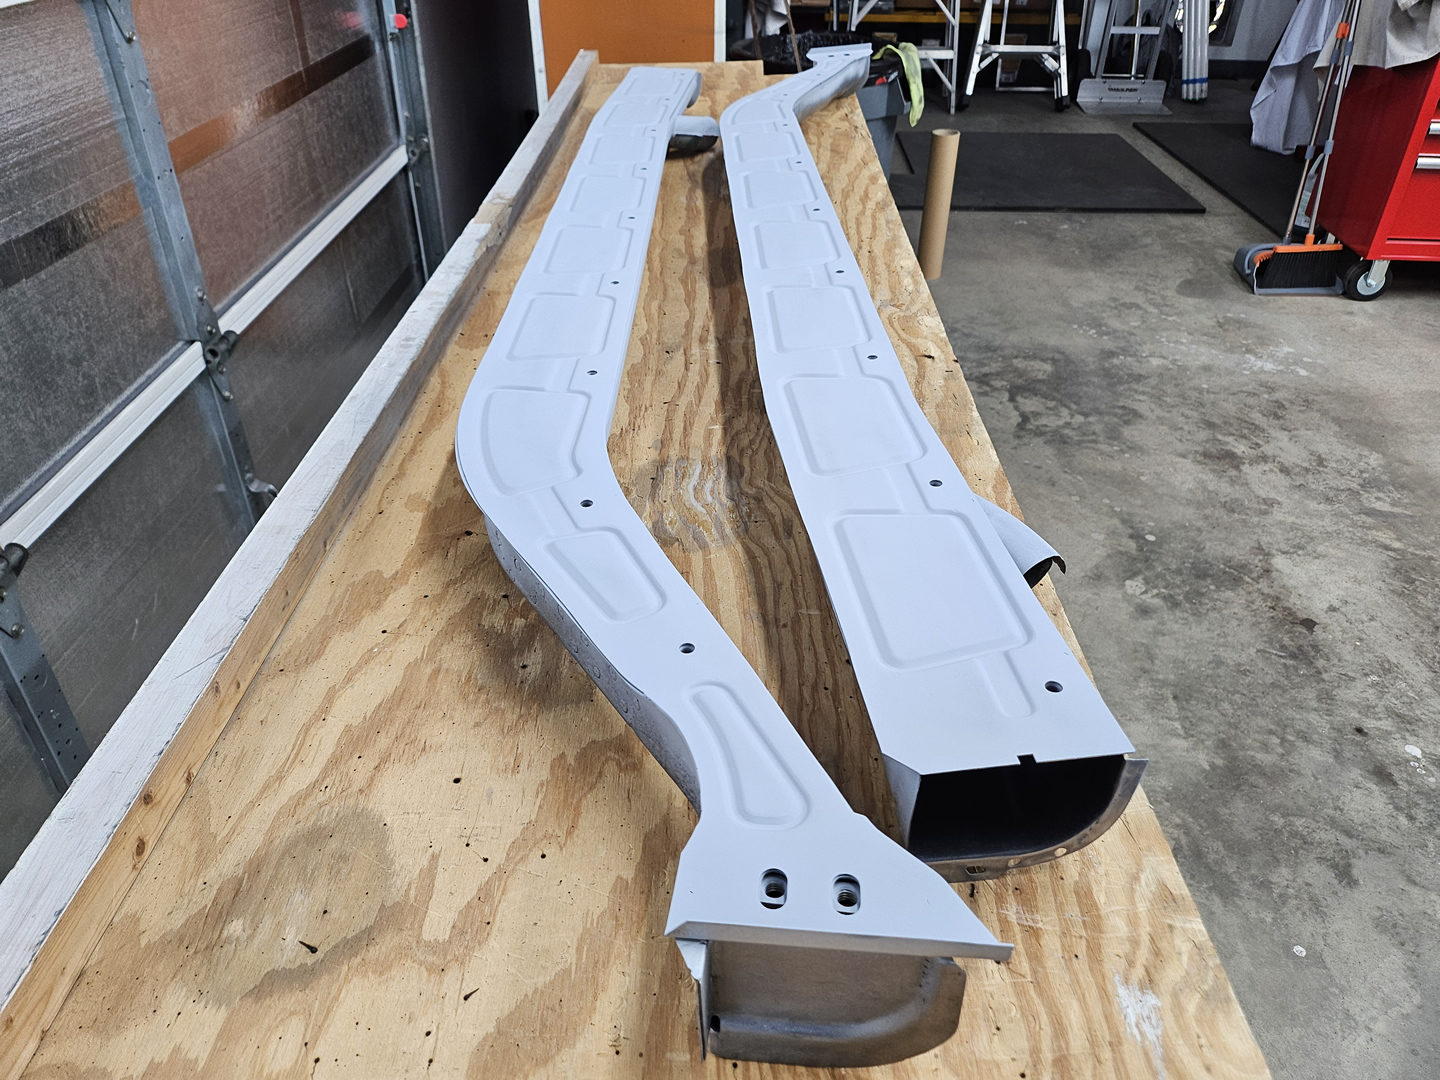
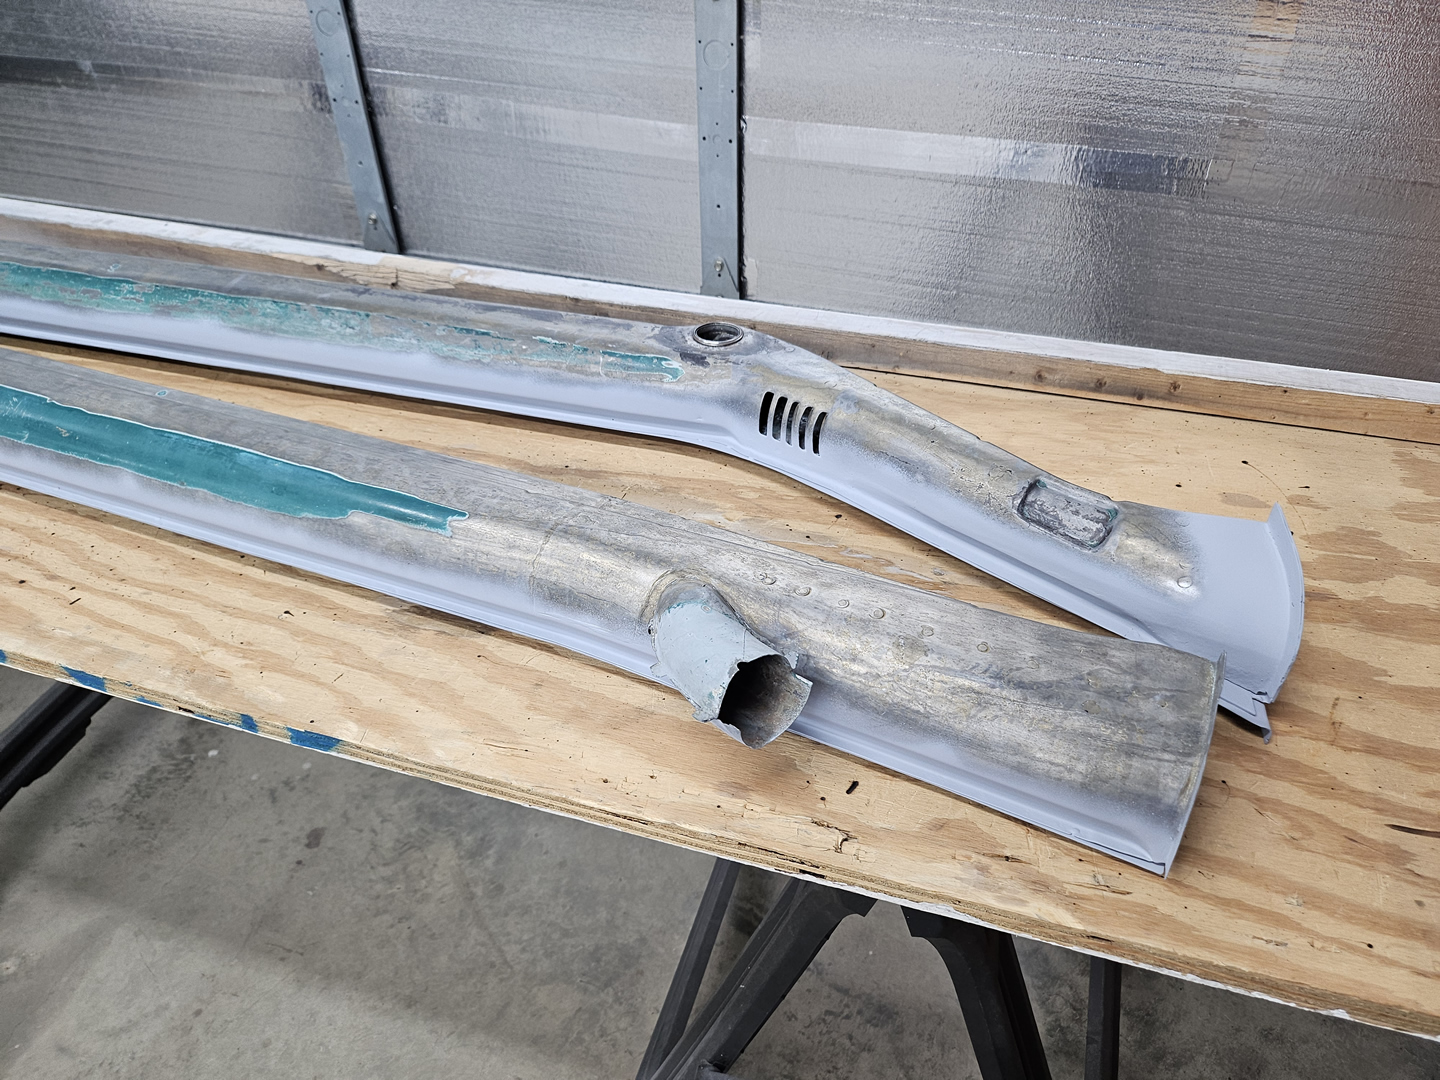
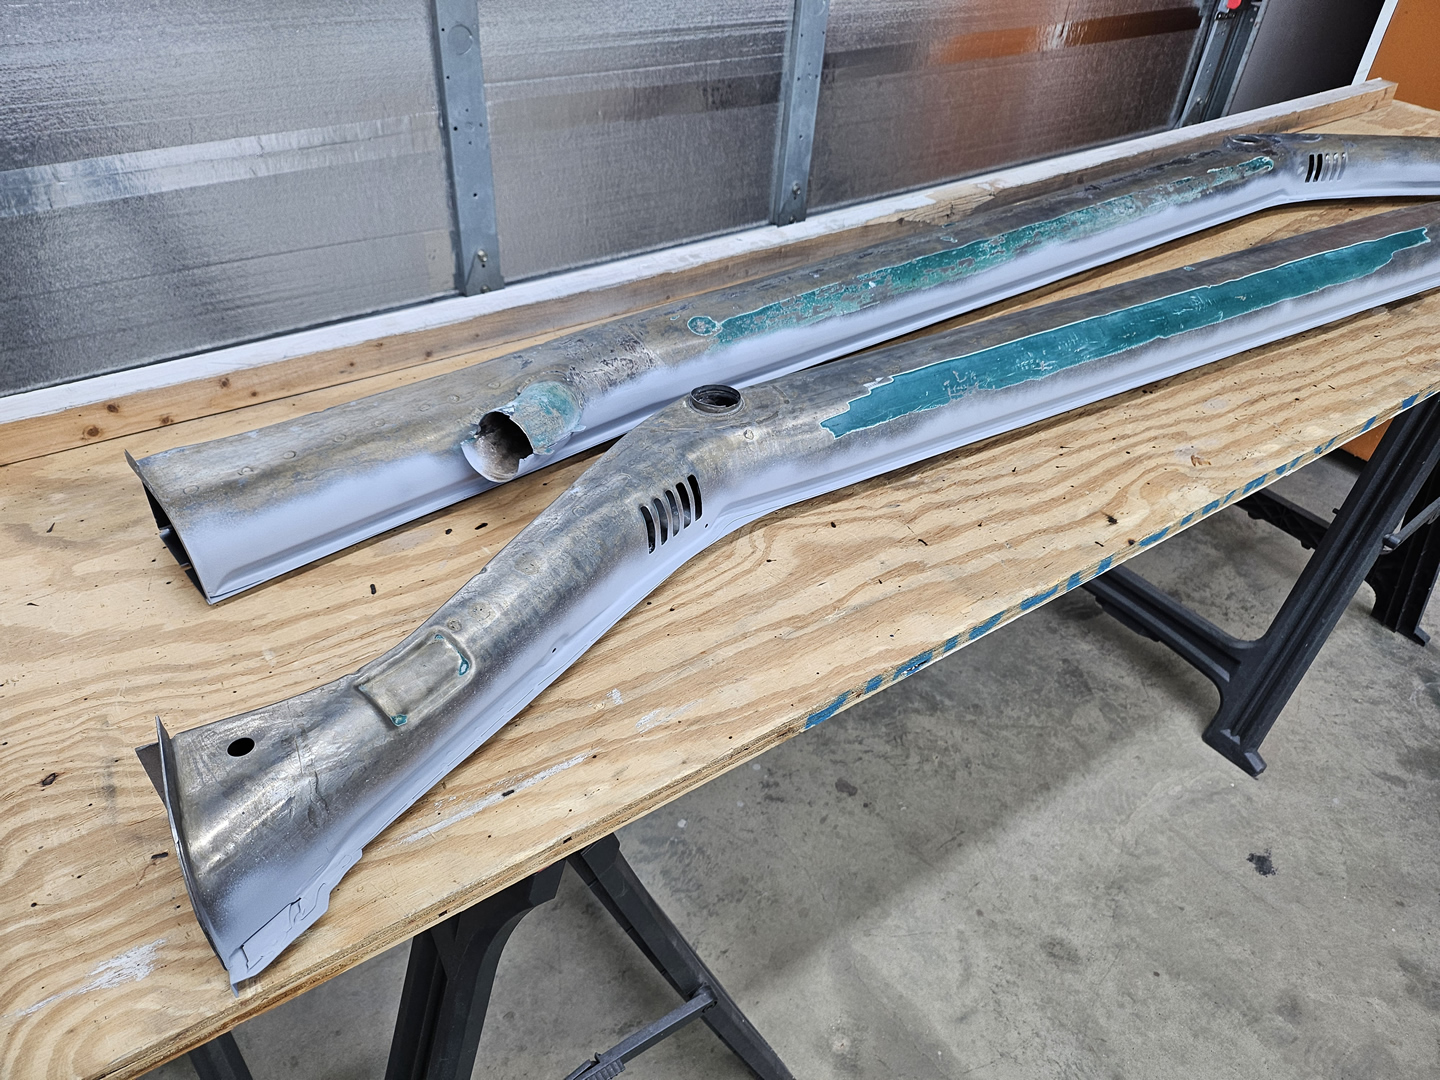
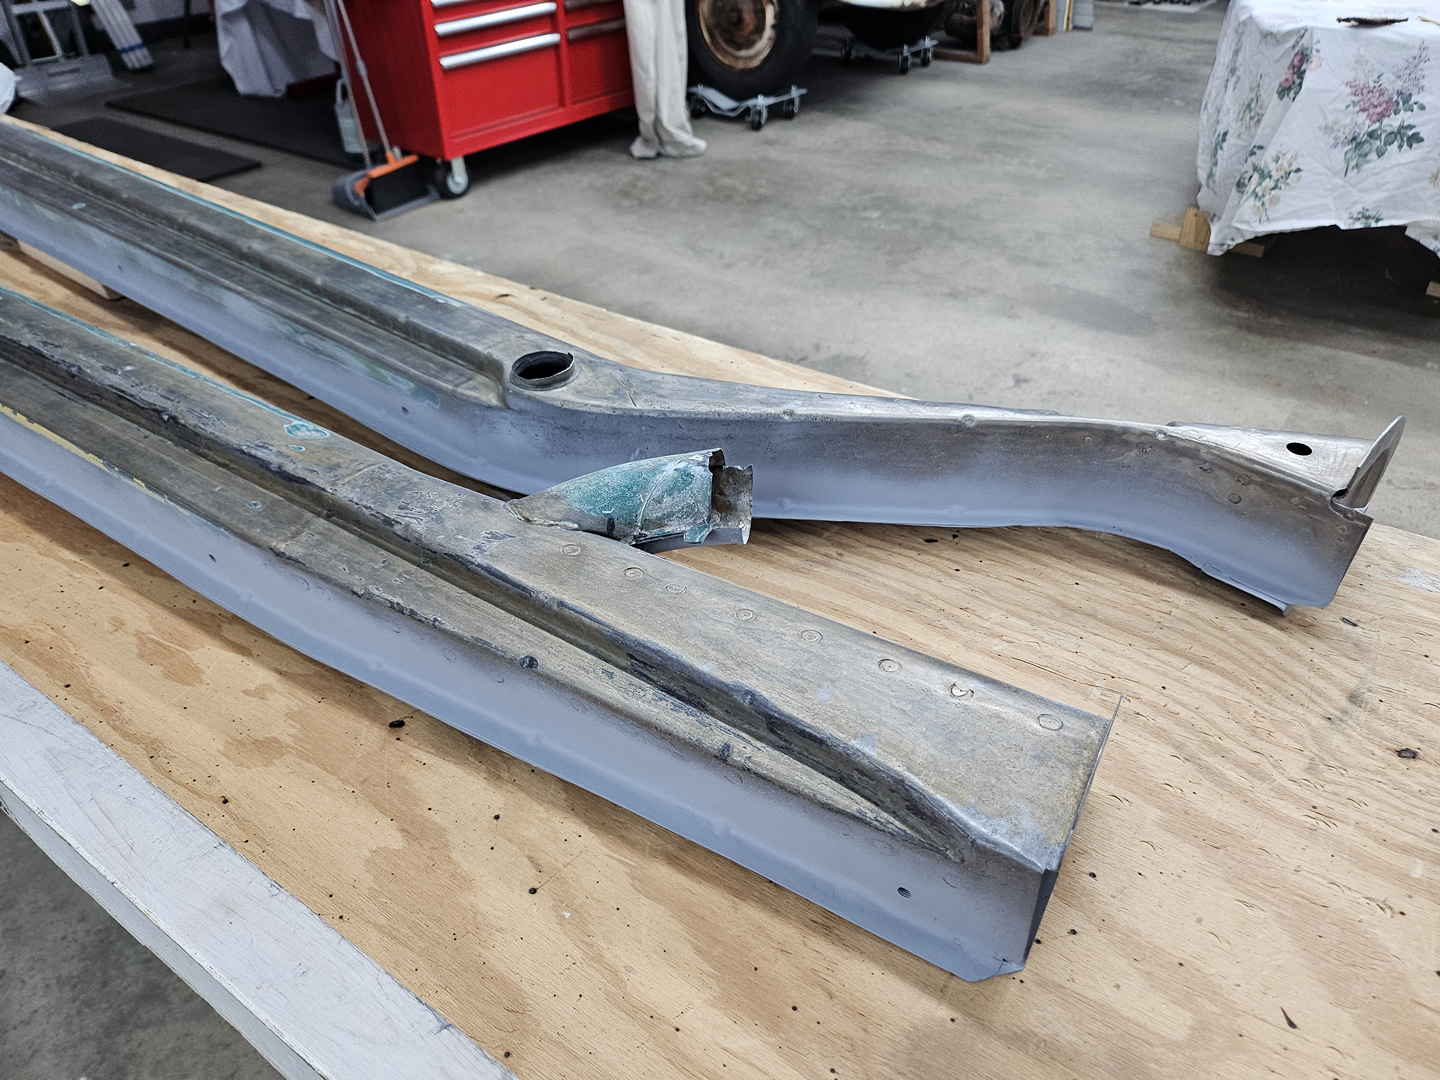
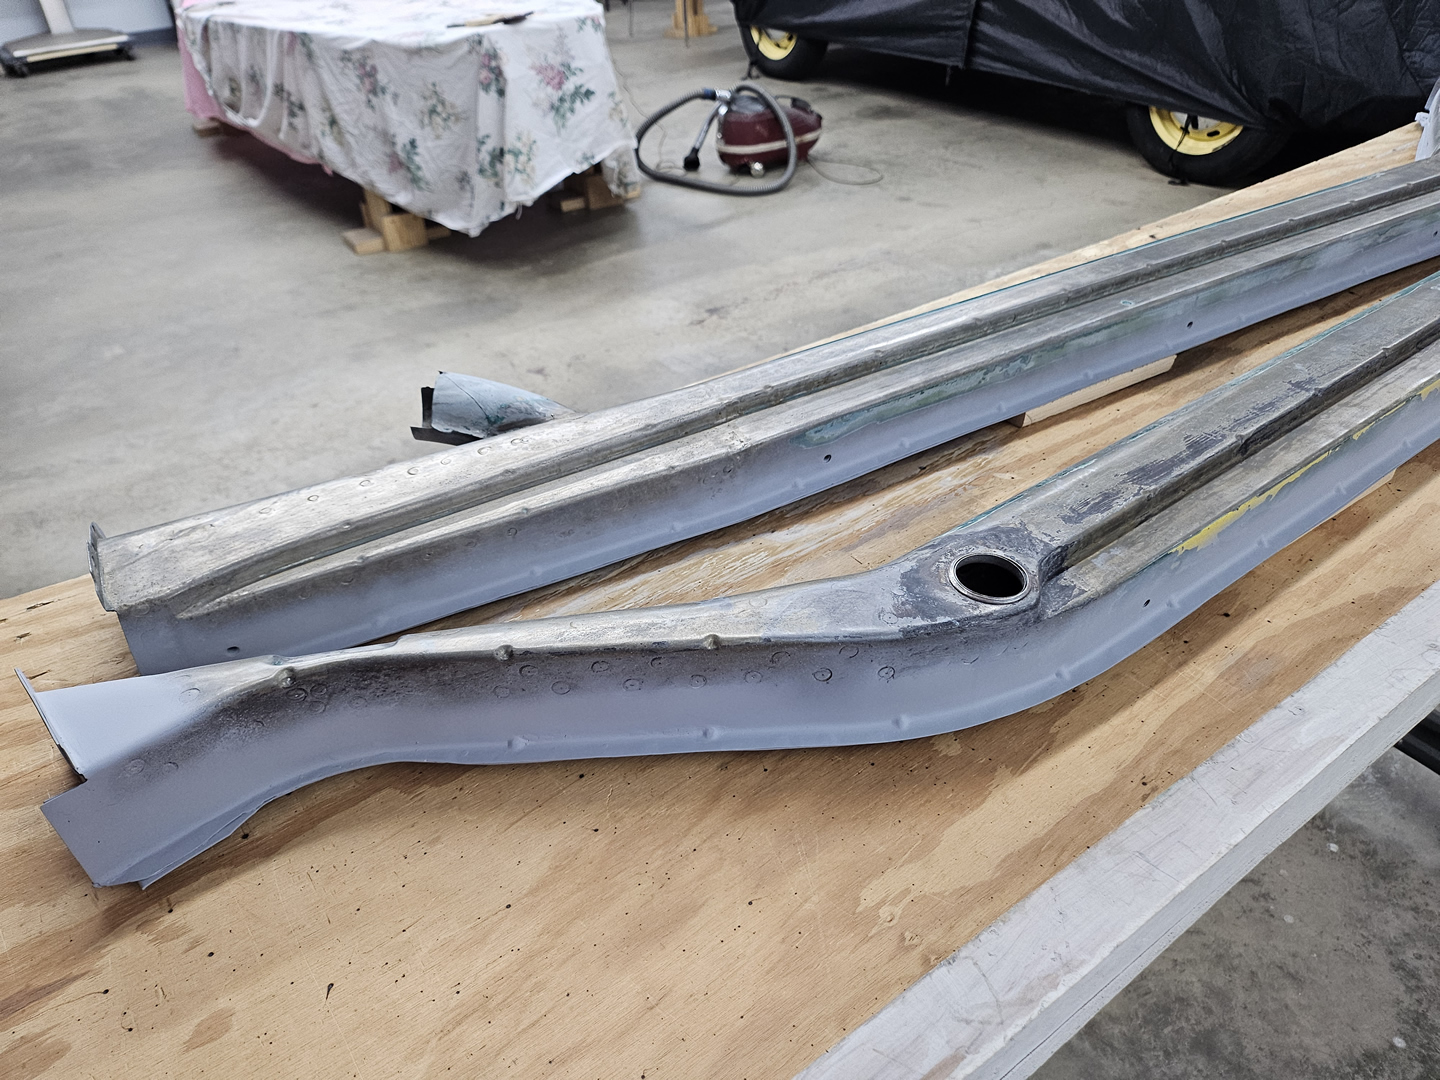
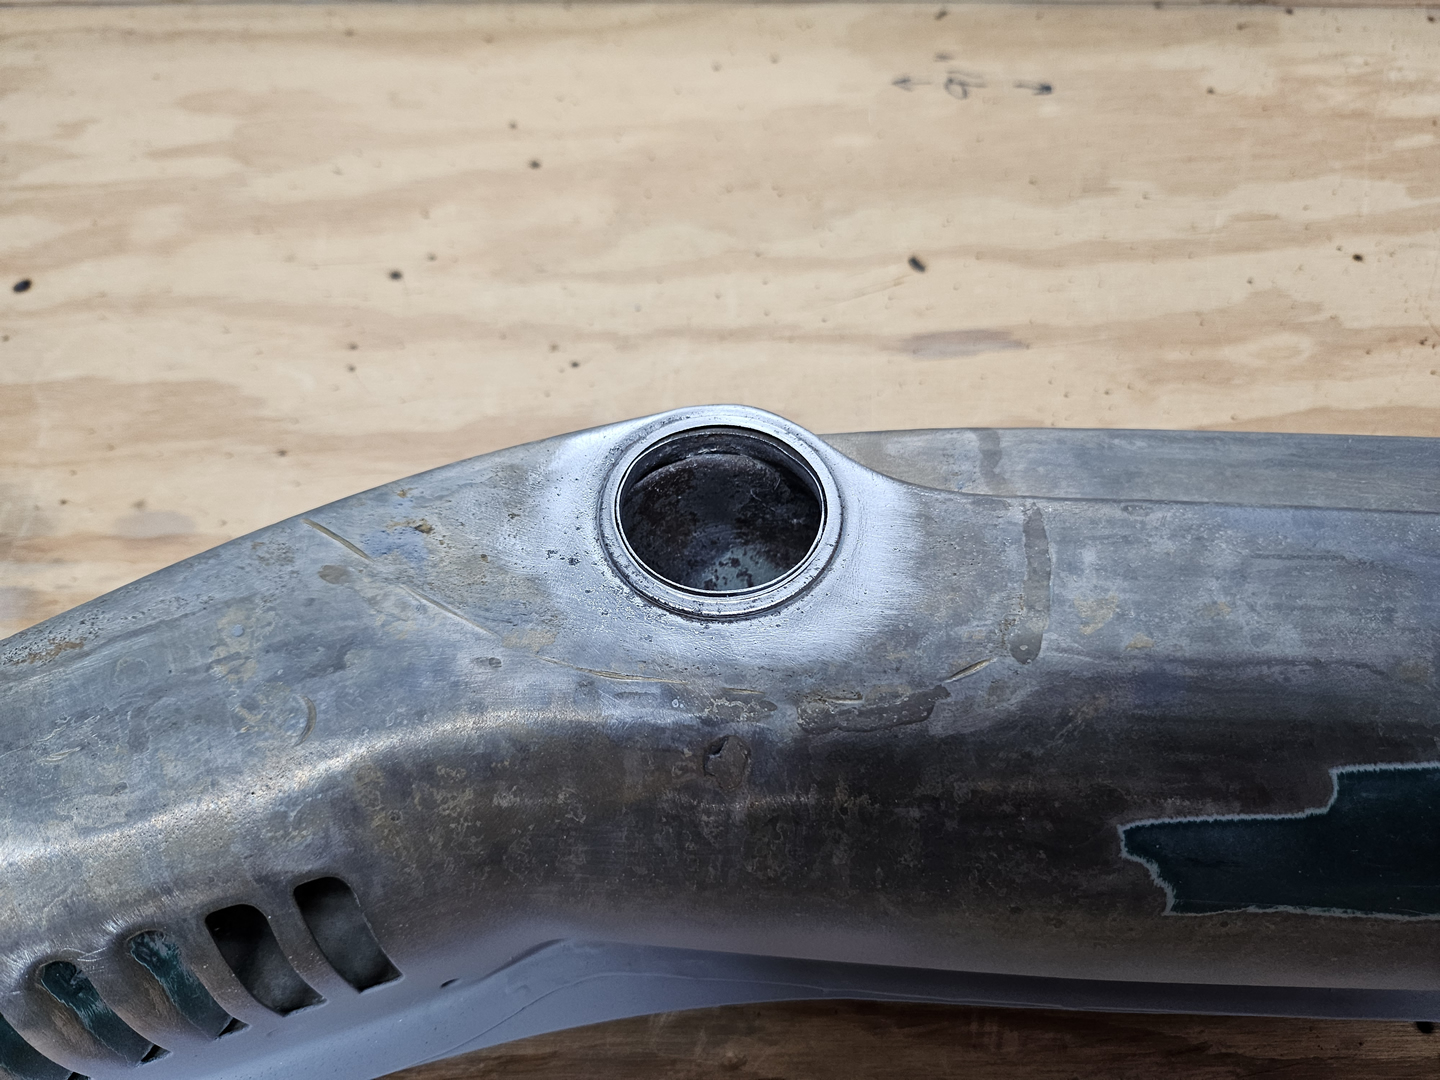
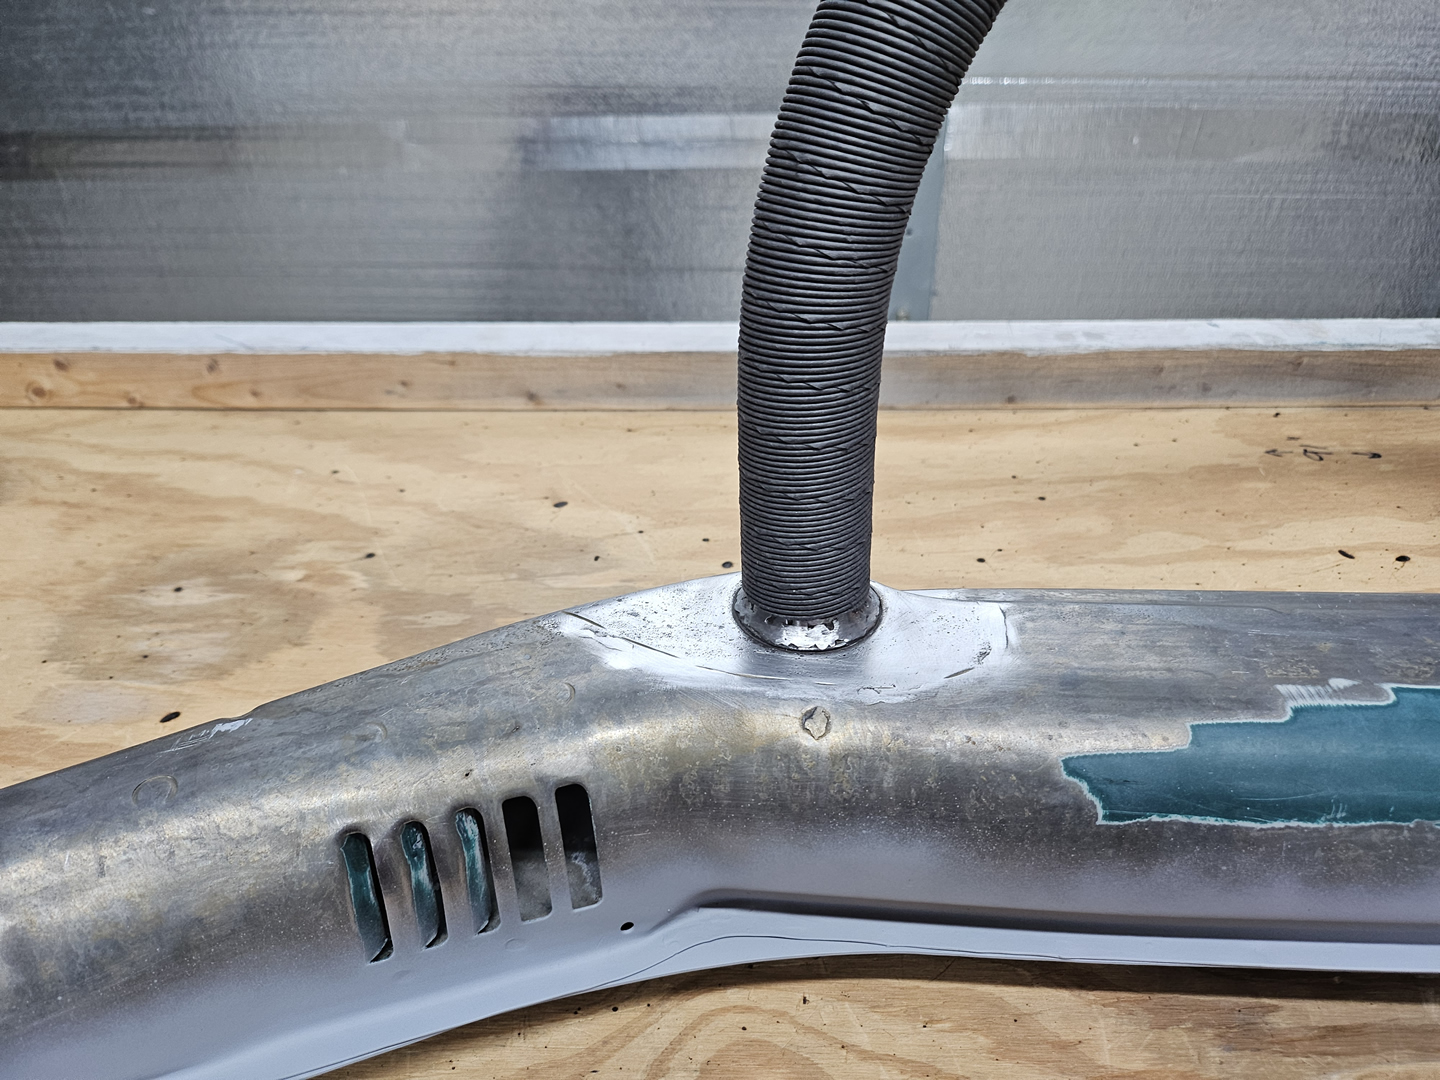
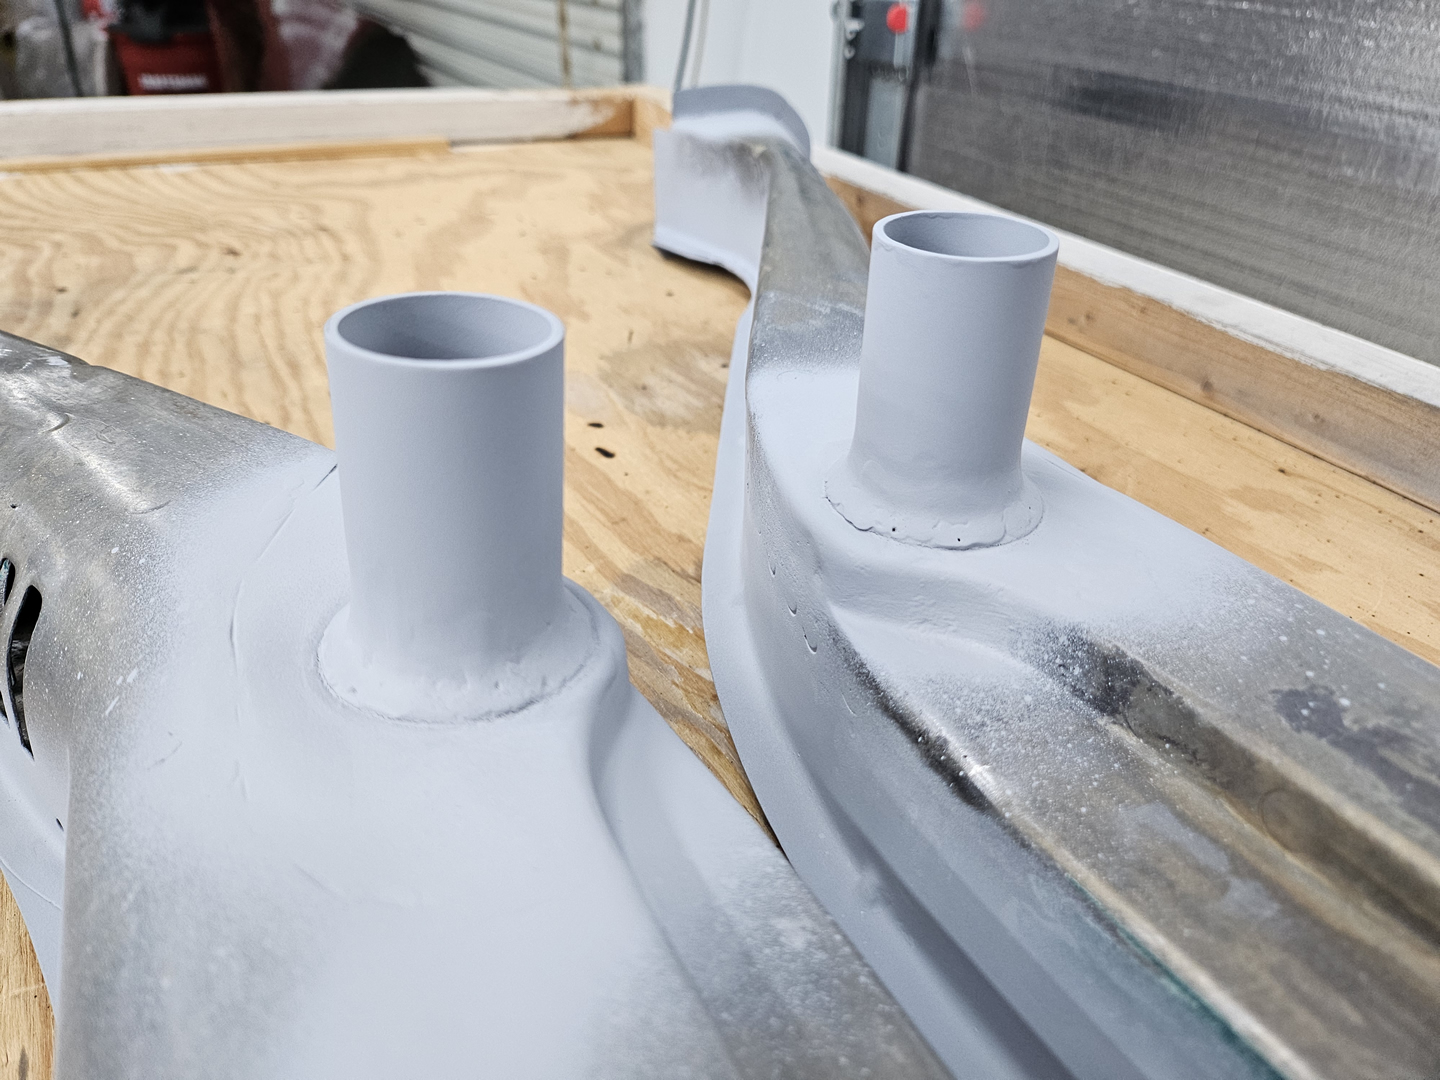
Finally I can prepare the bottom plates for welding. First, I punched and drilled holes for spot welds. Then I sprayed the areas to be welded with U-POL Weld #2 Zinc Weld Through Primer, and sprayed the areas on the inside of the bottom plates with Eastwood Matte Black Rust Encapsulator. I did the same thing with the heater channel bodies and sprayed U-POL Weld #2 Zinc Weld Through Primer on the areas to be welded, and sprayed the areas inside of the heater channel bodies with Eastwood Matte Black Rust Encapsulator.
|
|

|
|

|

|

|
|
|
|

|
|
|
|
|
|
|
|
|
|
|
|
|
|
|
|
|
|
|
|
|
|
|
|
|
|
|

|
|

|
|

