Tag: taillight
Removing Headlights, Taillights, Antenna, and Wiper Arms
by Garage Weasel on Sep.18, 2010, under Disassembly
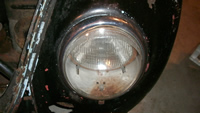
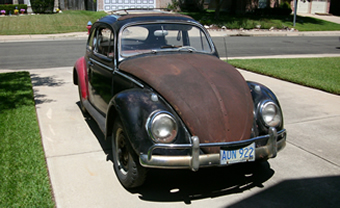
I removed the headlights assemblies, the front turn signal assemblies, the antenna posts, and the windshield wipers arms today.
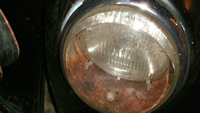
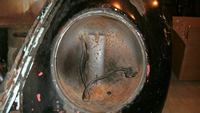
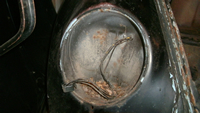
The chrome headlight ring on the passenger side will likely need to be replaced as it has a crimp in it. Depending on the pitting of the chrome, I may have to replace both of them. Both of the headlight mounting screws and spacers will be replaced as well as the all of the seals. I will have to take the assemblies apart and see if anything else needs to be replaced. The visible parts of the headlight housings will need to be primed and repainted.
The front turn signal lenses are fractured and will be replaced. The chrome housings are moderately pitted and I’m not yet sure if it’s worth having them re-chromed. I’ll have to wait and see just how many other parts are candidates for re-chroming rather than replacing and see if it will be worth the time to prep them. If any of the chromed parts are too pitted, they require too much work to fill in the pits and smooth out the surfaces. Then even after they are chromed, they many times just don’t look as good as the reproductions. The seals, of course, will be replaced.
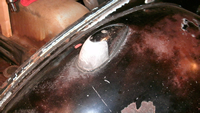
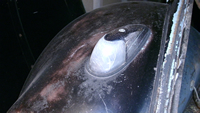
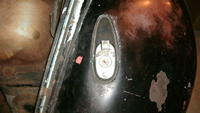
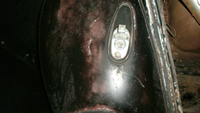
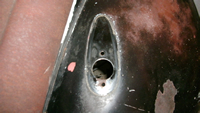
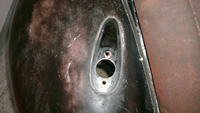
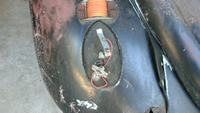
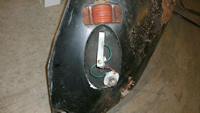
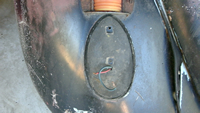
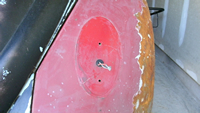
Both taillight housings were removed before I received the car, but were included. The passenger side rear fender was replaced by the previous owner and the bracket was never installed on it. He did give me the old fender which still had the bracket installed on it. The housings are in excellent shape (and not missing!) and the mounting brackets seem fine. The only issue I can see now is with the lenses. The original snowflake lenses have a few cracks in them and I don’t know how much the cracks will show. Original replacements will be very costly and difficult to find and the reproductions I have seen don’t quite look like the originals. The seals will be replaced.
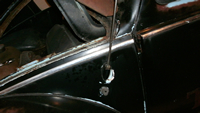
I will need to purchase a double-post antenna. The antenna that came with it is in bad shape and is a single post anyway. The other mounting post from an earlier double-post antenna was still occupying the bottom hole.
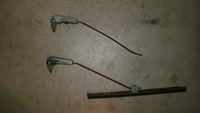
The windshield wiper arms may be in good enough condition to clean up and polish. At $20-$25 each for acceptable reproductions, I will try to polish them first.
Removing License Plate Light Housing, License Plate, and Passenger Rear Fender
by Garage Weasel on Sep.27, 2010, under Disassembly
Today I removed the license plate light housing, the rear license plate bracket & plate, running board bolts connecting fenders on the driver side, and started removing the rear fender on driver side side.
The license plate light housing had no wires connected to it and I didn’t see any wires laying around in the engine compartment for it. It may have been some time since the light was used. There is black paint on the lens from the last paint job in the early 80’s. It is cracked under the mounting screw, so it will be replaced.
The license plate and bracket were a little difficult to remove. Extra-log bolts were used to fasten the bracket to the engine lid and to fasten the license plate to the bracket and three of the four bolts were heavily rusted. I managed to remove one of the bolts holding the plate to the bracket so that I could swivel it out of the way to get to the head of the bolts holding the bracket to the engine lid. One came out easily, but the other would turn a few times and completely lock up. I cut the excess threads off with a cut-off disk and was then able to remove it. The home-made bracket, by the way, was constructed from a 1971 Minnesota license plate.
At some point, someone hand-painted “Putt-Putt” on the right side of the engine lid. Maybe the same person who painted “Tonka” on the driver side door?
On the rear fender on the driver side side, I was able to remove five bolts, snapped the head off on one bolt (at bottom of fender & rear apron), and was unable to turn 3 of the bolts (the two bottom bolts on the front side and the 3rd one from the bottom on the rear side). Well, technically, I could turn the bottom bolt on the front side, but there is so little metal left in that area I didn’t want to tear it all out to get the bolt removed. I may just grind the head off. I spayed the remaining bolts with penetrating oil and I’ll come back to this fender later.
