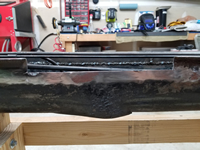
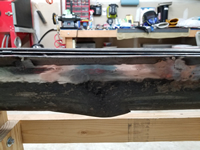
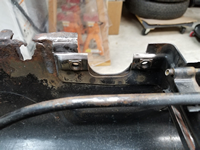
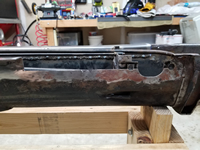
Tag: Tunnel rust damage
Repairing The Tunnel Rail – Passenger Side
by Garage Weasel on May.17, 2021, under Chassis
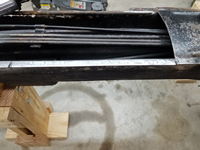
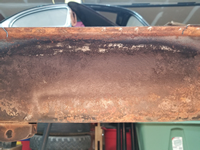
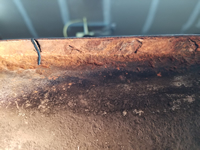
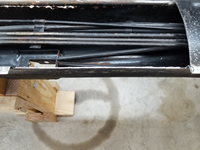
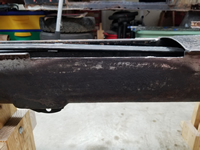
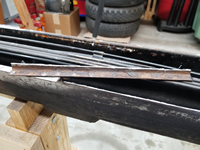
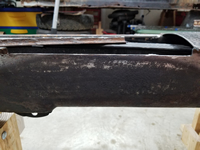
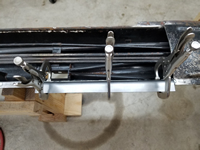
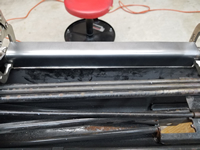
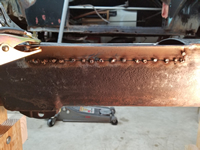
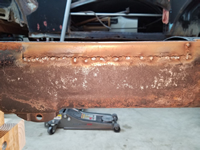
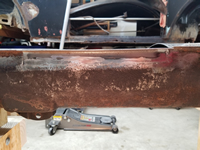
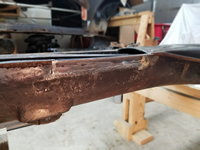
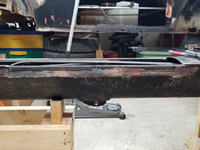
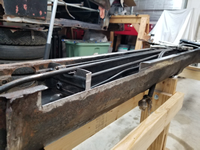
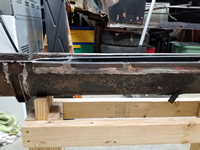
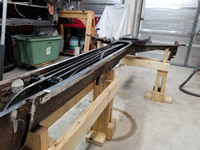
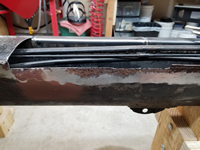
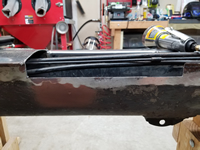
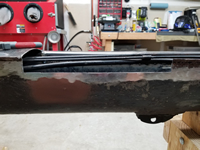
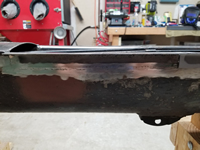
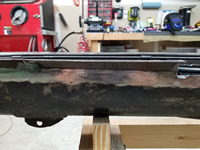
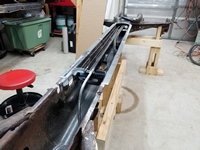
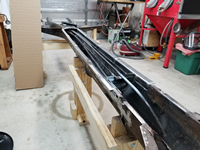
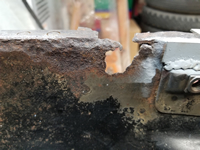
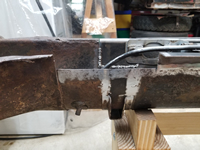
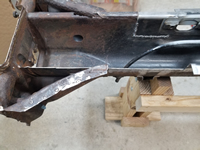
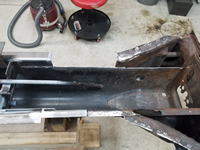
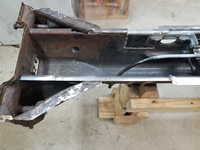
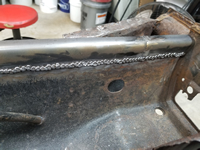
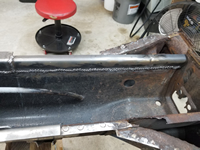
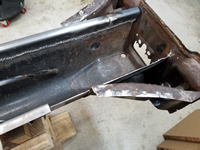
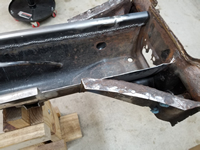
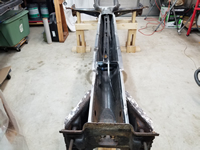
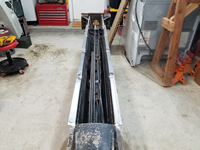
Now that I have the repair pieces made to replace the tunnel rails, it's time to start cutting and welding them in. My plan is to replace the rail from the point that I removed the tunnel bottom plate, all the way to the end in the frame head. I made the pieces long enough on the tunnel side of the pieces to reach past most all of the rust damage. I will have to patch a couple of places where the damage extends upward past them, but these will cover almost all of the damage. I will weld these pieces in on both sides and ground them down on the outside, but leave the welds as is on the inside for strength. They will not be visible and I'm mainly interested in them being strong. I'm starting on the passenger side as it has the least amount of damage and is the least complicated.
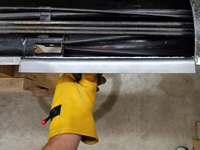
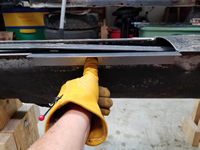
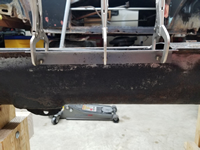
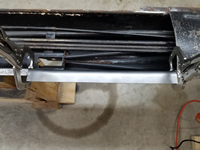
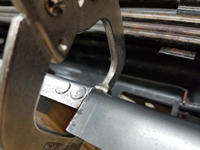
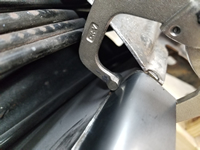
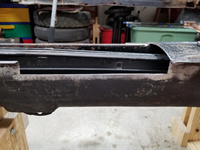
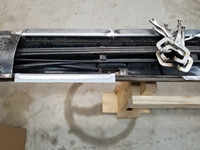
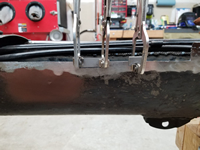
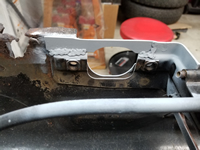
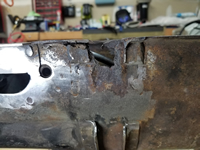
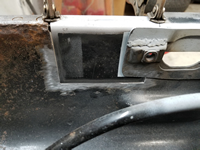
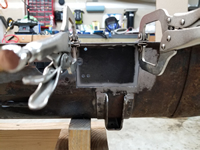
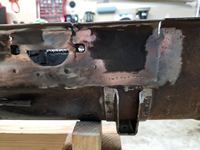
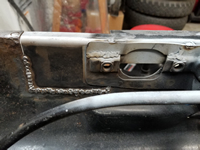
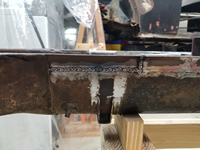
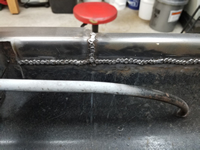
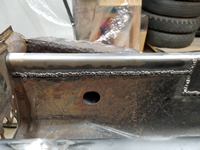
The first section took quite a while to do as I tried different things to figure out the best way to do this. I first laid out a replacement piece on top of the rail, marked the length, and cut 1/2 inch or so through the lip down into the tunnel. After that I cut across between those two cuts to remove the lip. I then placed the piece on the tunnel, lined it up with the existing lip on both ends of the cut-out, and clamped it in place. With it clamped, I then used the piece as a guide to cut through the tunnel. I now had a cut-out just a little larger than the size of the piece. I first held the piece in place for welding using panel clamps, but after just a few tacks across the joint, the panel clamps were locked in tight from the shrinkage of the metal when cooling and I could barely get them out. From that point on, I just used vise grip style clamps. The first three sections were pretty much the same and just involved determining and making the cuts and clamping and welding the pieces in.
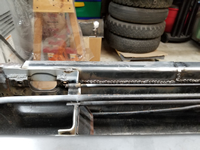
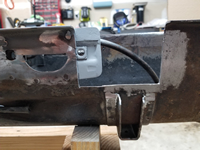
The fourth section on this side connects to a tube support bracket for the clutch tube, fuel line, and choke tube. I drilled a couple of spot weld holes in the piece to attach it to the support brace. Next, I will replace the same four sections on the driver side.
Repairing The Tunnel Rail – Driver Side
by Garage Weasel on May.22, 2021, under Chassis
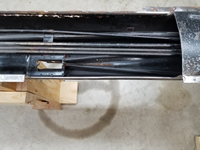
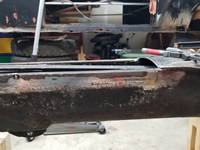
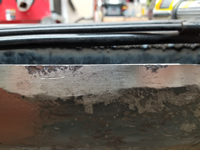
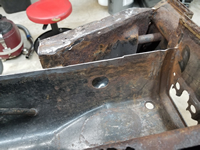
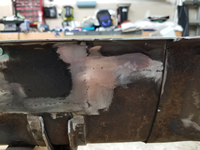
Now on to the driver side of the tunnel to replace the tunnel rail. This side is definitely the worst of the two sides. During the two decades that this car sat outside in the elements, water apparently pooled in the floor pans and there must have been water in higher volume and for a longer period of time on the driver side due to the damage. The tunnel on this side was rusted completely through to the inside in one area and this damage will be cut out on the first and second sections being replaced. In the first section, the cut-out for the piece did not extend high enough to include all of the damage, so I had to make two small patches. I welded them in first and ground down and dressed the welds. I then welded in the first section on both sides and ground down and dressed the welds on the outside.
Next I replaced the second and third sections. The third section had a little area that had a little pitting. Rather that patch it, I ground the area down to clean metal and filled it in with weld. I then welded the section in as usual.
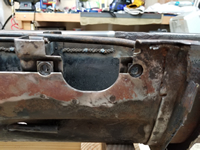
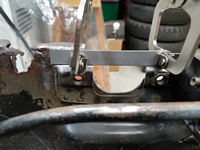
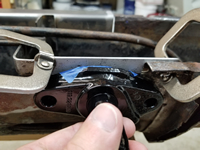
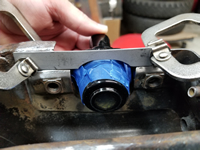
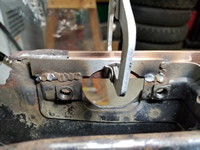
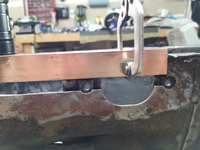
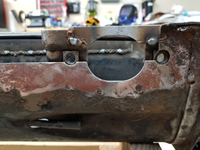
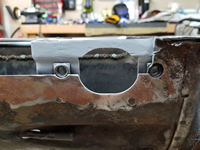
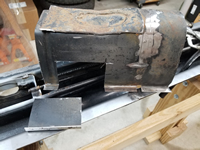
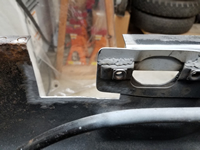
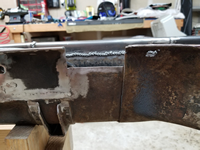
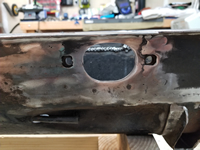
The fourth section includes metal that goes in front of the pedal cluster support plate. Part of that support plate was severely rust damaged, so I first cut out for the tunnel rail replacement piece and then cut it out and welded in a replacement piece on the support plate. I had to grind out an area on that new piece to allow for the pedal cluster mount to fit into the tunnel. I checked it with the already powder coated cluster mount and taped it with tape to protect it from scratches. Once satisfied with the clearance, I welded on the new piece. I used a copper bar behind it as I welded it to keep the weld from blowing out on the edges. I ground down the welds on the outside of the support plate and left the ones on the inside. I drilled holes in the tunnel rail replacement piece to weld to the support plate and then welded the fourth section in. I left the area covering the hole for the pedal cluster mount for now.
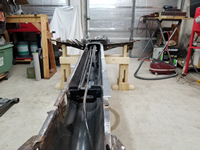
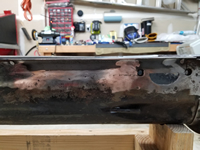
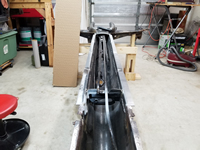
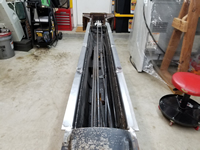
With the fourth section welded in and the welds ground down and dressed on the outside, I now had four feet of tunnel rail replaced on both sides. Next up is to continue and finish the tunnel rail replacement through the frame head and up to the frame head front plate.
Completing The Tunnel Rail Repair
by Garage Weasel on May.27, 2021, under Chassis
Before I can continue replacing the rest of the tunnel rail, I need to patch a rusted out area on the driver side under where the Napoleon hat mounts. This damage also extends to the metal in front of the pedal cluster support plate. Rather than make a patch, I cut a section out of the tunnel from the first donor frame head. This matched perfectly. I cut out the tunnel to match the patch, drilled out several spot weld holes for the support plate, and welded the patch in on both sides. I then ground down and dressed the welds on the outside of the tunnel.
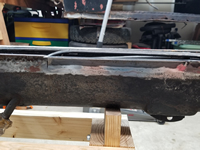
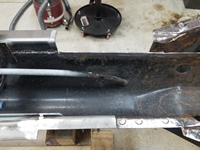
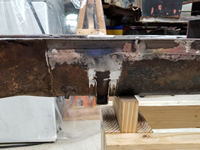
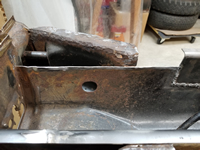
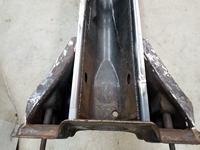
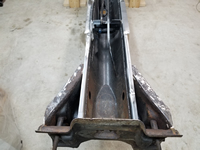
On the passenger side, I cut out the rest of the tunnel rail out up to the front plate of the frame head. With that area cut out, you can really see the severe rust damage on the frame head. This section is longer than the frame rail pieces that I made, so I had to use part of another one and weld them together. Then I welded the piece in completely on the inside and as much as I could access on the outside. With the frame head in the way, I could only get to about 2/3 of it. I will complete the rest of outside welds when the frame head is removed. I ground down and dressed the welds on the outside on the short section from the last section welded in up to the frame head.
This section of the driver side is shorter than the frame rail pieces that I made, due to the patch under the Napoleon hat and I was able to use the leftover piece from the passenger side. The cut-out on this section also exposes the rust damage to the frame head on this side. Just like on the passenger side, I welded this section completely on the inside of the tunnel and what was accessible on the outside. I will complete the outside as well once the frame head is removed. I also cut out the rest of the hole for the pedal cluster. I had a real sense of accomplishment with getting these 10' of tunnel rail replaced. I have once more section to replace on the curved portion of the driver side, but that will be in another post.
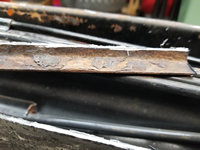
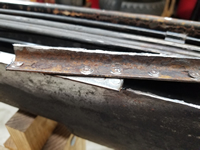
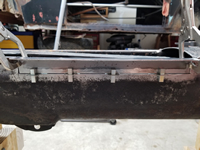
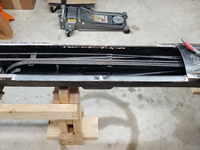
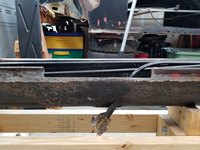
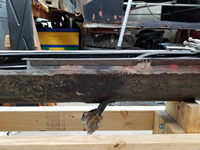
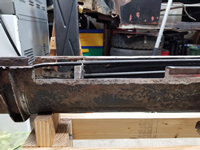
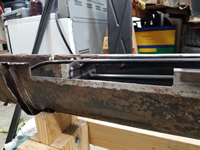
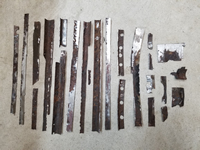
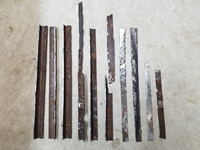
Below are pictures most of the metal cut out to replace the tunnel rail on both sides. I did use some of the better metal to make a couple of patches, this is the bulk of it. Since I took these pictures later, there are pieces included of the curved section that I cut out on the driver side.
