Tag: battery strap stud
Fitting and Welding the Floor Pans and Cross Braces
by Garage Weasel on Jul.06, 2024, under Chassis
Many years ago, I test fit the floor pans after removing the original ones. At that time, they fit really well. Since then, I have removed and replaced frame head top cover, removed and replaced the frame head bottom plate, removed the tunnel bottom plate and replaced the tunnel rails on both sides, and repaired the tunnel bottom plate and welded it back on. So basically, I have replaced everything that touches the floor pans and more. Consequently, when test fitting them now, they fit a little differently. I have tried very hard to get everything to fit as it did originally, but by using a combination of donor parts, aftermarket parts, and parts that I fabricated, there will likely be a lot of areas that require some effort to achieve a proper fit. Also, I am replacing the rear cross braces for the floor pans as well, which could be a difficult task as they are shaped very differently than the originals.
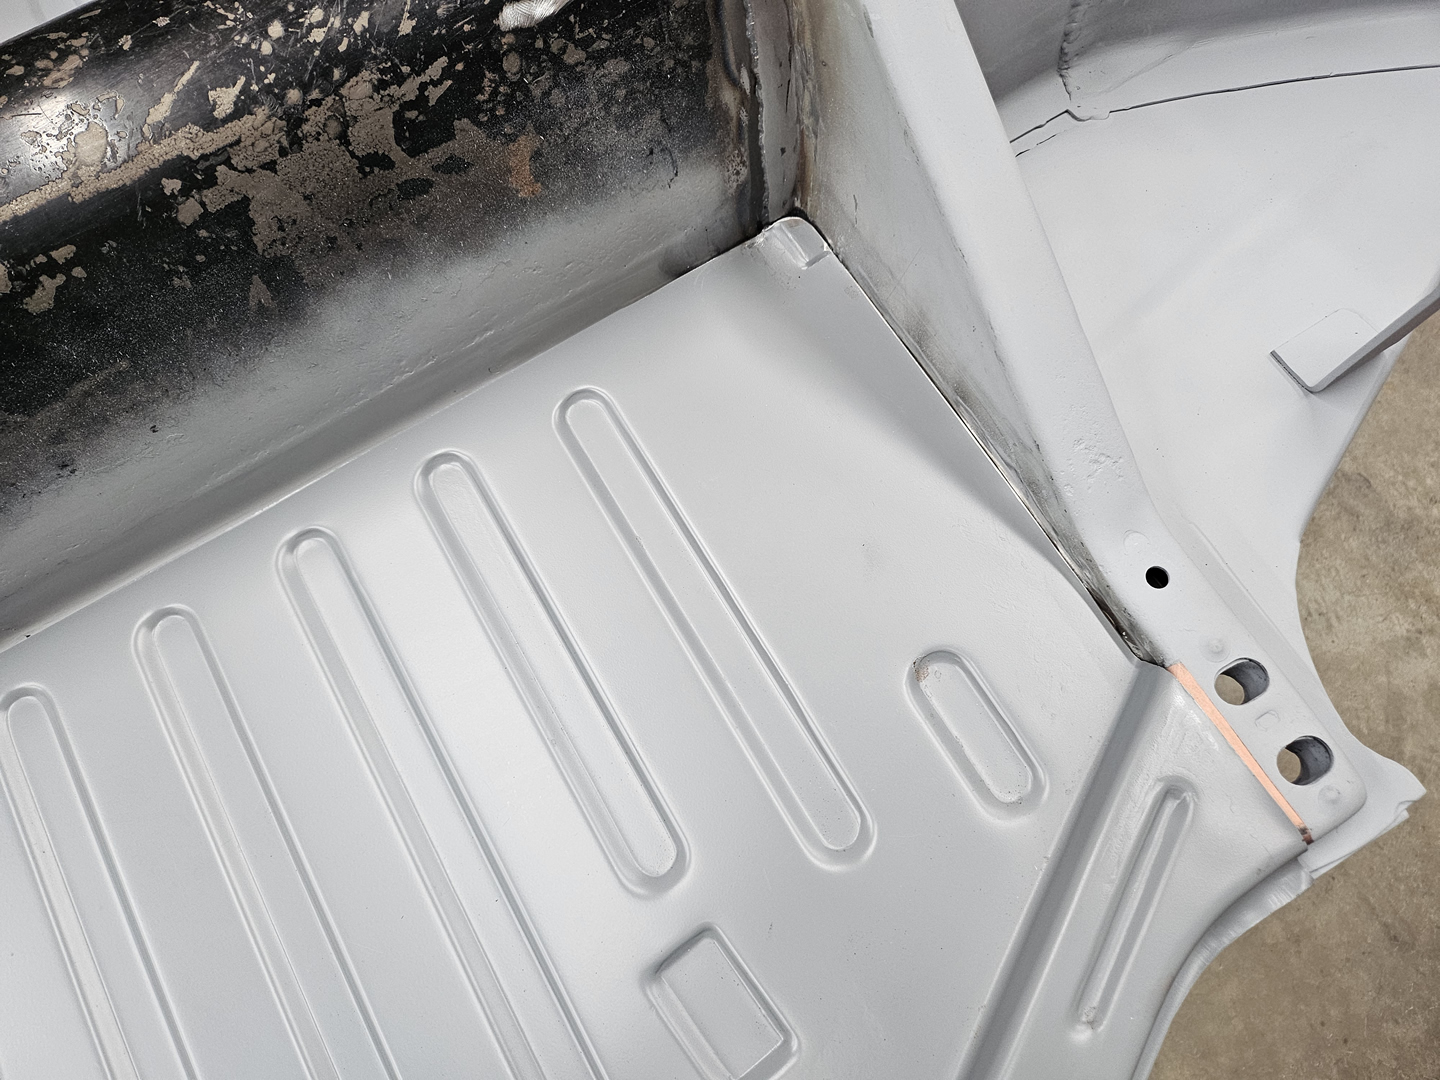
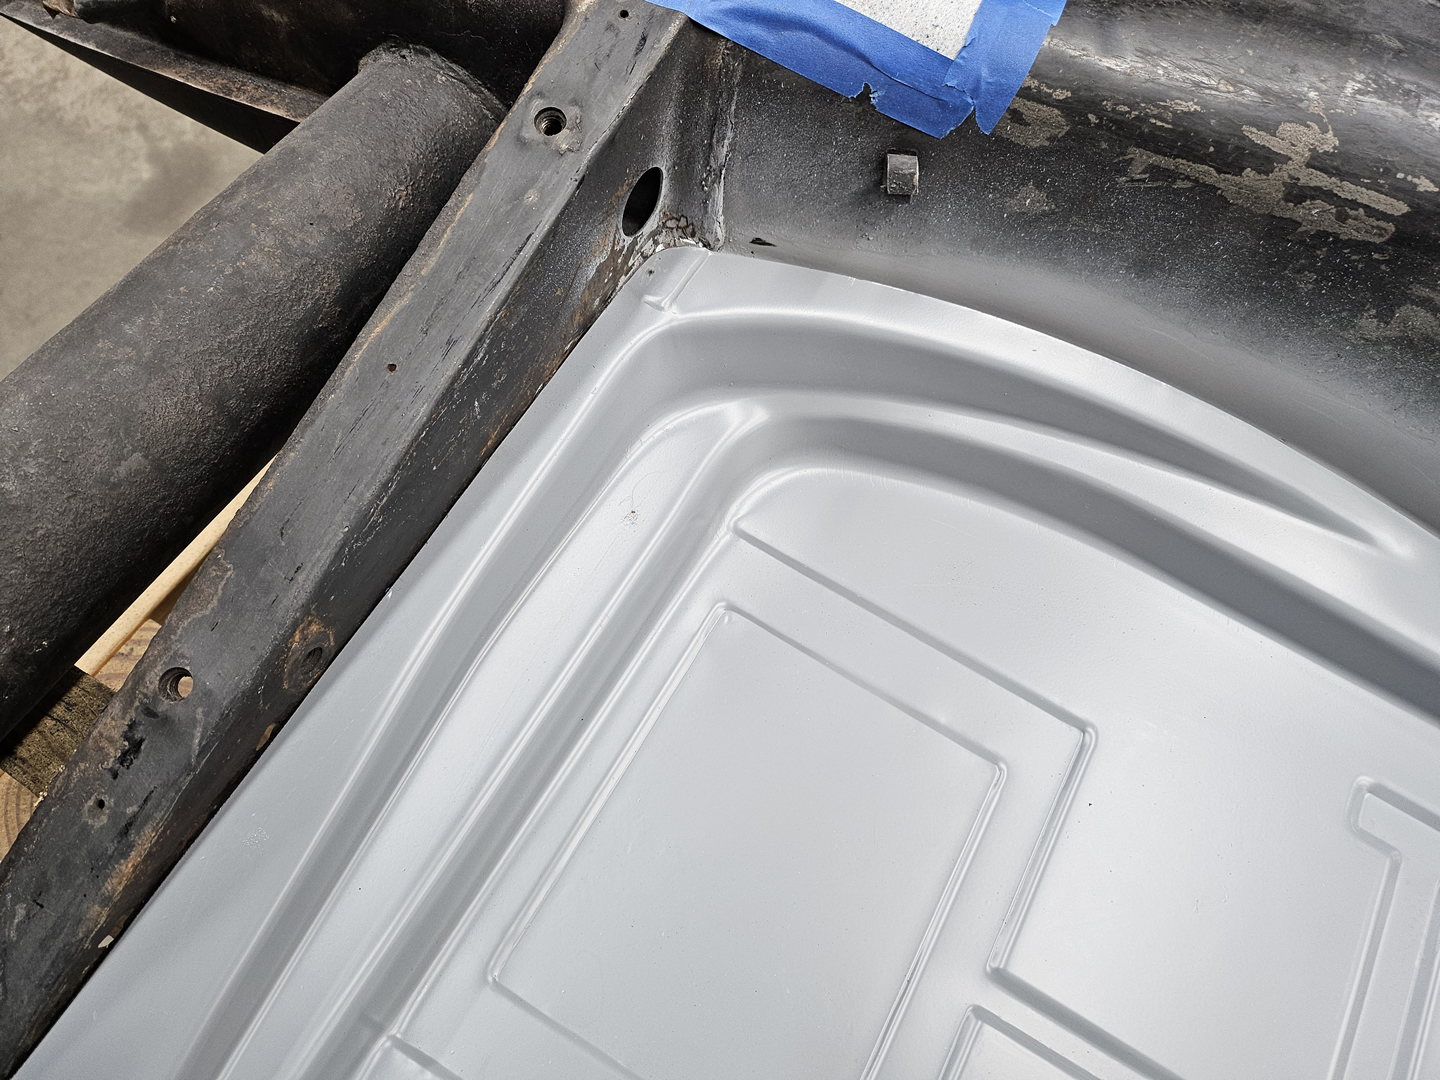
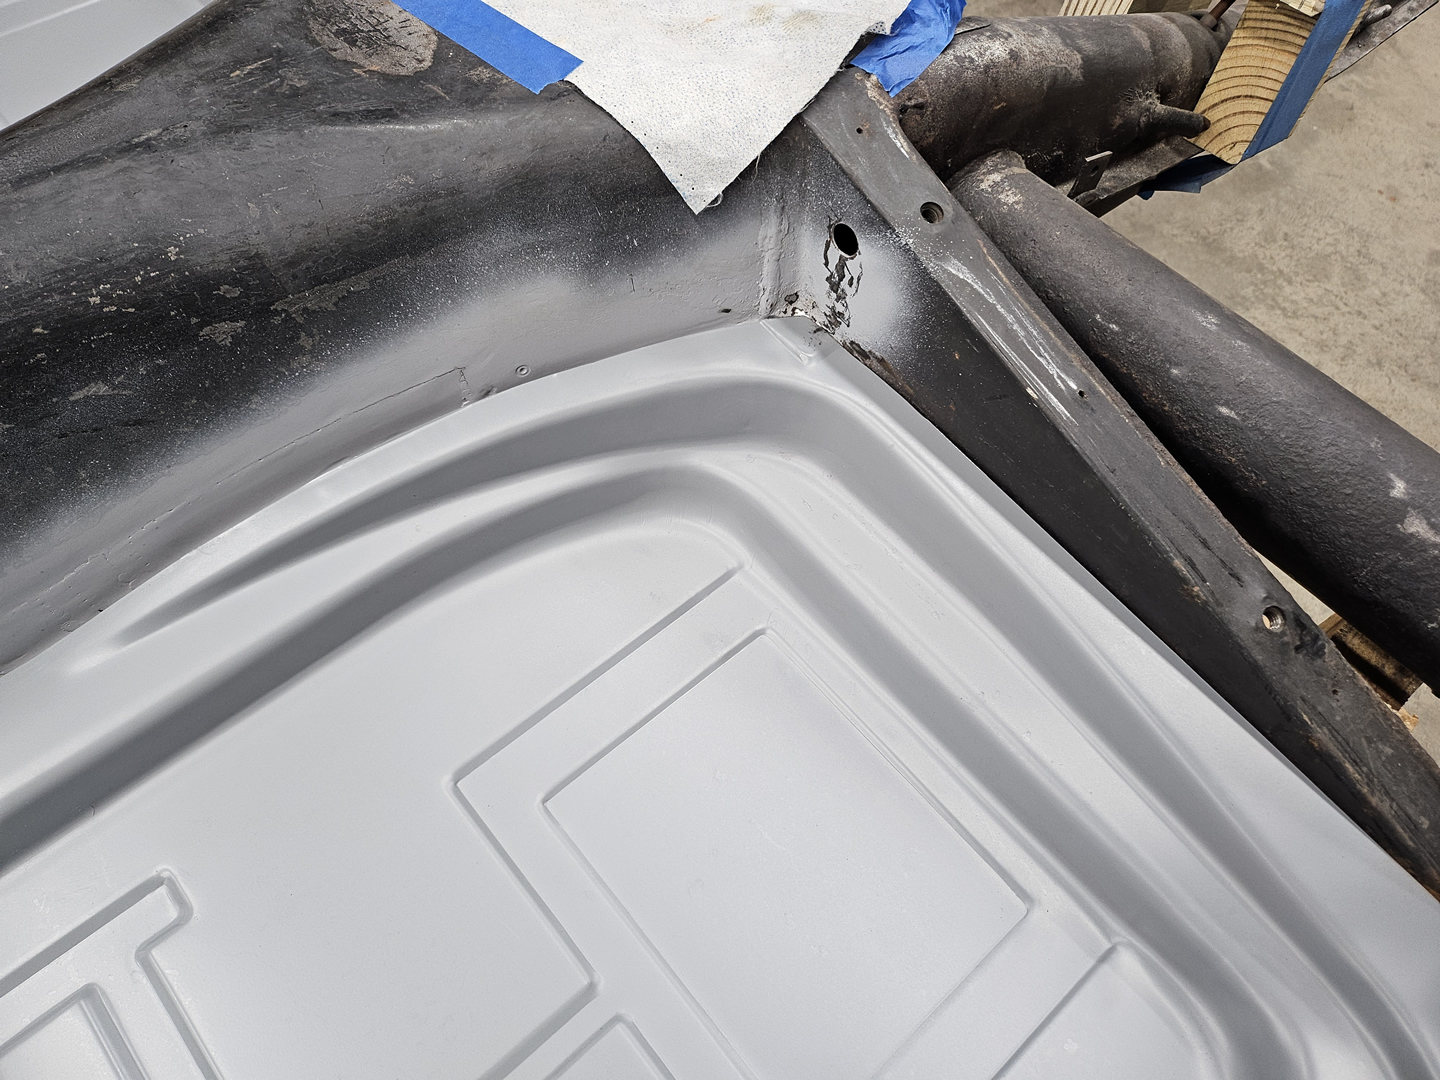
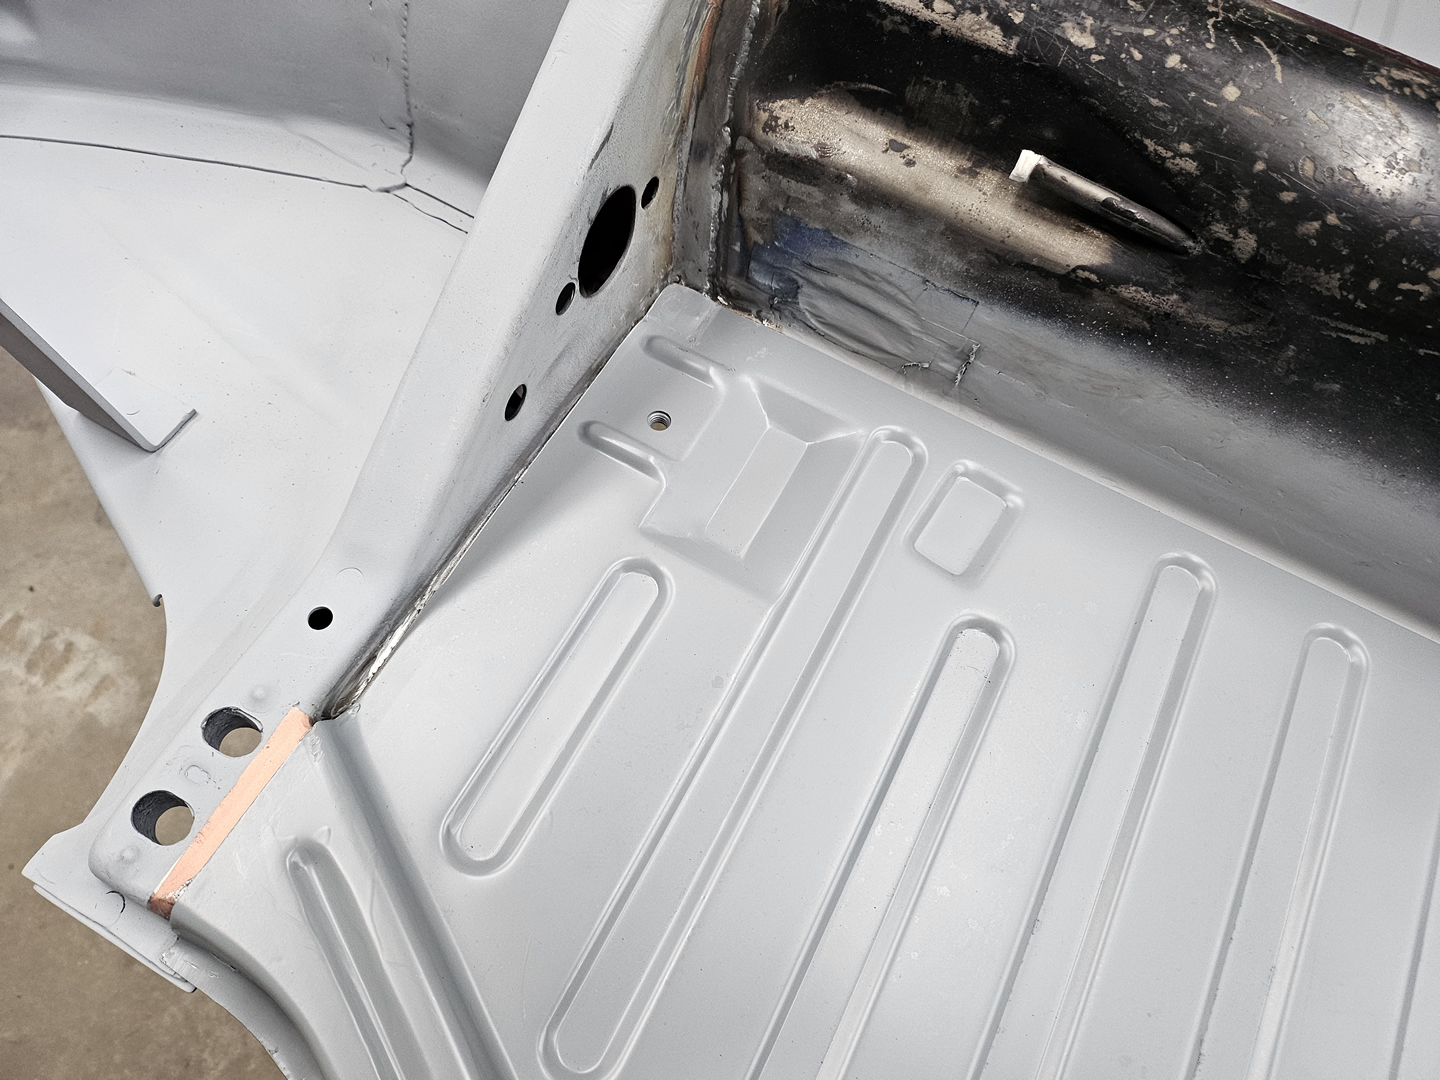
I put the floor pans in place just to see where the problems are before I replace the rear cross braces. Right now, the fit is too tight on the front by the Napoleon hat and also in the rear by the cross braces on both the left and right floor pans. On both sides near the tunnel where it flares out to the forks, there are big gaps between the pans and the tunnel. We'll see if these issues still exist after the cross braces are replaced.
|
|
|
|

|

|
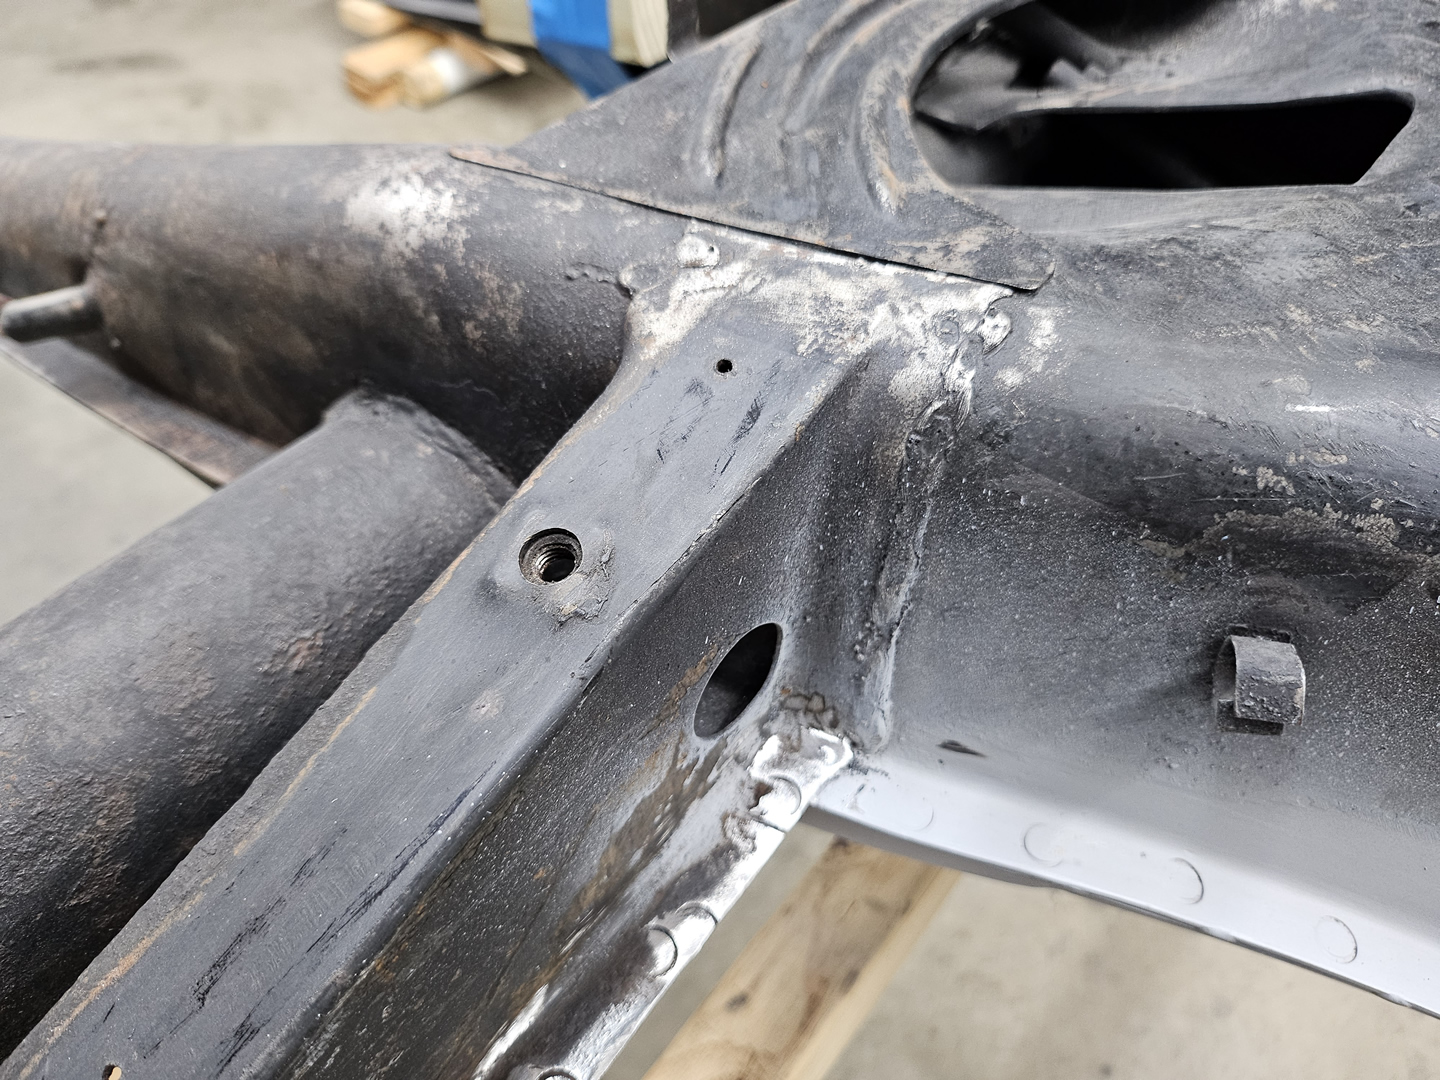
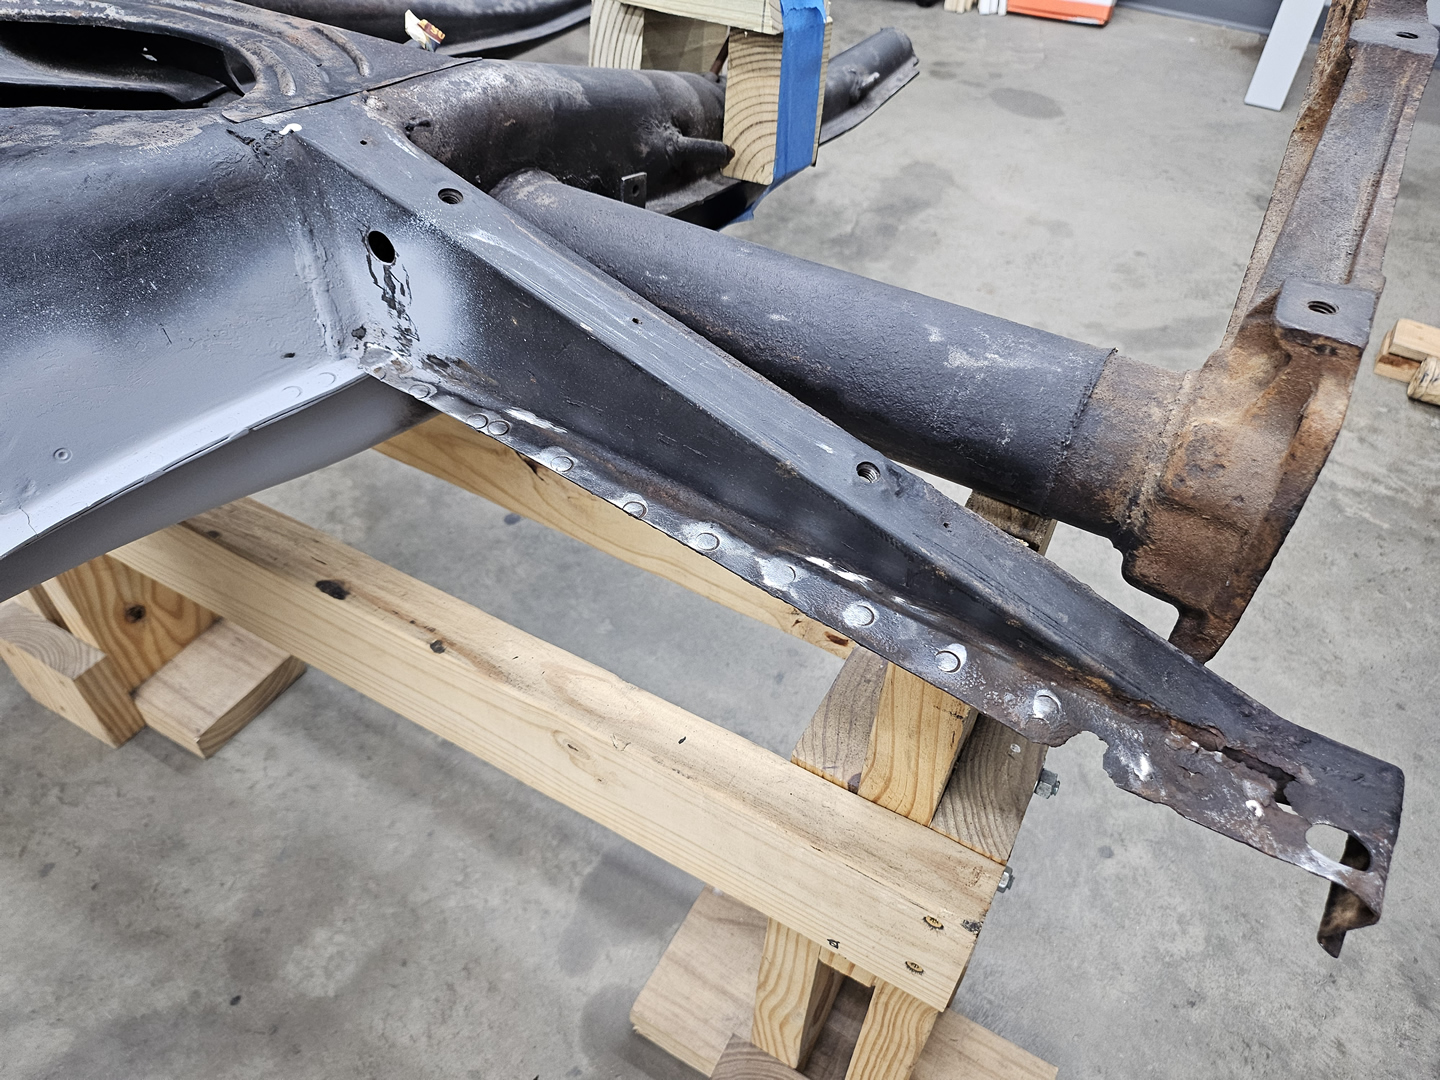
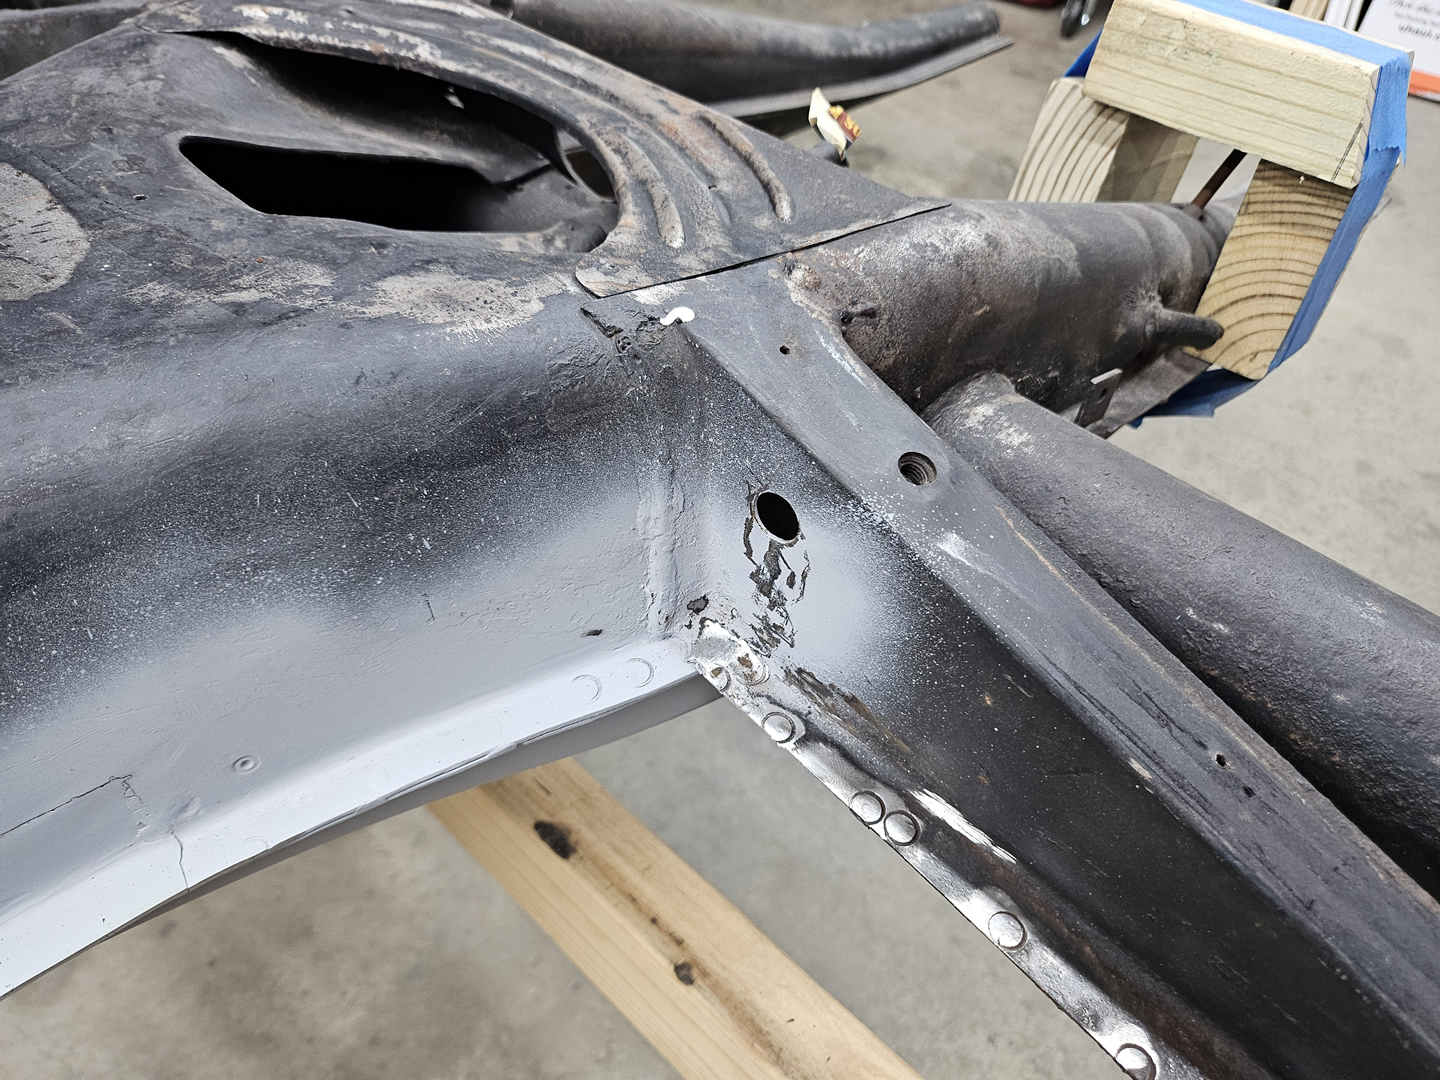
The cross braces are attached to the tunnel by spot welds and seam welds, and on the outside they are attached to a support brace from the torsion tubes by spot welds.

|
|
|
|
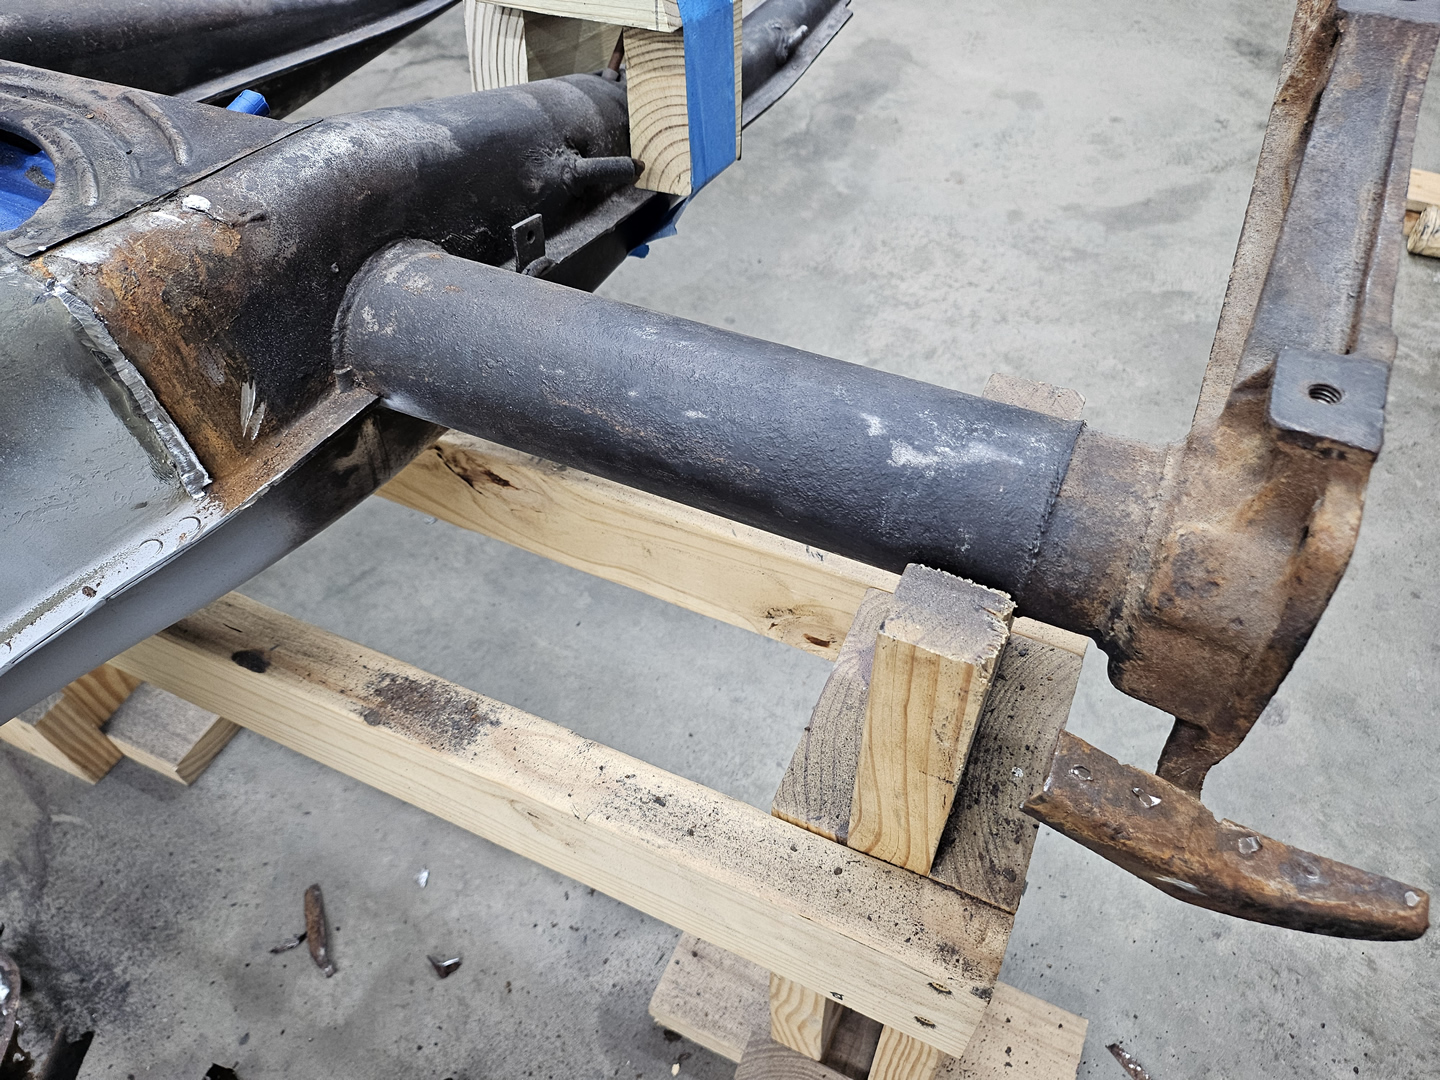
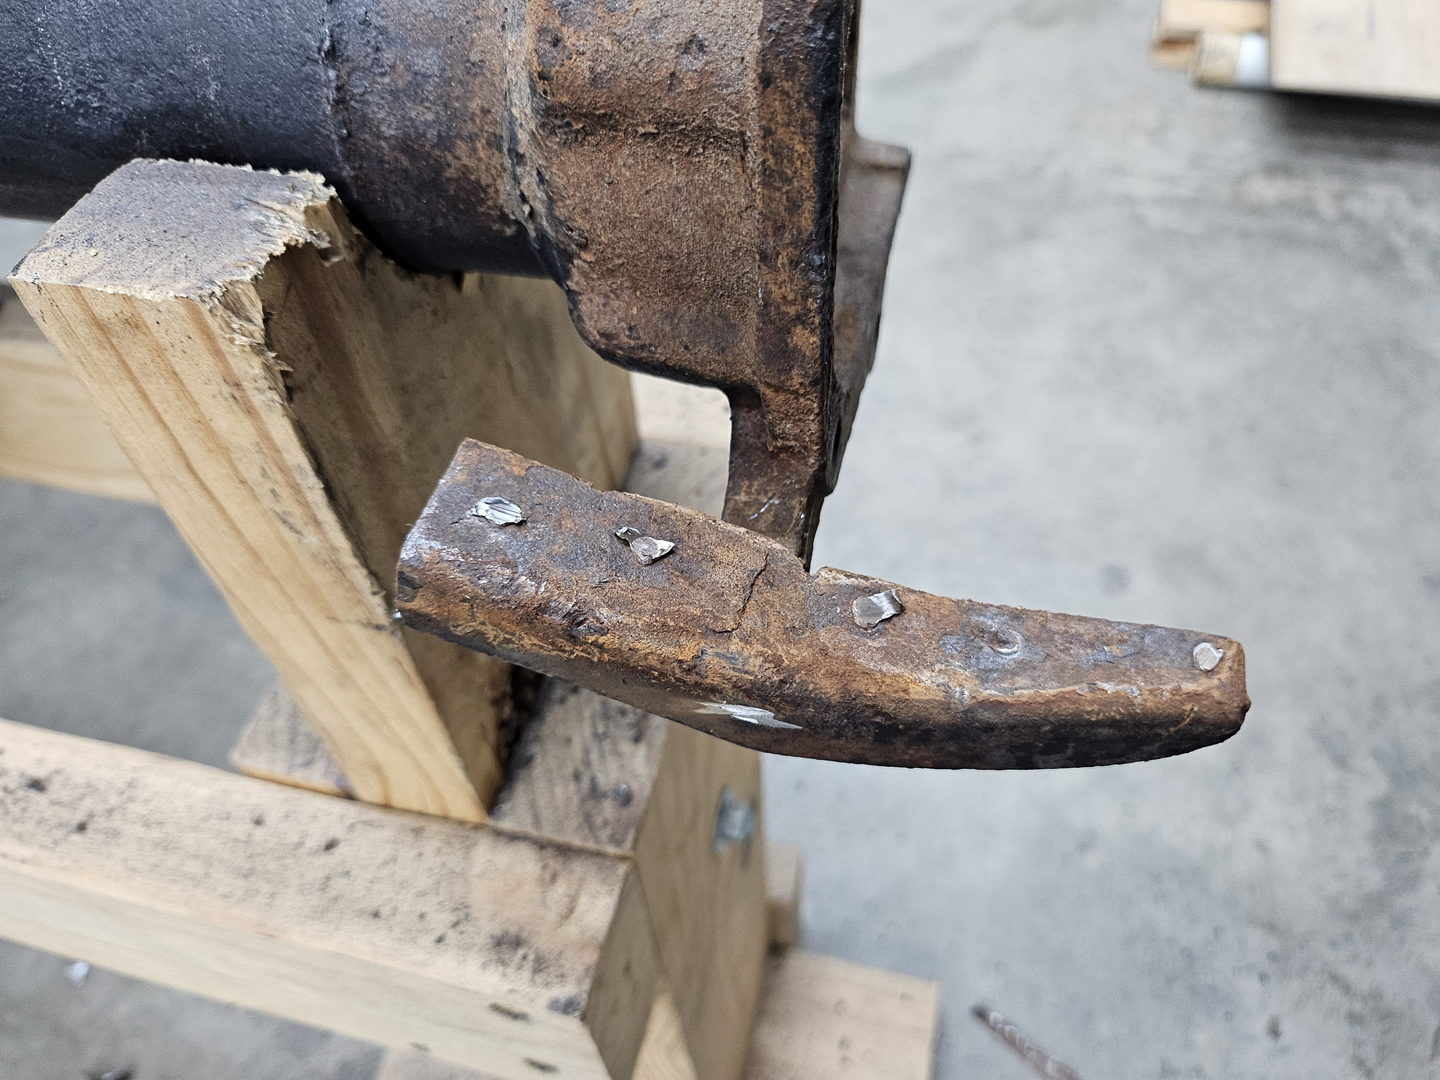
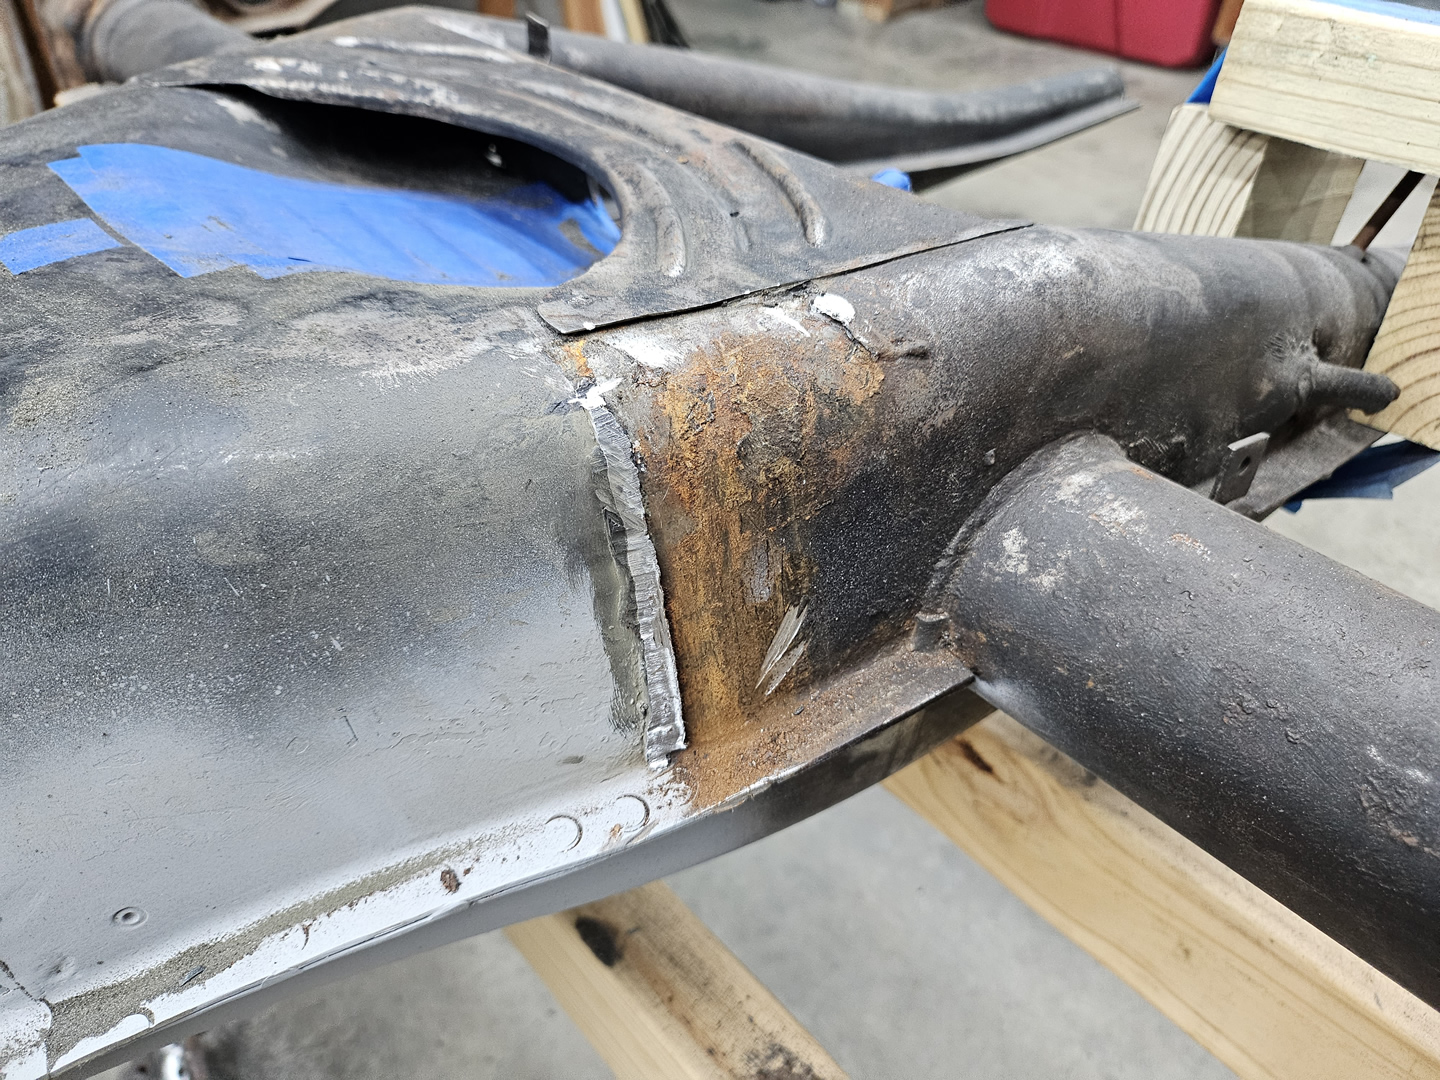
I removed the original cross braces by grinding down the spot welds and cutting through the seam welds.

|

|

|
|
|
|
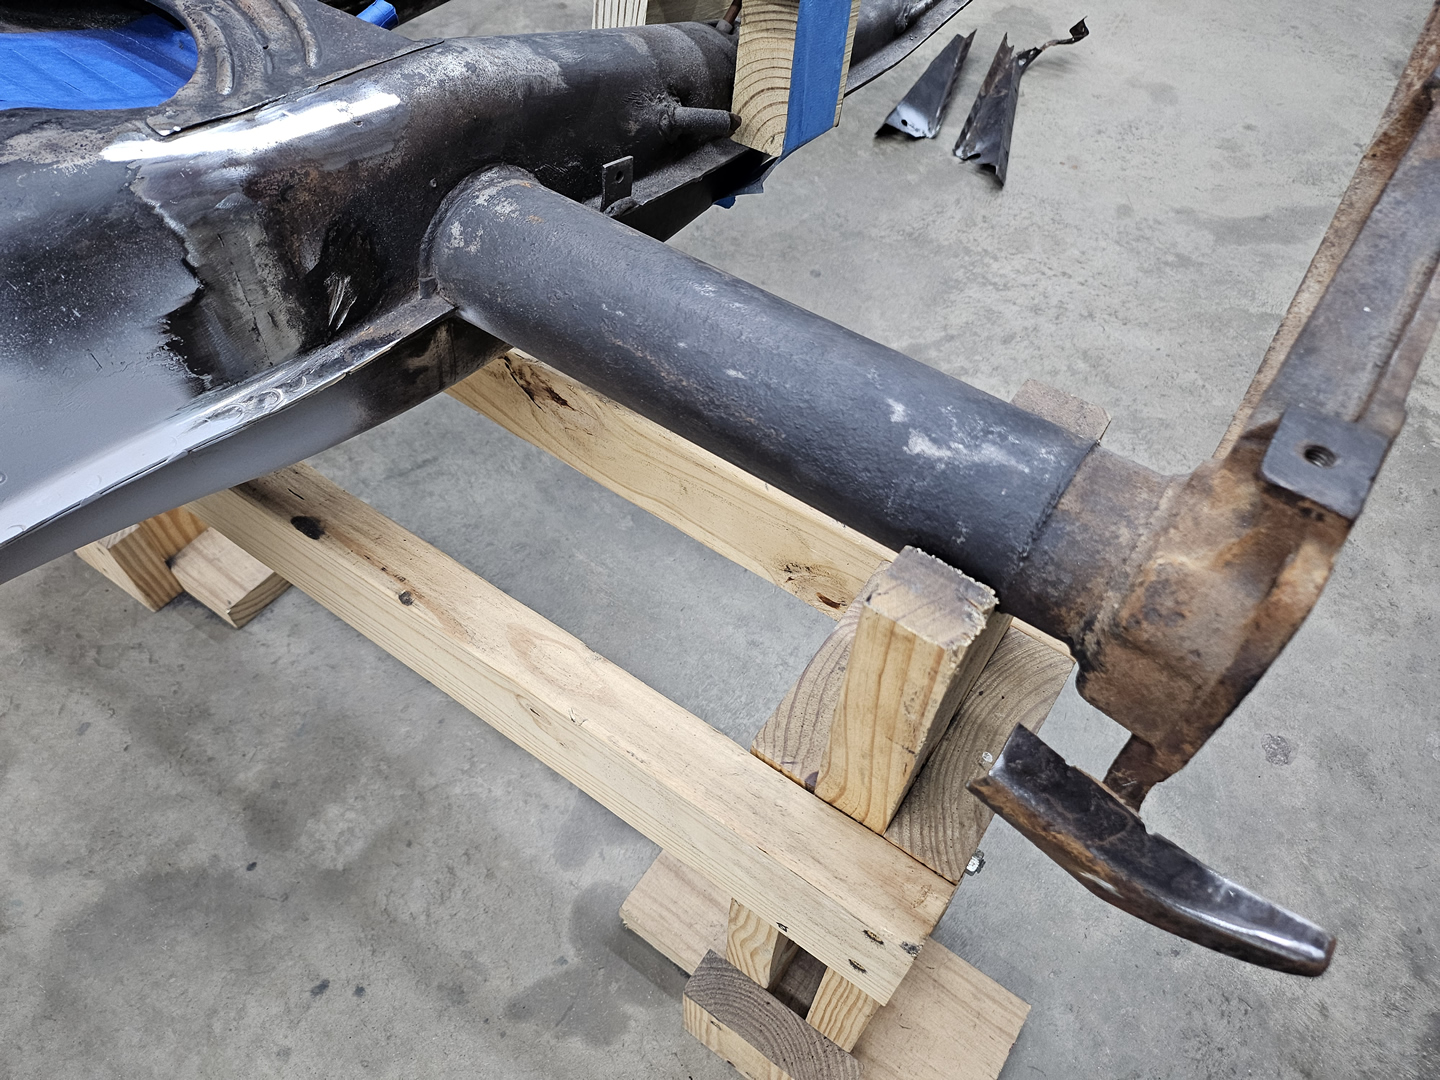
The old welds and rust was removed so that I can test fit the new cross braces.

|
|
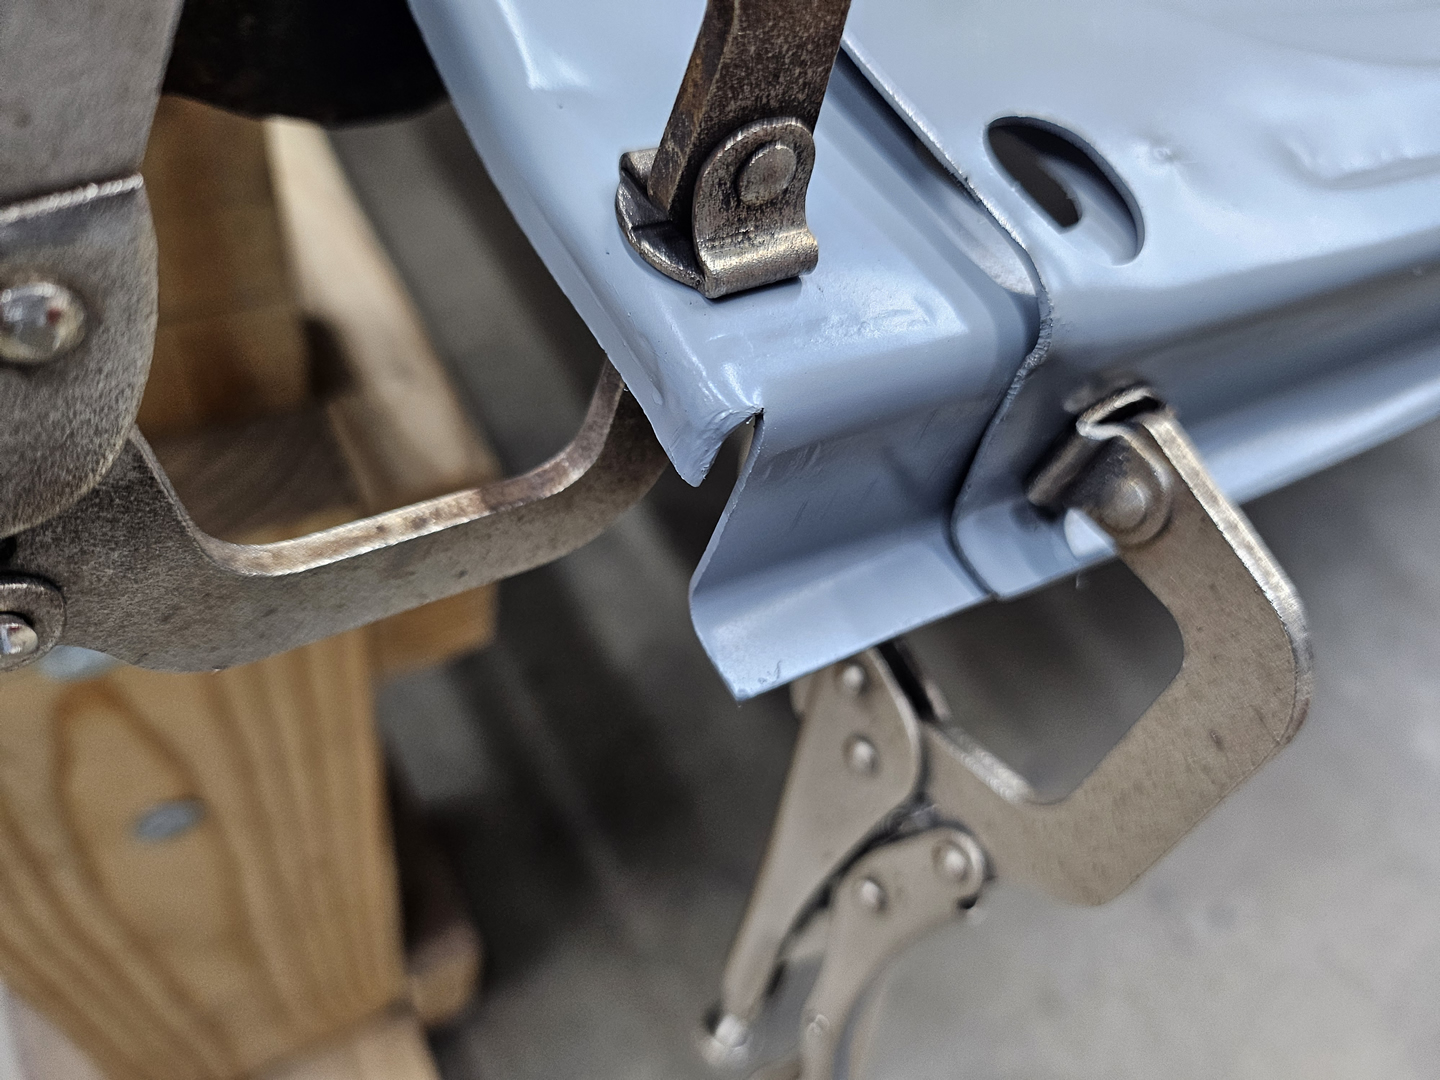
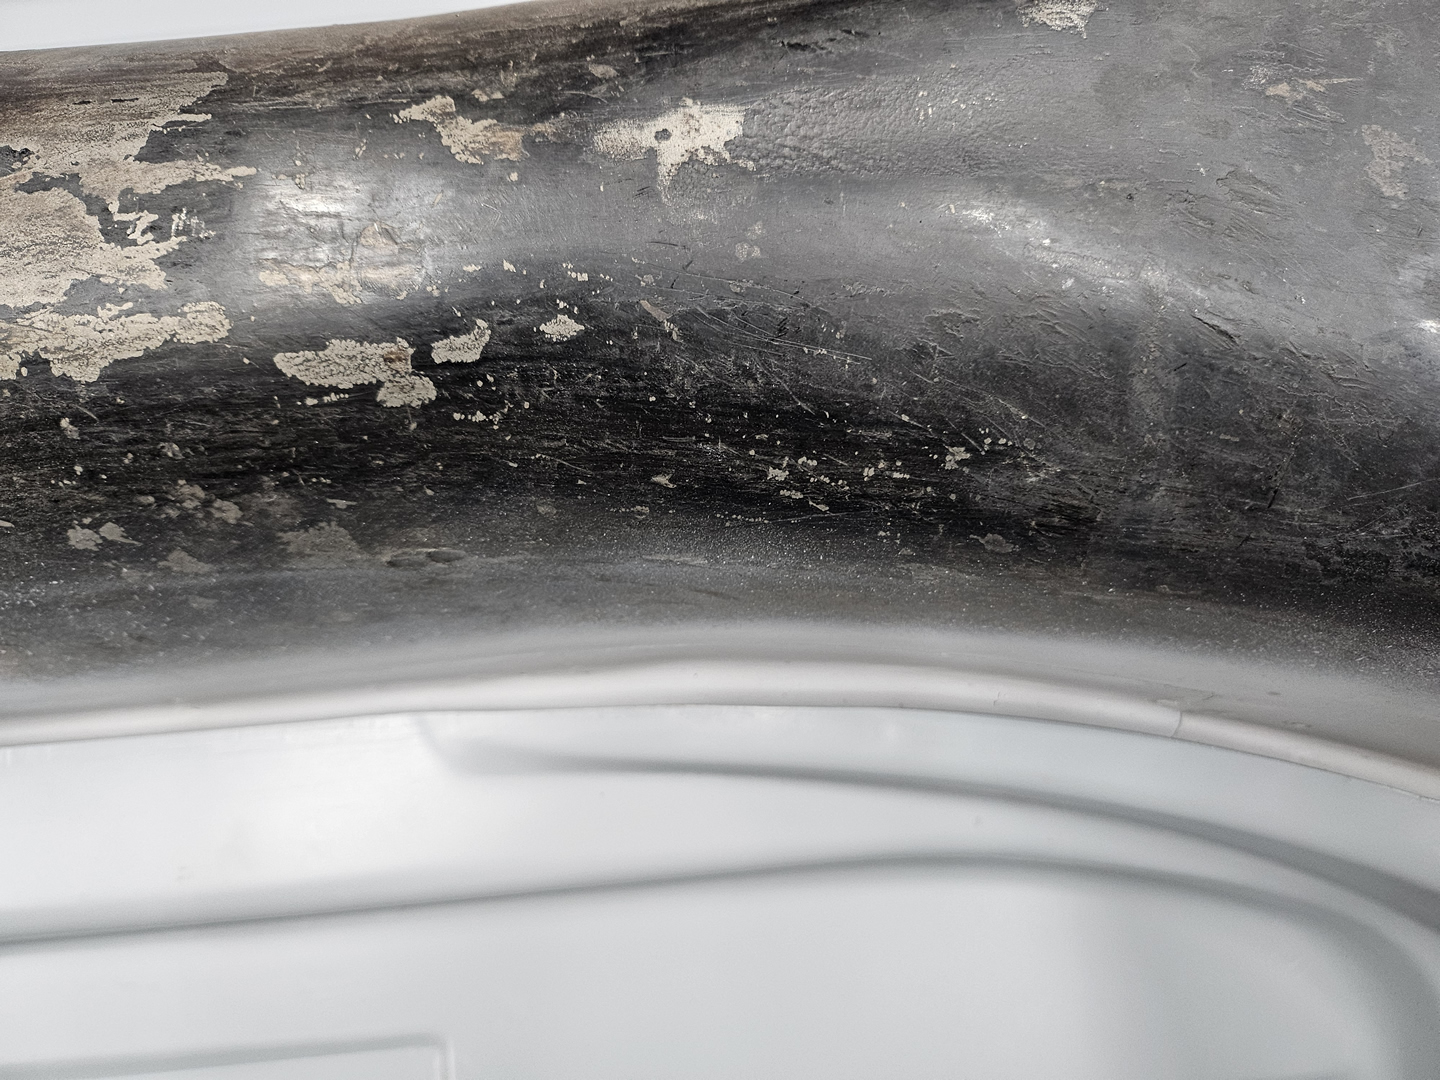
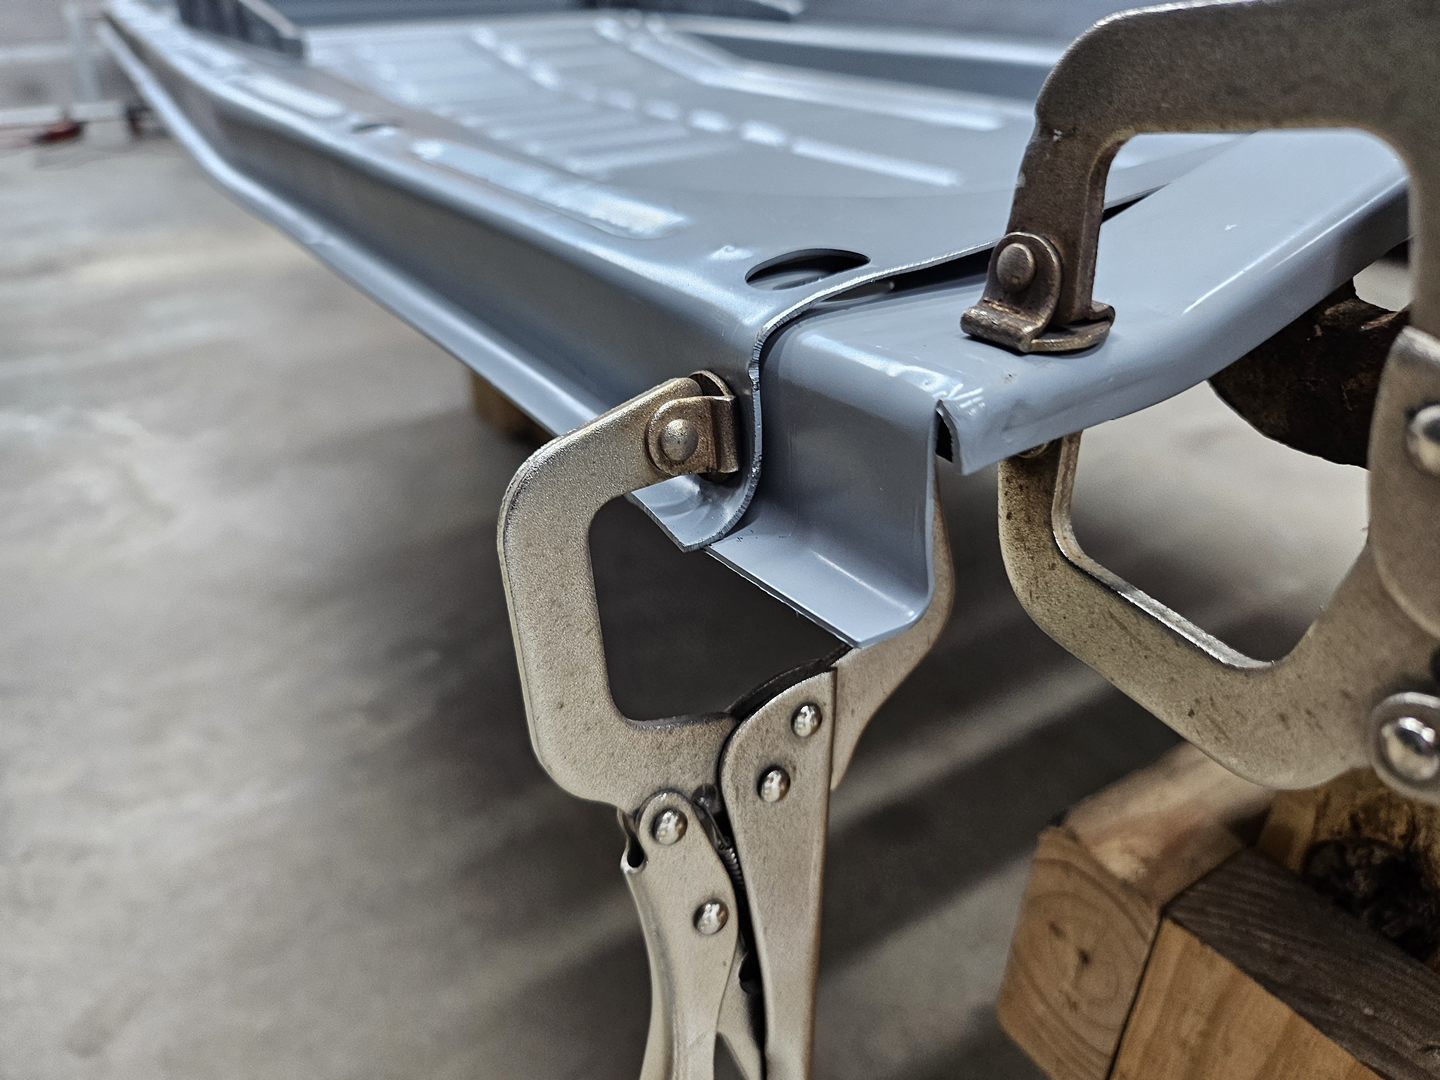
I put the cross braces and floor pans in place to determine the fit. The cross braces are 1/4" longer than the original ones and don't fit against the tunnel well at all. This pushes the floor pans further out, making the gap between the pans and the flared portion of the tunnel way too big. Going to be a challenge getting them to fit correctly and to move them in the needed 1/4".

|
|
|

|
|
|
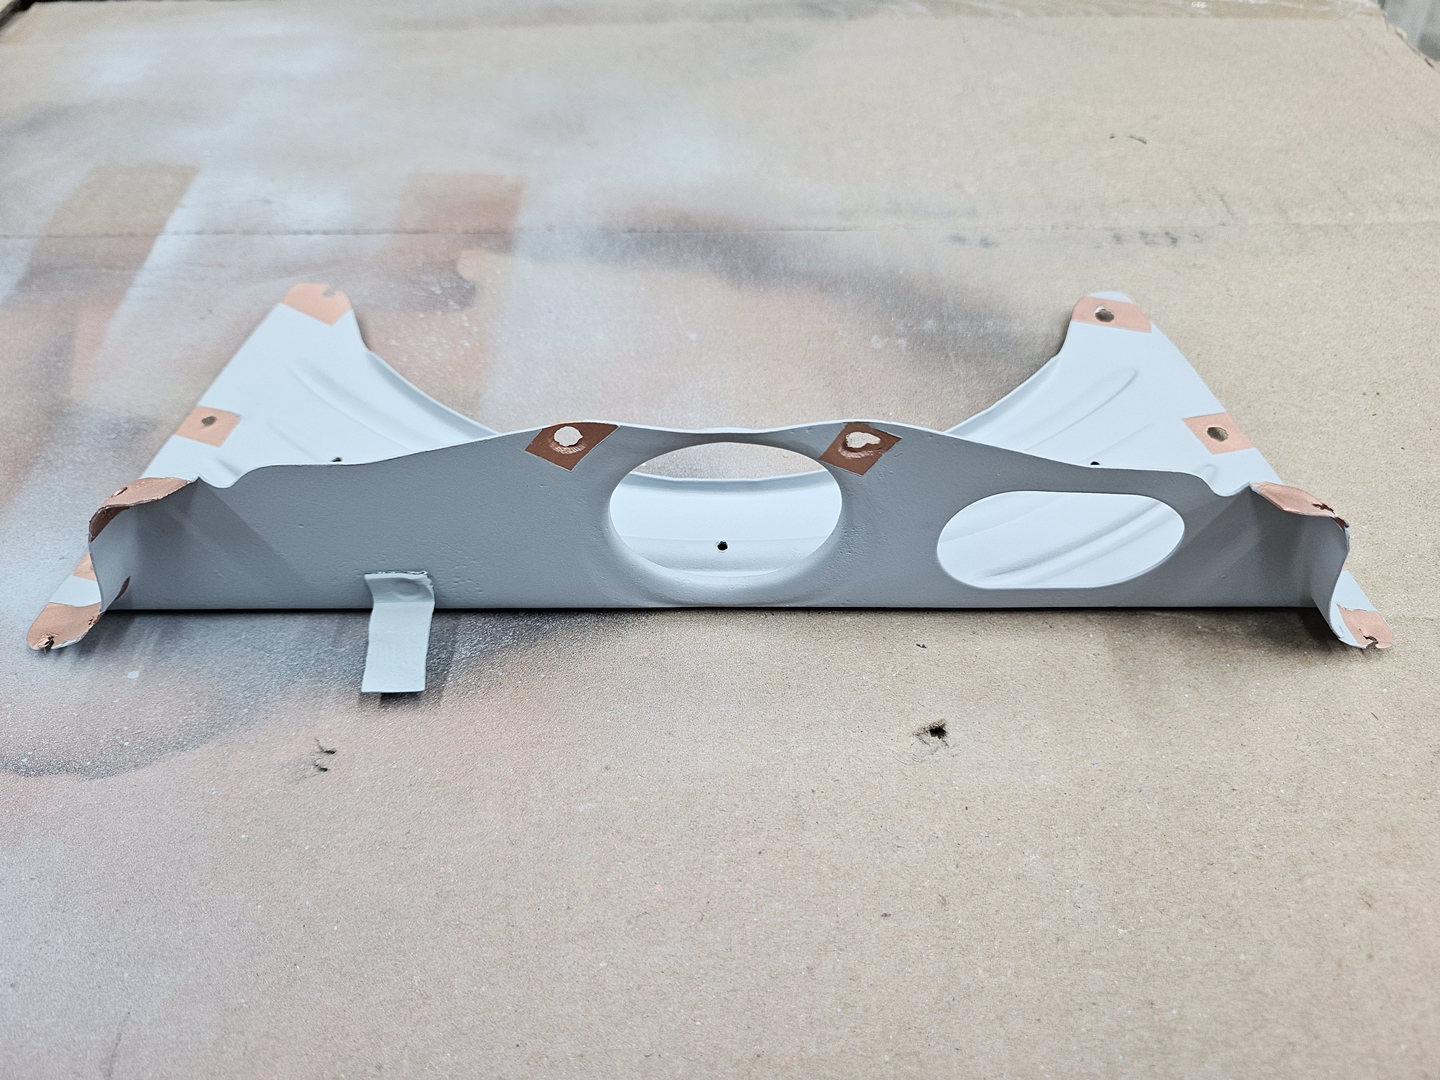
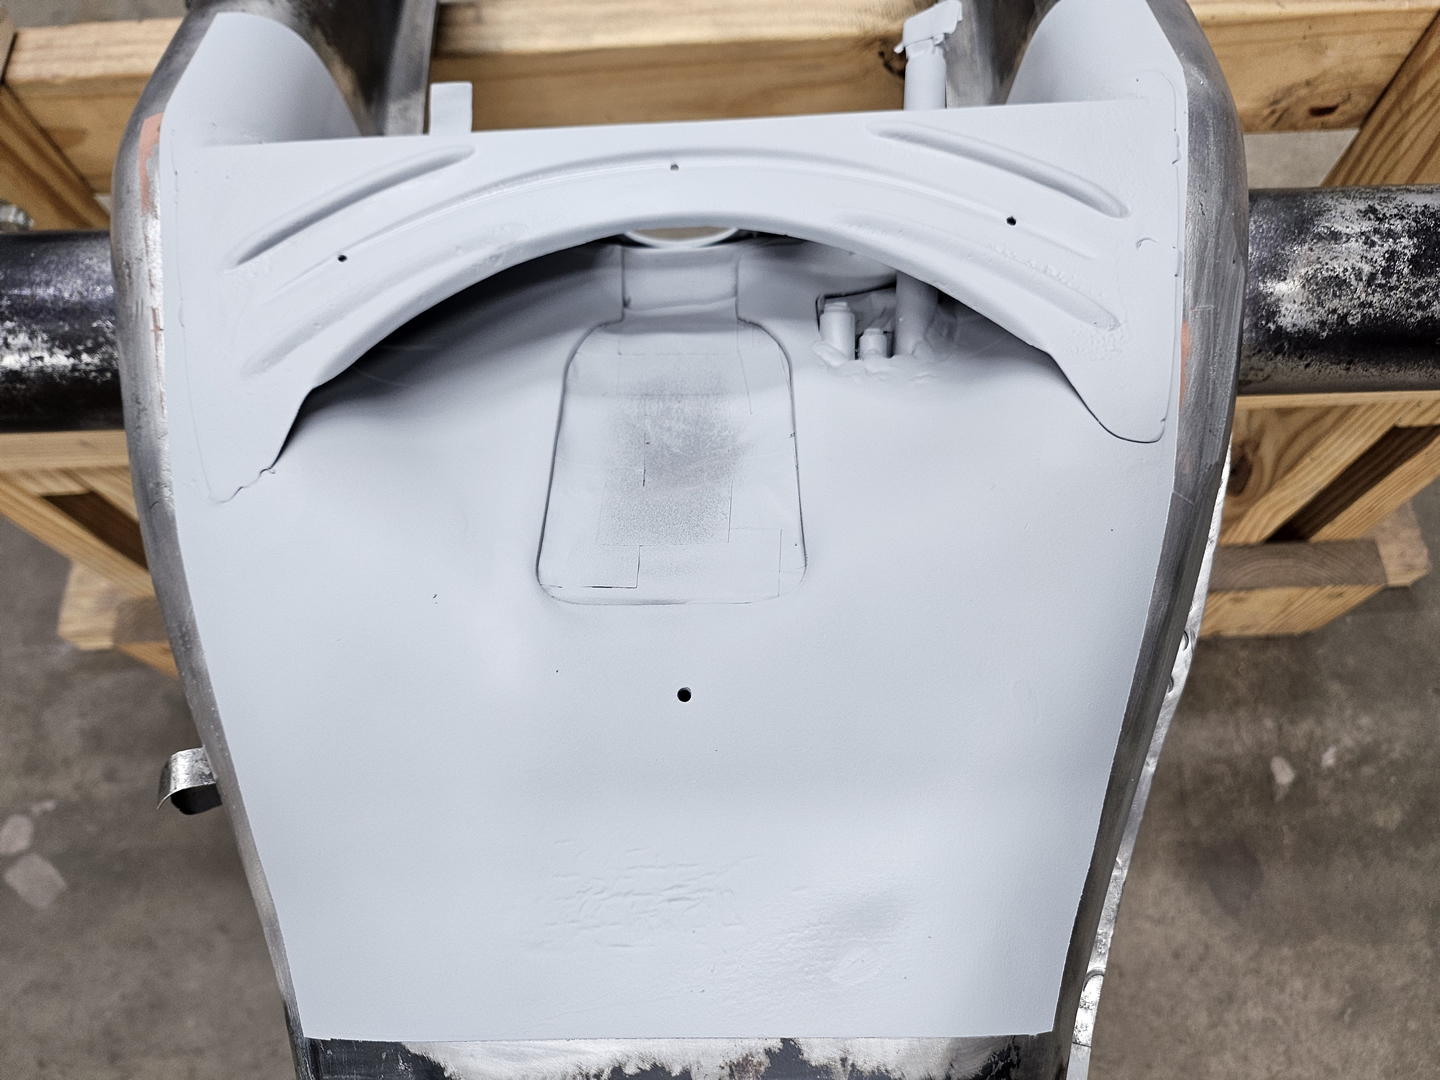
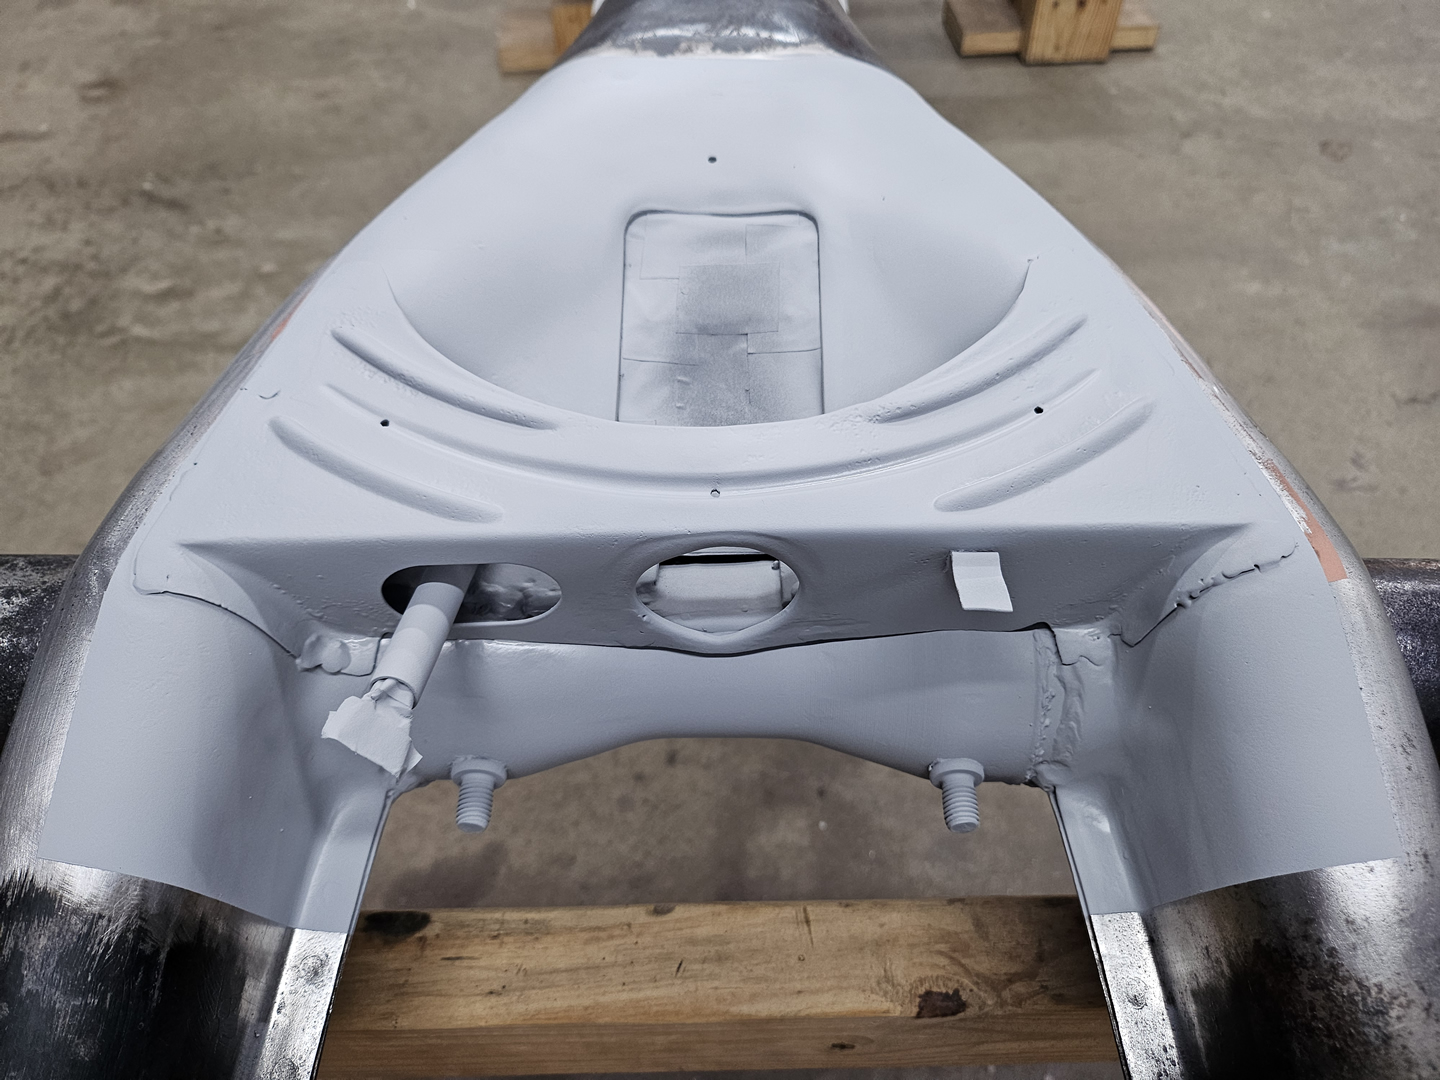
Before I fit the cross braces, I decided to remove the transition plate that goes between the two cross braces over the top of the tunnel. This plate has been bent down and the easiest way to straighten it out is to pull it off where I can access it from the underside. So, I removed the plate, straightened it, sandblasted it, sprayed weld-through primer on the areas to be welded, and sprayed regular primer on all other areas. I also cleaned up and primed the area under the plate that is difficult to reach with the plate in place.

|

|

|
|
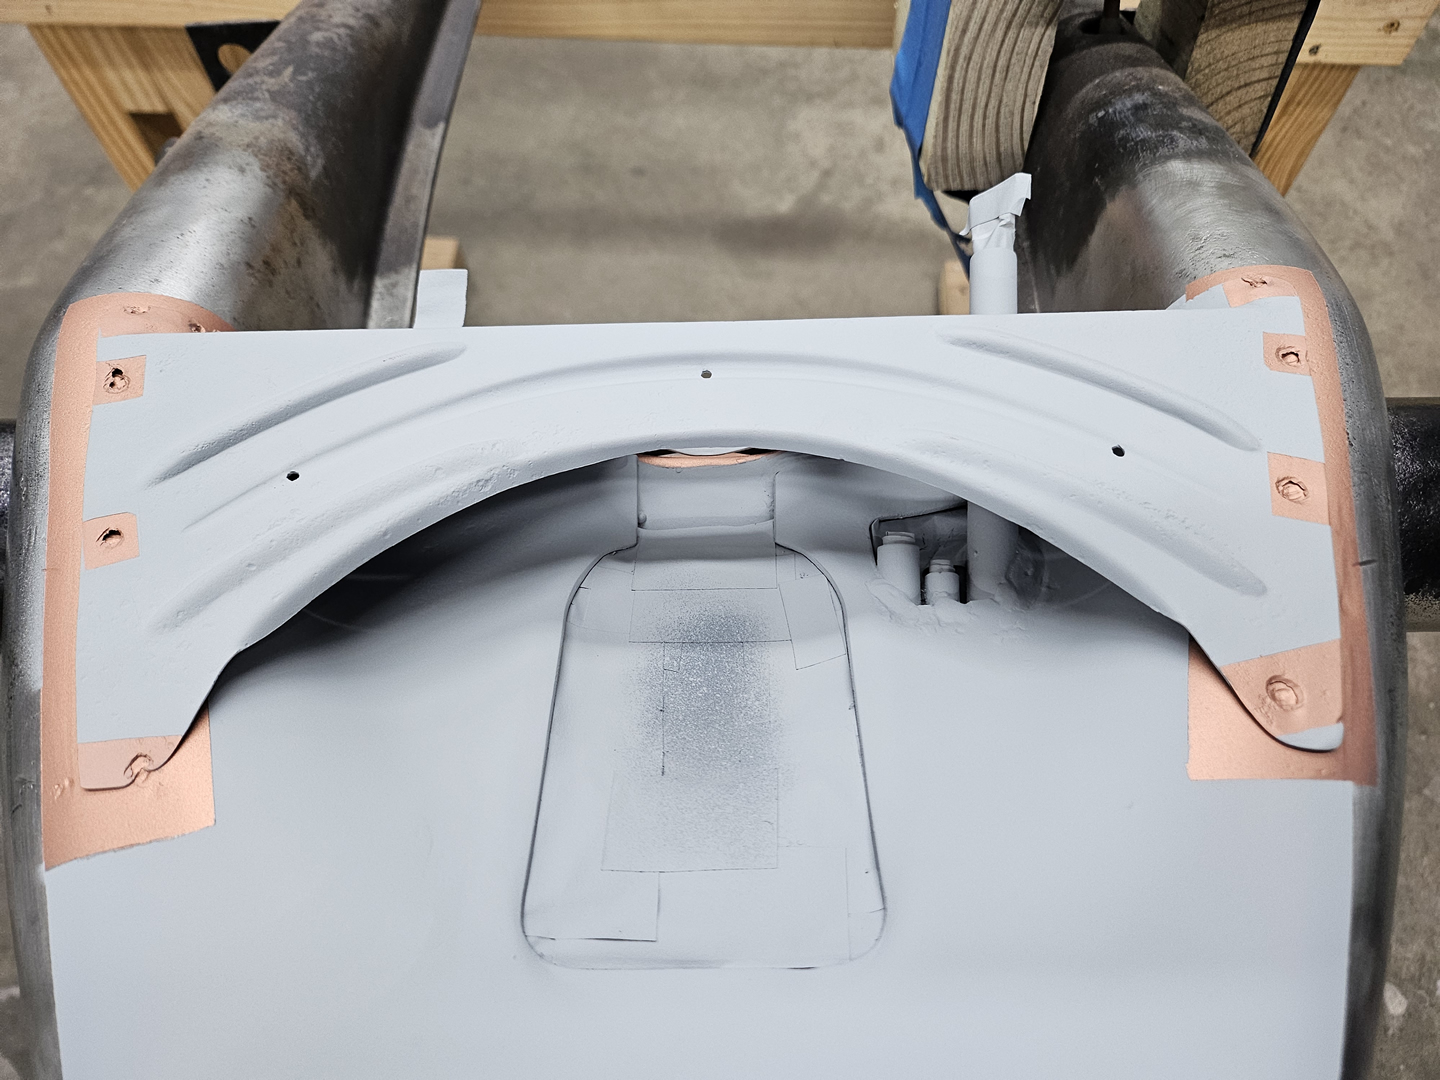
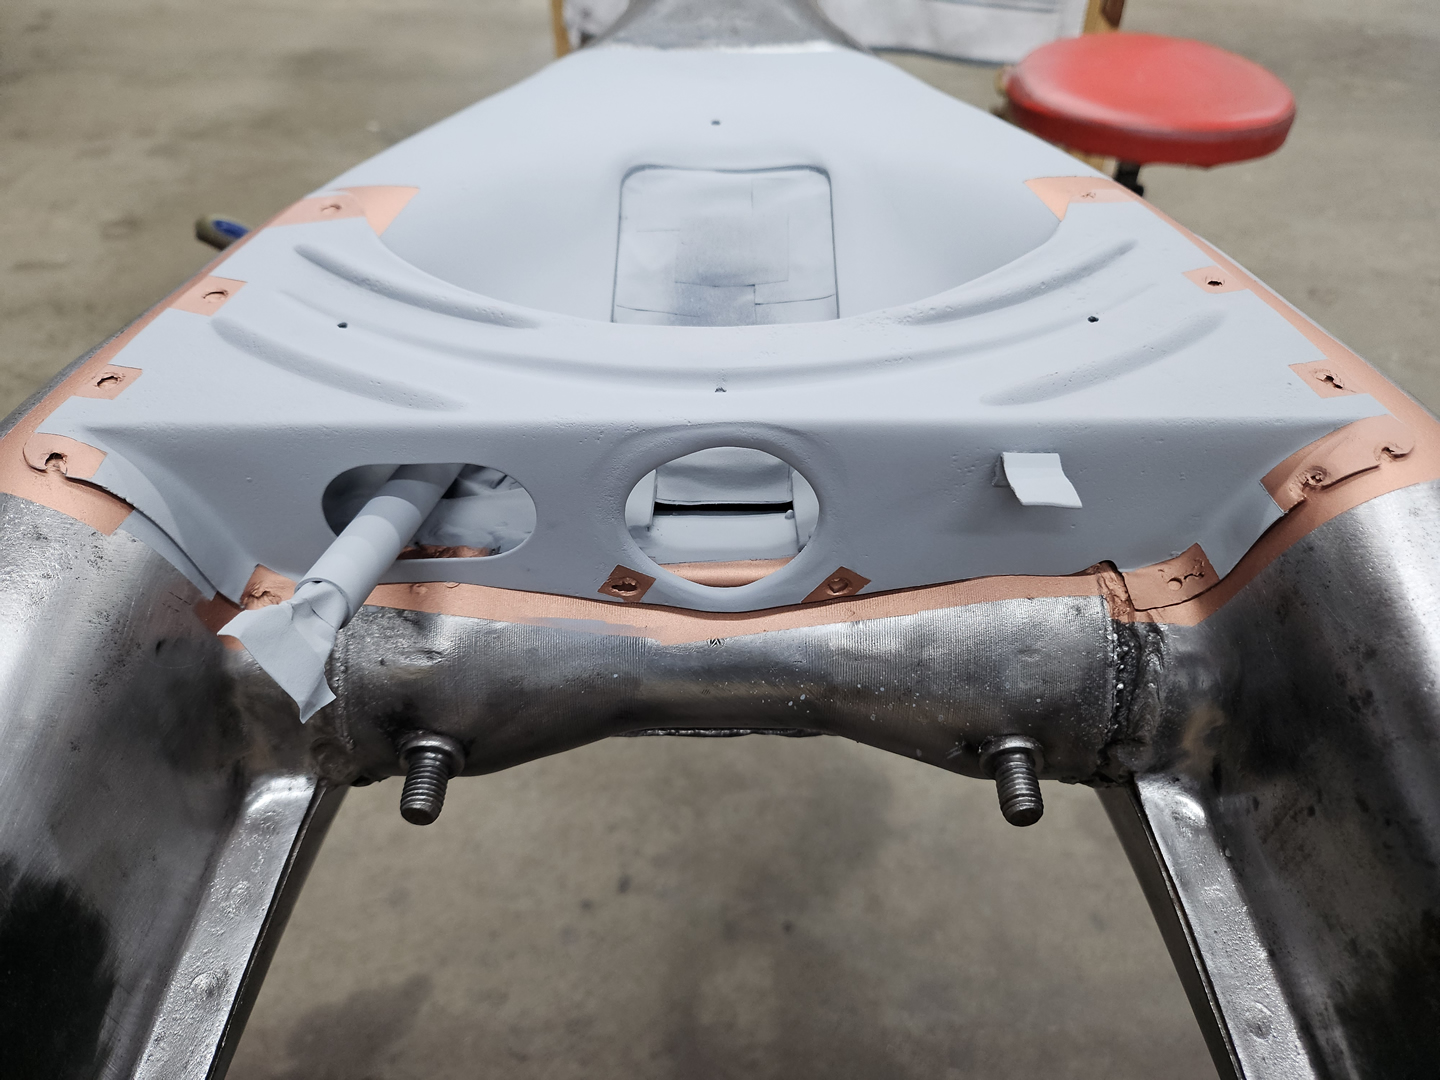
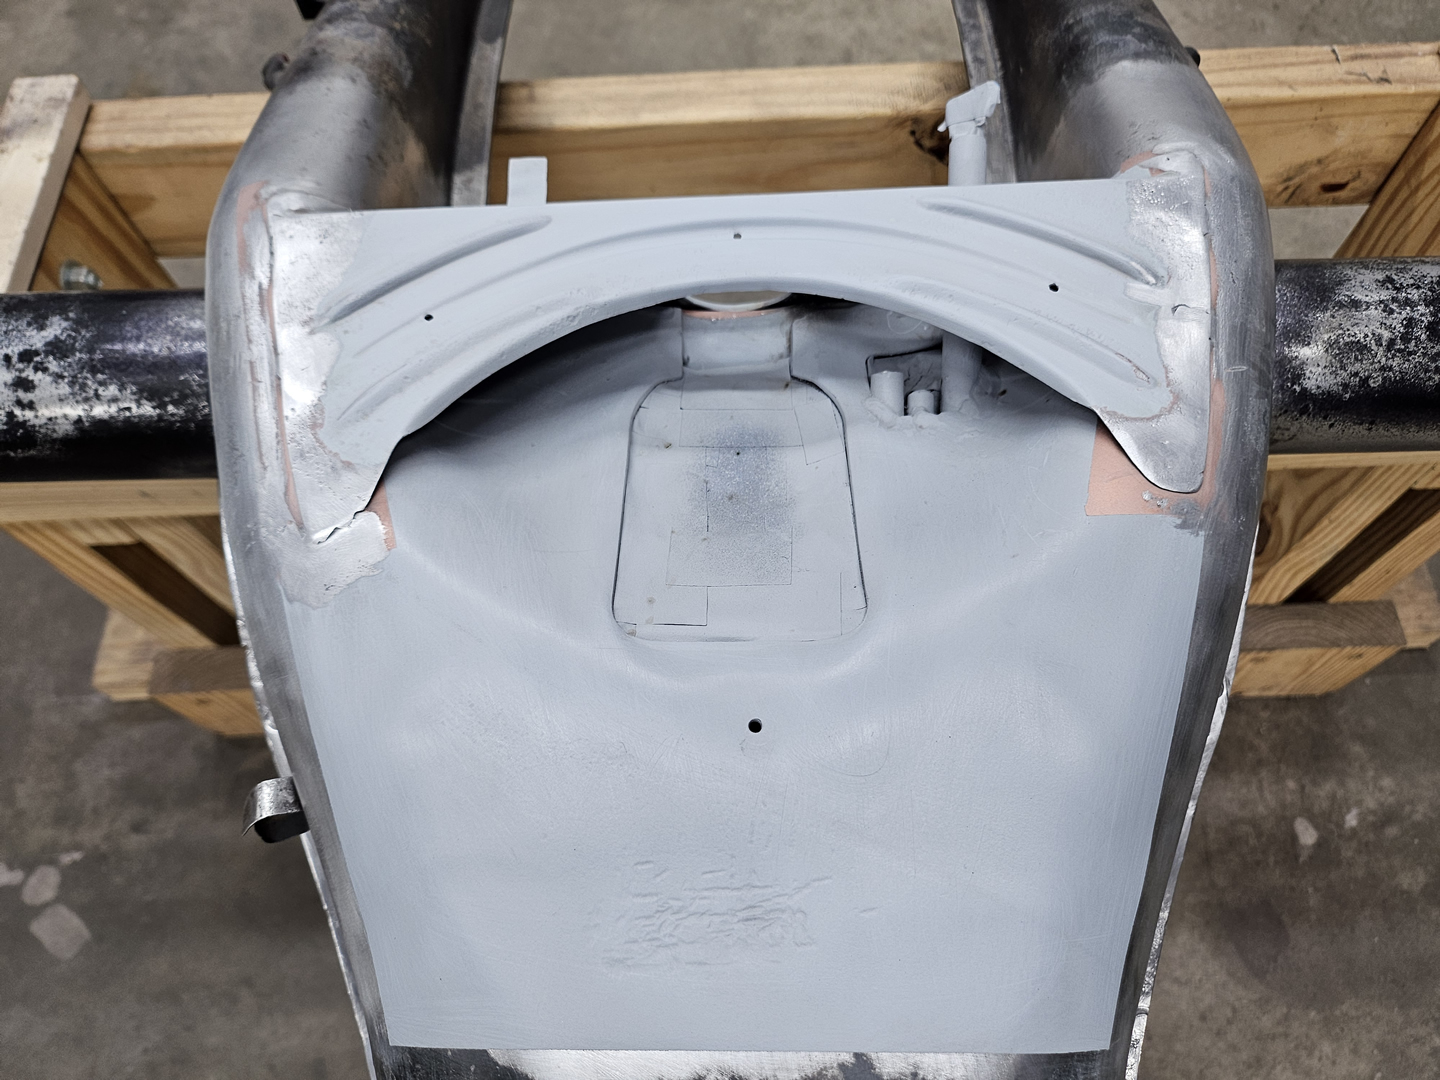
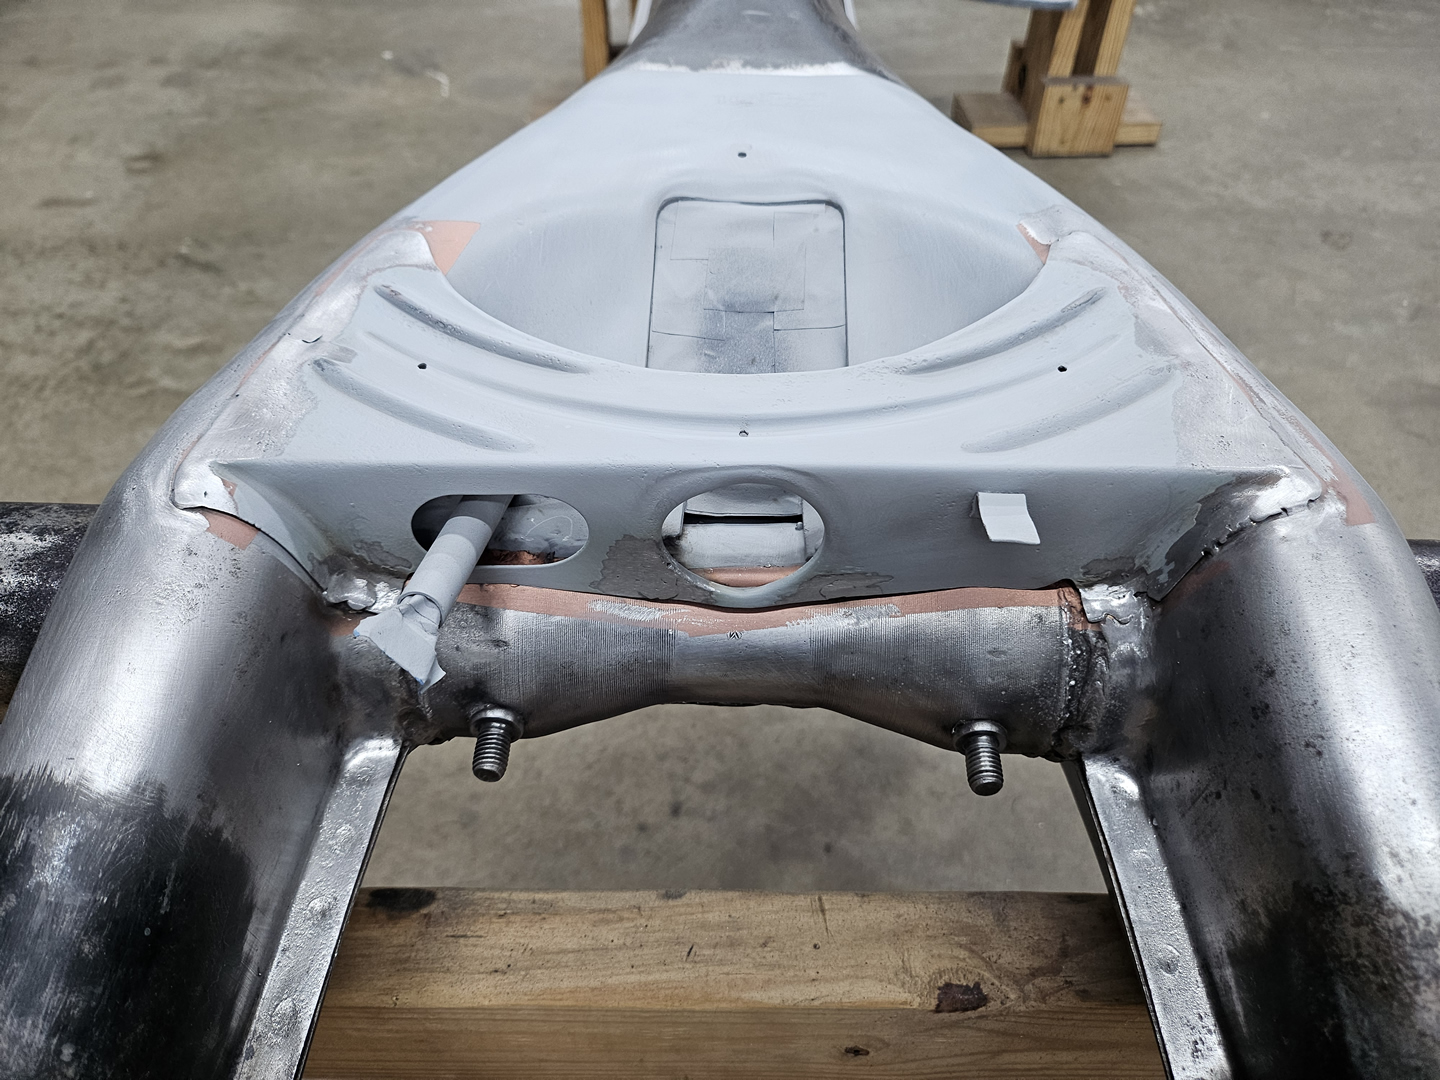
I then welded the transition plate on, ground down the welds, and sprayed over this area with primer.
|
|
|
|
|
|
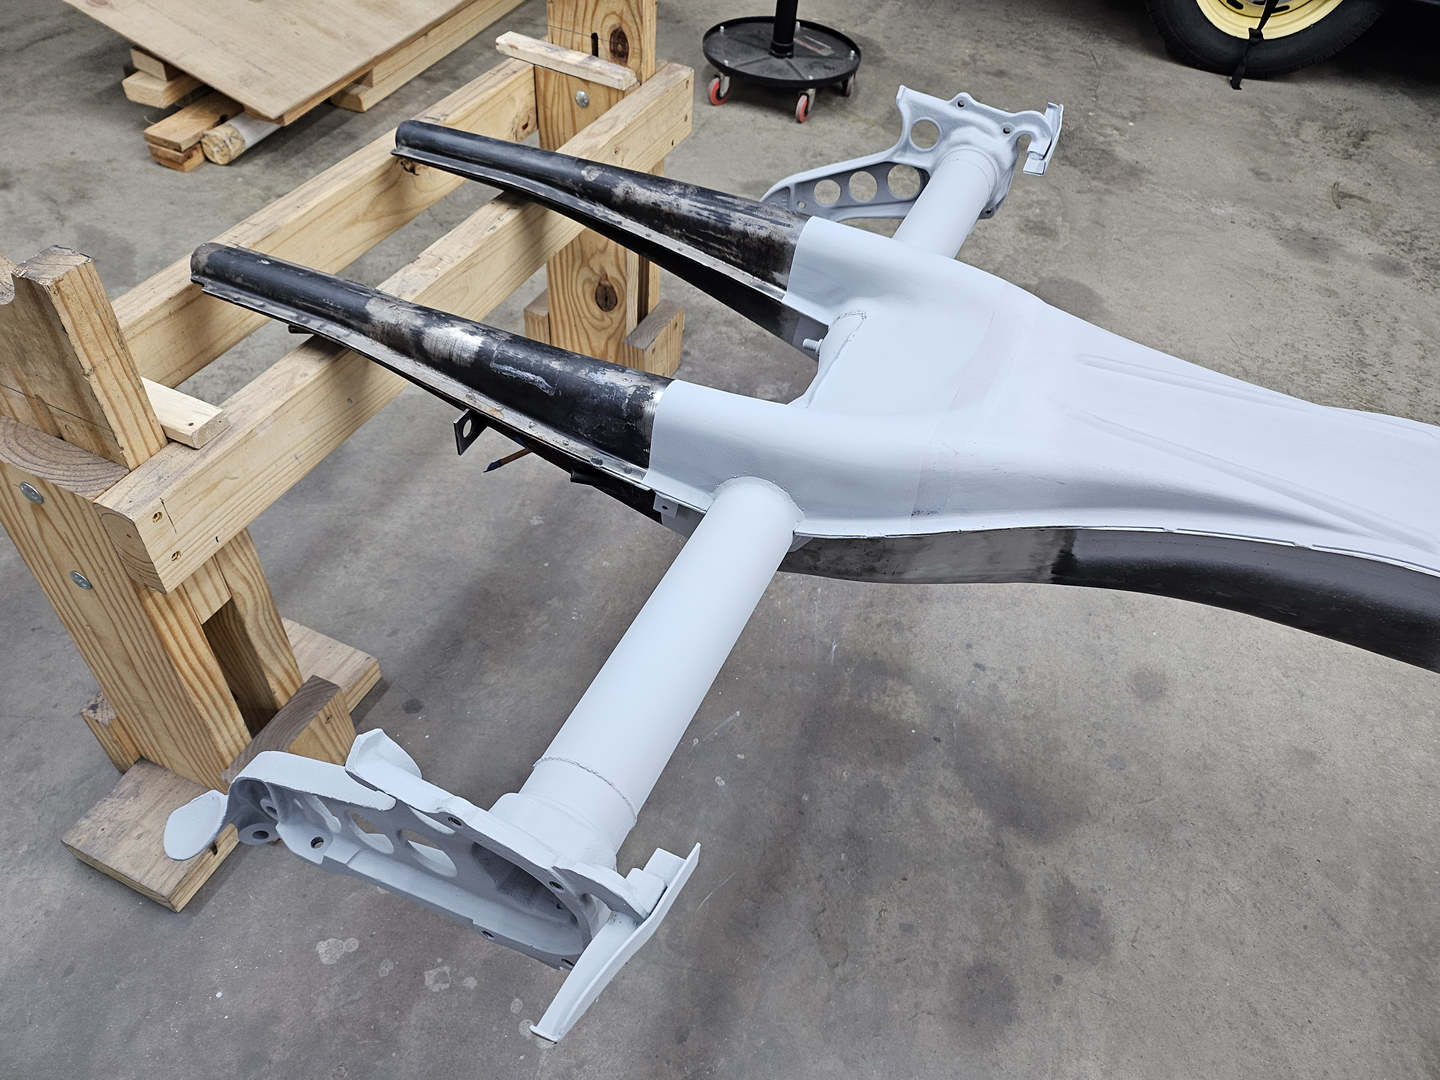
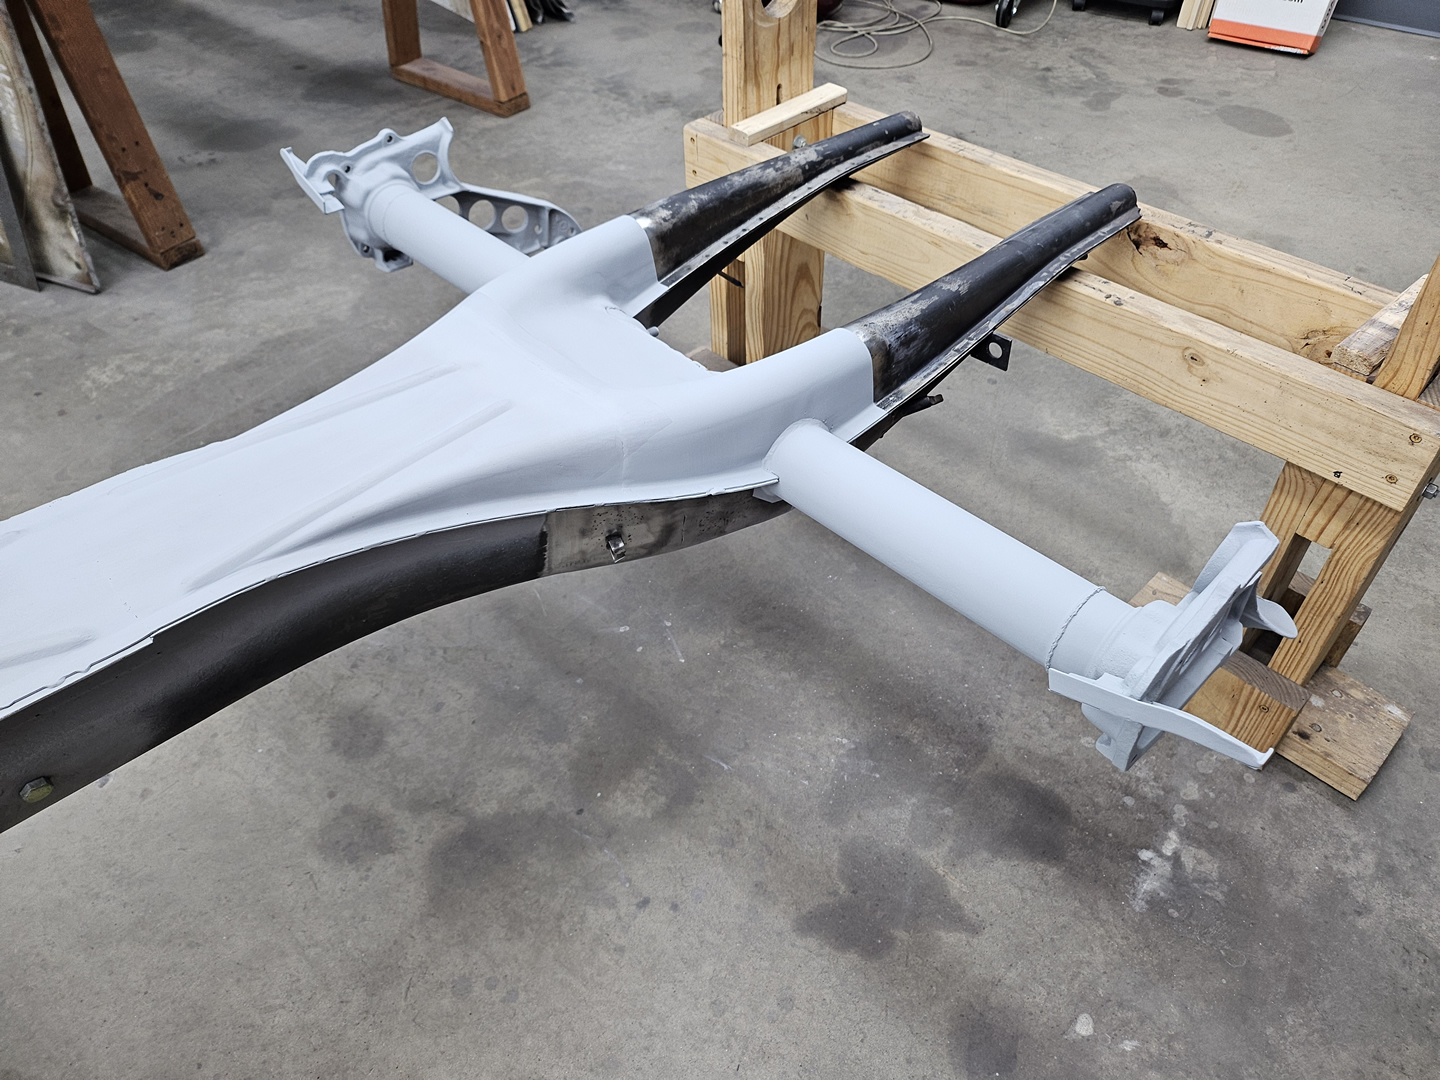
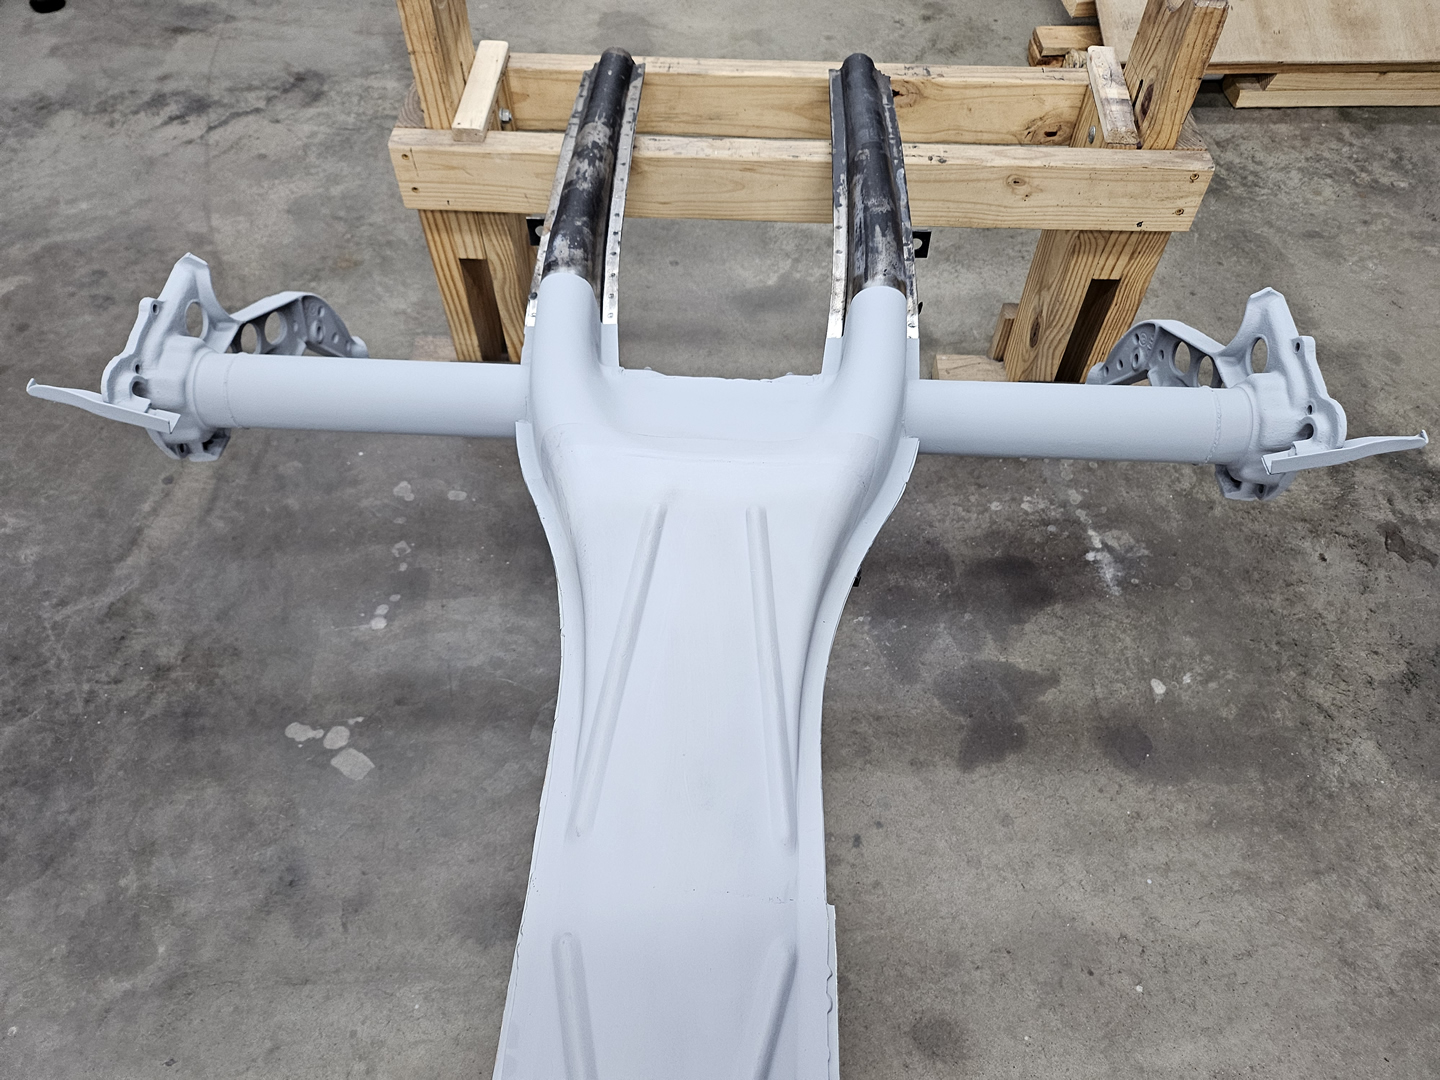
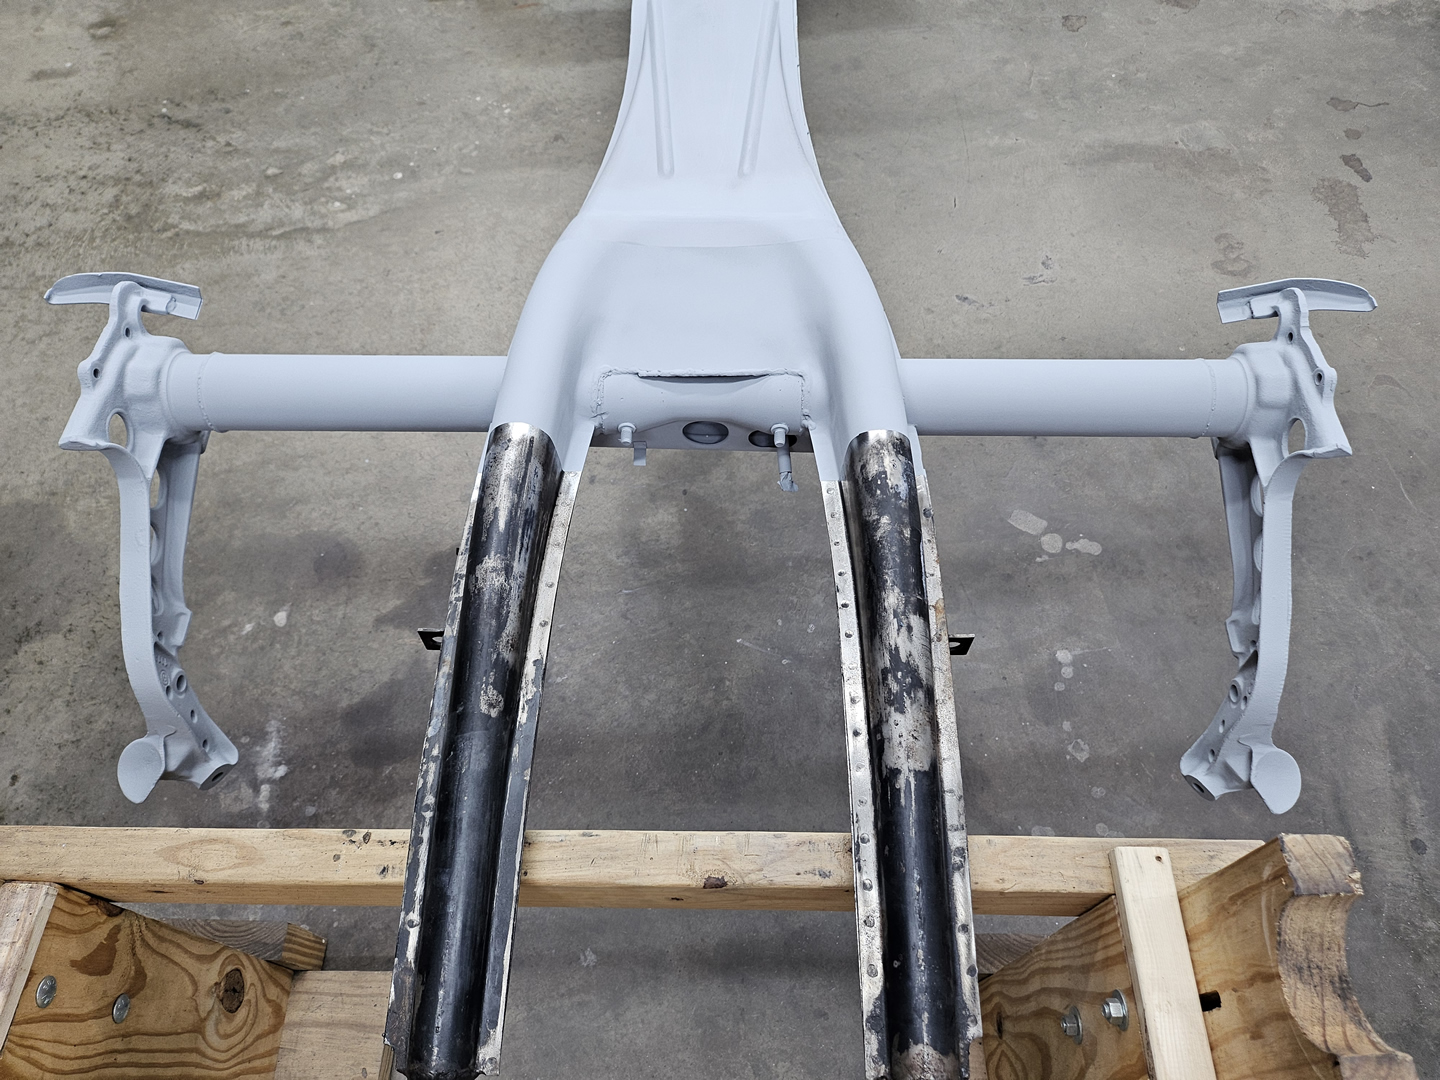
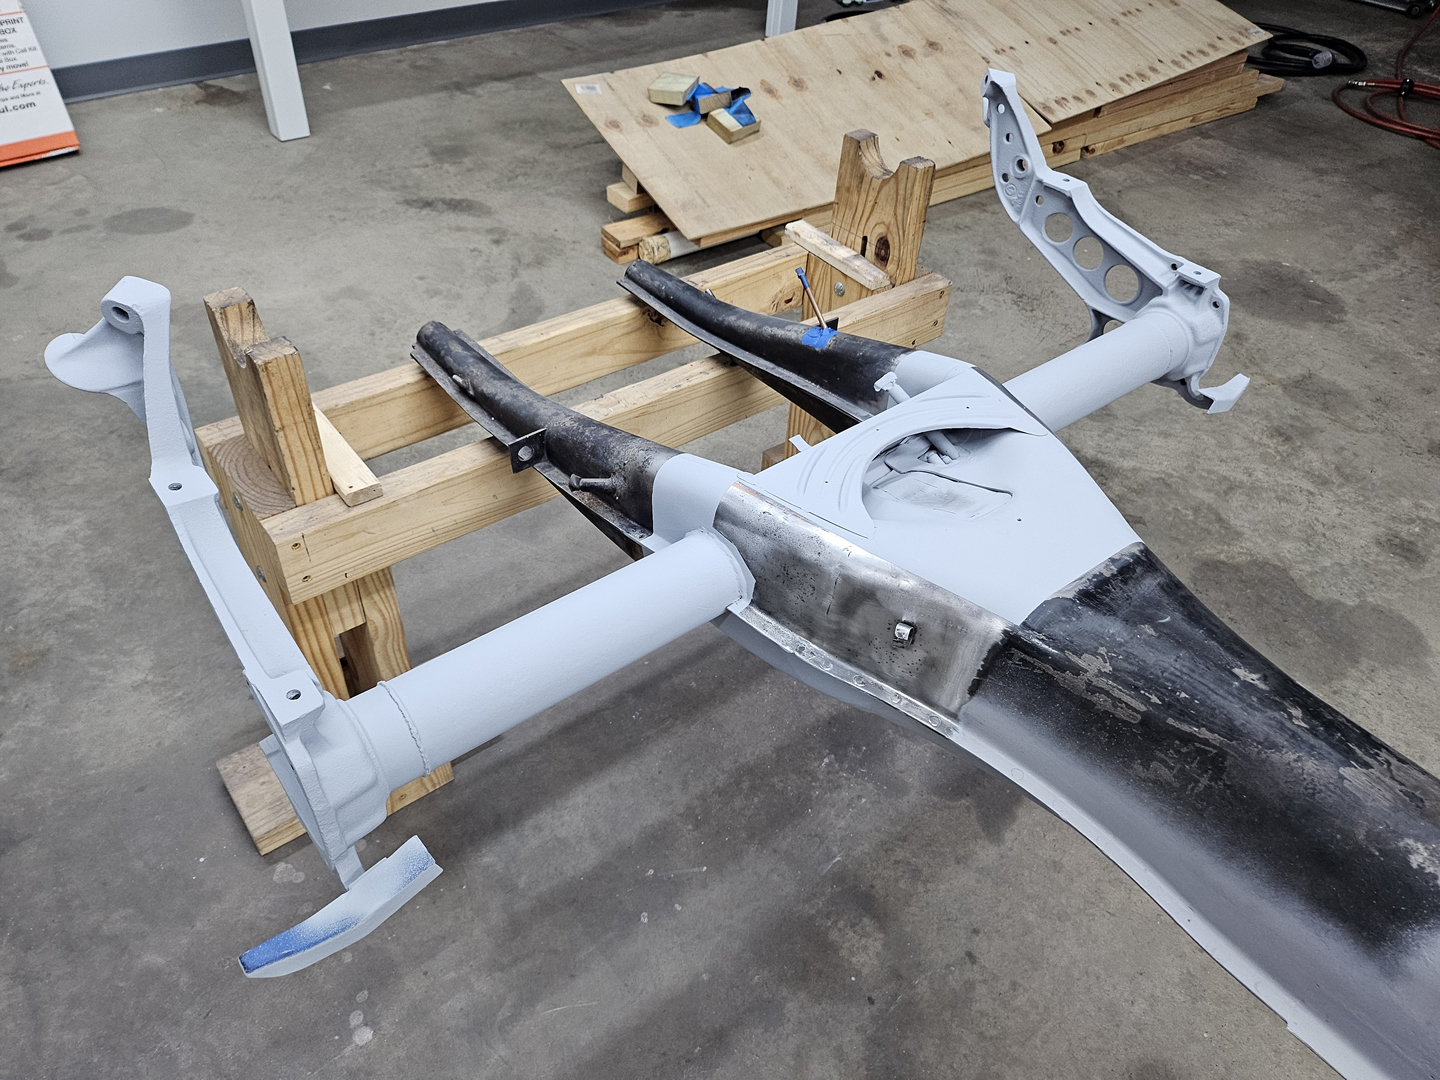
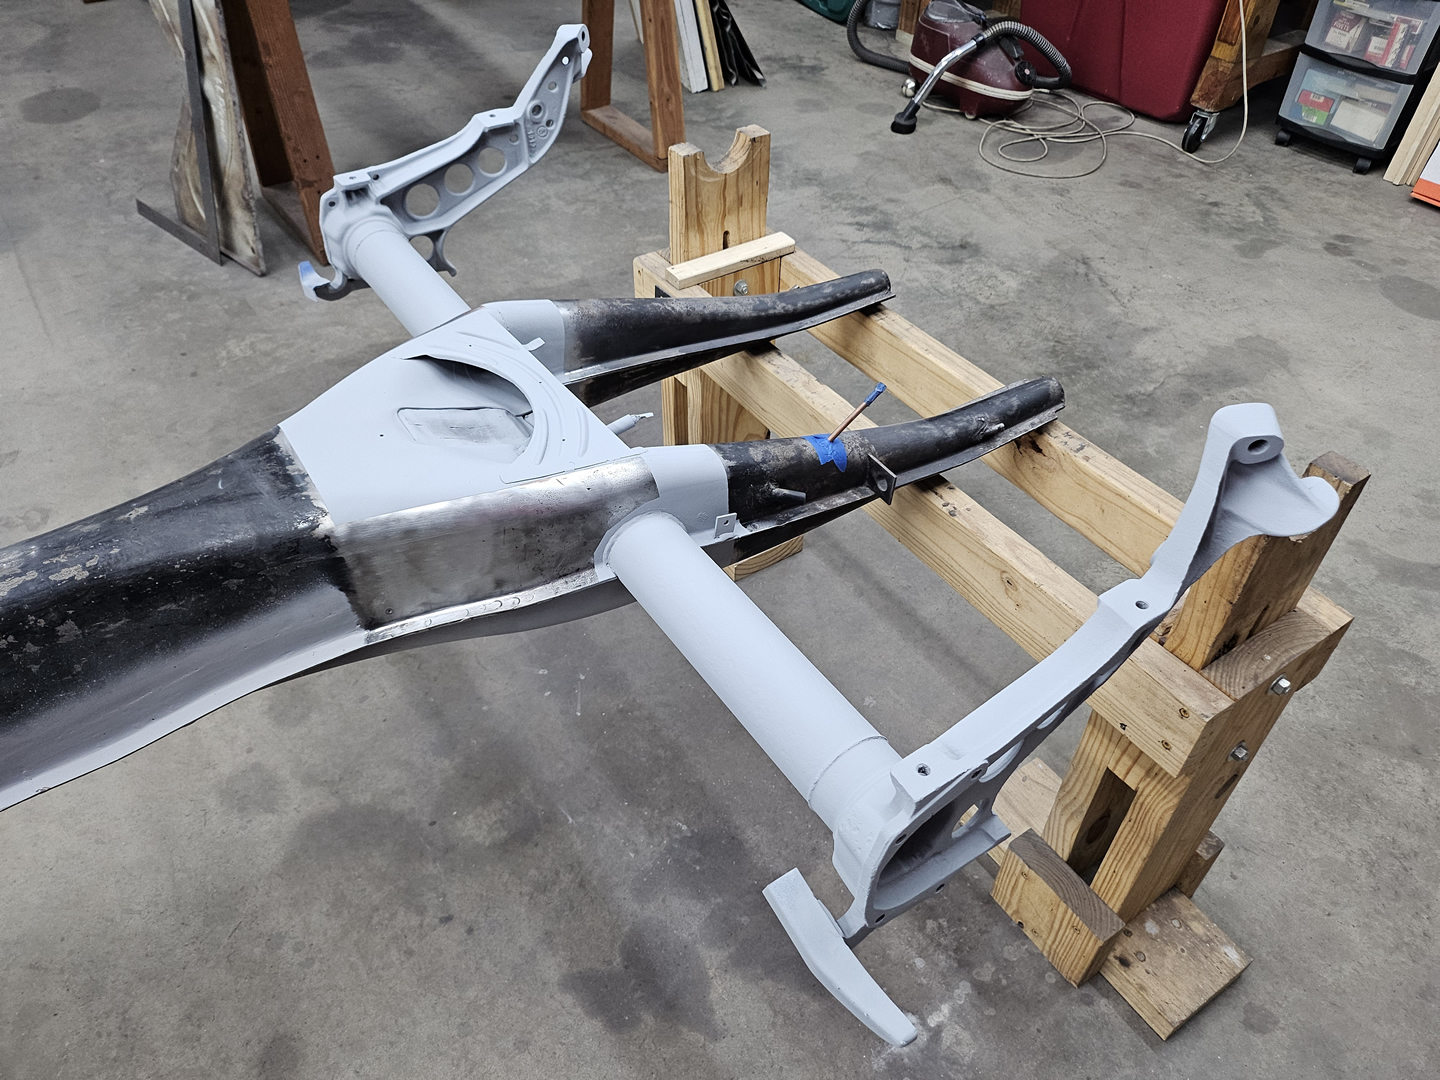
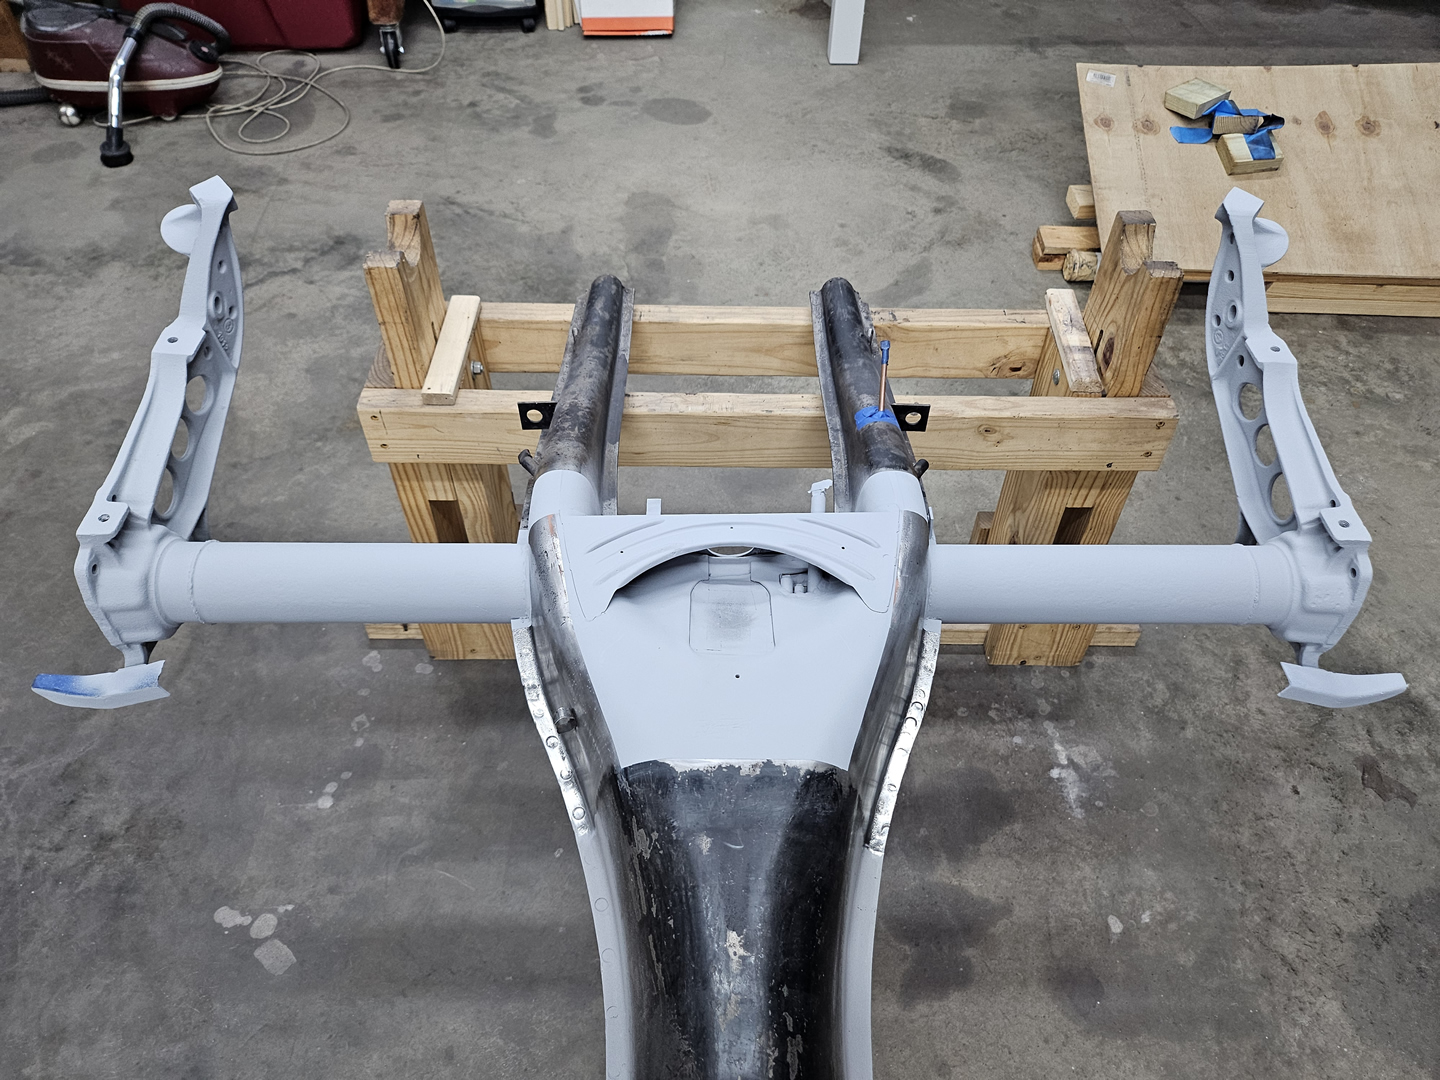
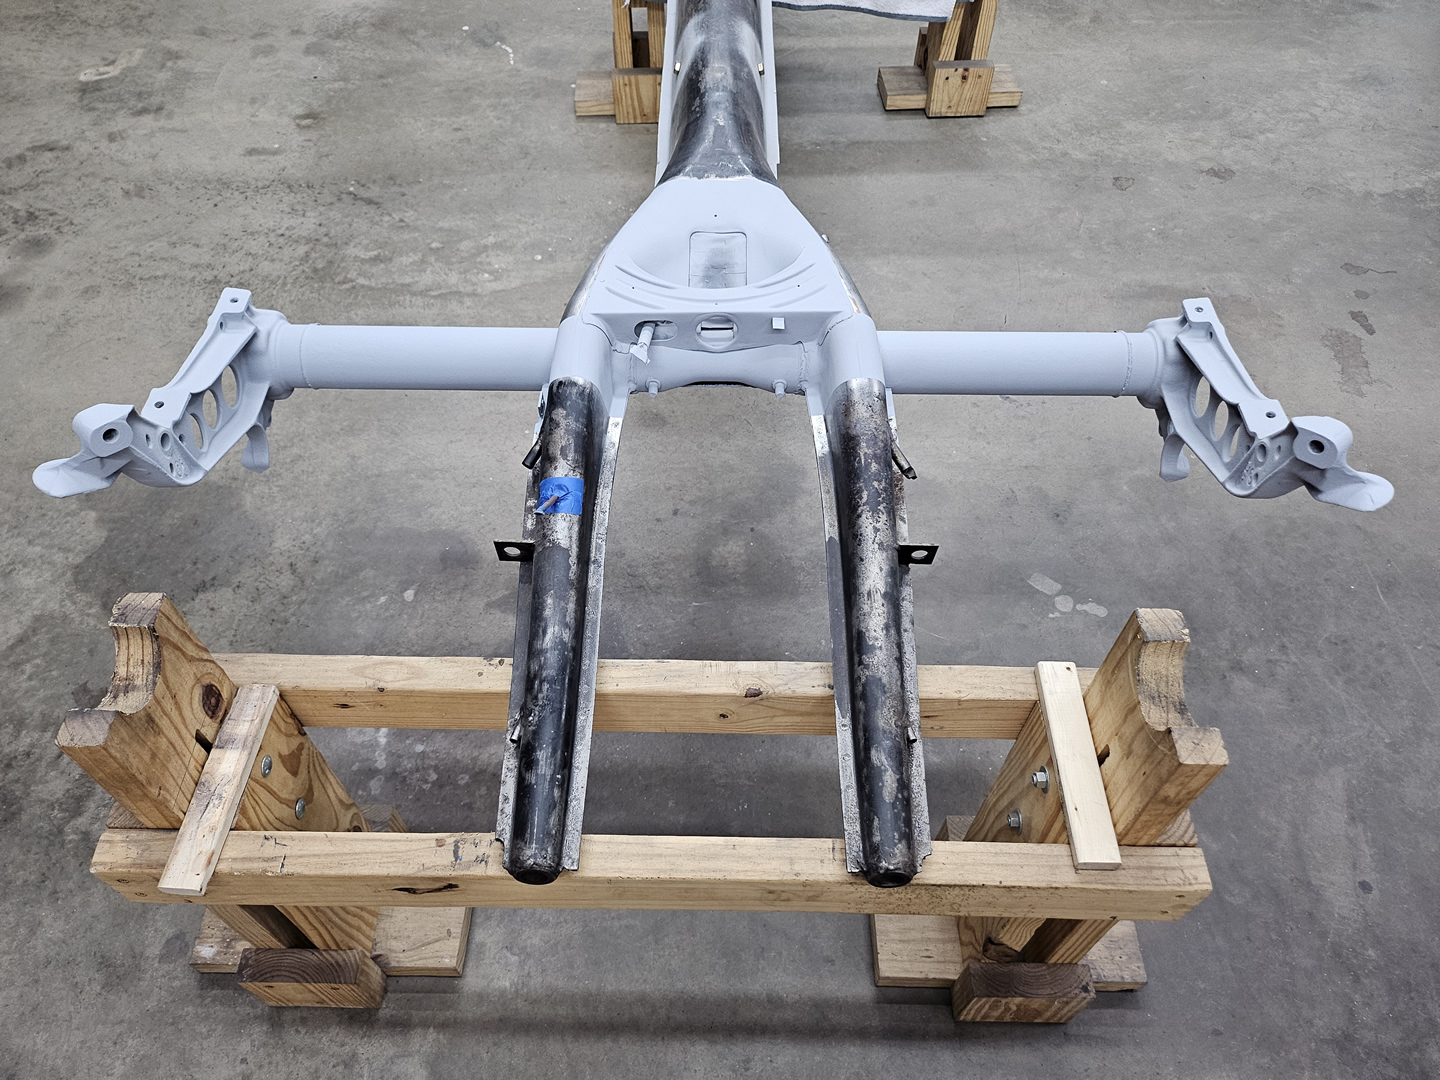
Another thing I decided to do while the cross braces were off is clean up and prime the torsion tubes and arms. These were heavily rusted and had a lot of recessed areas that are difficult to reach. I used a series of wire brushes, rust removing abrasive wheels and discs, rust removers, and finally a rust converter. I then sprayed them with primer. This took many hours to accomplish, but I am glad to have that done.
|
|
|
|
|
|
|
|
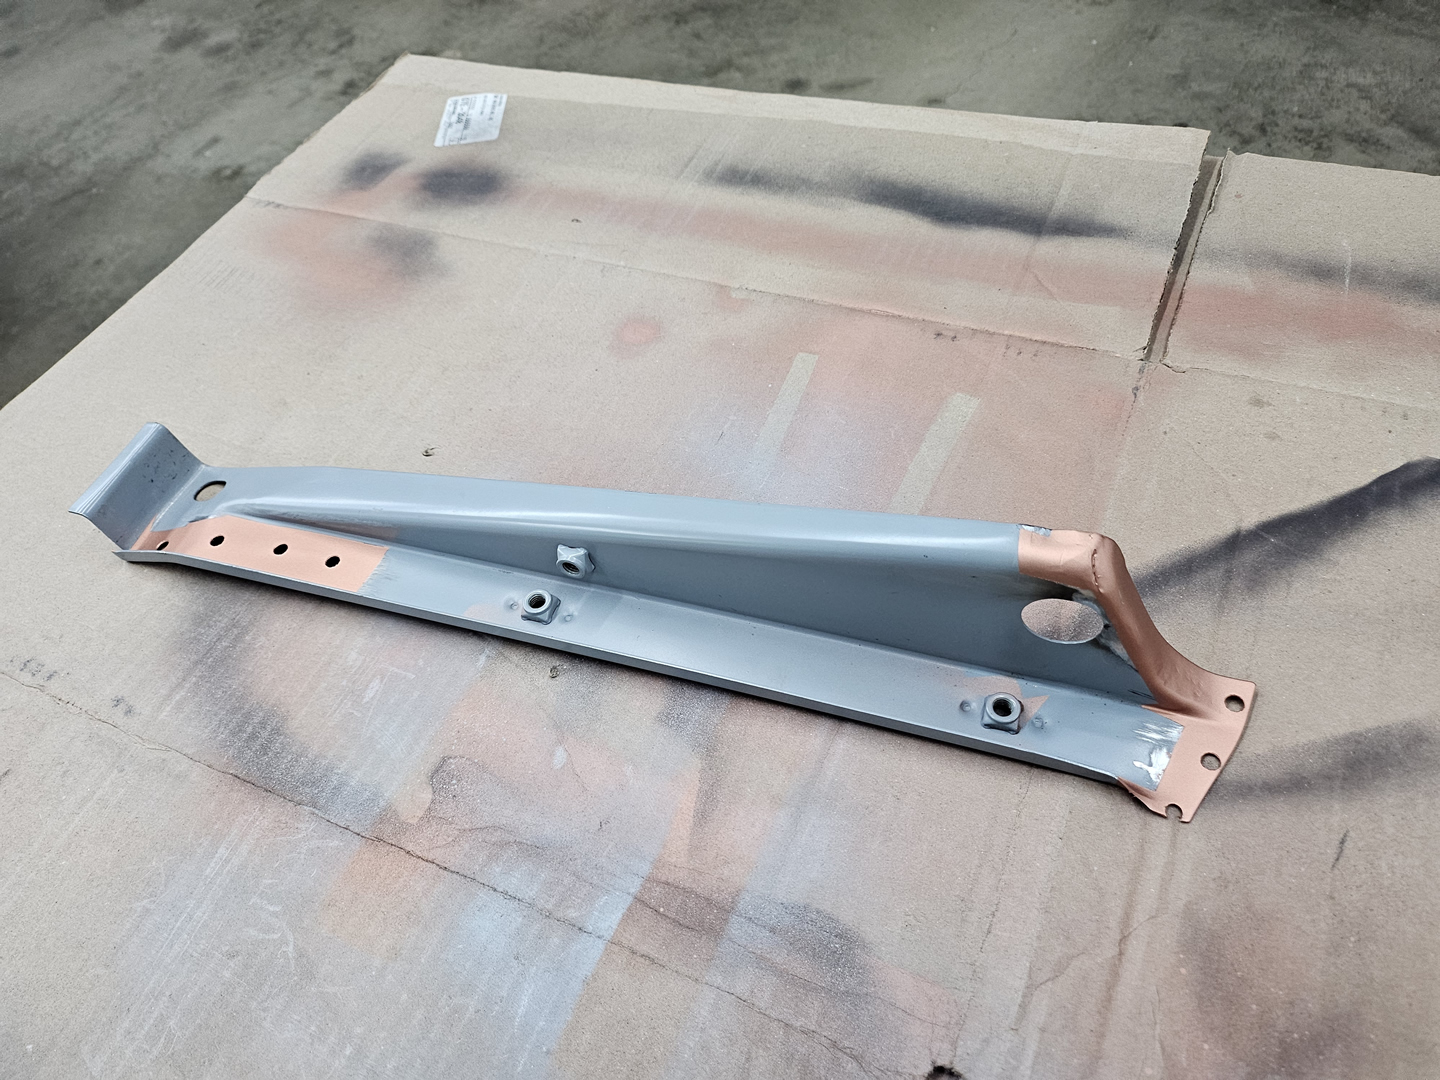
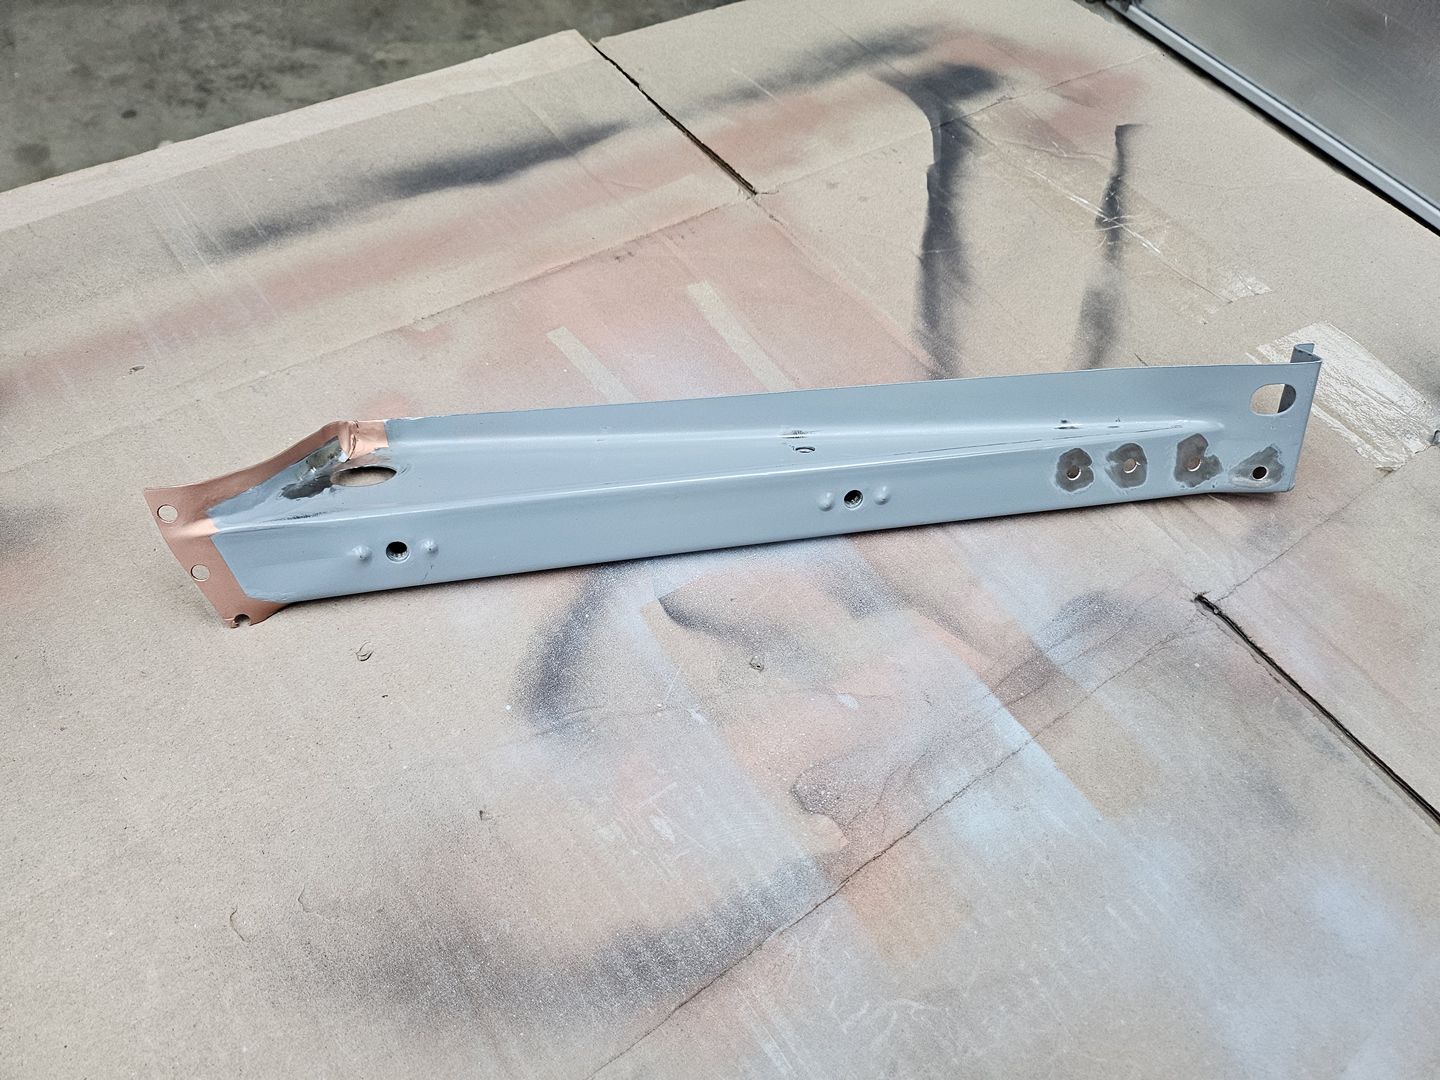
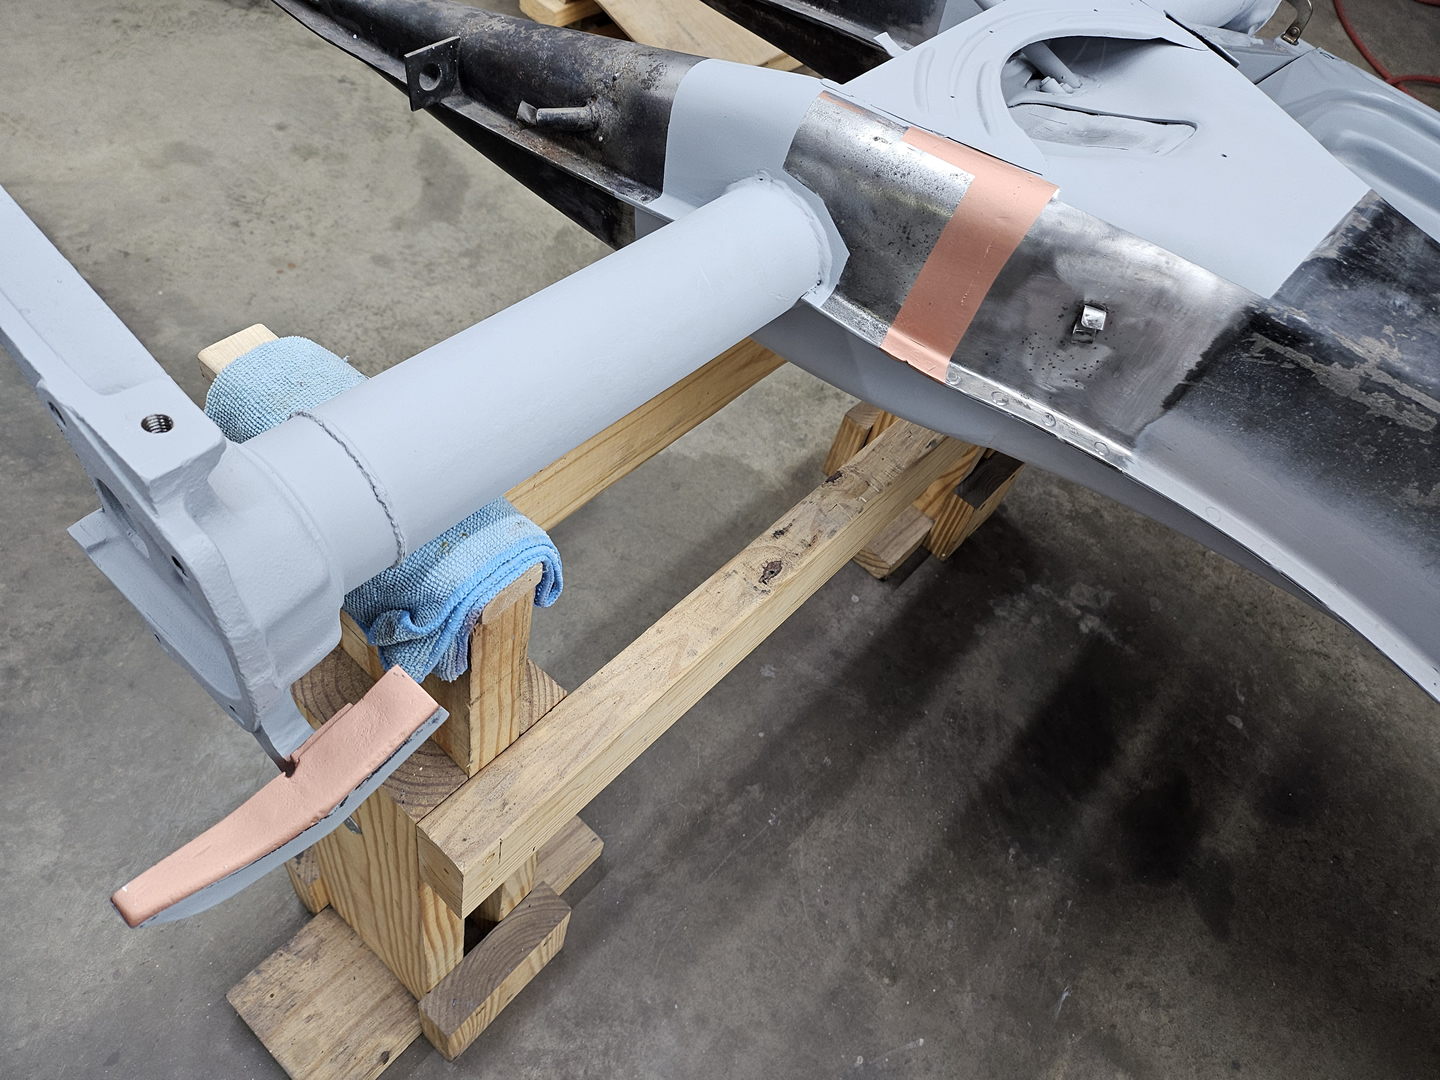
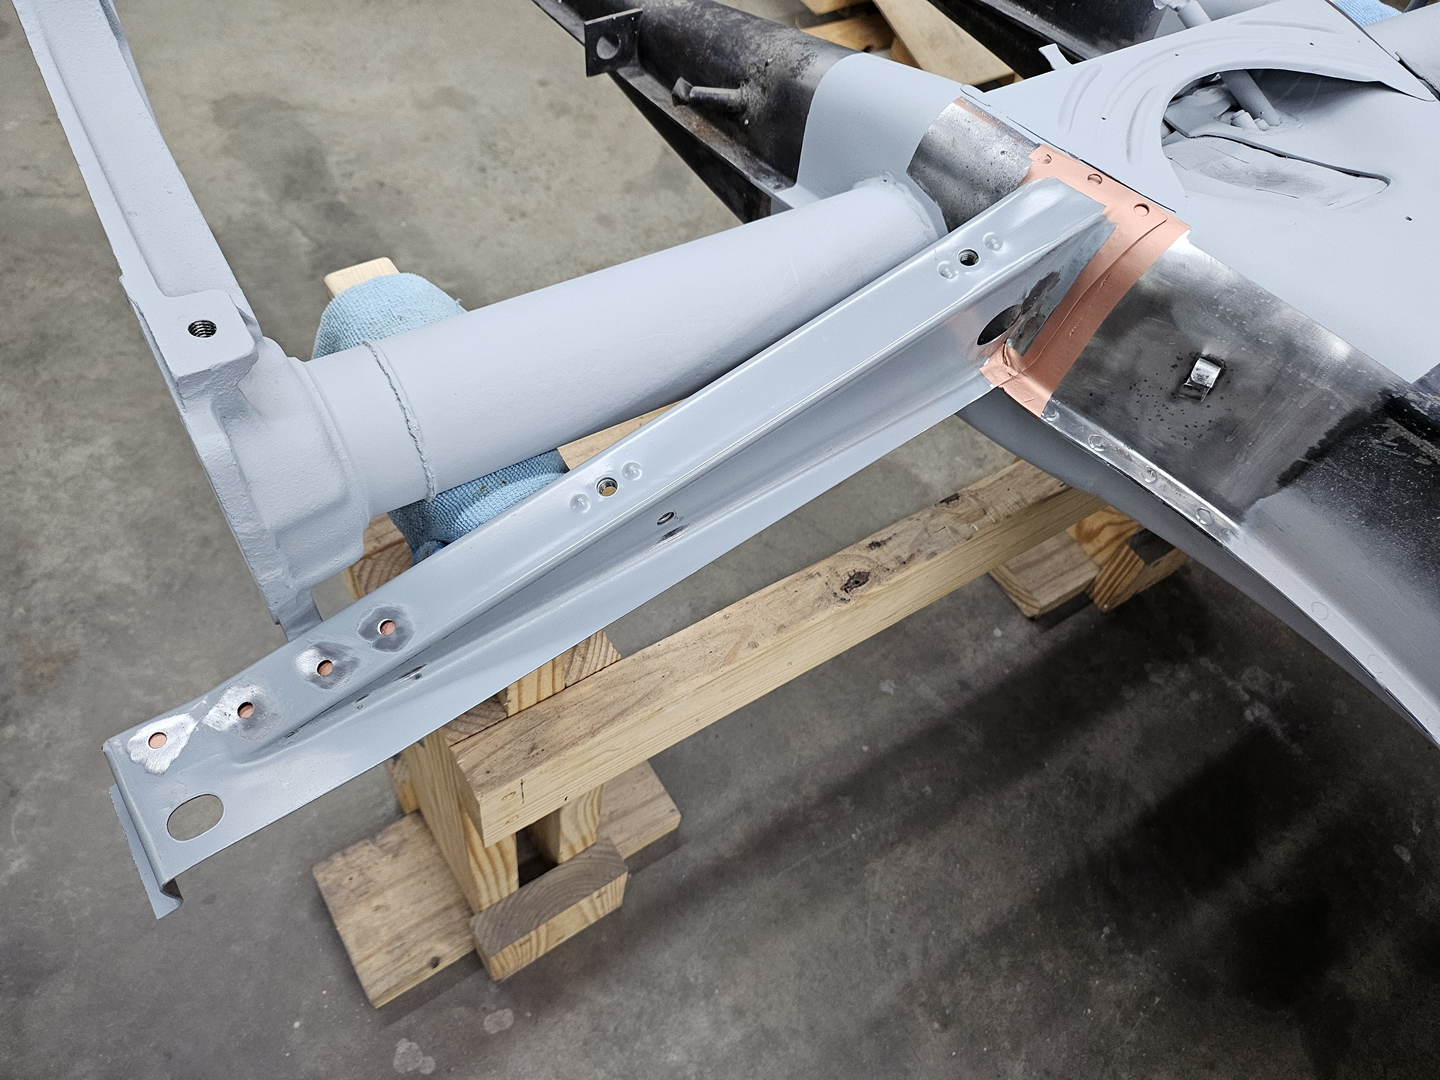
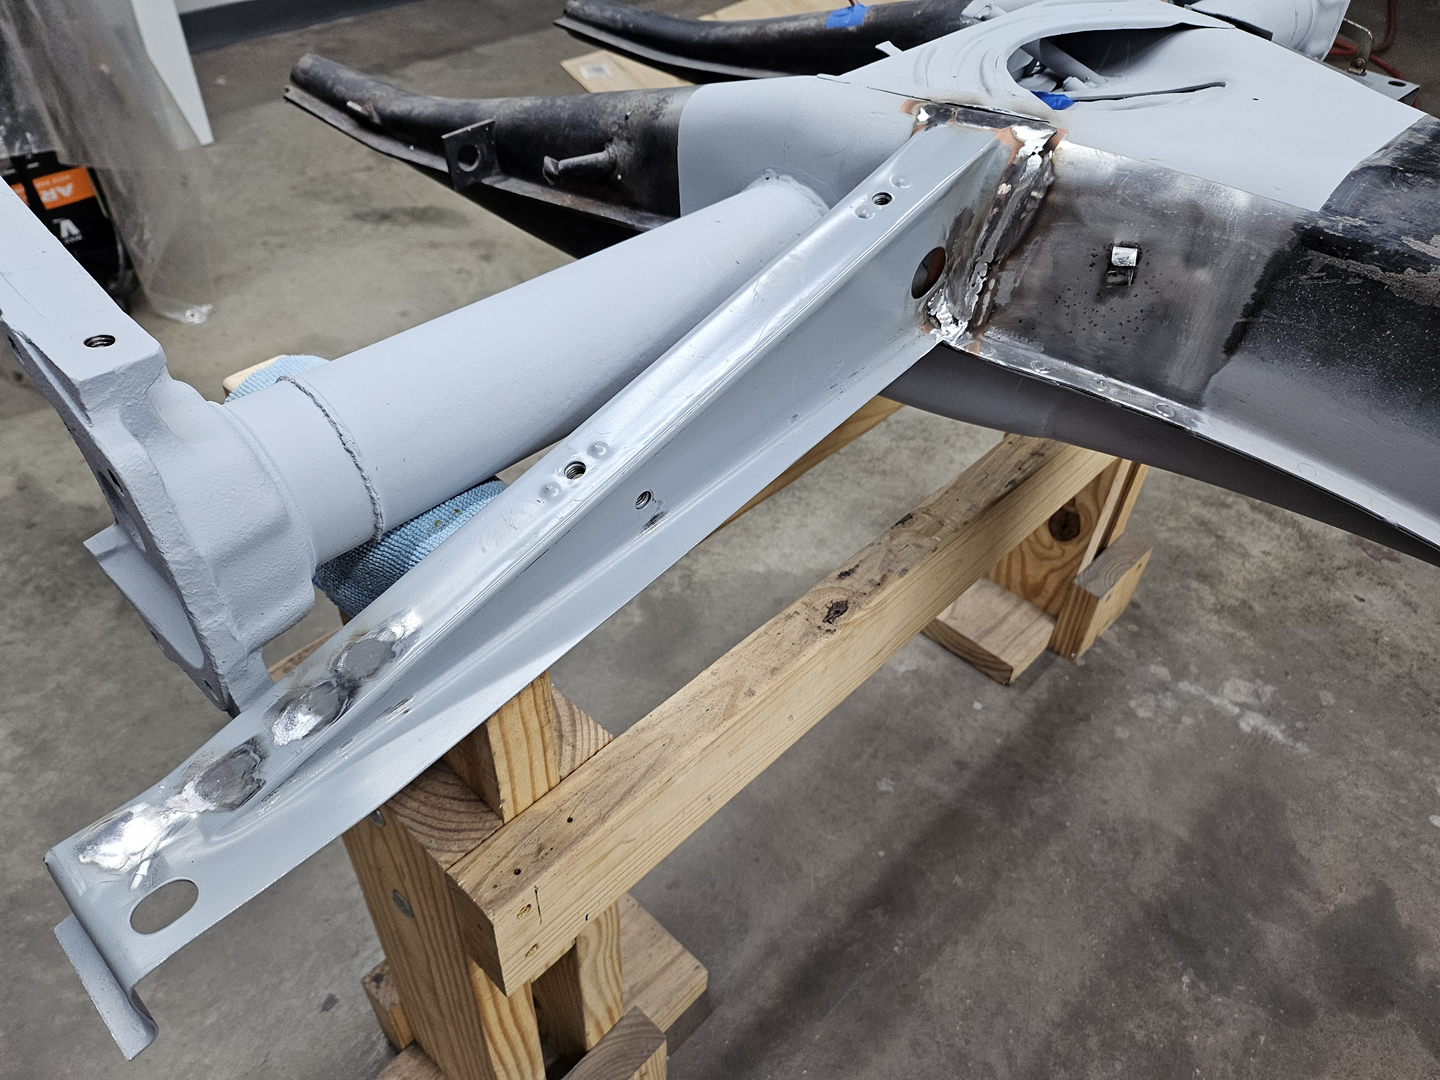
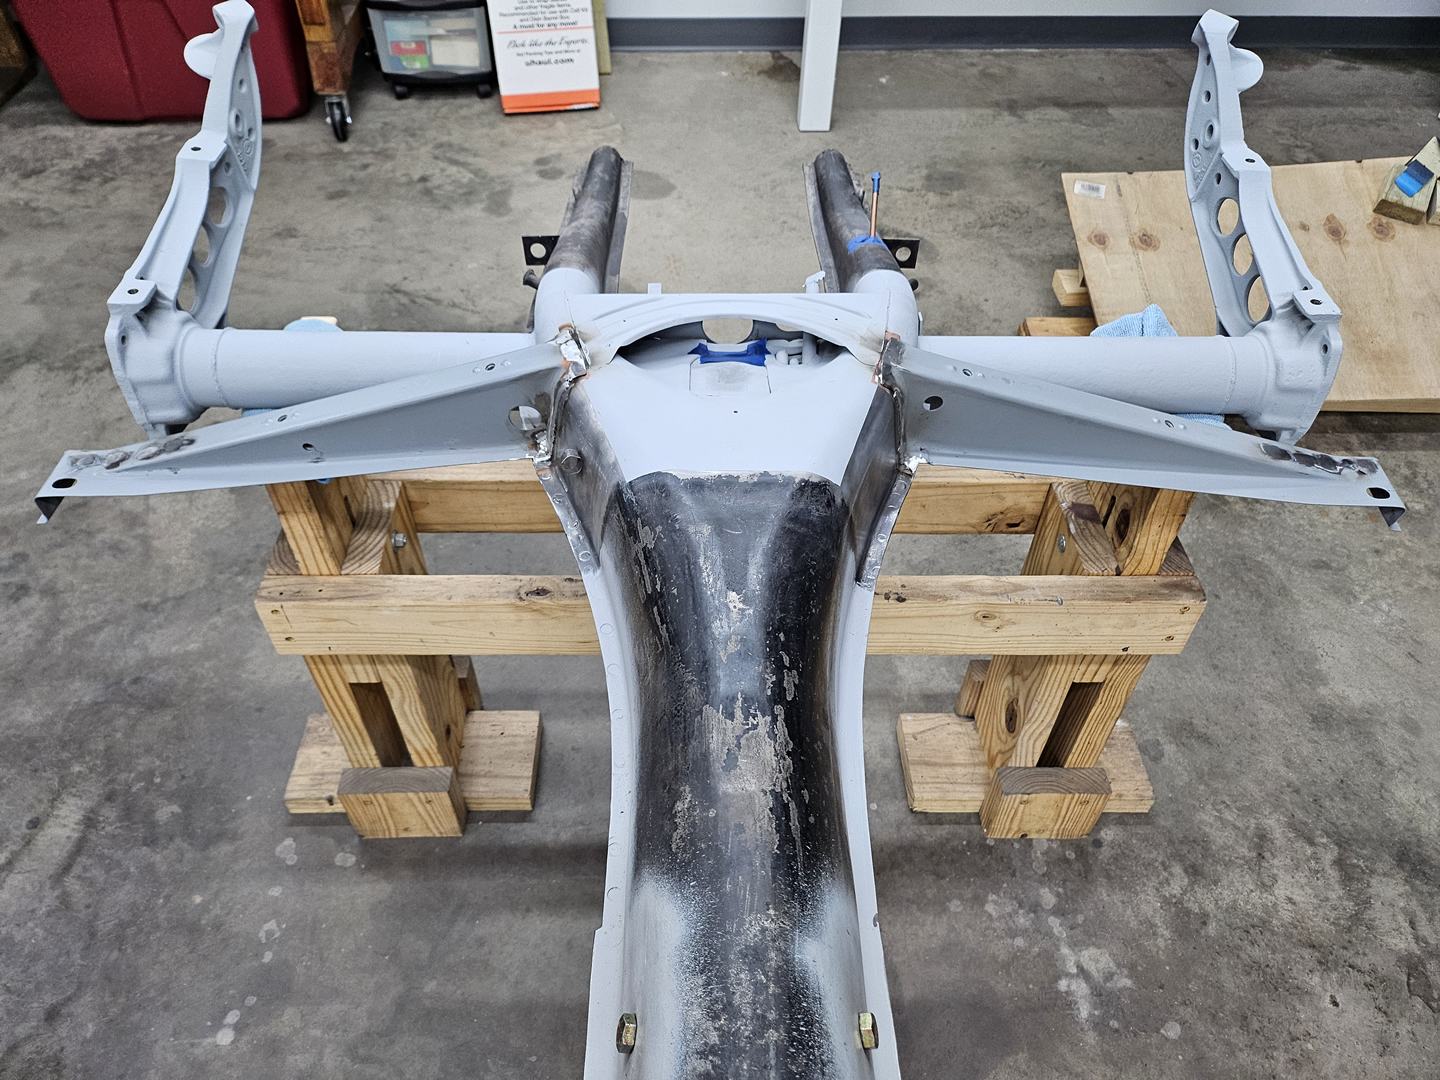
After many hours of fitting the cross braces, I was finally able to prime the cross braces, the support braces from the torsion tubes, and the areas where the cross braces will be welded to the tunnel. I then welded on the cross braces and ground down the welds.
|
|
|
|
|

|
|
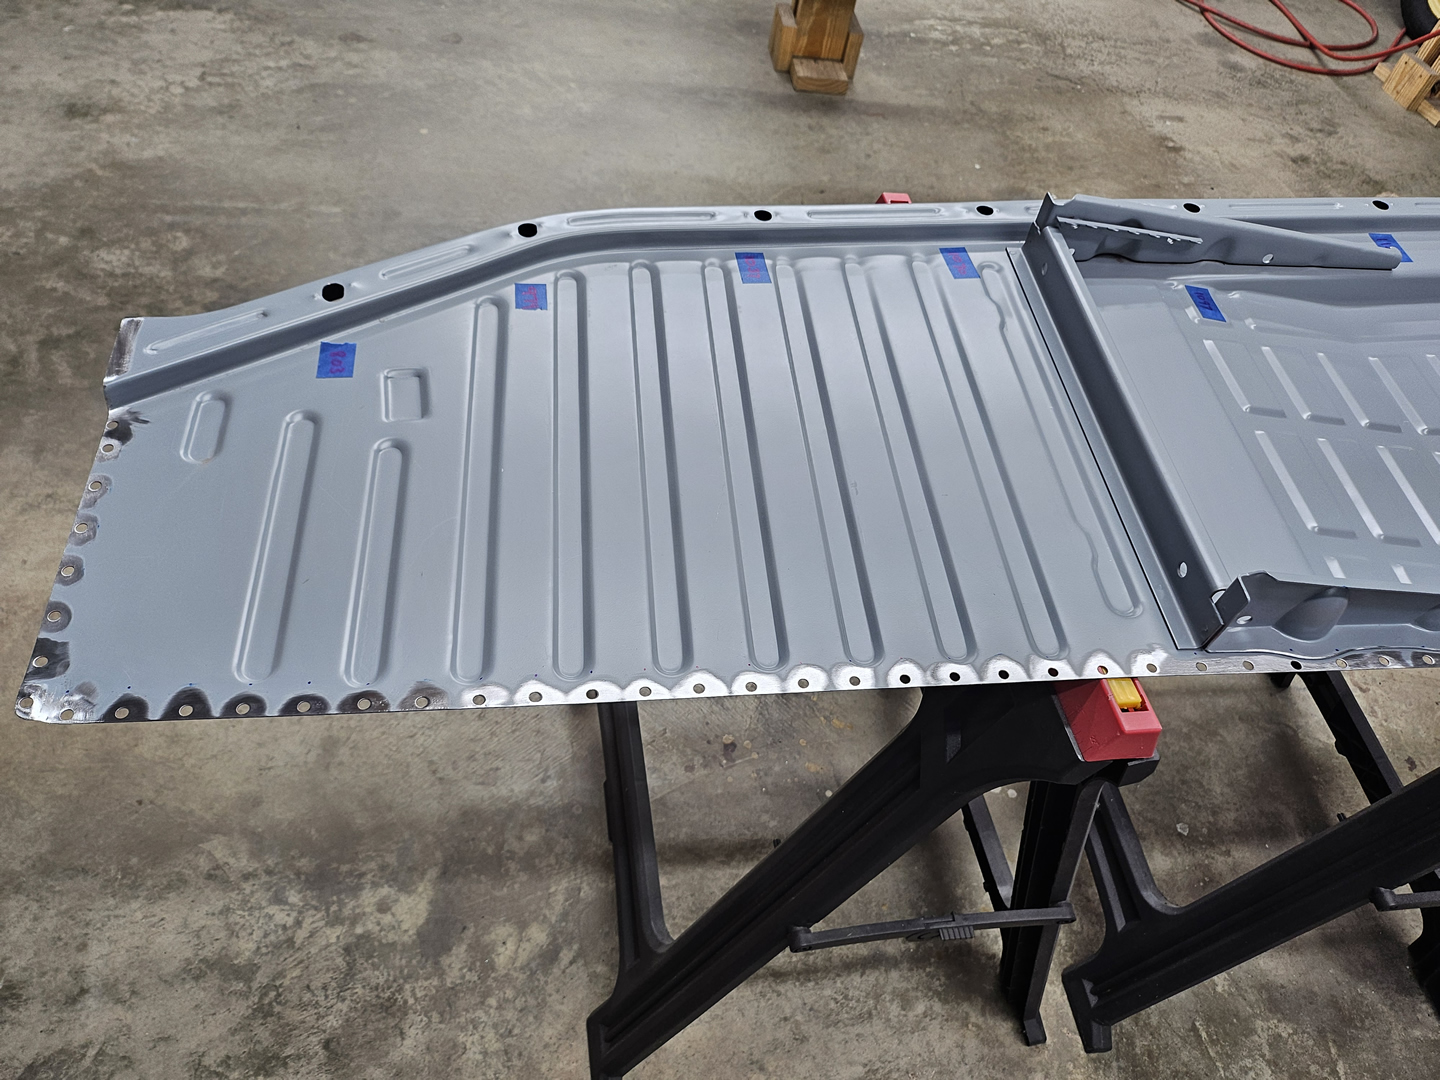
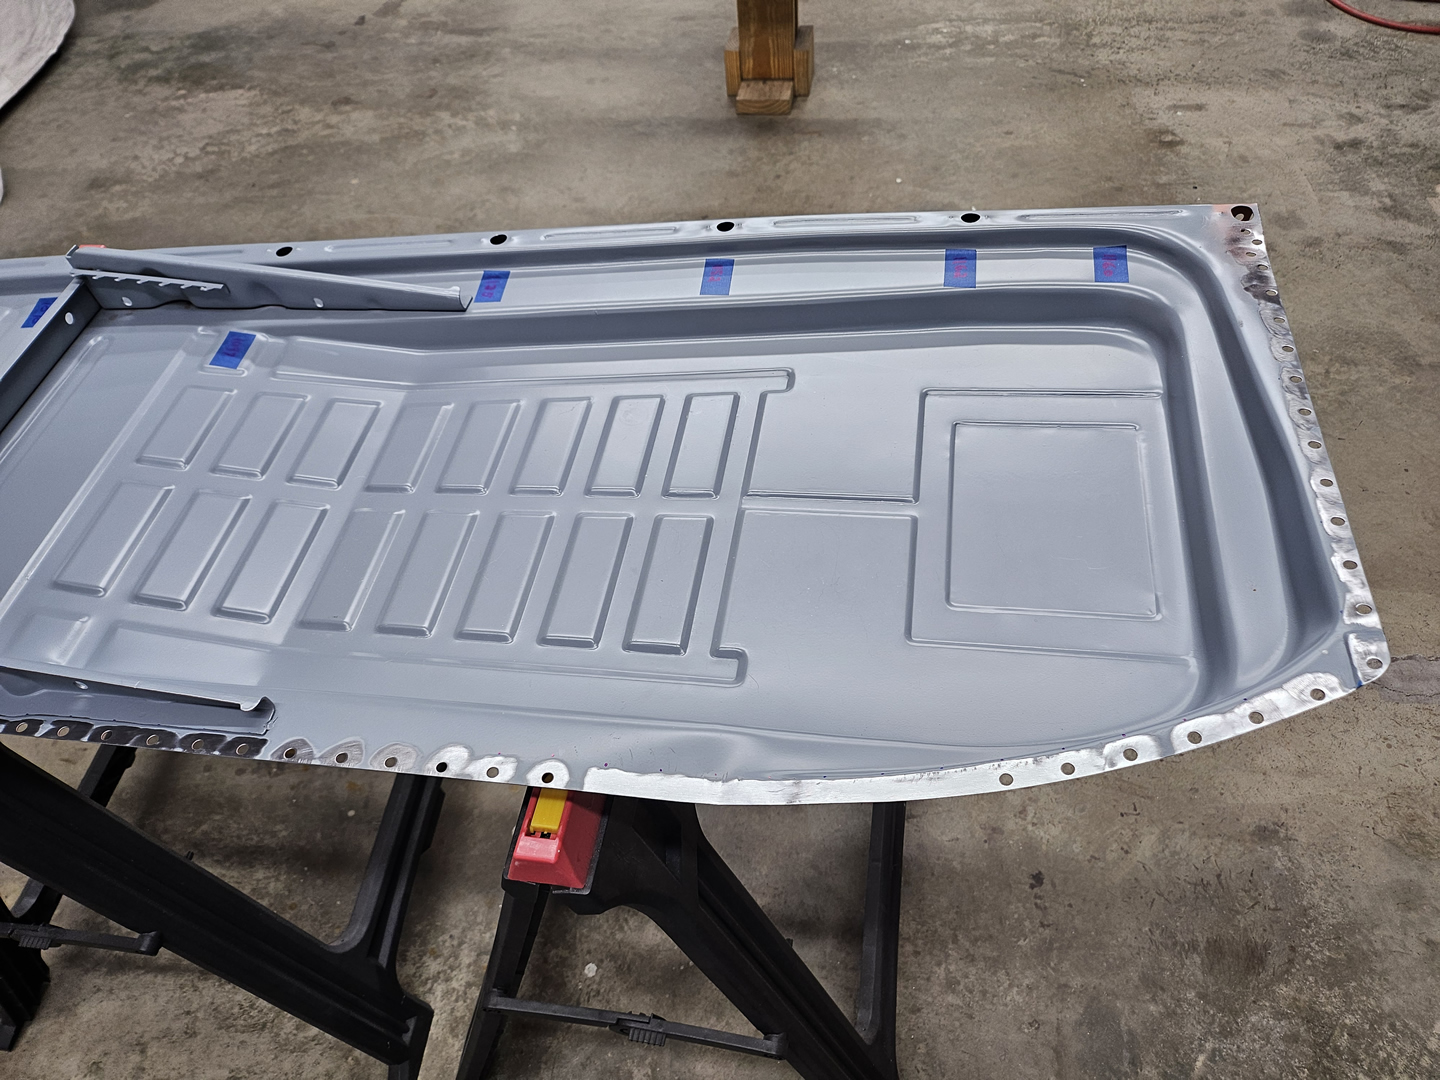
After many hours of trimming and fitting the floor pans, I prepped them to be welded on. I punched holes in all sides that are to be welded on, except near the passenger inside rear corner where there just wasn't enough of the tunnel rail to get a good complete weld. I will just weld a few short stich welds in that area. After the holes were punched and deburred, I removed the EDP coating around the top side of the holes and sprayed the bottom side areas where the panels overlap with weld-through primer.
|
|

|

|

|

|

|

|
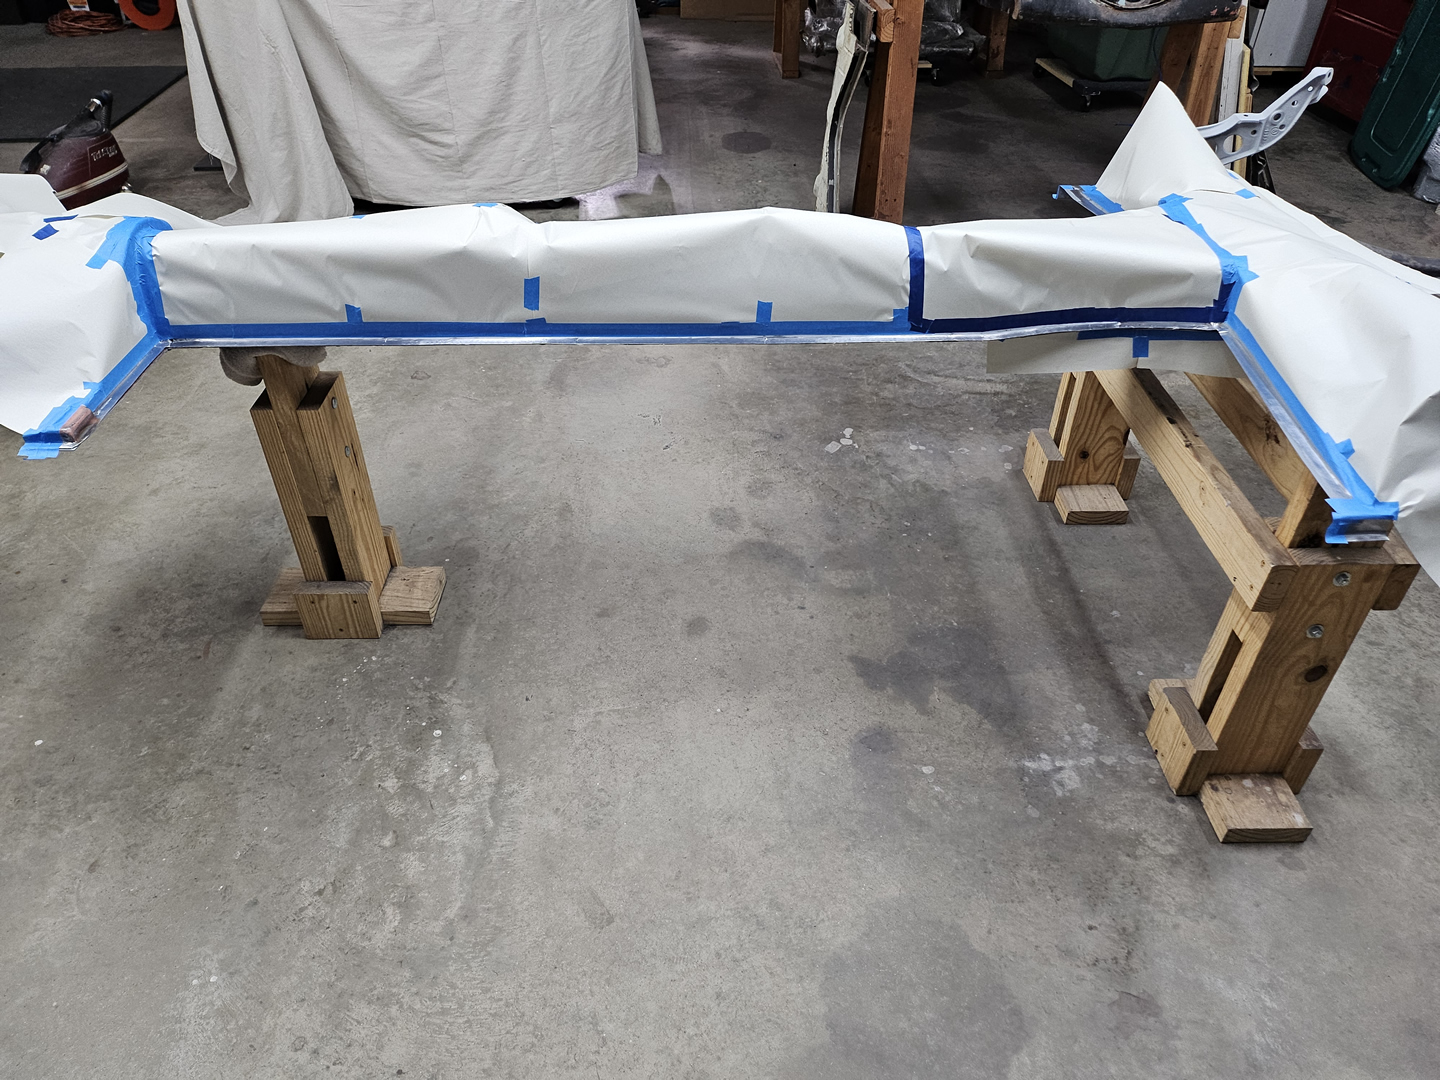
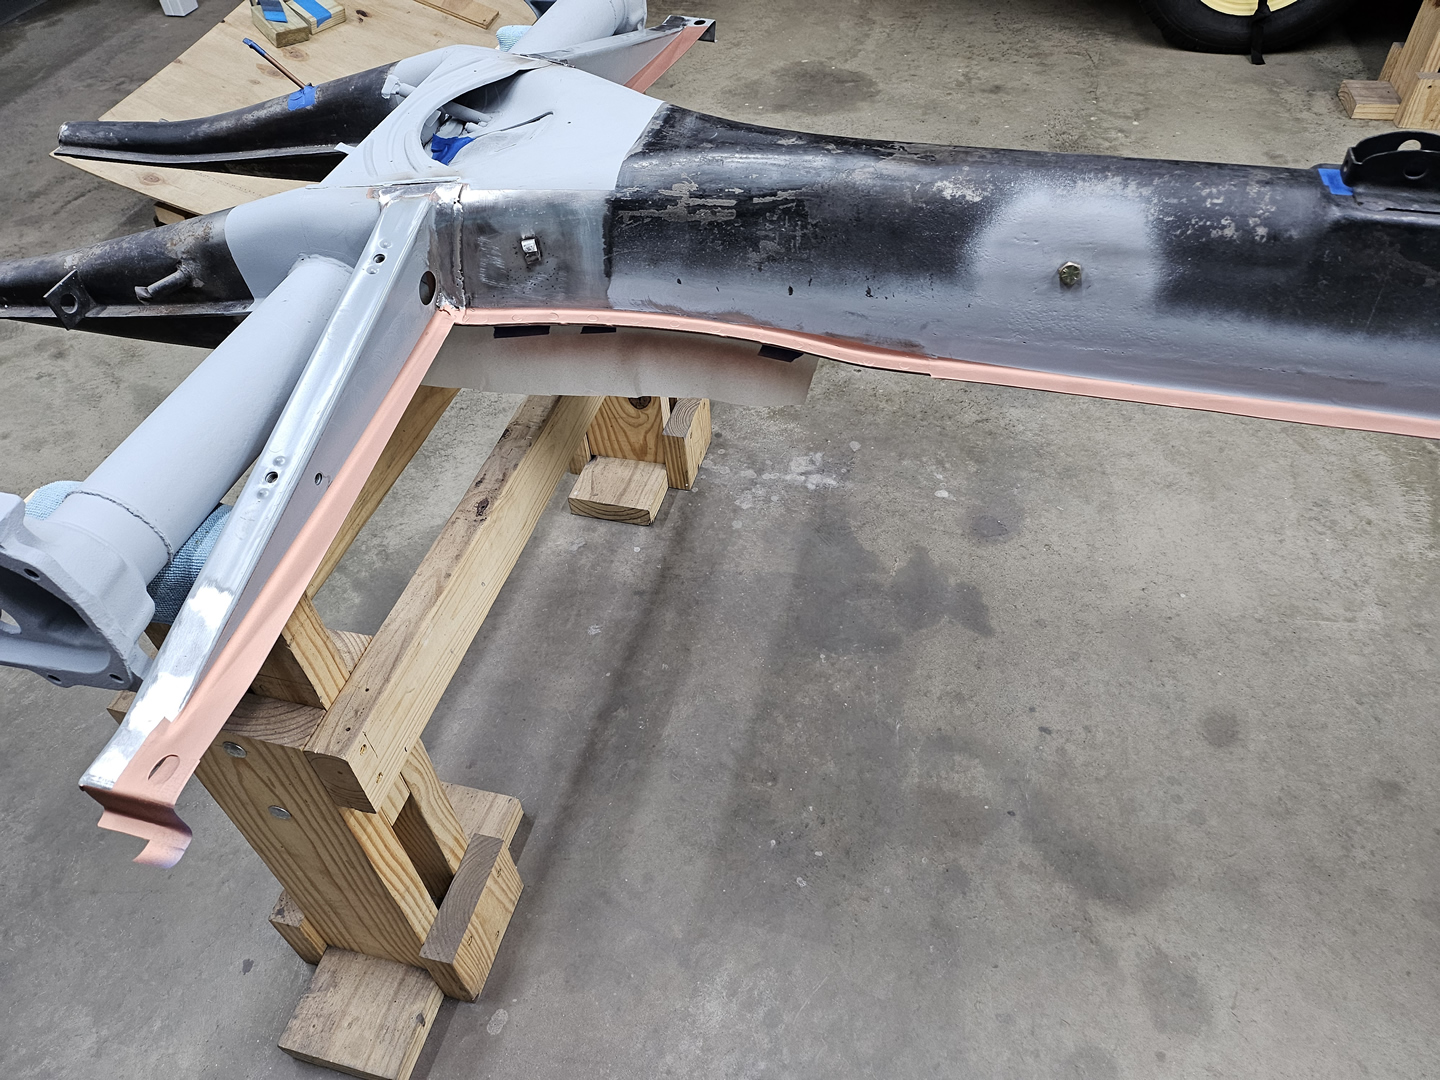
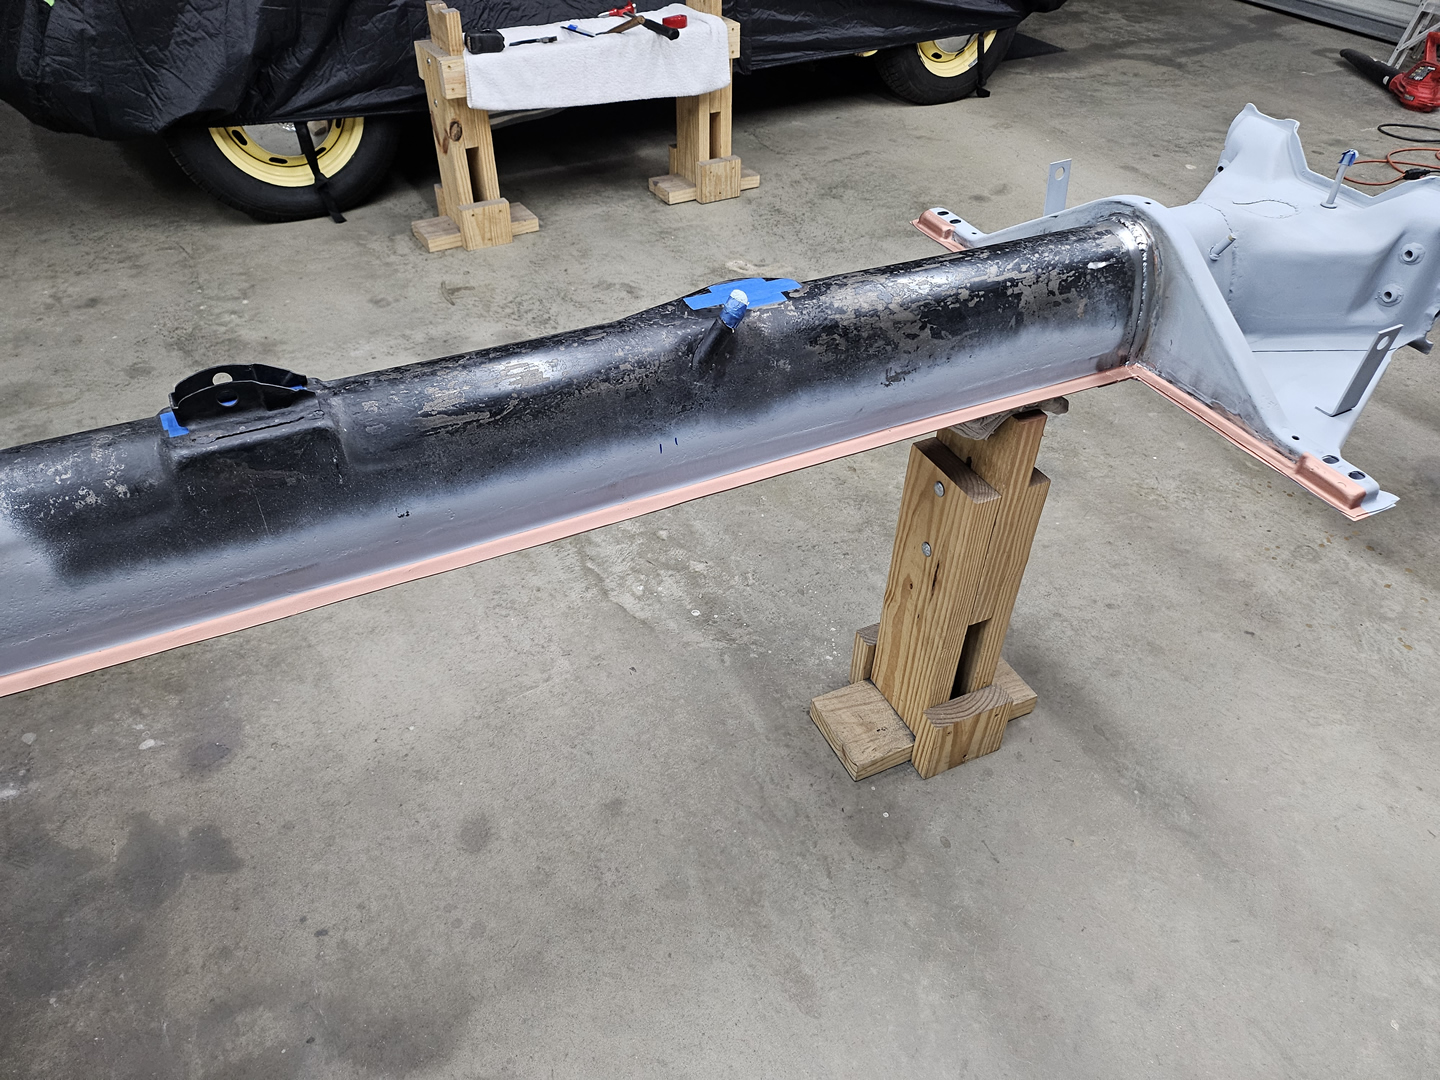
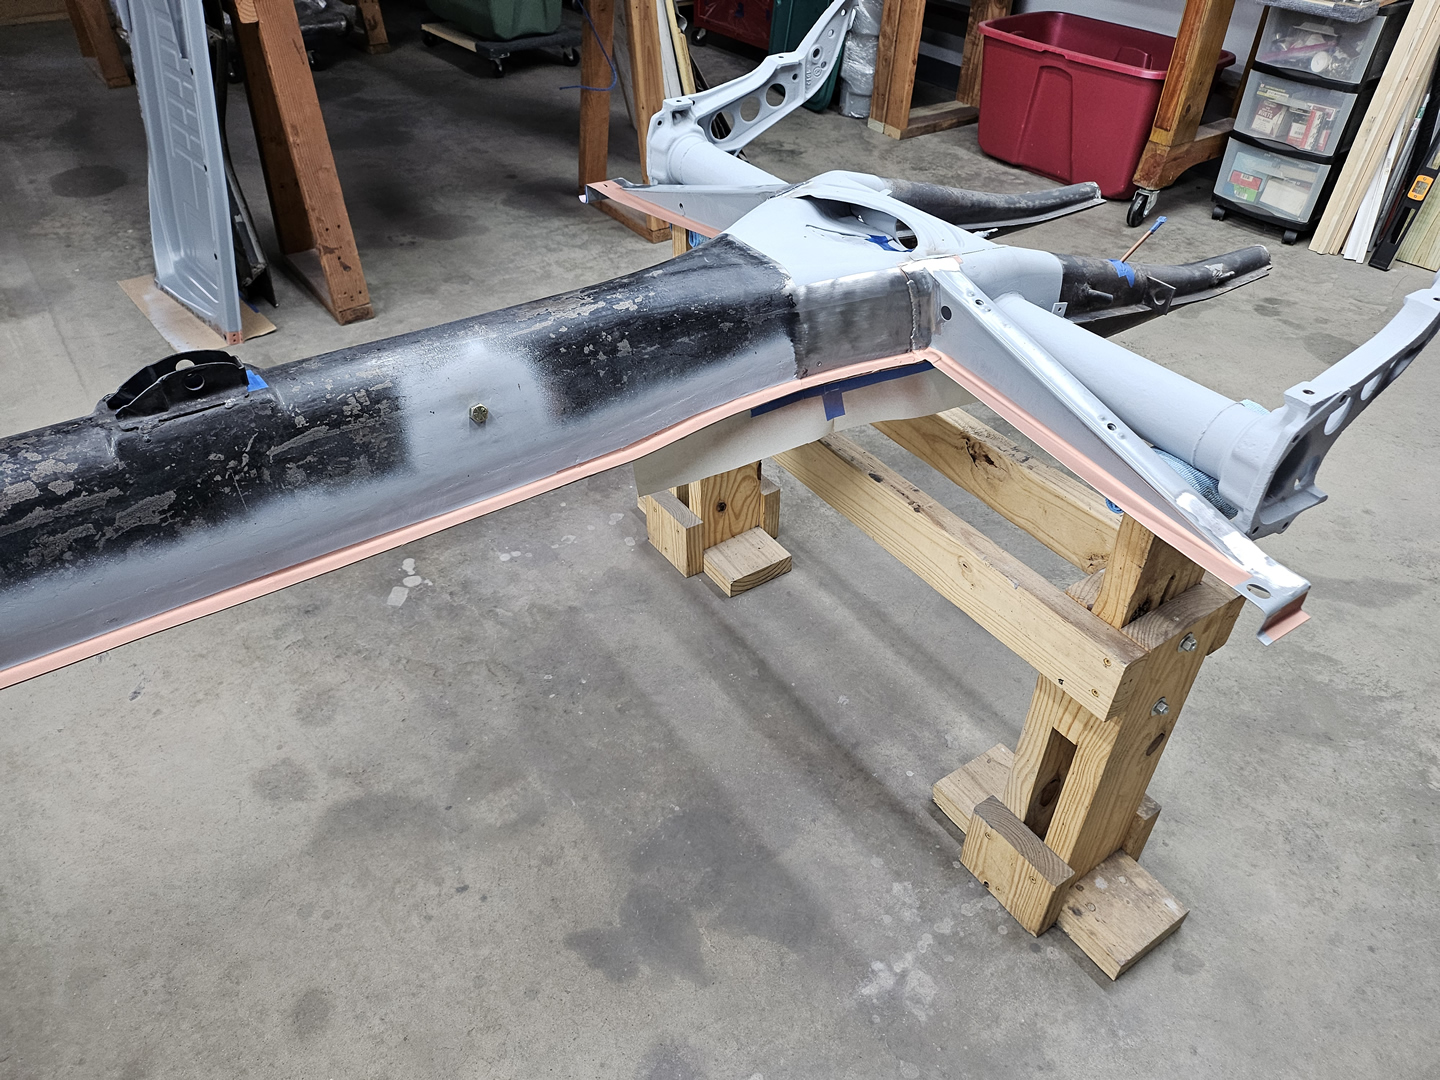
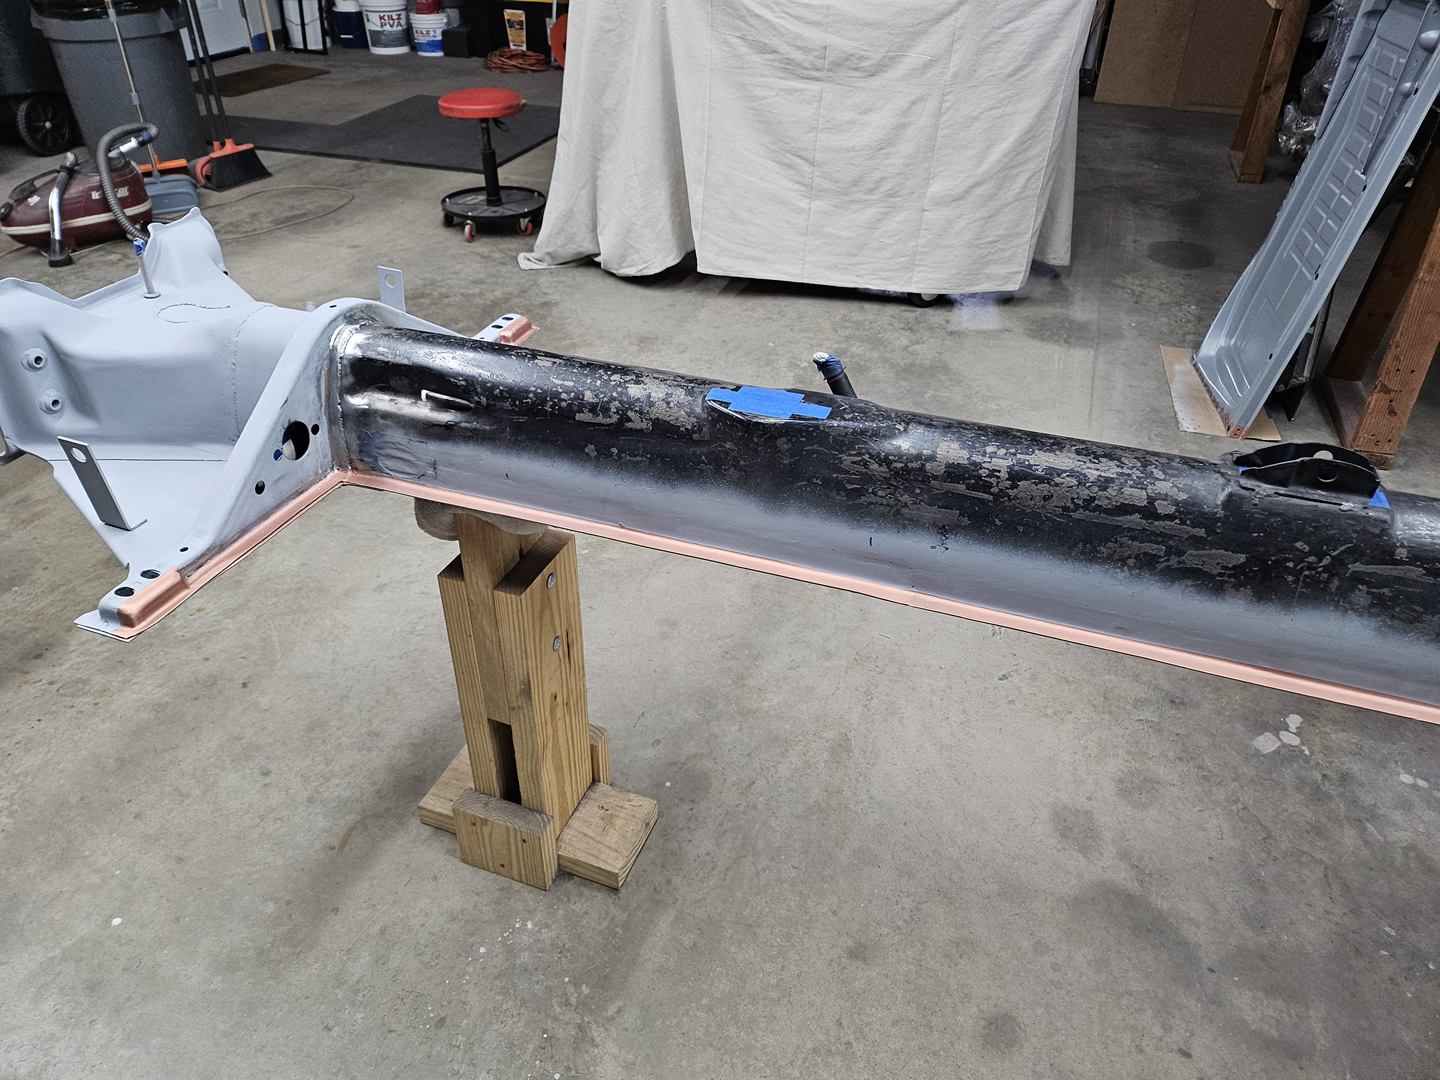
On the tunnel, cross braces, and Napoleon hat where the floor pans will be welded on, I masked them off and sprayed them with weld-through primer.

|
|
|
|
|
|
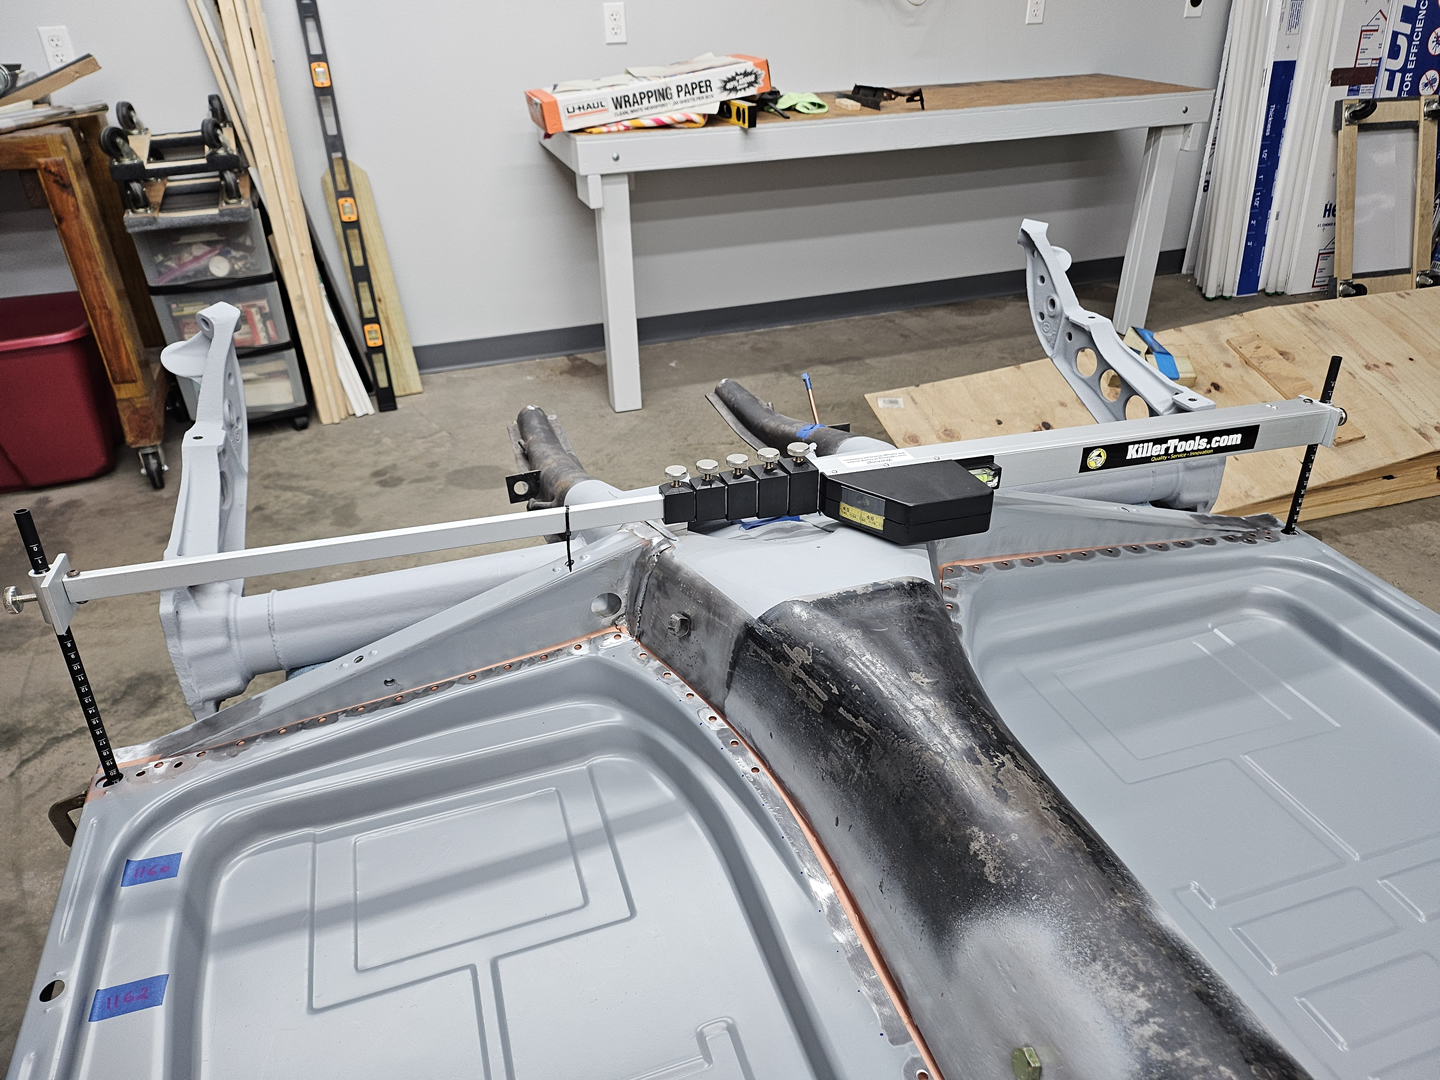
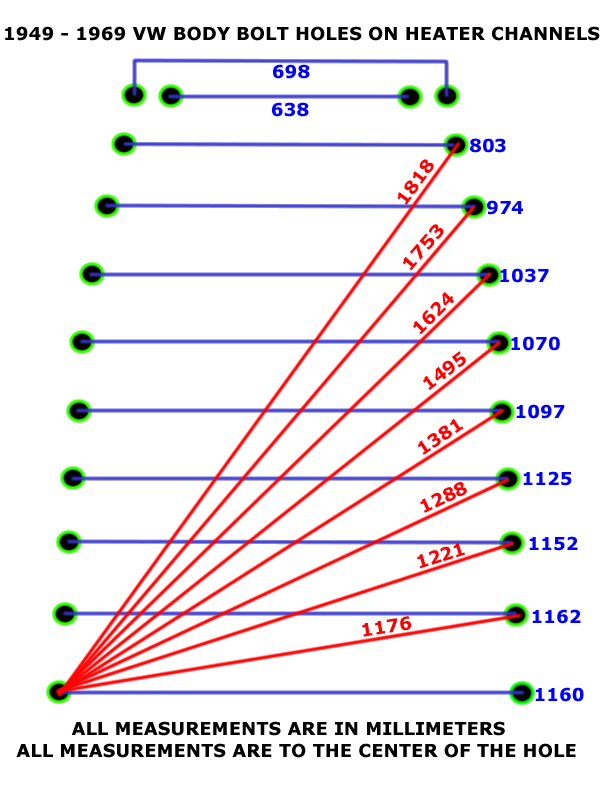
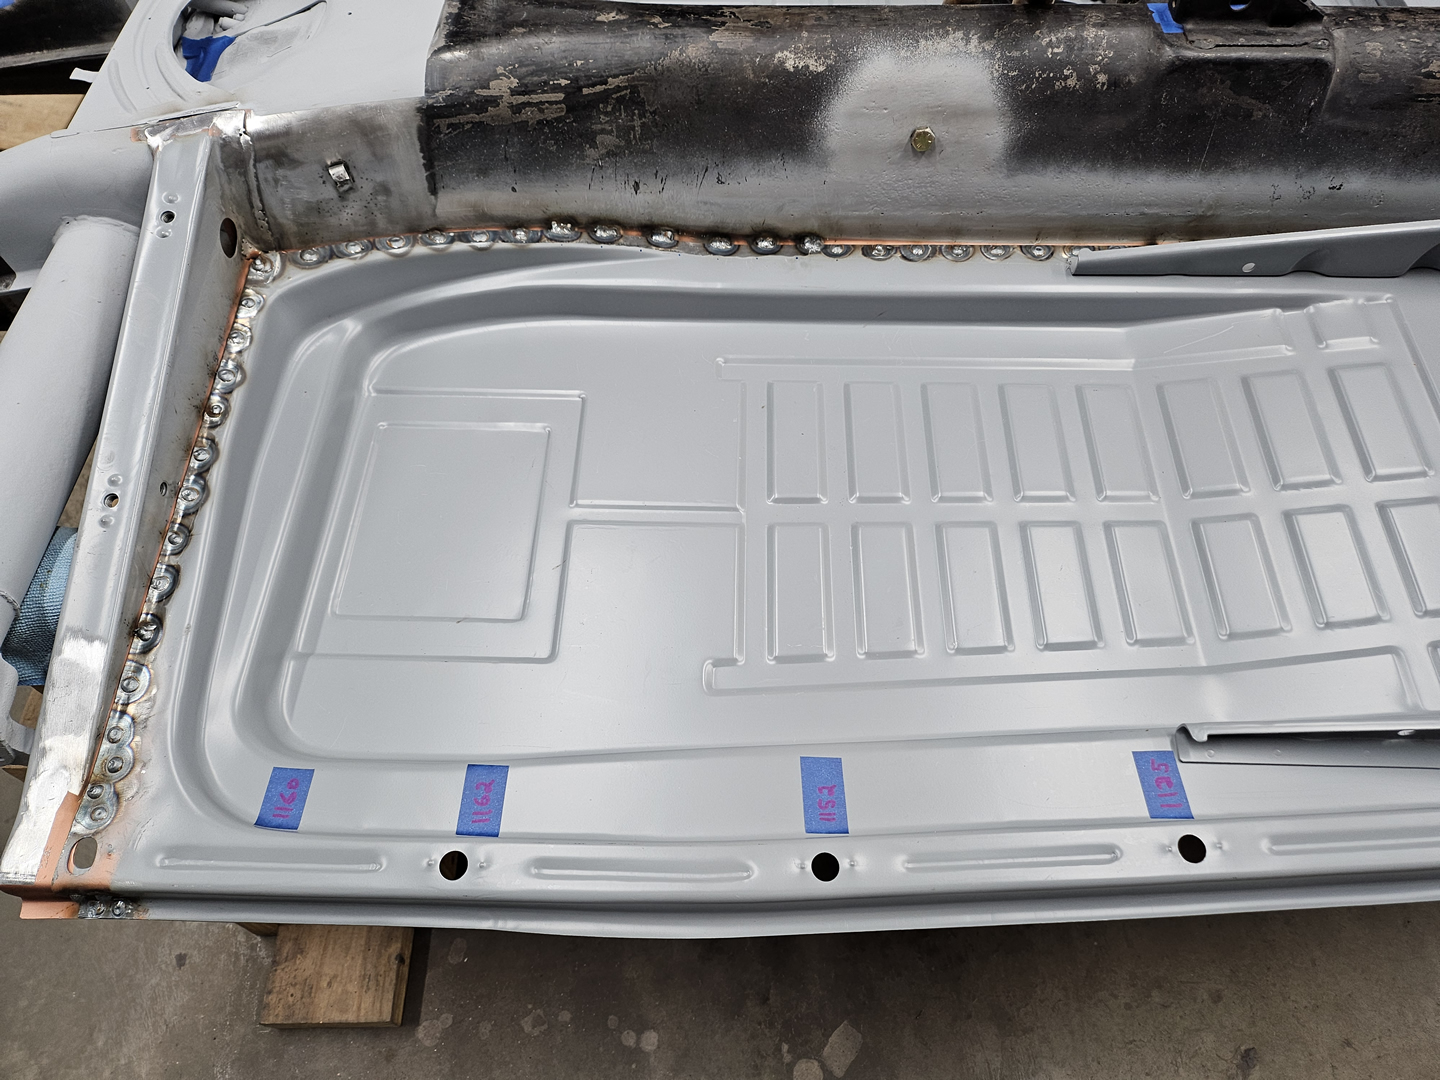
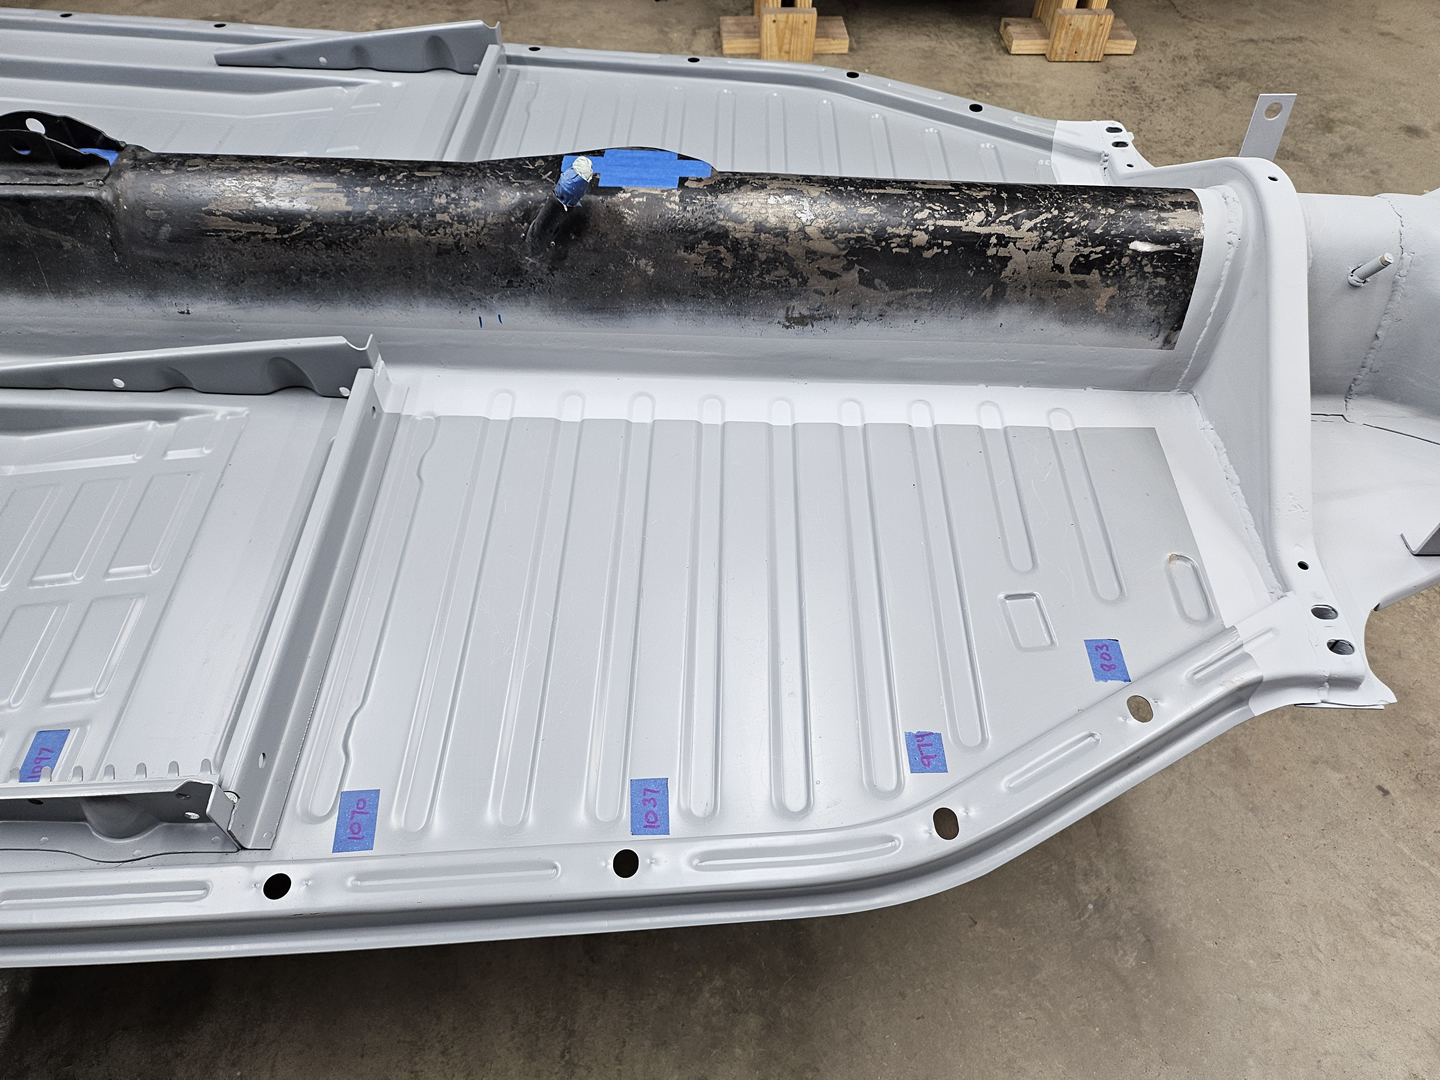
I put the floor pans in place and did a final check of their fit. I used a measuring tram during the fitting process to make sure that the body bolt holes were at the correct distances. To keep from having to constantly looking up the measurements, I wrote the measurements on masking tape and placed it by each hole. I was able to get the measurements fairly close. Some were a little wide, but the welding process will pull the pans in toward the tunnel. I have a diagram with the correct measurements below.

|
|
|
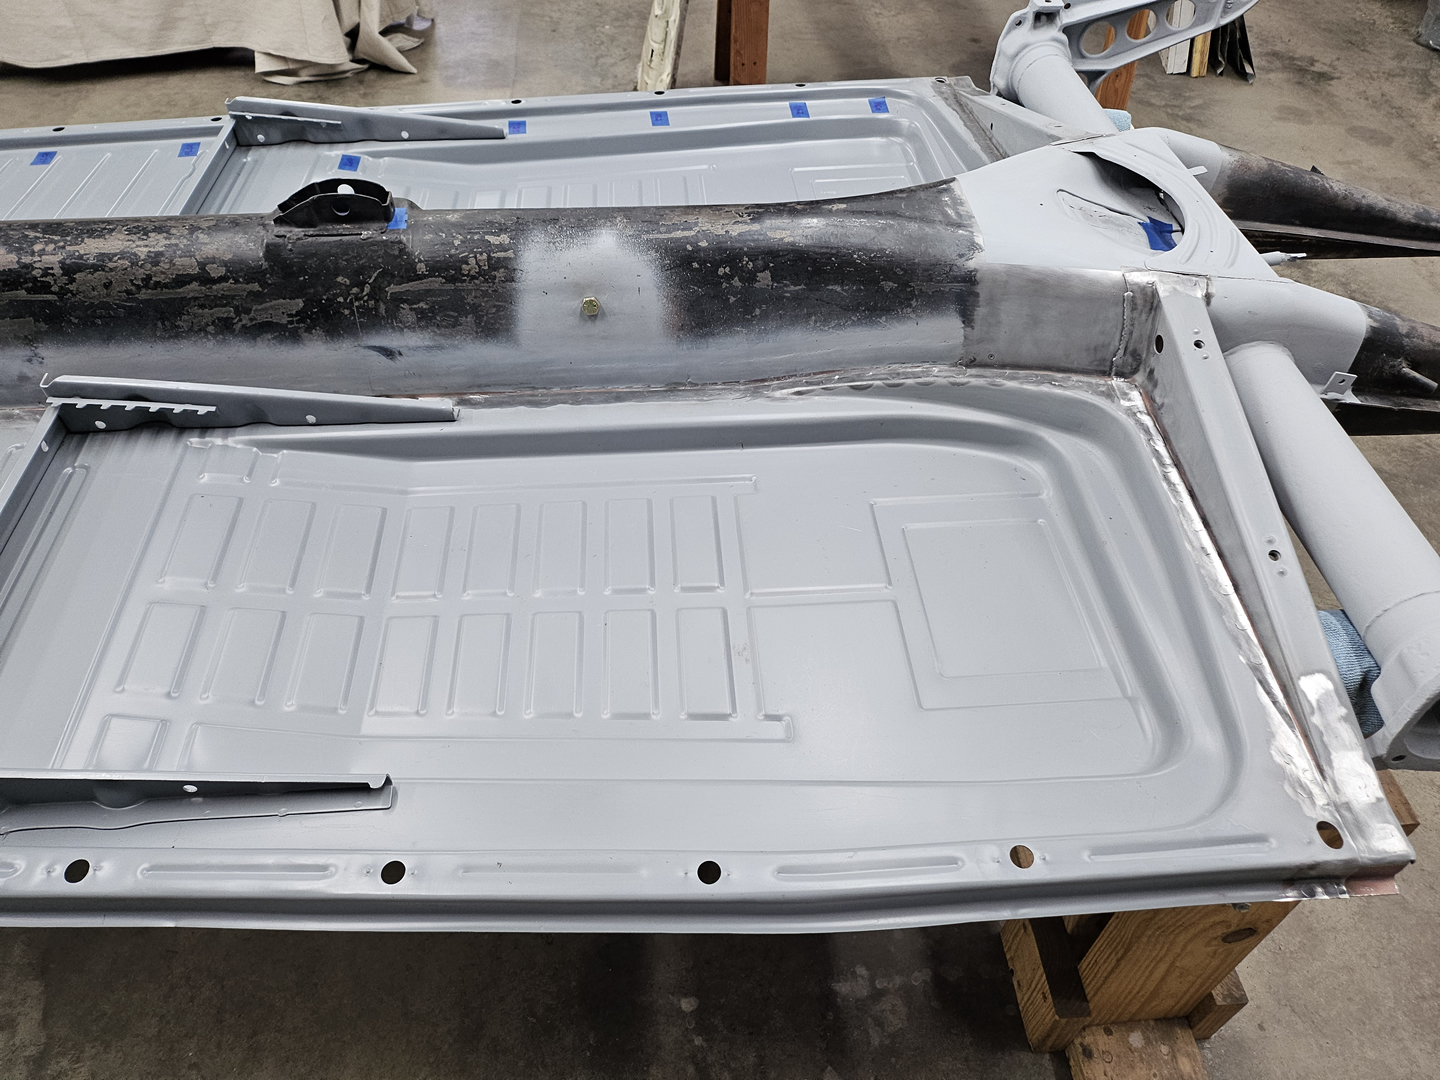
I started welding on the passenger floor pan first. I had some difficulty getting the heat and wire feed tuned in at first and had to drill a few welds out and try again to get a secure weld. I also had to drill all the holes for the spot welds to 3/16" diameter and to drill down into the tunnel rail just a bit because of the thickness of the combined tunnel rail and tunnel bottom plate. I had some issues with getting solid welds to the Napoleon hat on this side as well, so I ran a stich weld down that area just to make sure. The welds to the cross brace were way easier as the metal was the same thickness on both pieces and much thinner. The driver side floor pan was a lot easier as I had then figured out much better welder settings.

|
|

|

|
Grinding down the welds was a lengthy job. My welds were tall, and there were a lot of them to grind. The welds that are in-between the tunnel and the seat rail were particularly difficult to get to. I had to use a finger sander and had to lean over the pans to access them. It was also a challenge to not take too much metal off to get the welds even to the pans. I always tend to overdo that. They are not pretty, but they are done.

|

|

|
|
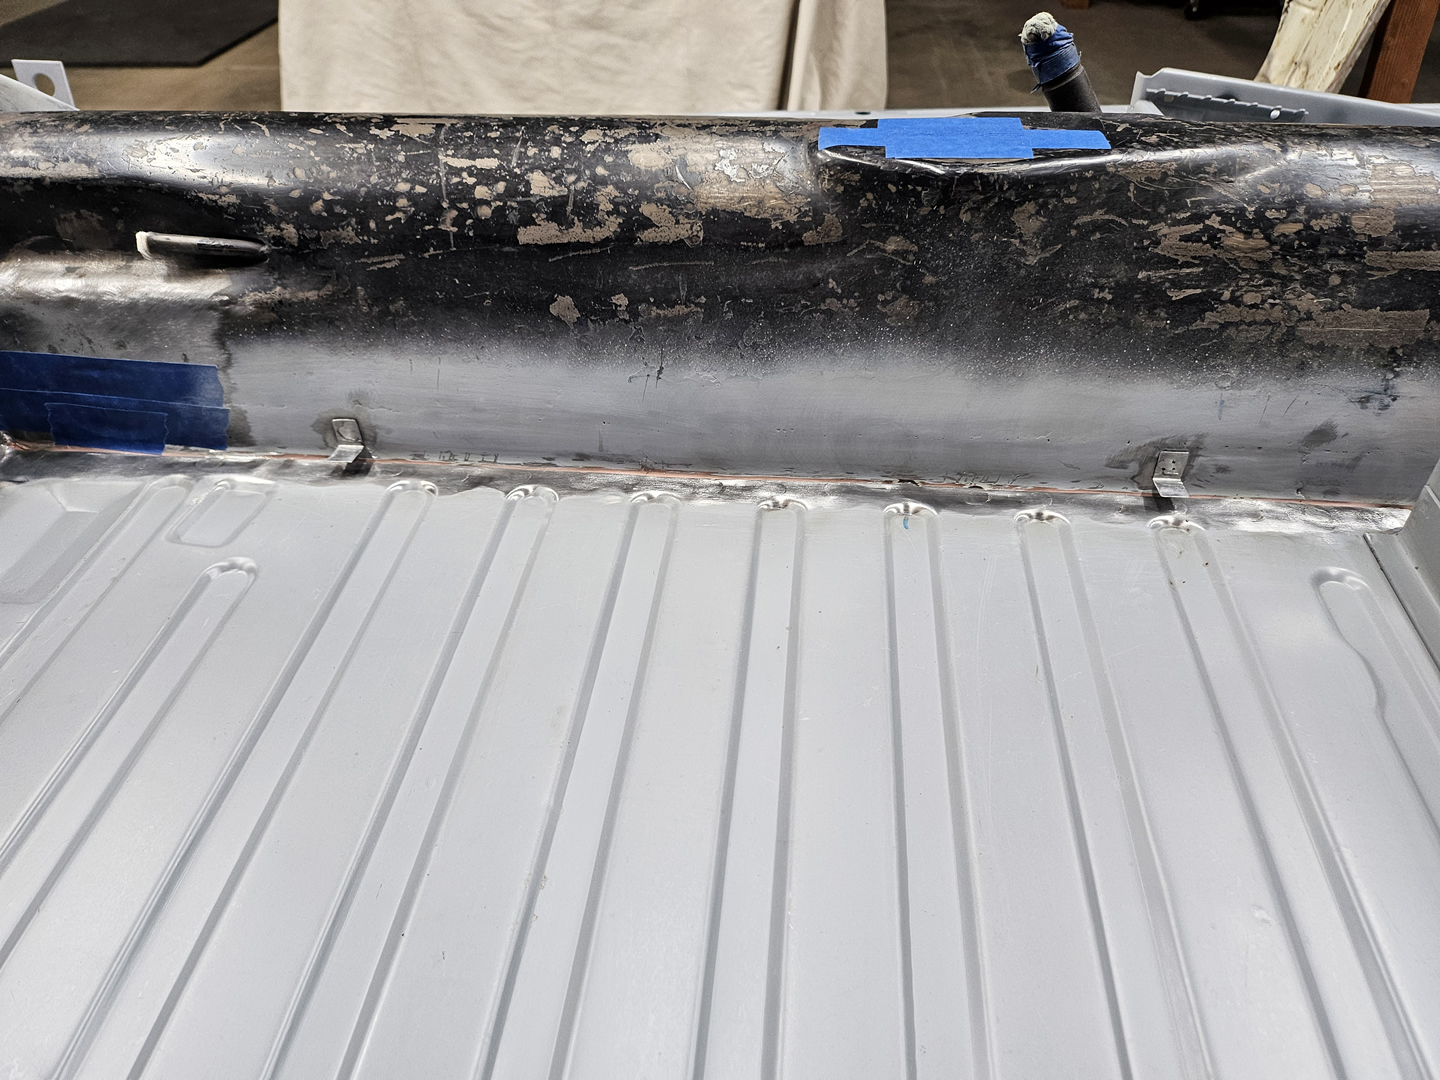
I remembered that there are four tabs that are needed to hold down the rear brake line along the tunnel. My car only had the rear most tab when I got it, and I removed it years ago and put it somewhere where I would not lose it. I haven't found it yet. I made four tabs and welded them on.
|

|
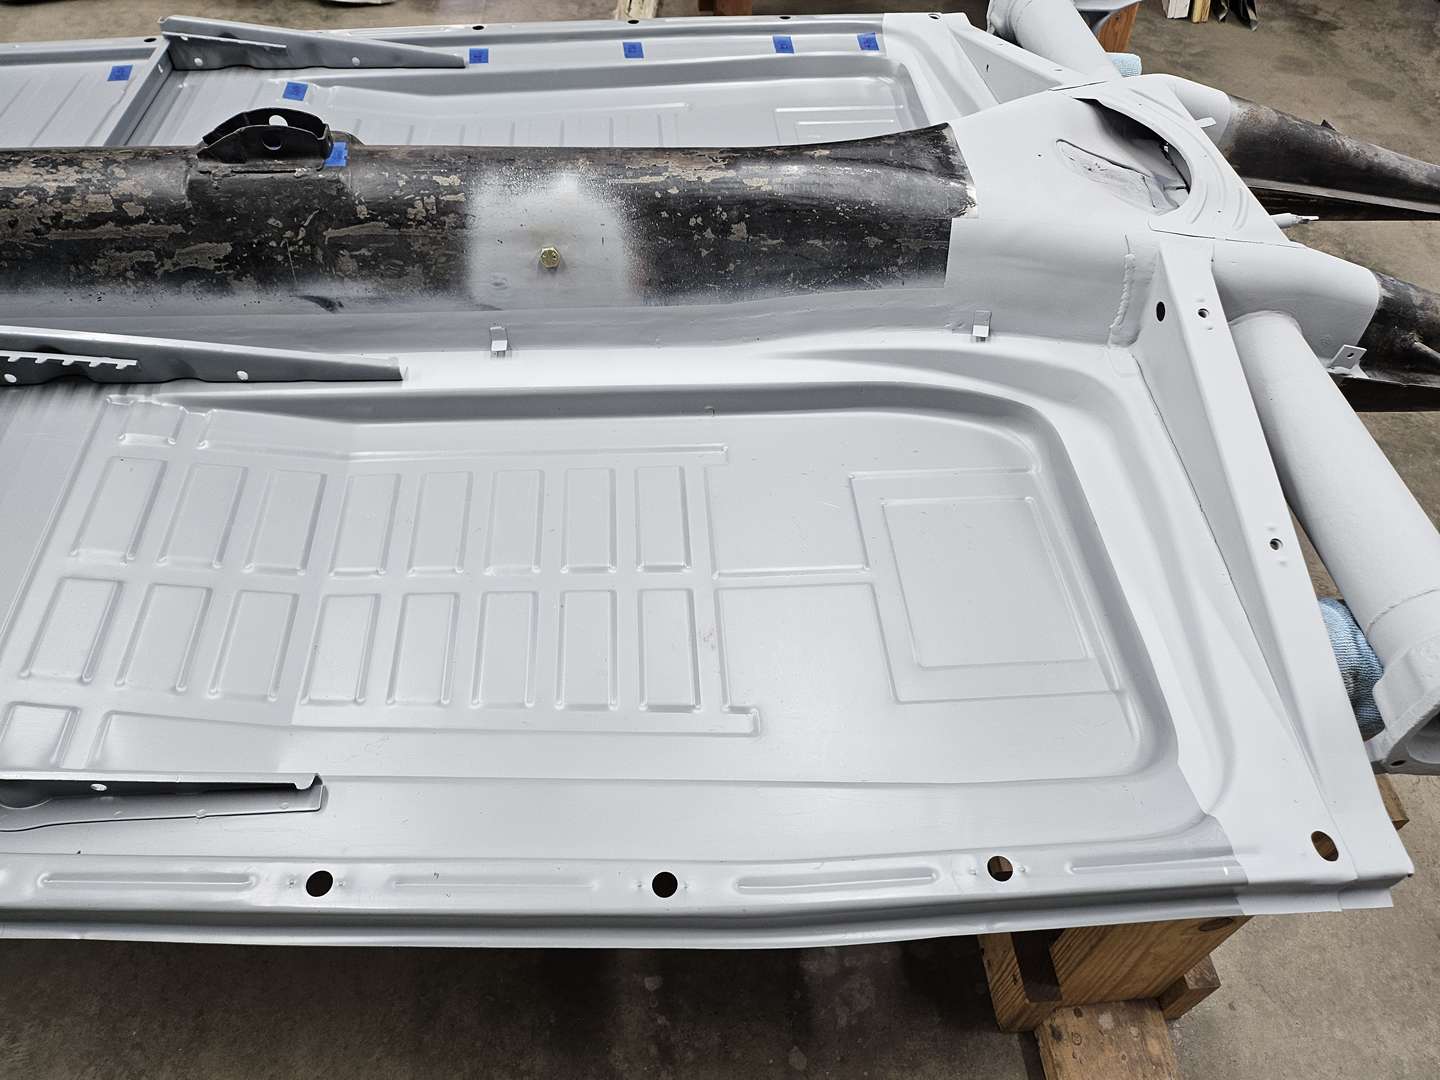
I cleaned up the weld areas on the top side and then sprayed them with primer.

|
|

|
|
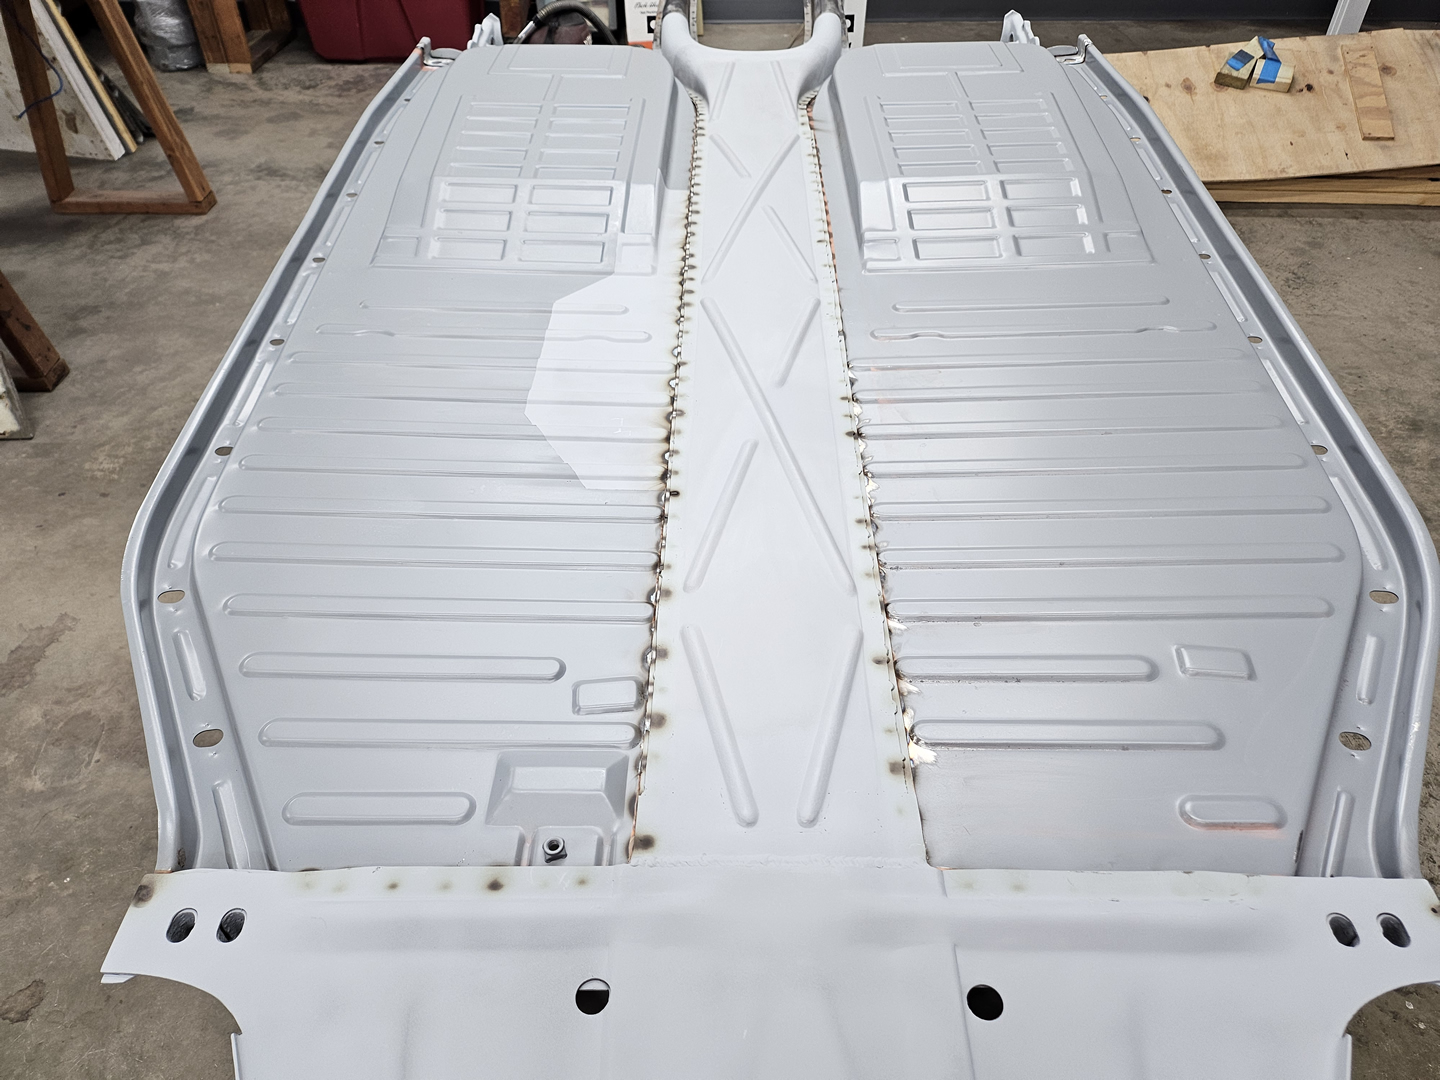
I flipped the chassis over to clean up the weld affected areas there.
|

|
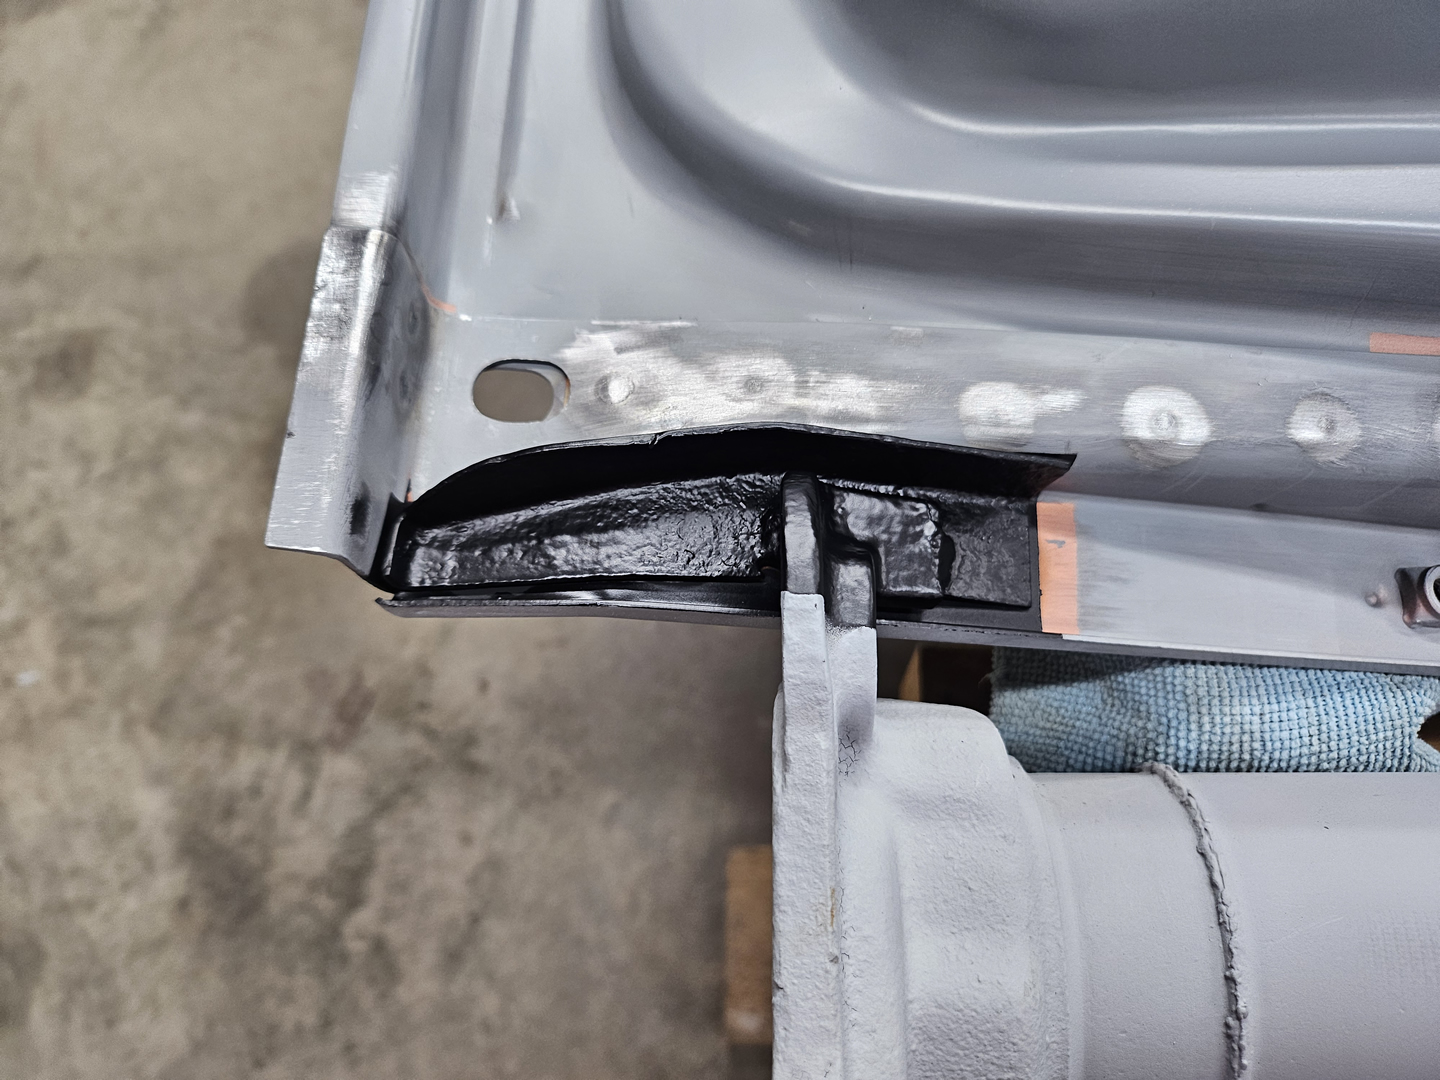
When cleaning the weld areas on the underside, I noticed a little rust exposed on the support braces from the torsion tube. I coated them with a rust encapsulator.

|

|
|

|
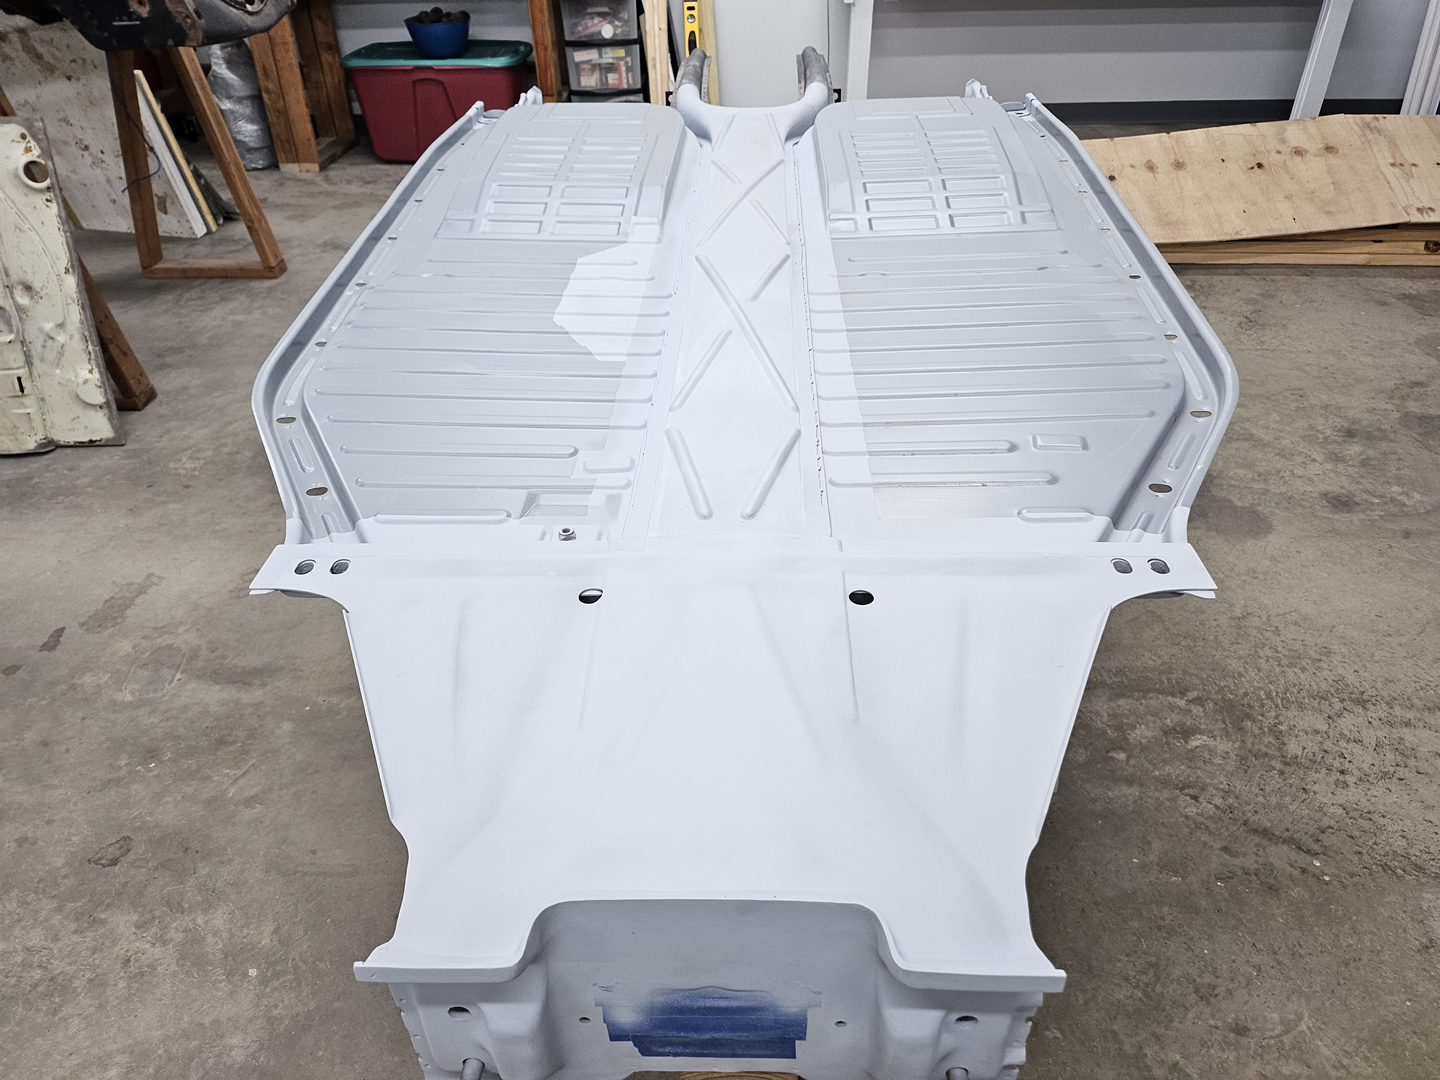
I then cleaned up and sprayed the weld areas with primer.
|

|
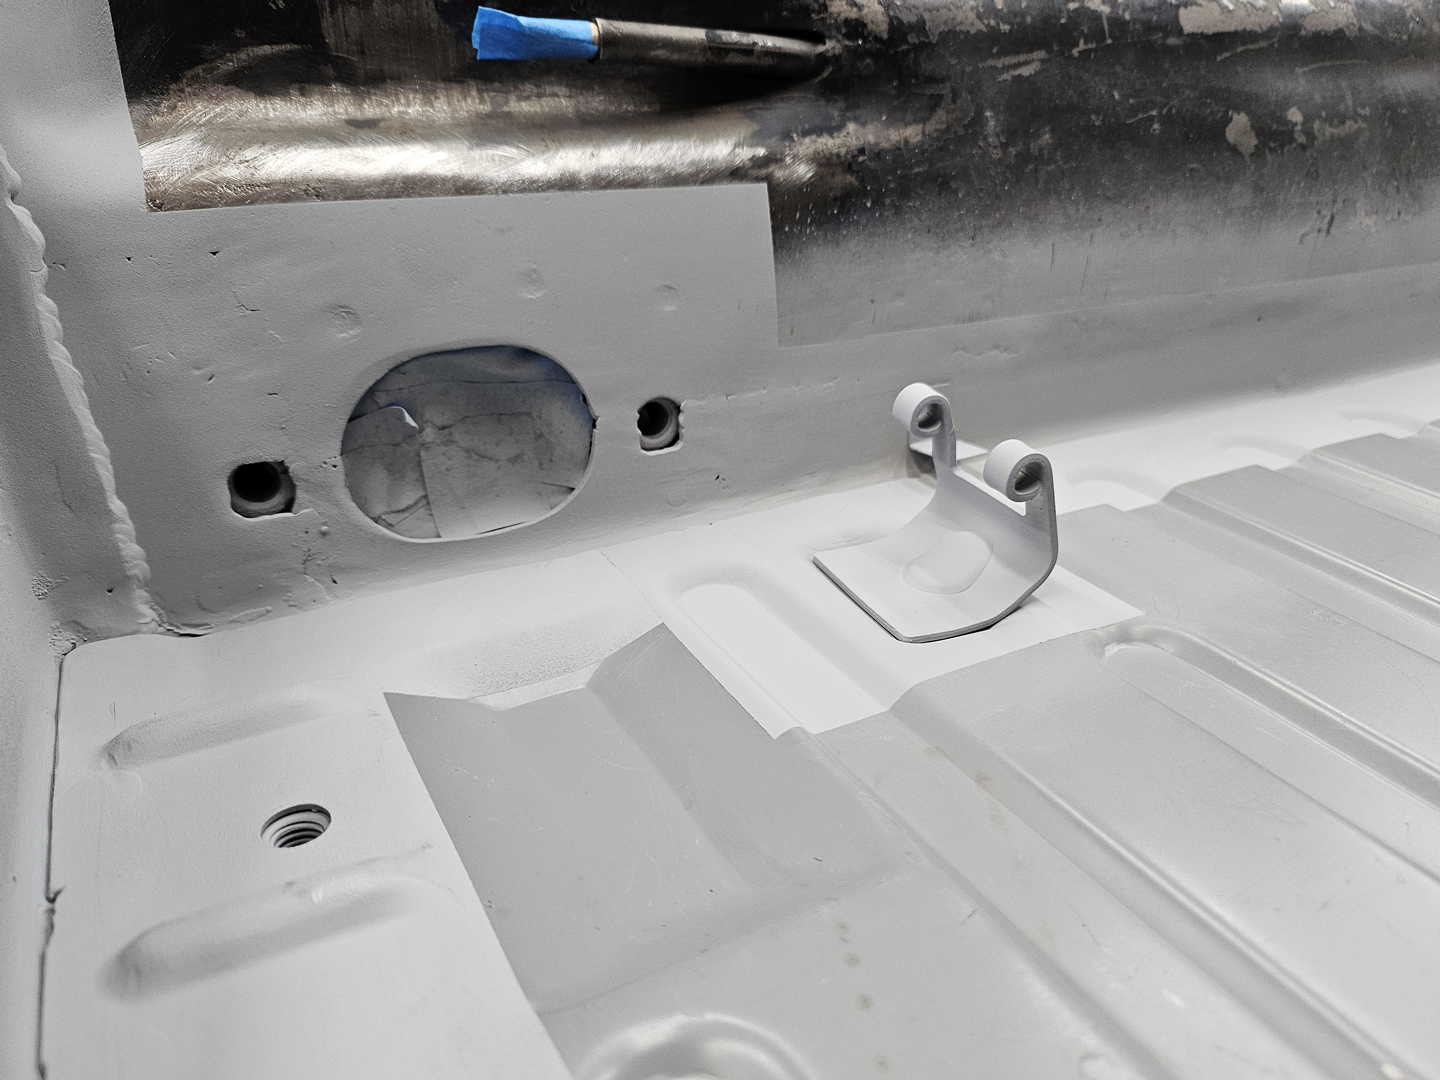
I almost forgot about the accelerator pedal bracket. I welded it on and sprayed it with primer.

|
|
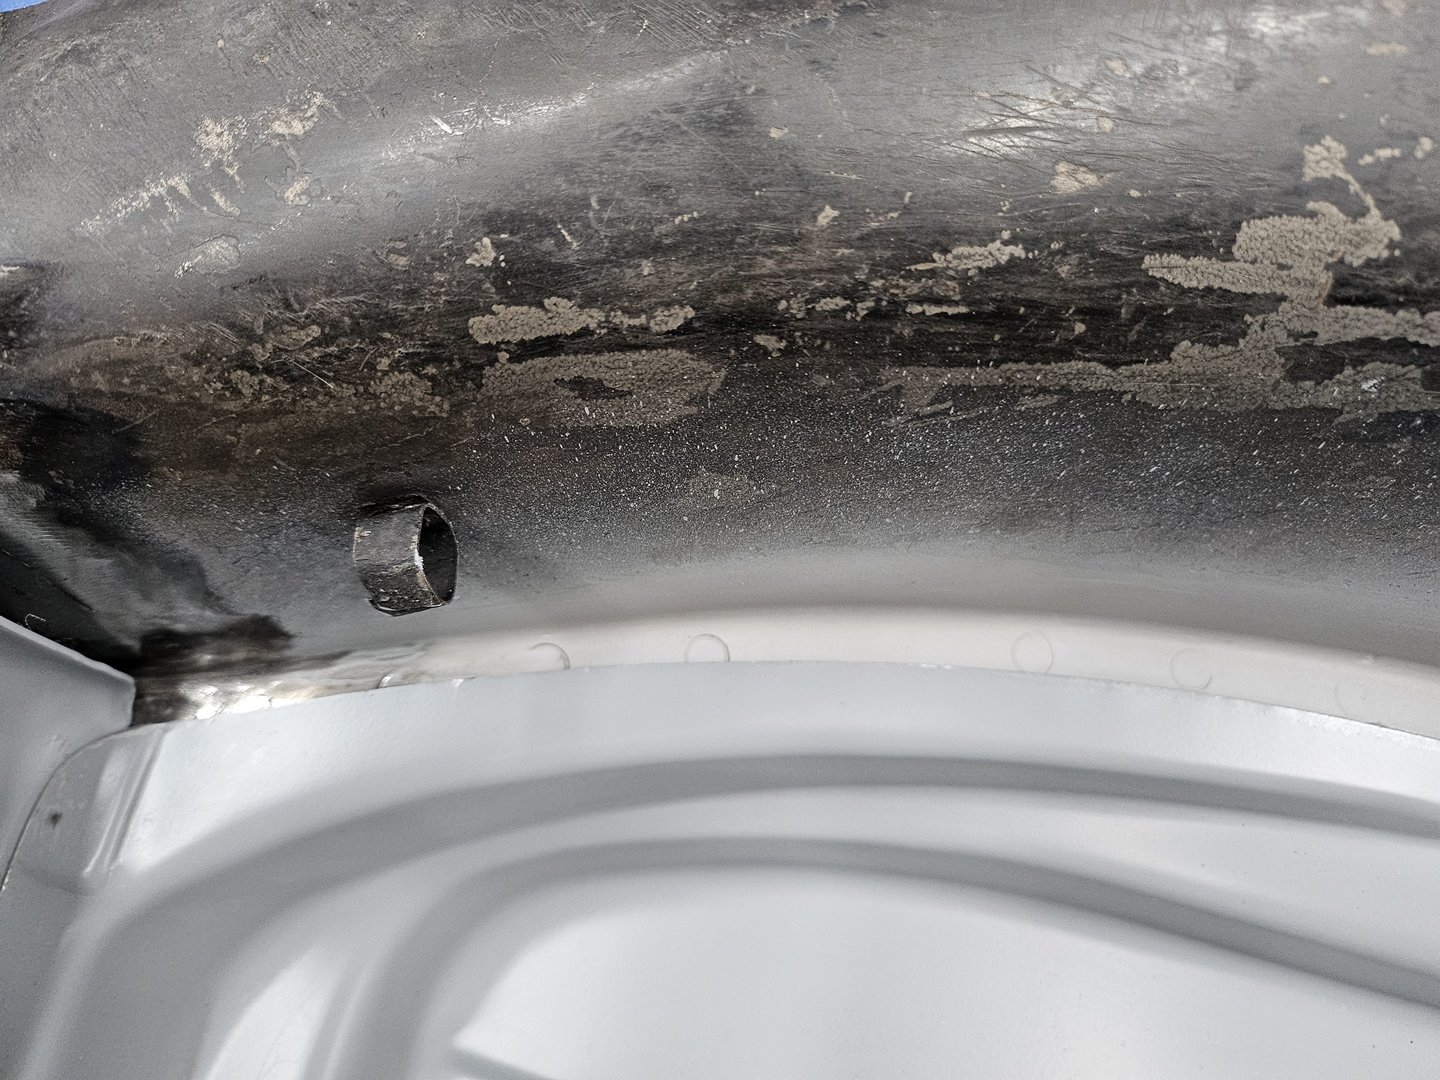
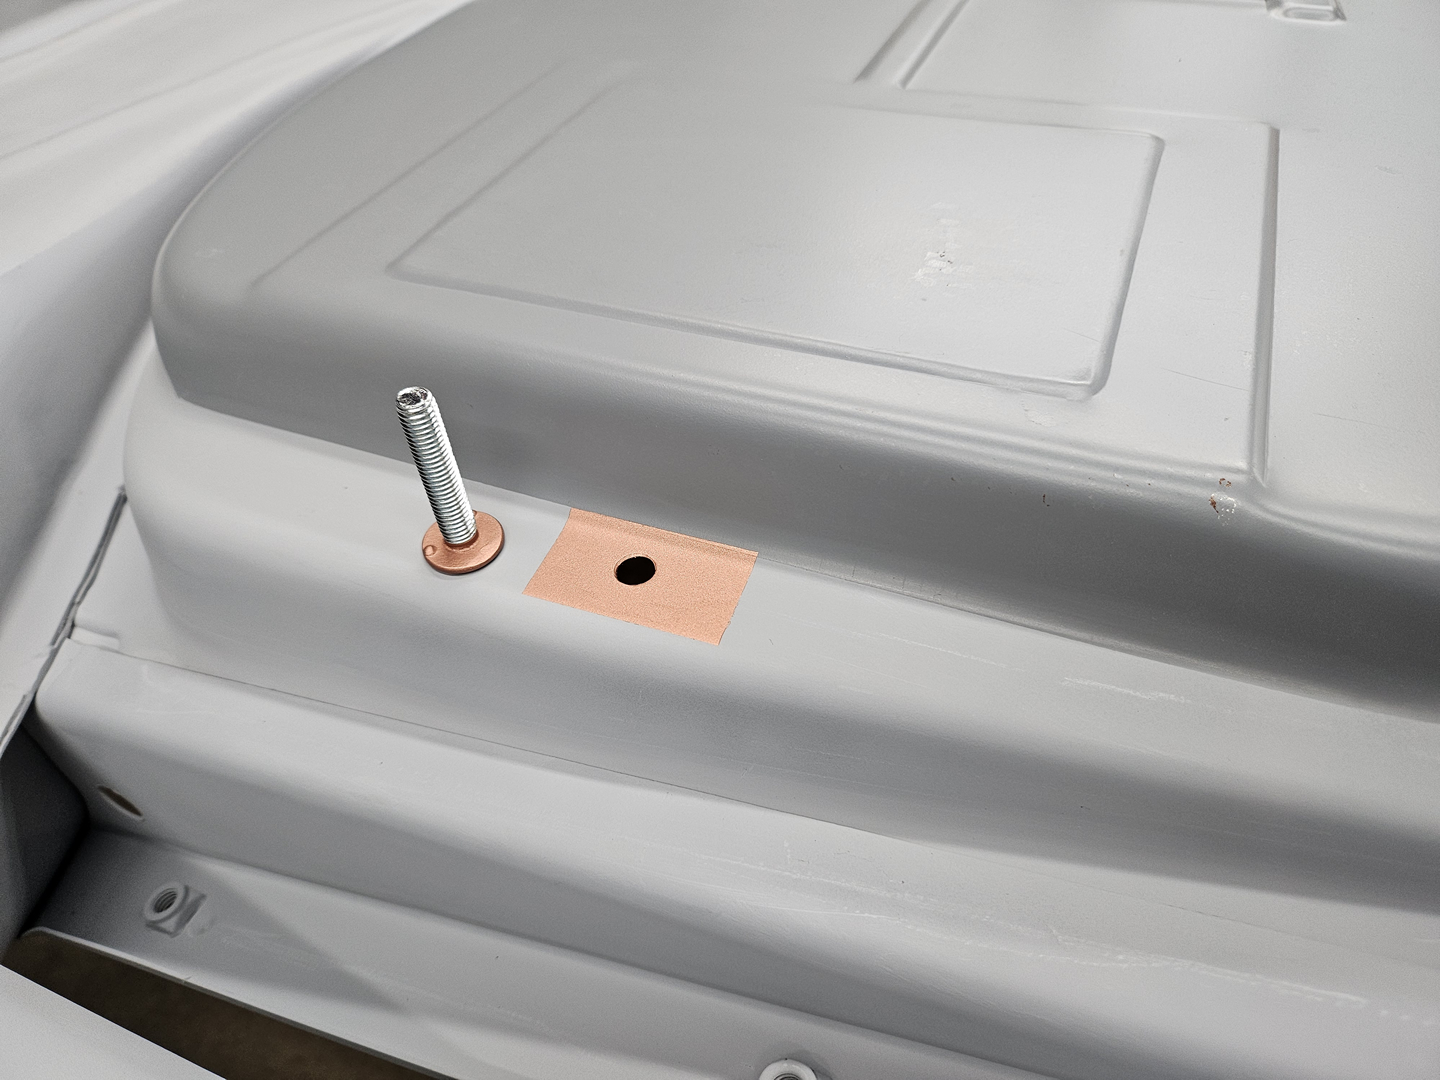
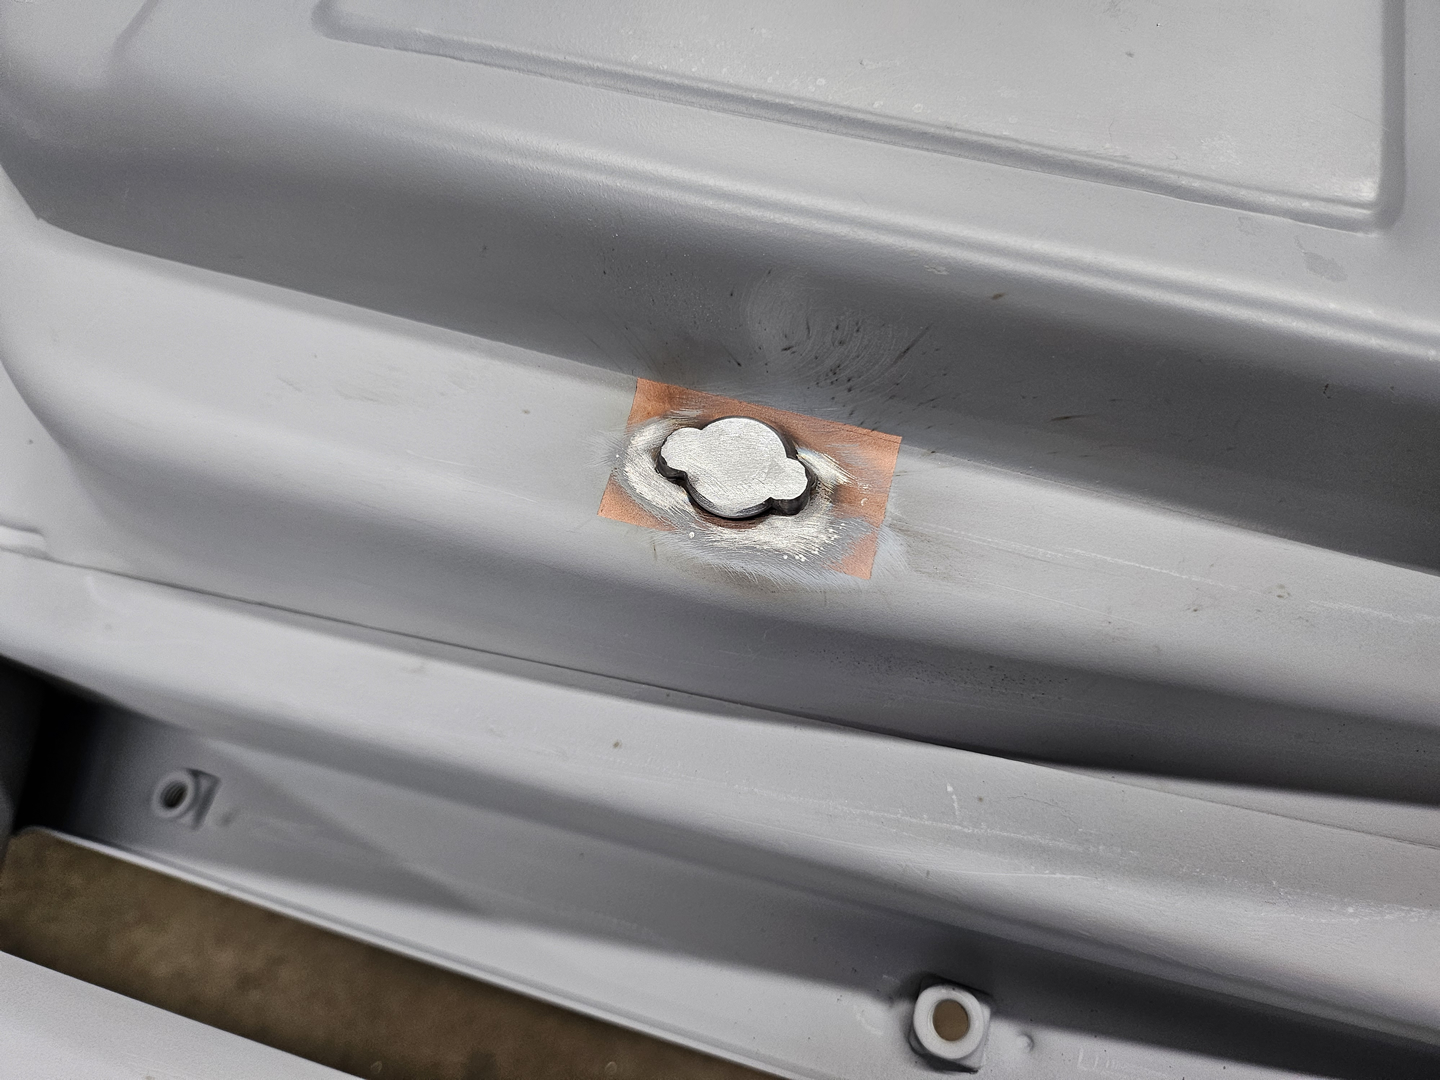
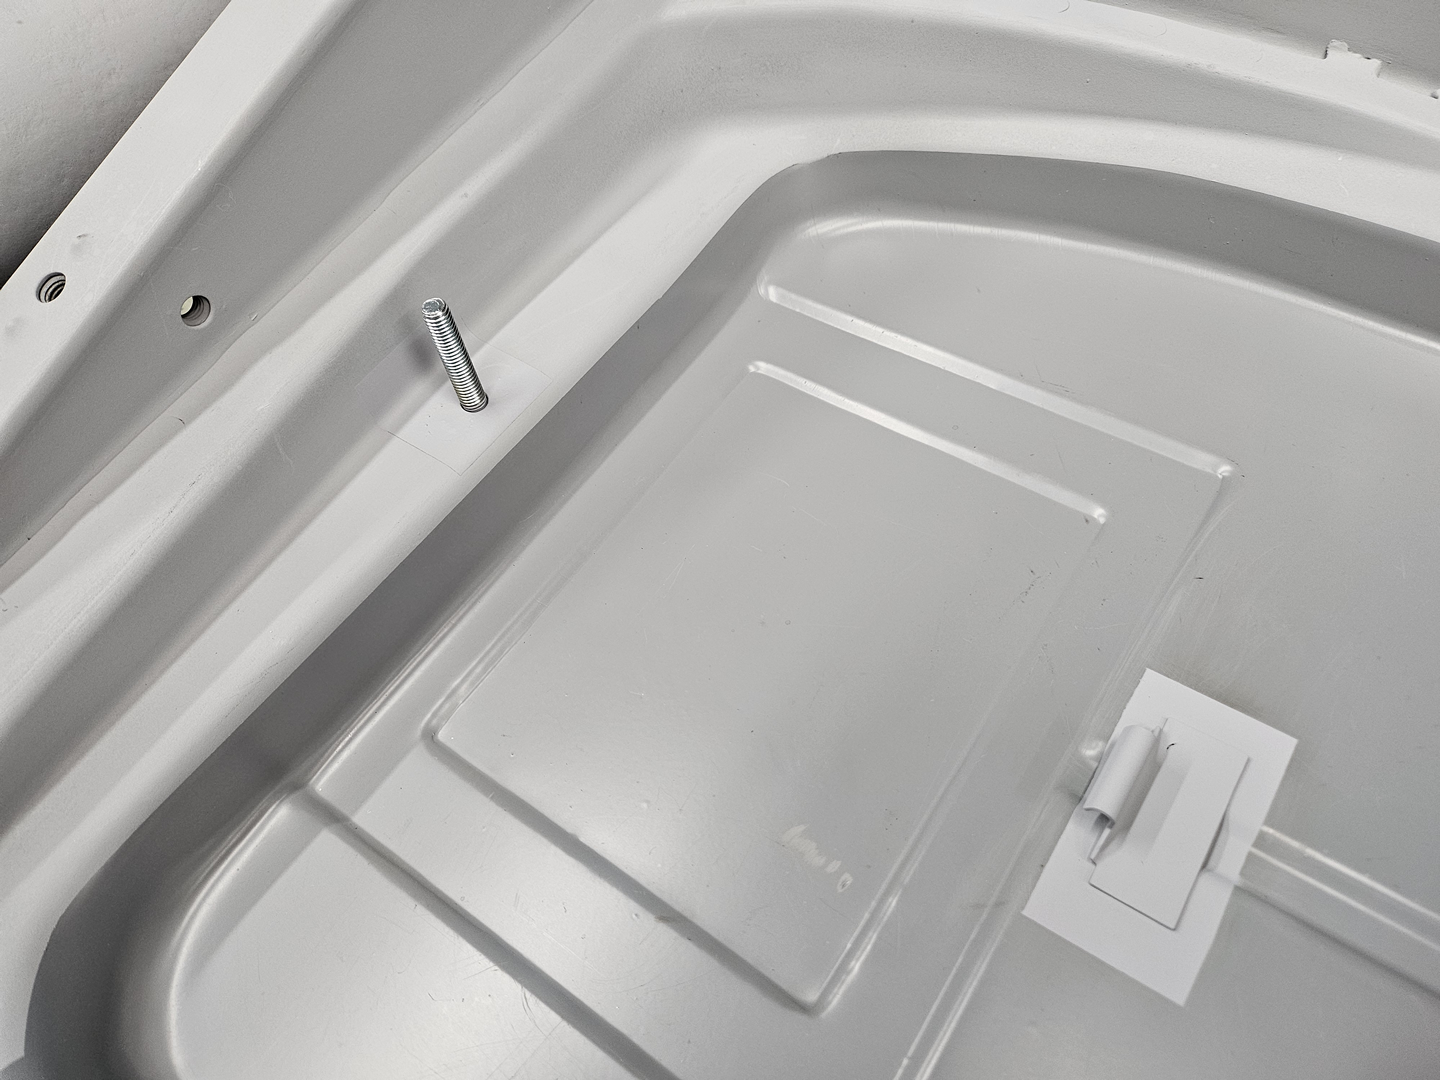
Update #1: I did forget about installing the battery strap stud and battery strap hook that attach to the strap to hold down the battery. I first installed the battery strap stud which required drilling a hole at the rear of the passenger side floor pan, just behind the stamping in the pan for the battery. I then welded the battery strap stud on the bottom of the pan, ground down the welds, and sprayed the weld area with primer.
|

|
|
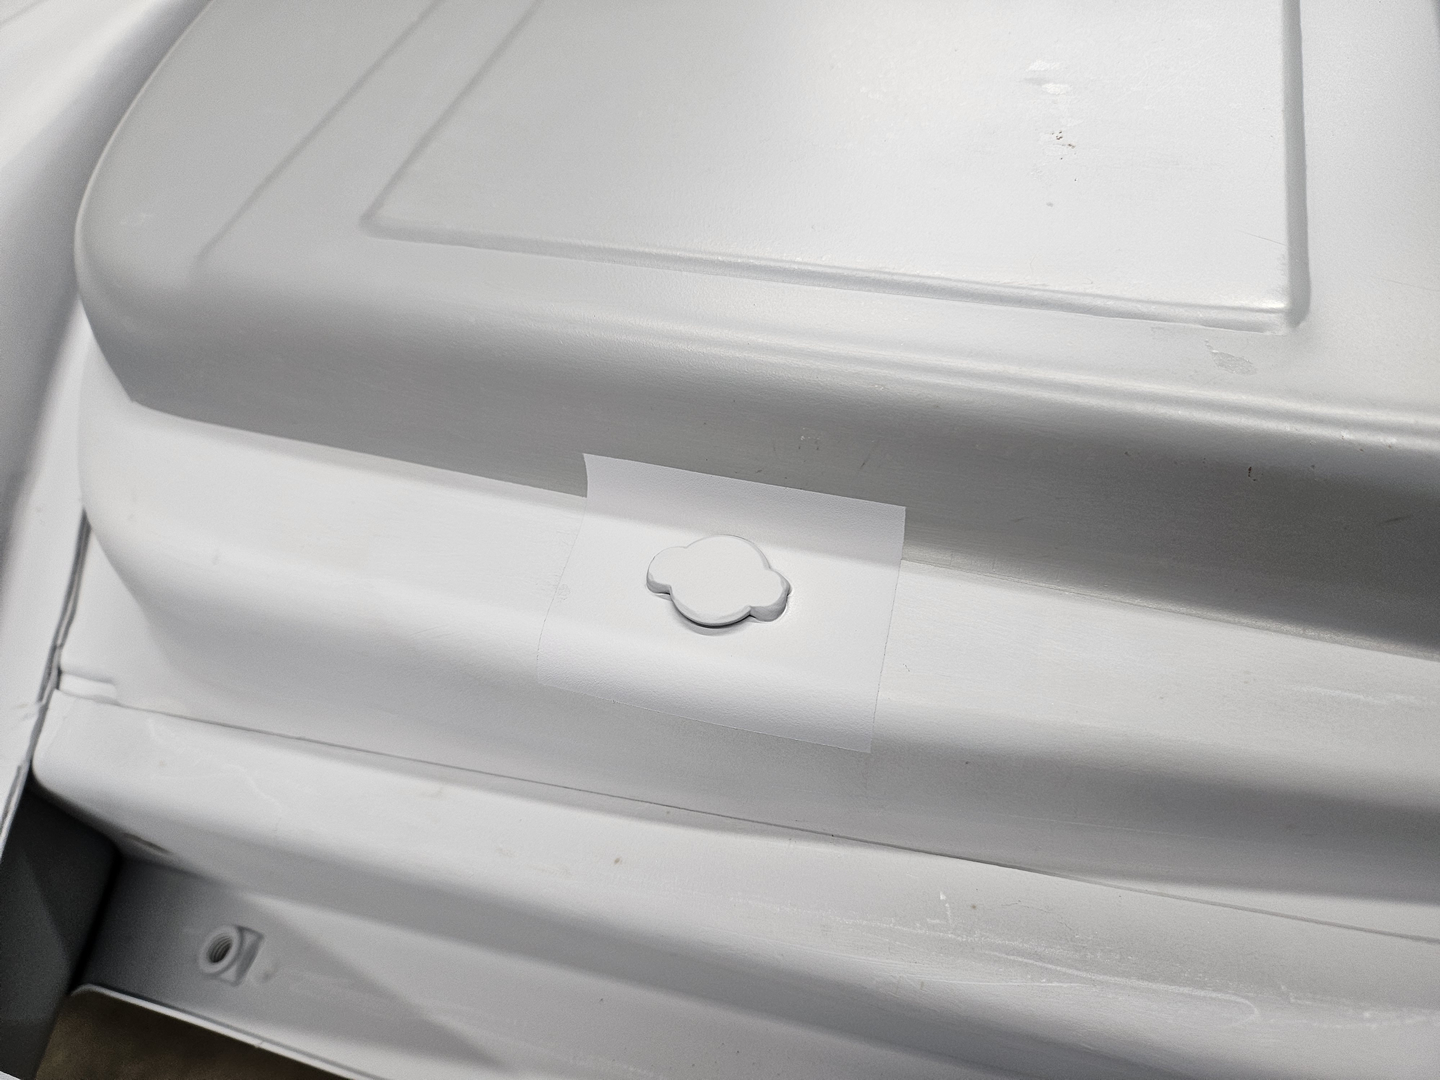
|
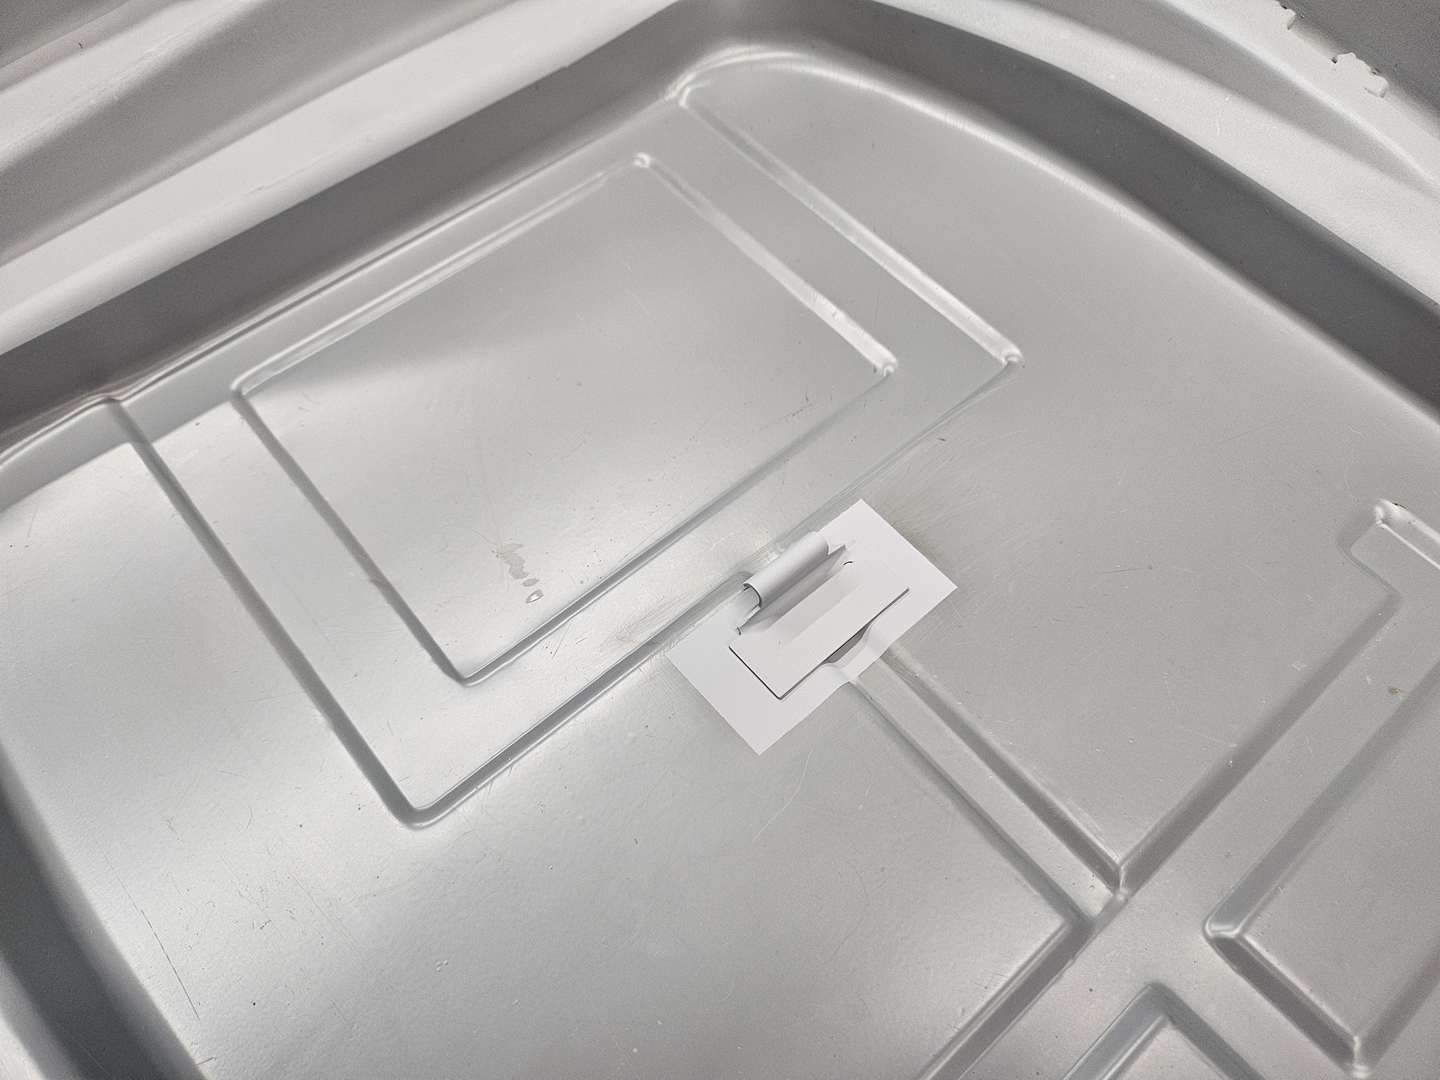
Wel, I thought I was finished with the battery strap stud until I flipped the chassis over and realized that I had installed it on the wrong side of the chassis. So while I have the chassis facing up, I decided that I would go ahead and weld on the battery strap hook. I first drilled holes in the plate of the battery strap hook and sprayed the weld areas with U-POL Weld #2 Copper Weld Through Primer. I then welded it onto the floor pan, ground down the welds, and sprayed the area with primer. Lastly, I removed the battery strap stud from the wrong side and repeated the previous steps when I welded it on there. I also filled in the hole where I incorrectly installed the battery strap hook, ground down the welds, and sprayed the area with primer. Now I am done with floor pans!

|
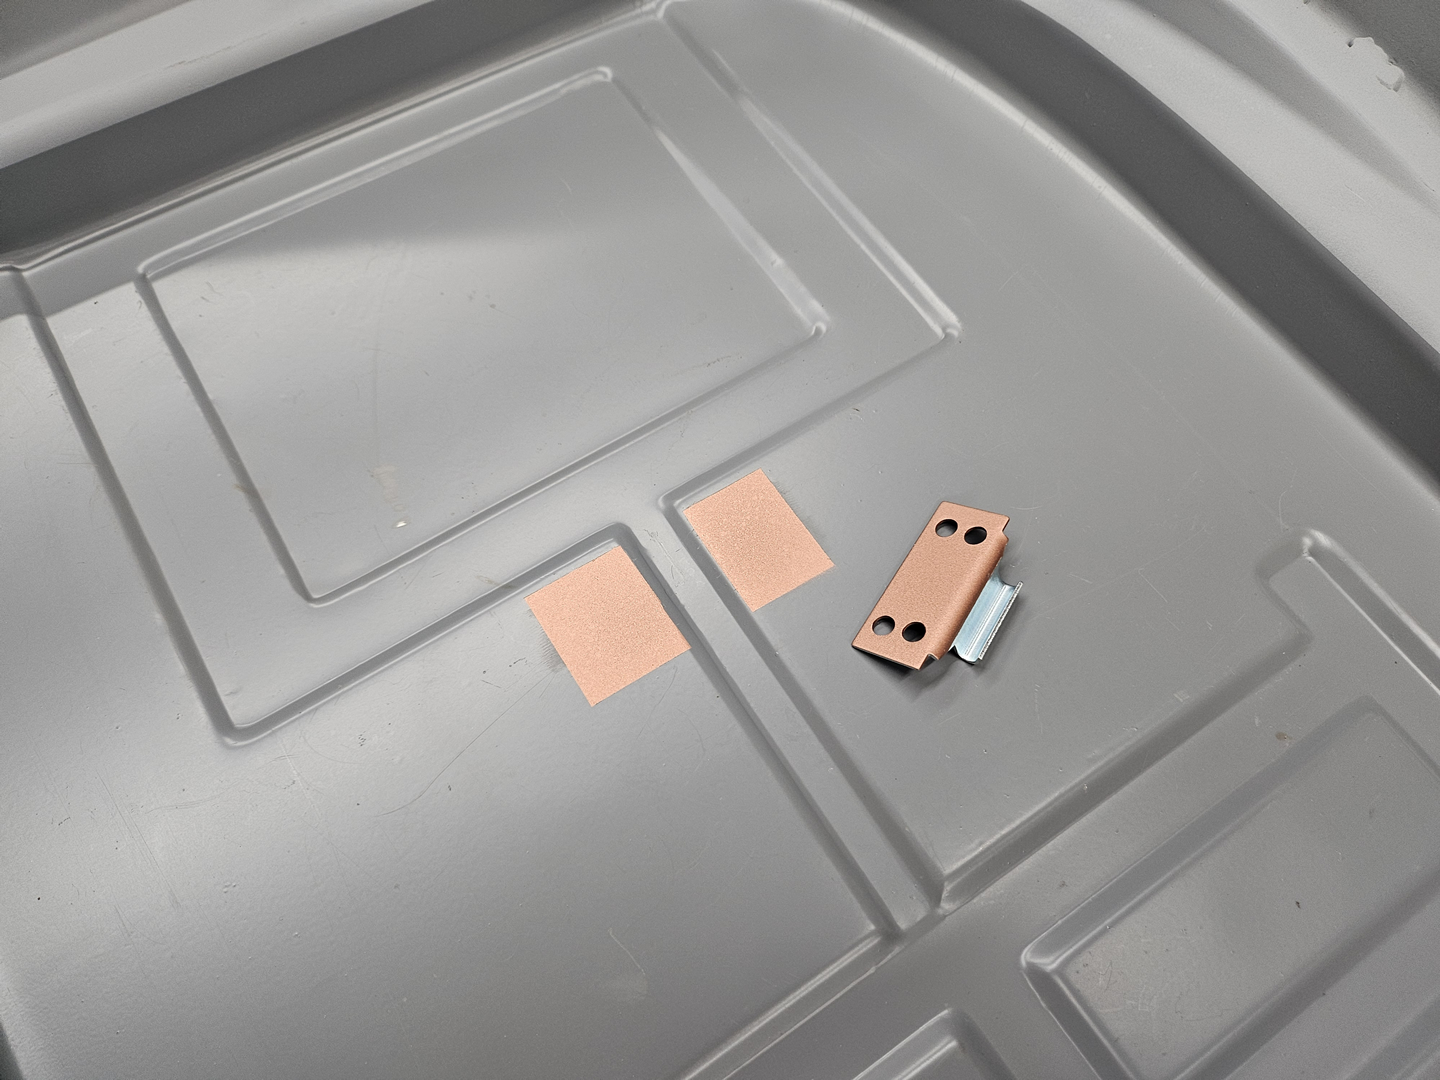
|
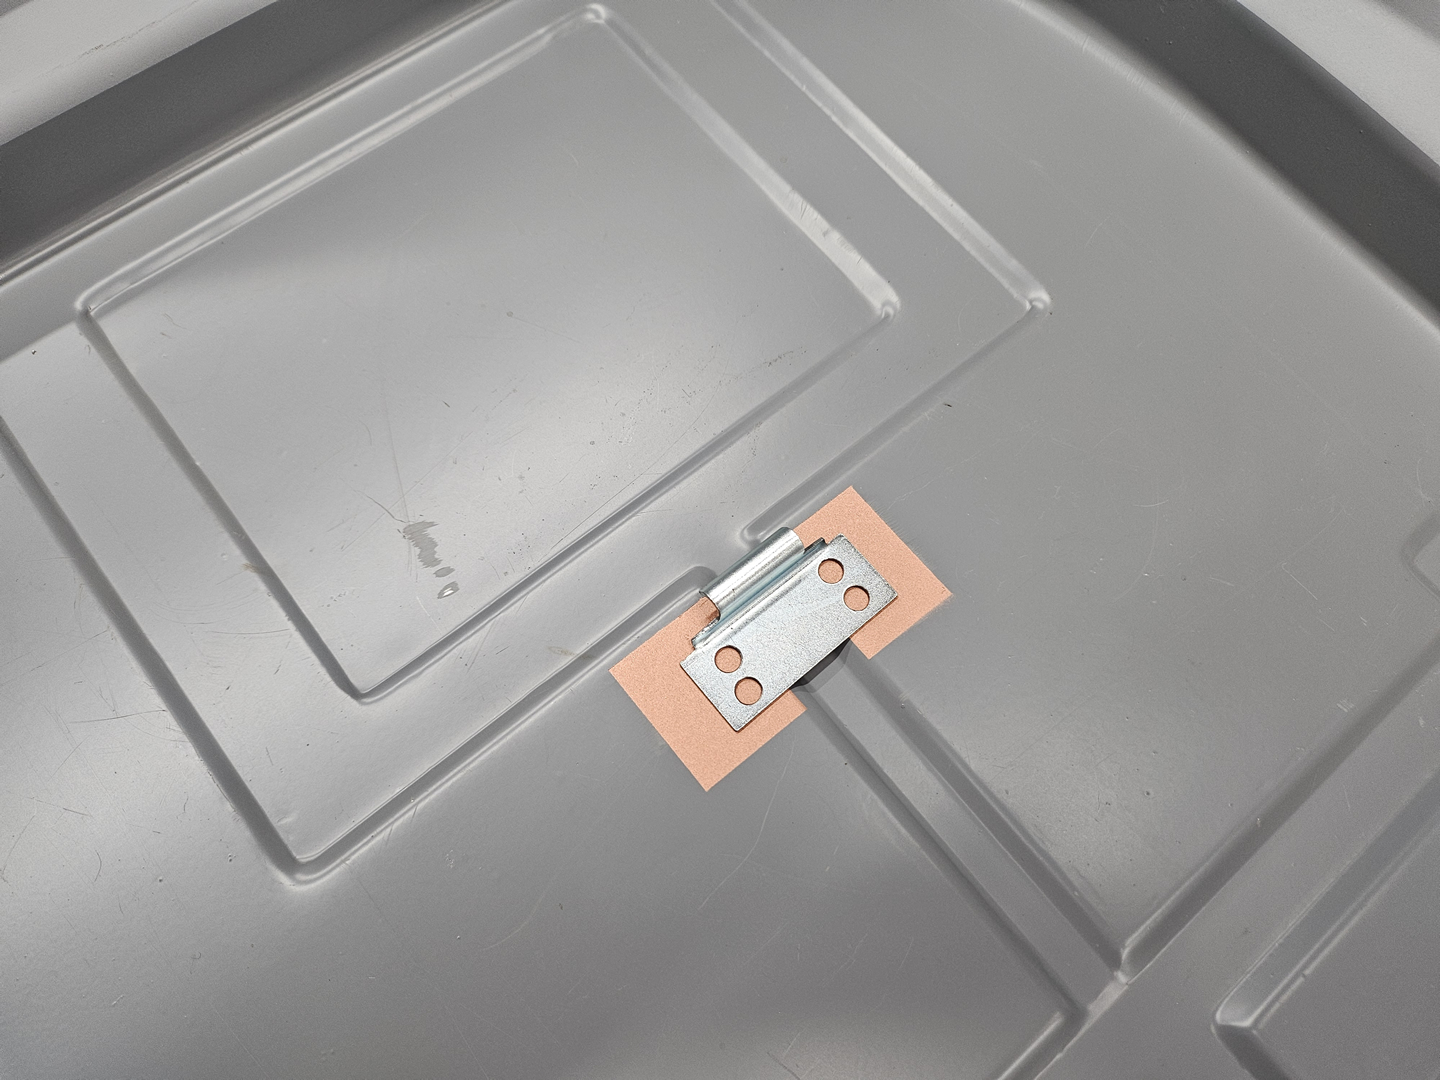
|
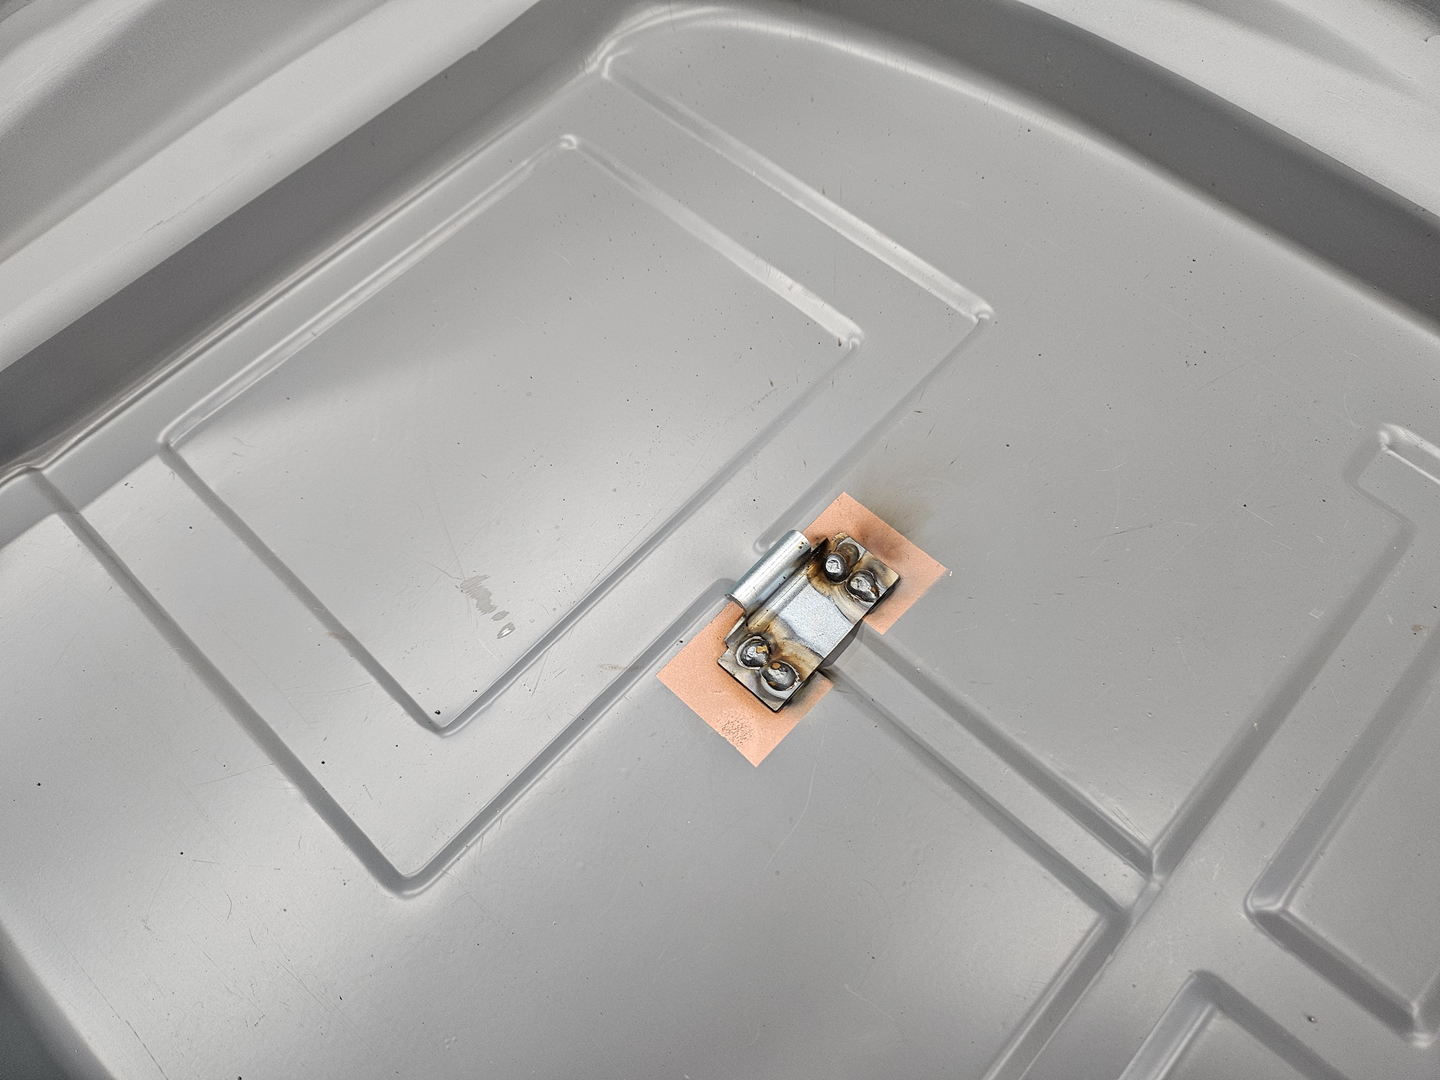
|
|
|
Note: I considered for a long while whether or not I should install the standard jack points onto the floor pans. I have them as they came with the floor pans. But for several reasons, I decided not to do so. These are just not a very good design by VW and often damage the heater channels when the floor pans cannot support the weight of the car put on them when jacking up each side of the car and they bend upward into the heater channels. I just repaired one of the donor heater channels that was damaged this way, and the side of the channel was bent and torn. I'm just going to invest in a good scissor jack and use that instead. I can use a scissor jack on a better reinforced and sturdy area of the chassis should I need to jack it up while on the road.

-
Hi! Welcome to My Beetle Restoration!
Thanks for dropping by! Feel free to add comments (preferably positive and helpful ones). See you around!
