Fitting and Welding the Frame Head Bottom Plate
by Garage Weasel on May.08, 2024, under Chassis
The frame head bottom plate I am using for replacement is a Klokkerholm panel made to fit 1956-1965 Beetles. It is very different than the one on my car originally, but this is really the only available option. I purchased two donor frame head assemblies, and both the bottom plates were two rust-damaged to use. These are also very difficult to remove from donor pieces because of all the seam welds. The best option for me is to use this generic one and make it work. There are huge gaps in several places like where it fits over the end of the tunnel and where it fits against the front axel mounting plate.

|

|

|

|

|

|
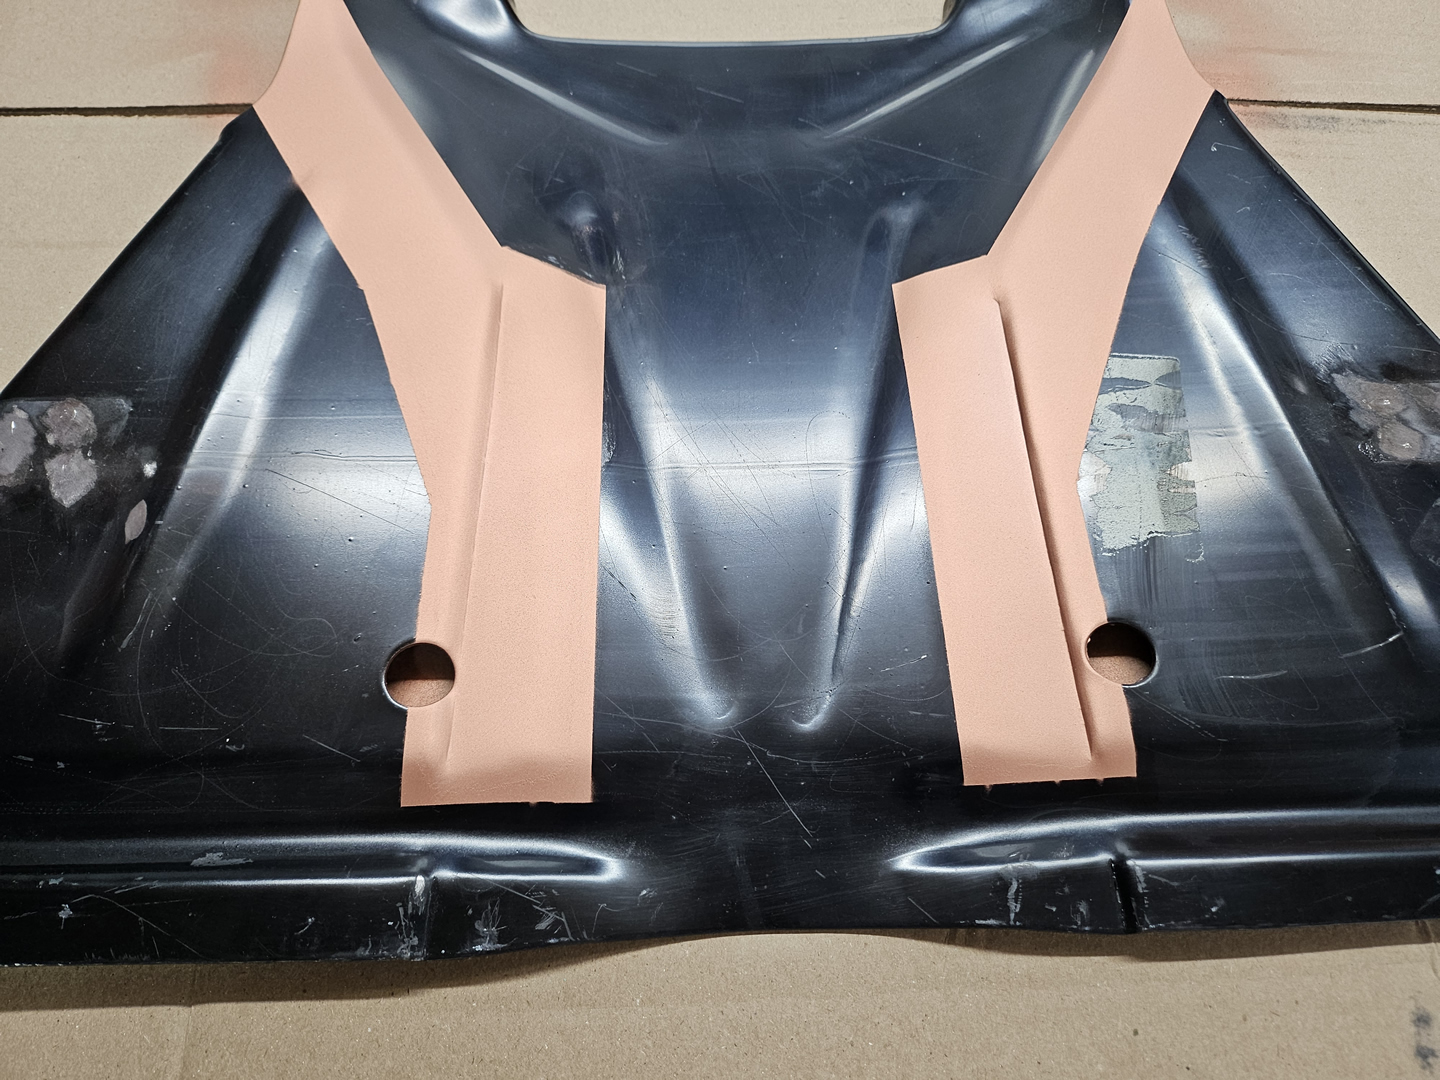
There is a 2-milimeter gap under the replacement plate between it and the tunnel rails. I decided to make spacers and weld them to the plate, so I removed the EDP protective coating sprayed on by the manufacturer and sprayed U-POL Weld #2 Copper Weld Through Primer on the areas to be welded.

|

|

|

|
|
I made the spacers and both spot-welded them to the bottom plate and seam welded them. It is overkill, for sure, but I want to have them firmly attached to the plate. After grinding down the welds, I sprayed them with the weld-through primer as well. I also sprayed weld-through primer on the end of the tunnel bottom plate where it will be welded to the frame head bottom plate.

|

|

|

|

|

|
The last steps before welding the plate on was to drill holes for the areas to be spot welded and to remove the primer on the outside of the frame head.

|

|

|
The replacement was initially bowed and didn't fit flat against the tunnel and was even more bowed after welding on the spacers. To flatten it and pull it down to the tunnel, I used some 2 x 4's and clamps. With this and some adjustable metal clamps I was able to get a close fit.

|

|

|
I started with the spot welds. I was somewhat successful and didn't make too much of a mess of them.

|

|
I flipped the chassis over and welded the areas where the bottom plate fits against the axel mounting plate and the tunnel bottom plate. These were all seam welds. My welding turned out messy, but I was able to get good coverage and penetration.

|

|

|

|

|
I first ground down the spot welds. Not a hard job but it took a while.

|

|
The seam welds on the bottom took hours to grind down due to my lack of welding skills. Lots of shaping and metal sculpting was required. In the end, I had acceptable results.

|

|

|

|
I re-welded the seam weld where the frame head bottom plate is attached to the tunnel bottom plate. The straight weld just didn't turn out very well and a bead weld should be a better weld visually and structurally. I will not ground this down very much as it will be covered with seam sealer and is fairly flat already.

|

|
The next step is fitting and welding the Napoleon hat!

-
Hi! Welcome to My Beetle Restoration!
Thanks for dropping by! Feel free to add comments (preferably positive and helpful ones). See you around!
