Tag: front axle
Initial Assessment of the Chassis
by Garage Weasel on Mar.04, 2011, under Chassis
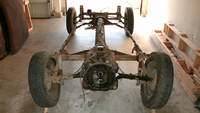
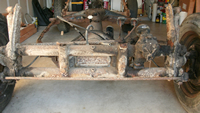
With the body off of the chassis, I can now get a good look at its condition. Here is my initial assessment of what needs to be repaired or replaced:
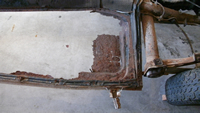
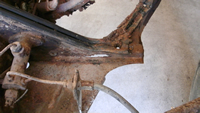
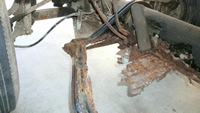
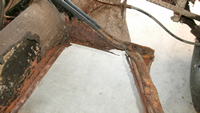
Floor pans: I guess the most obvious things that need to be replaced are the floor pans. There is almost nothing left of them except the outside frames. My current intention is to replace them with them new panels made by Wolfsburg West. These are thick and heavy-duty and seem to be the best ones available.
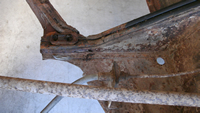
The Napoleon hat: The Napoleon hat or front chassis support panel on my chassis has suffered a lot of rust damage and must be replaced. These are difficult to remove due to the amount of welding where it is attached to the frame head and tunnel and have to be cut and ground off. New replacement panels are available and inexpensive, but often do not fit well and have to be greatly altered. I may buy a new one and see if it fits well enough to use. Donor parts are difficult to find, so my only option may be to use a new panel.
The frame head: The frame head has quite a bit of surface rust, but seems to be structurally sound. The bottom plate, however, does need at least portions of the plate replaced. The rear corners are rusted through where it attaches to the outside ends of the Napoleon hat and these areas will need to be replaced. Replacement bottom panels are available and reasonably priced, but it is a lot of work to remove the original one and a lot of welding to install the replacement. Right now, I’m not sure the extra work is necessary. I may just purchase a replacement panel and then make the decision. I can at least use it to cut out portions to patch the areas that are rusted away.
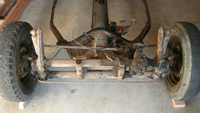
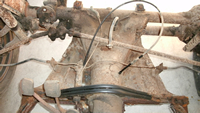
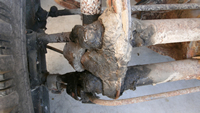
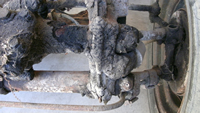
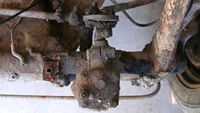
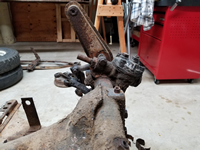
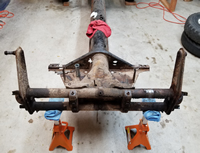
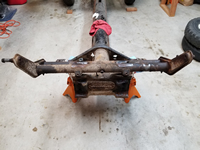
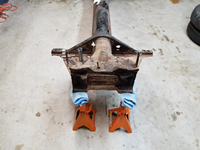
Front axle: The front axle is covered with road grime, oil, and dirt. In some areas it is more than an inch thick. I cleaned some of it off and went through and loosened all the nuts and bolts. Until I remove it, clean it up, and take it apart, I will not know what condition it is in. Same thing for the steering box. No surprises so far with the front axle and its components.
Pedal cluser: The pedal cluster is completely rusted solid and isn’t worth trying to rebuild. I tried spraying it with penetrating oil and letting it soak in, but I could never get anything to budge. Not only is it rusted solid, but the aluminum base has disintegrated. I’ll look for a used one worthy of rebuilding.
Brake system: I haven’t pulled the brake drums on any of the wheels yet, so I don’t know what condition the internal components are in. I’ll take them off soon to get an idea, but my plan is to do a major assessment of the brakes after the structural rust repair is done to the chassis. I do plan to replace all the brake lines and hoses. I don’t know if the master cylinder is usable yet and will not until I pull it off and take a closer look. My guess is it will need to be replaced. The brake fluid reservoir has a lot of surface rust, but I think that once it is media blasted, treated, and painted it will be fine.
Cables: The cables for the clutch, accelerator, choke, emergency brakes, and heater lever will all be replaced. They may not all need to be replaced, but I don’t want to chance having any of them break later. It will also be much easier to replace them now while the body is off. I will clean out and lubricate any guide tubes before replacing any of the cables and will also replace all of the seals where they enter and exit the frame.
Disassembling and Removing the Front Axle
by Garage Weasel on Apr.02, 2018, under Chassis
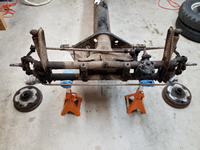
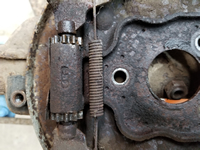
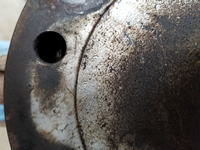
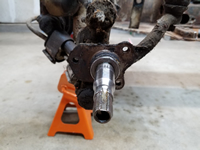
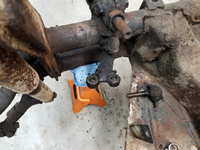
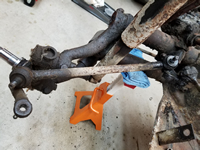
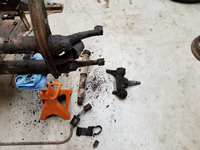
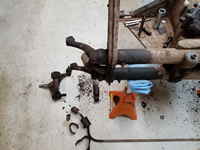
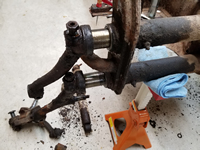
I placed the front axle beam on jack stands and then removed both front tires. To remove the brake drums, I removed the grease caps, the dual axle nuts and lock plates, and the outer wheel bearings. Being a total rookie at this, I couldn't tell why the drums would not just slide off at this point. After wrestling with both drums for a while, I determined that I needed to adjust the brake shoe adjustments to bring the brake shoes in more and away from the drum. As soon as I did that, the drums slid off easily. The brake shoe star adjusters are accessible through a hole in the face of the drum and you can use a screwdriver to turn the adjusters. You just rotate the drum until you can see the adjusters. There are two on each wheel. Once the drums are off, the brake backing plates can be removed by removing the three bolts attaching it to the spindle.
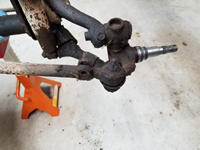
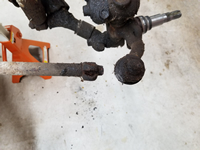
Next, I removed the tie rods. I started with the long rod on the passenger side and was unable to loosen the nut on the tie rod end that connects to the spindle. It would just spin in place. Since it will be replaced anyway, I just cut it off, leaving about 1/2 inch to use to remove the threads. On the other end where it connects to the steering box arm, I was able to loosen the nut and break the tie rod end away from the arm. The short tie rod on the driver side cooperated and was removed. Note: The short tie rod for this year is a non-adjustable one and the ends are not replaceable. These are no longer available and will have to be replaced with a later version that is adjustable. It will function the same, but will just look a bit different. Also, when I removed the shocks, the top bolt on the driver side broke off leaving the threads in the beam. I'll leave that there for now.
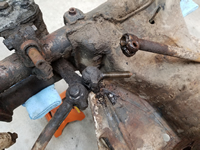
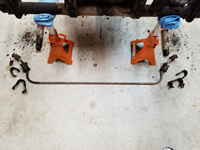
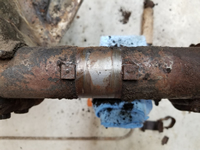
Next off were the sway bar and steering box. The clamps that hold the sway bar on were very rusted and two of the four clamps were already broken. The two that were still intact were difficult to get off and required a chisel and hammer to drive the retaining plates off of the clamps. The steering box had so much road grime and undercoating on it that I had to scrape it off before being able to bend the locking plates back and get a wrench on the nuts to unbolt it. I had been wondering just how I would know where to place the steering box back on the beam once it is ready to be reassembled, but there are raised square guides on the top of the beam that show exactly where it needs to be placed.
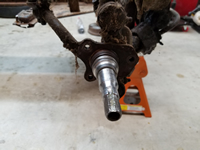
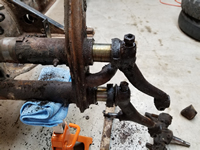
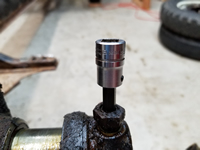
The spindles and torsion arms were the last two items to come off before removing the axle beam. The spindles are held on to the torsion arms with one bolt on each arm. Once the bolts were loosened, it was a matter of opening the split joints where they are bolted a little to allow them to pull out. The torsion arms are held on by a grub screw and a one nut. The nuts were easy to loosen and the grub screws required an 8mm hex driver, which I happened to still have from working on my 1967 back in the early 1980's. After the grub screws were backed out, the bottom torsion arms just slid right out. The top torsion arms were a little more difficult to remove as they were still under tension and resting on the stop arms. All I needed to do is hammer them out a little and then they could be pulled past the stop arm, allowing them to drop down and relieve the tension. Then they were easily removed.
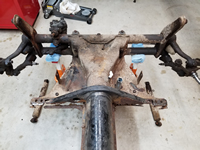
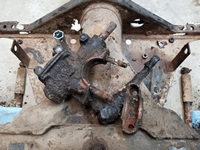
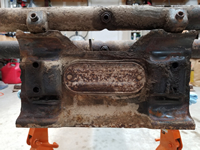
Finally, I removed the front axle. Once the four bolts were removed, I had to pull it off as the road grime and undercoating were still holding it on. I was pleasantly surprised at the condition of the metal where the axle and frame head meet. There was very little rust there at all. I have seen quite a few restorations where people remove the axle to find a lot of rust damage there. I'm so happy to discover that this area only has a small amount of surface rust that can be easily removed. Next up - disassembling the rear of the chassis.
