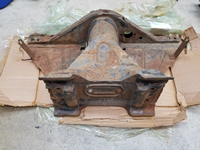
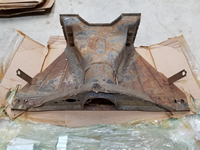
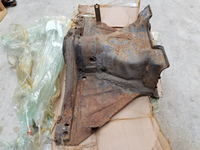
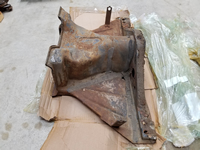
Tag: napoleon hat
Initial Assessment of the Chassis
by Garage Weasel on Mar.04, 2011, under Chassis
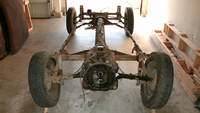
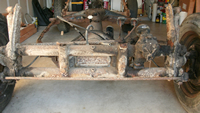
With the body off of the chassis, I can now get a good look at its condition. Here is my initial assessment of what needs to be repaired or replaced:
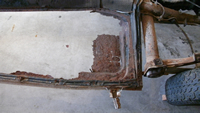
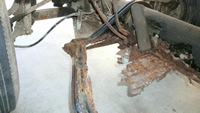
Floor pans: I guess the most obvious things that need to be replaced are the floor pans. There is almost nothing left of them except the outside frames. My current intention is to replace them with them new panels made by Wolfsburg West. These are thick and heavy-duty and seem to be the best ones available.
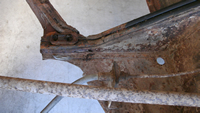
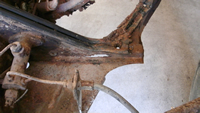
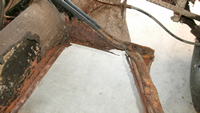
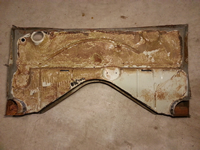
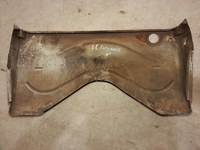
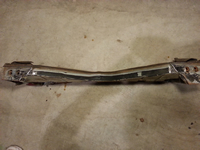
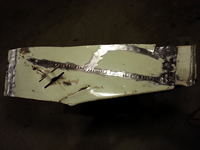
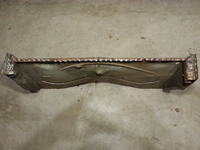
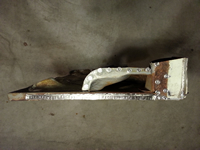
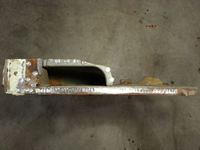
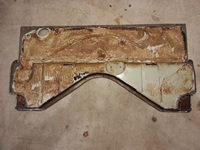
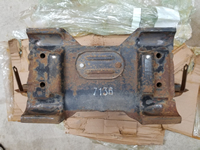
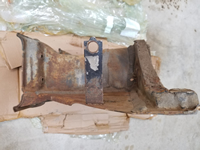
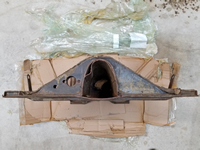
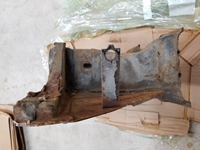
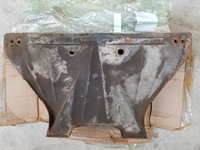
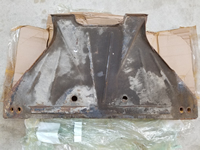
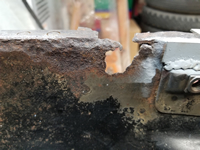
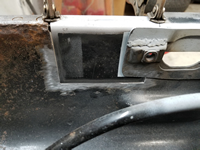
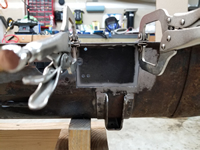
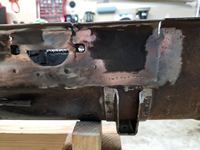
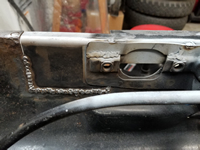
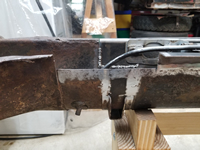
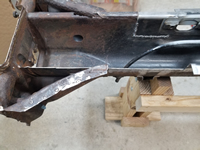
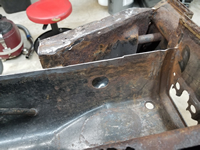
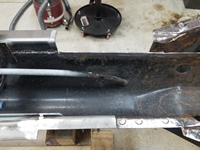
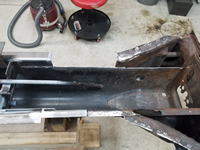
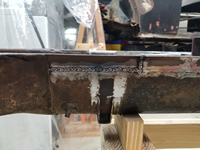
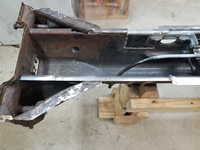
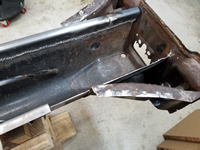
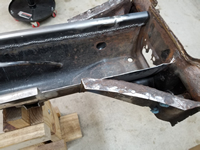
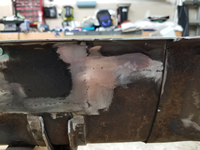
The Napoleon hat: The Napoleon hat or front chassis support panel on my chassis has suffered a lot of rust damage and must be replaced. These are difficult to remove due to the amount of welding where it is attached to the frame head and tunnel and have to be cut and ground off. New replacement panels are available and inexpensive, but often do not fit well and have to be greatly altered. I may buy a new one and see if it fits well enough to use. Donor parts are difficult to find, so my only option may be to use a new panel.
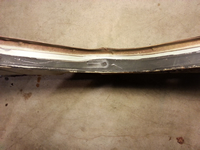
The frame head: The frame head has quite a bit of surface rust, but seems to be structurally sound. The bottom plate, however, does need at least portions of the plate replaced. The rear corners are rusted through where it attaches to the outside ends of the Napoleon hat and these areas will need to be replaced. Replacement bottom panels are available and reasonably priced, but it is a lot of work to remove the original one and a lot of welding to install the replacement. Right now, I’m not sure the extra work is necessary. I may just purchase a replacement panel and then make the decision. I can at least use it to cut out portions to patch the areas that are rusted away.
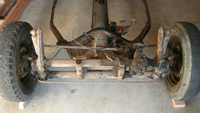
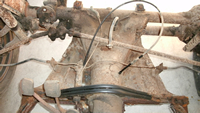
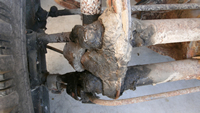
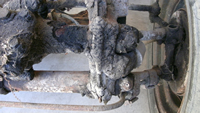
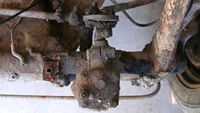
Front axle: The front axle is covered with road grime, oil, and dirt. In some areas it is more than an inch thick. I cleaned some of it off and went through and loosened all the nuts and bolts. Until I remove it, clean it up, and take it apart, I will not know what condition it is in. Same thing for the steering box. No surprises so far with the front axle and its components.
Pedal cluser: The pedal cluster is completely rusted solid and isn’t worth trying to rebuild. I tried spraying it with penetrating oil and letting it soak in, but I could never get anything to budge. Not only is it rusted solid, but the aluminum base has disintegrated. I’ll look for a used one worthy of rebuilding.
Brake system: I haven’t pulled the brake drums on any of the wheels yet, so I don’t know what condition the internal components are in. I’ll take them off soon to get an idea, but my plan is to do a major assessment of the brakes after the structural rust repair is done to the chassis. I do plan to replace all the brake lines and hoses. I don’t know if the master cylinder is usable yet and will not until I pull it off and take a closer look. My guess is it will need to be replaced. The brake fluid reservoir has a lot of surface rust, but I think that once it is media blasted, treated, and painted it will be fine.
Cables: The cables for the clutch, accelerator, choke, emergency brakes, and heater lever will all be replaced. They may not all need to be replaced, but I don’t want to chance having any of them break later. It will also be much easier to replace them now while the body is off. I will clean out and lubricate any guide tubes before replacing any of the cables and will also replace all of the seals where they enter and exit the frame.
Disassembling the Donor Front Firewall
by Garage Weasel on Aug.05, 2014, under Body Work
Next up for disassembly is my donor front firewall. I bought this from the same person that sold me the Napoleon hat. It's newer than my car and came from a 1966 model, but the only real differences from my current one is that it doesn't have holes for the fuel reserve valve lever and the choke cable (and isn't rusted away at the bottom!). The stampings for the panel are the same, but the holes are just not punched out. This panel is in really good shape with almost no rust and was a great purchase at $100.
The key words of removing the the old panel pieces from the front firewall are Spot Welds! On the sides where it was attached to the wheel wells, most of the welds are spaced about 1/4 inch apart. On the top where it was attached to the trunk, they are spaced about 3/4 inch apart. I took a wire wheel and ground off the paint, carpet glue, and seam sealant so that I can better see the welds. On the sides where the welds are 1/4 inch apart, I decided to just cut the panel off and leave the strip of welds on the panel. This way I can just ground the strip down to the panel itself. On the other welds that were spaced further apart, I drilled them out with a spot weld cutter. On the top of the panel, I just drilled the welds out with the spot weld cutter as well. There were about 40 welds on the top piece and the sides each had more than that just in the areas where I just cut the panel off.
On another note, there was one thing that made it difficult to access the areas of the panel joints that were in the interior of the body - the seam sealant. It was anywhere from 1/8 inch to 1/2 inch thick, especially in the corners. It was 50 years old and hard as a rock. I took my time and carefully scraped it off little by little, trying not to scratch and mar the panel. The metal under the sealant was as pristine as the day it was applied. It really did its job.
Lastly, I removed the pieces of the heater channel from the bottom corners. On the tops where they are rounded, they were spot welded. In earlier years, this connection was seam welded. My donor heater channels were both seam welded, but they were both older than the 1966 front firewall. The other joints on the bottoms and sides were joined with spot welds that were practically on top of each other, so I just cut through the heater channel pieces and left the strip of spot welds to be ground down to the firewall panel.
Again, really happy with this panel, but not looking forward to removing the one currently on the car as I know how difficult this will be. Since I don't have to save any of it, I may just cut it off where the spot welds are right next to each other and grind off what's left. I prefer grinding to cutting out spot welds!
New Donor Frame Head
by Garage Weasel on May.14, 2018, under Chassis
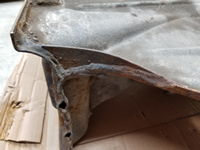
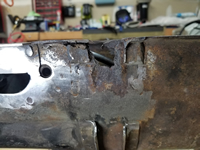
I found a great deal on a 1965 donor frame head assembly in the classified ads at www.thesamba.com and just had to buy it. It included the frame head and Napoleon hat and was $75 + $50 shipping. It was shipped by placing two boxes over it, taping them together, and then wrapping it with stretch wrap. Nothing was placed inside to protect it, so it was of course a little banged up when it arrived. Nothing too serious, but I just don't understand the poor packaging job. I guess I should be accustomed to it by now as everything I have ever bought like this from California has just been thrown in a box and shipped with absolutely no protection. I've requested proper packaging, offered to pay more for it, and been told that it would be, but have yet to have something arrive that way. Overall, I am pleased with the condition of the donor part and am considering using the Napoleon hat and possibly the bottom plate. The bottom plate is quite a bit different than the original, but appears to be in good condition and is constructed of the thick, original German metal. I can't purchase one that would be a closer match that is going to be in the same condition and as heavy-duty. It will be a lot of work getting the Napoleon hat and bottom plate off, but it will hopefully be worth the effort.
Completing The Tunnel Rail Repair
by Garage Weasel on May.27, 2021, under Chassis
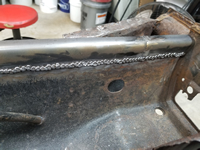
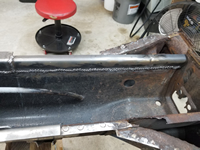
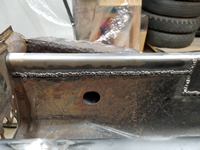
Before I can continue replacing the rest of the tunnel rail, I need to patch a rusted out area on the driver side under where the Napoleon hat mounts. This damage also extends to the metal in front of the pedal cluster support plate. Rather than make a patch, I cut a section out of the tunnel from the first donor frame head. This matched perfectly. I cut out the tunnel to match the patch, drilled out several spot weld holes for the support plate, and welded the patch in on both sides. I then ground down and dressed the welds on the outside of the tunnel.
On the passenger side, I cut out the rest of the tunnel rail out up to the front plate of the frame head. With that area cut out, you can really see the severe rust damage on the frame head. This section is longer than the frame rail pieces that I made, so I had to use part of another one and weld them together. Then I welded the piece in completely on the inside and as much as I could access on the outside. With the frame head in the way, I could only get to about 2/3 of it. I will complete the rest of outside welds when the frame head is removed. I ground down and dressed the welds on the outside on the short section from the last section welded in up to the frame head.
This section of the driver side is shorter than the frame rail pieces that I made, due to the patch under the Napoleon hat and I was able to use the leftover piece from the passenger side. The cut-out on this section also exposes the rust damage to the frame head on this side. Just like on the passenger side, I welded this section completely on the inside of the tunnel and what was accessible on the outside. I will complete the outside as well once the frame head is removed. I also cut out the rest of the hole for the pedal cluster. I had a real sense of accomplishment with getting these 10' of tunnel rail replaced. I have once more section to replace on the curved portion of the driver side, but that will be in another post.
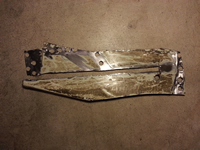
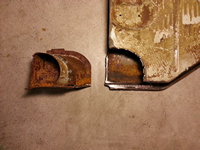
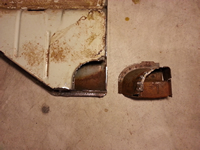
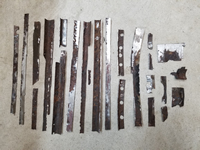
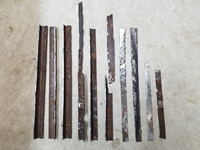
Below are pictures most of the metal cut out to replace the tunnel rail on both sides. I did use some of the better metal to make a couple of patches, this is the bulk of it. Since I took these pictures later, there are pieces included of the curved section that I cut out on the driver side.
Back on the Chassis!
by Garage Weasel on Apr.16, 2024, under Chassis
After a three year hiatus, I am finally back to working on this car and more specifically, the chassis. The shop is still in disarray after building out the interior, but it is done enough that I can get back to work on the 1960. This is also the parking spot for my 1973 Super Beetle that can be seen in the background of my images.
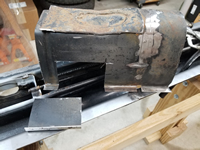
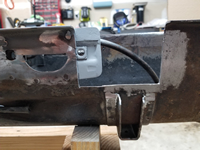
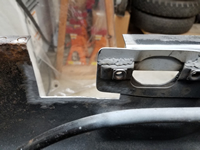
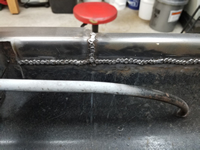
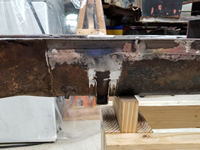
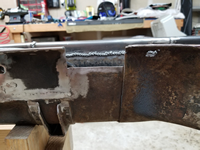
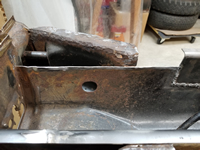
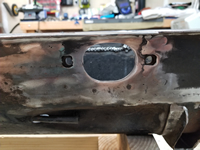
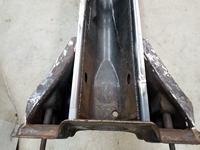
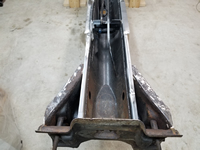
When I moved to my current location two years ago, I fastened the tunnel bottom plate down to the tunnel with self-tapping sheet metal screws to strengthen it and make it easier to move. It's been in this state until now and has been lying around in the shop. When I pulled the bottom plate back off to get started, I found that mice had been inside of it. But fortunately, they didn't cause any issues other than some poop and acorn shells. The protective coating that I sprayed on the inside also kept it them from causing any rust or other damage. I cleaned and disinfected all surfaces. I test fit the frame head bottom plate and the Napoleon hat just to refresh my memory. It will need a lot of fettling to get the pieces fitting well. The frame head bottom plate is a modern aftermarket part and is quite a bit different than the original. The Napoleon hat is a donor part from a mid-1960's Beetle and is very close to the original.
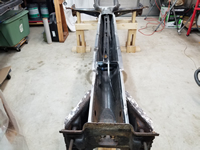
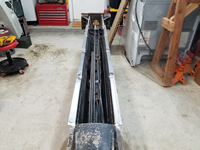
I took a couple of pics from the underside to show the fit of the tunnel bottom plate and Napoleon hat.
The next step is to weld the tunnel bottom plate back onto the tunnel.
