Tag: remove tunnel plate
Removing/Repairing Additional Tunnel Bottom Plate Section
by Garage Weasel on May.31, 2021, under Chassis
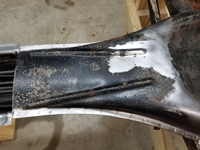
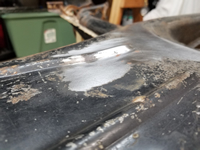
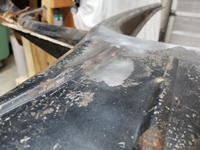
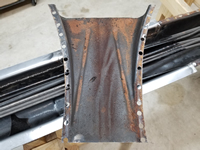
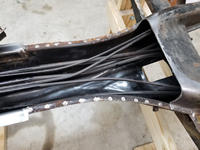
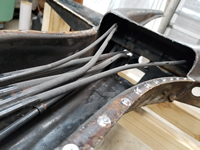
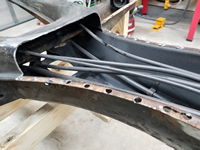
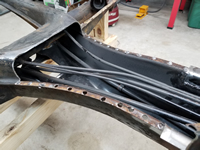
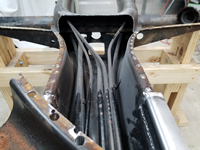
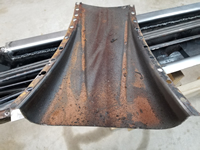
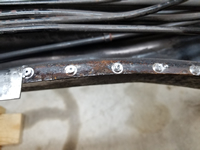
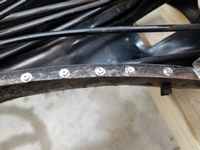
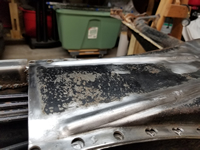
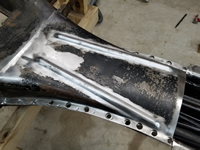
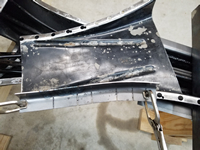
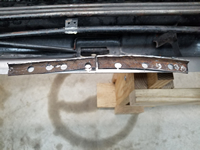
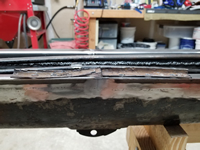
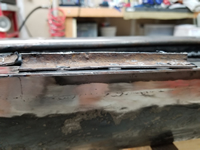
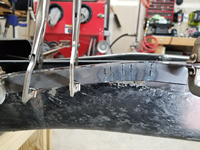
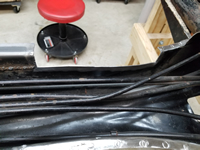
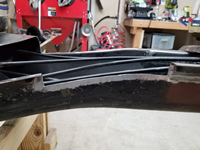
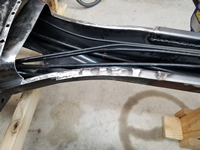
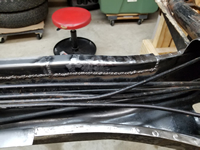
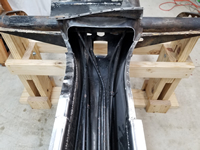
I thought long and hard about removing this additional section of the tunnel bottom plate. I knew it would be a lot more work, but finally decided that I needed to for 2 reasons. The first reason is that I need to replace some more tunnel rail on the driver side. The problem with replacing this section is that it both curves out and down and is way more complicated than the straight sections I already replaced. The second reason is that this section is dented in and I have not come up with a valid method of removing those dents without removing it. I thought about using a slide hammer, but I don't think that I could do a satisfactory job that way. So out came the angle grinder with a cut-off wheel and the spot weld cutter. After cutting out 25 spot welds and one foot-long cut across the tunnel, this section has been removed.
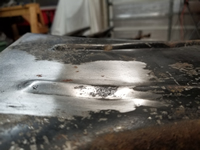
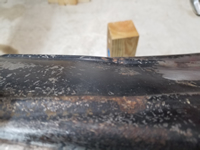
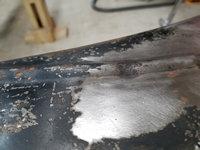
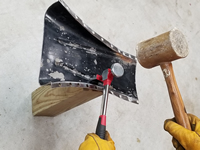
I first tackled the dented areas. The dents were mainly in the raised ridges, so I thought that if I could raise these back up and get them straight again that maybe that would bring the surrounding metal back up with it. I used a body panel hammer with a wide, narrow tip, a big rawhide hammer, and a 4" x 4" scrap of wood to use as an anvil and hammered them back straight. This brought the flat areas around them back up as well. This actually turned out better than I had hoped. Next, the hard part.
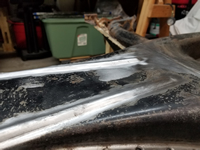
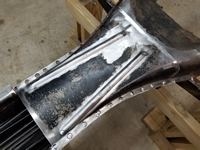
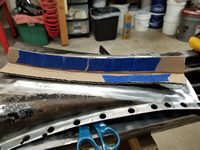
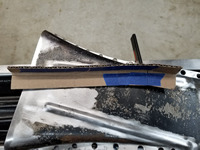
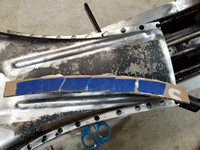
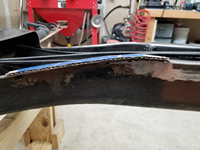
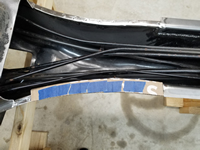
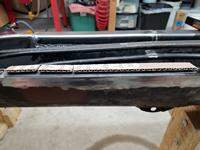
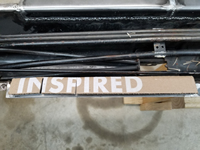
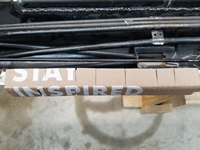
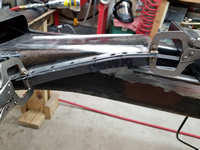
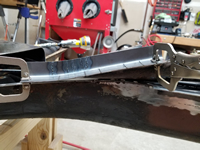
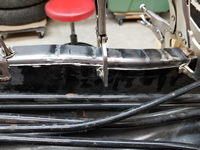
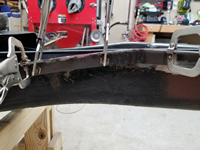
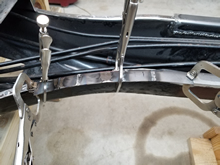
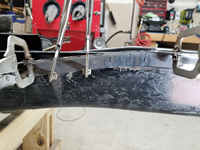
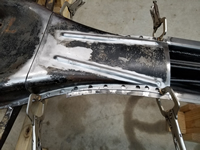
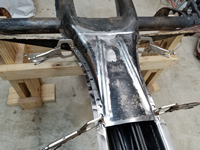
I cut a pattern out of cardboard that was the same size as the rail replacement that I was going to use and bent it to match. Then I cut slits in the cardboard so that I could bend it to match the contour of the tunnel rail area. Each time I got the correct bend, I would tape over the cut to hold it in place. I continued this until I had the pattern matching the tunnel. When I was satisfied with the shape, I removed the tape and laid the pattern over the rail replacement. Each place that there was a slit in the cardboard, I scribed a line on the piece to mark where I needed to cut slits in it. I cut the slits one at a time, bent it, checked the fit, and then tack-welded the slit to hold it in place. I did this for all of the cuts. Of course, the welding process distorted the shape a little and I had to re-cut and adjust it a little. I did finally get it to match fairly well.
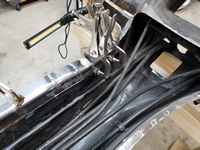
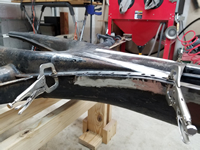
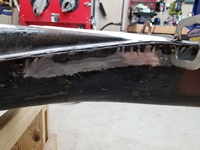
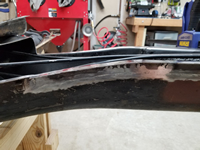
With the replacement part now ready, I cut the lip off of the tunnel so that I could match up the top flanges and know where to cut the out the rest of the tunnel to match the replacement. I clamped it to the tunnel and used the edge as a guide for the cut-off disk just like I did with the straight areas. I used smaller cut-off wheels so that I could make the curved cut without cutting out too much. I welded it in on both sides and then ground down and dressed the welds on the outside. I placed the bottom plate section on and checked the fit. Some of the spot welds that I cut out were really far in from the edge and miss the lip of the rail. I will probably fill those area in while the plate is still off of the tunnel as that will be much easier when I can get to both sides of the plate and I can also clamp a copper bar behind it and fill them in.
