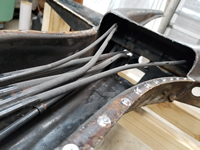
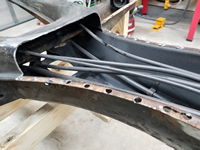
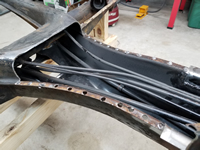
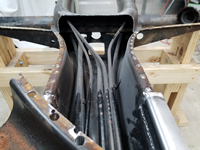
Tag: tunnel bottom plate
Removing Tunnel Bottom Plate
by Garage Weasel on Apr.23, 2018, under Chassis
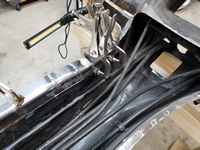
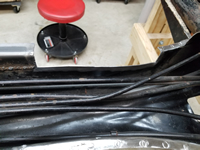
After considering the pros and cons of removing a section of the tunnel bottom plate, I decided to go ahead and do it. With all of the rust damage that can be seen from outside of the tunnel, I really can't tell if the inside is damaged to the same extent just by looking from the outside. I would expect it to be much less on the top and sides, but the bottom was definitely exposed to water pooling inside of it for many years. Until I take the plate off and look, I will not be able to have an accurate assessment of the damage. Here are some considerations:
Pros: I'll know for sure what damage is there and be able to fully access it to repair it. Areas with rust damage are weaknesses in the structure and must be removed and any rust that is there will just progress and must be stopped. I'll have a better chance of doing that by getting inside and taking a look. Also, large sections of the lip where the floor pans rest on both sides have to be replaced. On the driver's side, it is eaten completely through. Overall, I think it will result in a much better repair when I can get the areas cut out, prepped, and the replacements welded in when having access to the inside. I can also get the inside of that section of the tunnel painted and protected, replace the fuel line, and install seat belt mounting plates.
Cons: The possibility of structural weakness if not properly welded and/or the creation of alignment issues. These are the two biggest downsides to taking the bottom plate off and welding it back on. Of course, any area where the welds are weak are a concern, but so is any unrepaired area with rust damage that is concealed and inaccessible inside of the tunnel. I currently have areas where the rust is a potential weakness and I think as long as I get good weld penetration and good adherence to both parts being welded, structural strength will be achieved. Also, once the bottom plate is removed, the tunnel is very flexible and is easily twisted. This could result in the frame head being in a position where it is not level or tilting. There is going to be a lot welding both for the replacement of the side strips with the floor pan lip and putting the tunnel plate back on and ample chances that those welds will pull the tunnel one way or another. Well on this chassis, so much is going to be replaced and constant checks of alignment and position will have to be made during the rebuilding process anyway. I will just have to check, double-check, and triple-check throughout this process and hope that I can be successful. There are so many areas that are going to have to be replaced on this car with the body as well, so getting this all correct is imperative.
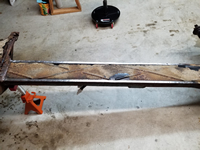
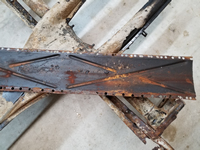
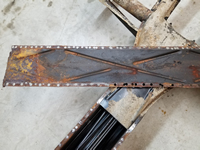
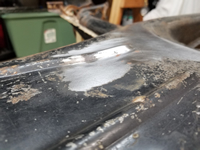
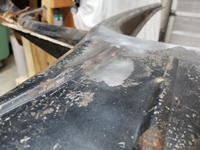
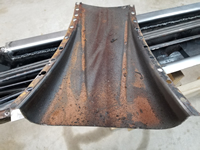
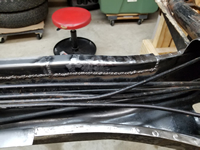
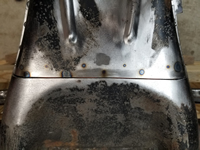
To start taking the bottom plate off, I used a wire wheel in my drill to remove any paint, undercoating, or rust to reveal the spot welds. There are a ton of welds to drill out! My last count was 142.
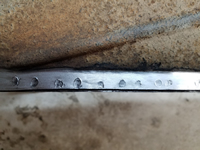
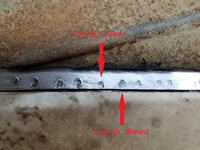
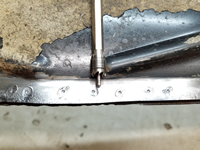
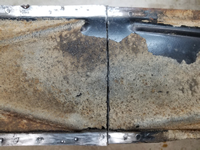
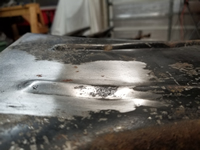
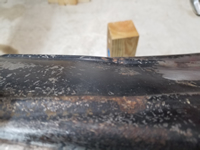
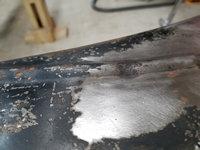
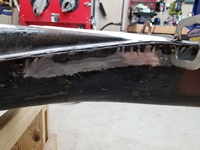
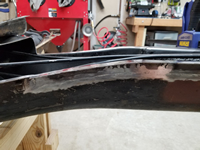
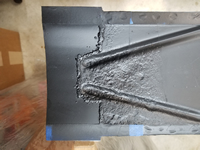
Important Update: Not knowing what I was doing, I drilled out twice as many spot welds than needed. If you look carefully at the close-up of the spot welds below, there are two types of spot welds - ones that are smooth, dished, and even, and ones where the metal is raised and uneven. The smooth and even ones are the ones that were made using a higher voltage to attach the tunnel bottom plate to the tunnel. These two pieces are thick and the higher voltage melts the metal more, creating a dish in both. The other raised and uneven welds were created when attaching the floor pan to the lip of the tunnel and were created with a lower voltage since the floor pans are thinner. Because of this lower voltage, it doesn't penetrate fully though the tunnel bottom plate and therefore these do not need to be drilled out. An important lesson learned that I will not forget! These were typically alternated, so basically half them were unnecessary.
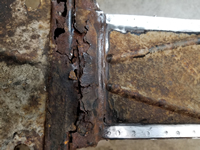
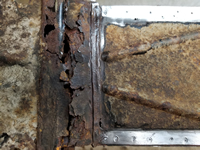
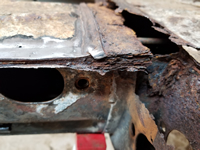
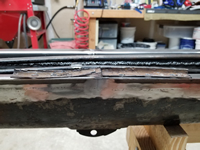
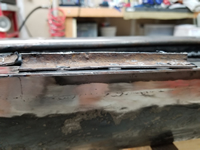
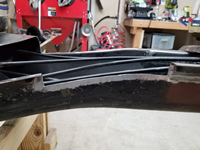
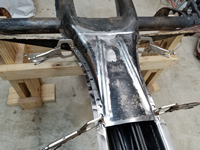
The area I am going to remove starts with the frame head bottom plate and goes down to where the tunnel starts to flare out to the forks. That area appears to be in great shape, so no need to do anything with it. At the front end of the tunnel bottom plate, it is overlapped by the frame head bottom plate. In its current condition, the overlapped area is just a huge stack of rusted metal that is bulging outward.
The spot weld cutter that I'm using has a pilot to hold the cutter in one place to cut the holes. This works for about three holes and then it starts skating and making deep circular scratches as it skates away. The duller the tip of the pilot gets, the more uncontrollable it becomes. I discovered that if I take a center punch and mark the center of each spot weld and then use a small drill bit around the size of the pilot to drill a shallow hole in each punch mark, the tool is much easier to control and use. It actually saves time in the long run as you are not fighting to keep it on the correct spot and having to stop and restart the cut. Trust me, it's worth the extra effort. It cuts a 3/8-inch hole which is kind of large, but it does a great job of getting the whole spot weld. These are available from Harbor Freight for $5 each.
Next, I made the cross cut at the frame head plate and at the other end of the tunnel plate. Once the cut was made at the frame head end, big chunks of rusted metal just fell off.
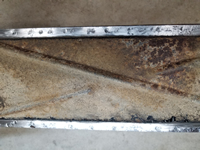
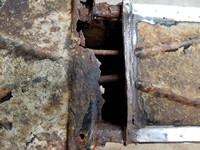
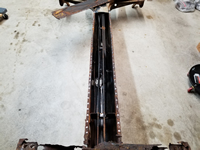
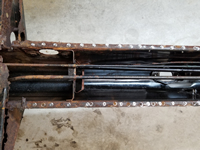
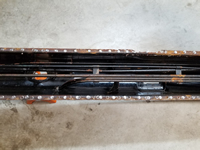
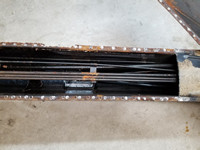
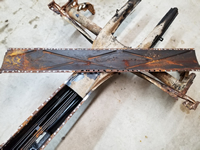
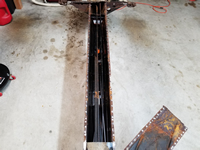
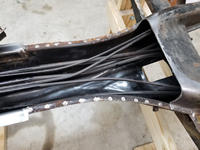
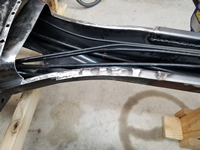
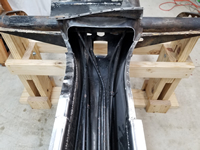
And finally, cutting out the spot welds. This took many hours and the good part of one day to accomplish. I started on the driver side at the frame head and would cut out several of them and then gently pry up with a screwdriver to see if the plate was breaking free. I tried very hard not to drill into the lip below it to keep that section intact as much as possible. I would drill down watching the cuttings carefully and looking for rust to appear. Once I saw the rust, I would vacuum the area and look into the hole to see if I was all the way through the plate. This worked well until I got to the middle of the plate. I couldn't see any signs that I missed a spot weld and it just wasn't moving. so I started at the other end thinking that would help, but it was the very same even once it was free on both ends all the way to the middle. I used the screwdriver to attempt to pry it free. No such luck. I decided to take a break and when I was getting up from sitting on my stool, I barely bumped the Napoleon hat with my drill and the whole side popped loose. Of course, the other side was cooperative until I got to the middle and the same thing happened. I started on one end, gave up and started on the other, and got to the middle and it wouldn't break free. In this case, I had a couple of welds that I didn't cut quite deep enough and once I did that, it was completely free. It is amazing how much just part of a couple of spot welds will hold a piece in place! As expected, the top and sides of the inside of the tunnel were in excellent condition looking pretty much the same as they did the day they were initially assembled. The bottom plate itself is in good shape except at the end by the frame head. That end will require a inch or so cut out and a couple of inches added so that it extends to fit underneath the new frame head plate. It's a relief to get the plate off, but I know that I just added many more tasks and many more days of work to an already never-ending list of things to do. Next, I tackle getting the frame head bottom plate off. Should be fun!
Protecting Inside Of Tunnel Bottom Plate
by Garage Weasel on Nov.17, 2020, under Chassis
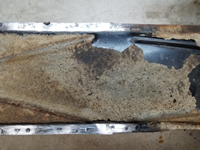
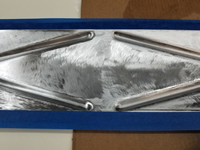
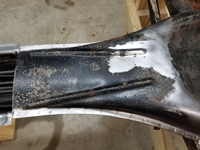
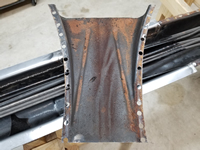
I decided to remove all of the factory's protective coating on the inside of the bottom tunnel plate. It was in very good condition with almost no rust damage there, which is surprising as this area was holding water for many years. The only area with damage was at the front end where it connects to the frame head bottom plate. Here, both had either rusted all the way through or had deep pitting.
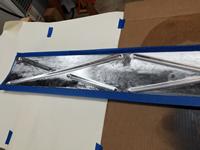
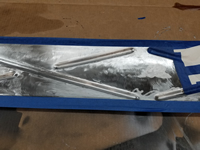
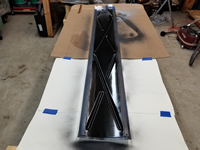
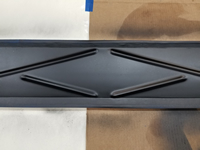
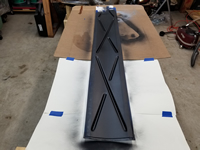
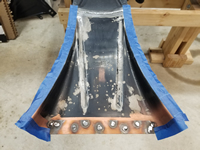
After the protective coating was removed, I went over the inside area with a wire wheel on a drill. I masked off the sides where it will be welded back on the tunnel, and also masked the damaged area on the front end. The damaged area will be treated with a rust converter and I will make and weld on an extension to replace the rusted-through area. I then sprayed the inside area with Eastwood Matte Black Rust Encapsulator. This should protect it protected for a while. Once it is welded back on to the tunnel and all tunnel repairs are completed, I will recoat the inside of the tunnel again.
Removing/Repairing Additional Tunnel Bottom Plate Section
by Garage Weasel on May.31, 2021, under Chassis
I thought long and hard about removing this additional section of the tunnel bottom plate. I knew it would be a lot more work, but finally decided that I needed to for 2 reasons. The first reason is that I need to replace some more tunnel rail on the driver side. The problem with replacing this section is that it both curves out and down and is way more complicated than the straight sections I already replaced. The second reason is that this section is dented in and I have not come up with a valid method of removing those dents without removing it. I thought about using a slide hammer, but I don't think that I could do a satisfactory job that way. So out came the angle grinder with a cut-off wheel and the spot weld cutter. After cutting out 25 spot welds and one foot-long cut across the tunnel, this section has been removed.
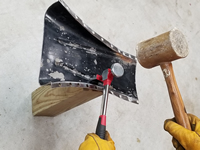
I first tackled the dented areas. The dents were mainly in the raised ridges, so I thought that if I could raise these back up and get them straight again that maybe that would bring the surrounding metal back up with it. I used a body panel hammer with a wide, narrow tip, a big rawhide hammer, and a 4" x 4" scrap of wood to use as an anvil and hammered them back straight. This brought the flat areas around them back up as well. This actually turned out better than I had hoped. Next, the hard part.
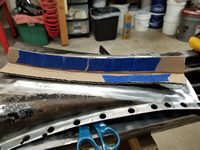
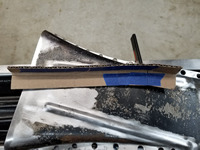
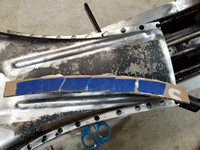
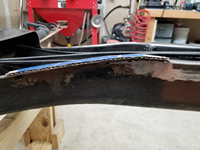
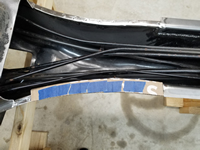
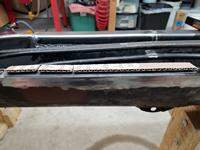
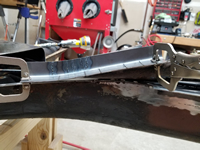
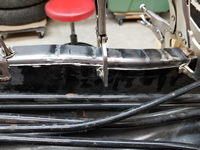
I cut a pattern out of cardboard that was the same size as the rail replacement that I was going to use and bent it to match. Then I cut slits in the cardboard so that I could bend it to match the contour of the tunnel rail area. Each time I got the correct bend, I would tape over the cut to hold it in place. I continued this until I had the pattern matching the tunnel. When I was satisfied with the shape, I removed the tape and laid the pattern over the rail replacement. Each place that there was a slit in the cardboard, I scribed a line on the piece to mark where I needed to cut slits in it. I cut the slits one at a time, bent it, checked the fit, and then tack-welded the slit to hold it in place. I did this for all of the cuts. Of course, the welding process distorted the shape a little and I had to re-cut and adjust it a little. I did finally get it to match fairly well.
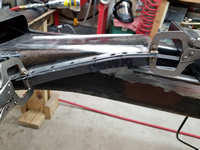
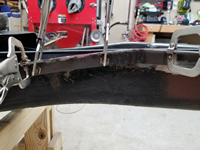
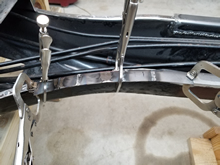
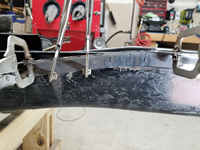
With the replacement part now ready, I cut the lip off of the tunnel so that I could match up the top flanges and know where to cut the out the rest of the tunnel to match the replacement. I clamped it to the tunnel and used the edge as a guide for the cut-off disk just like I did with the straight areas. I used smaller cut-off wheels so that I could make the curved cut without cutting out too much. I welded it in on both sides and then ground down and dressed the welds on the outside. I placed the bottom plate section on and checked the fit. Some of the spot welds that I cut out were really far in from the edge and miss the lip of the rail. I will probably fill those area in while the plate is still off of the tunnel as that will be much easier when I can get to both sides of the plate and I can also clamp a copper bar behind it and fill them in.
Repairing Straight Section of Tunnel Bottom Plate
by Garage Weasel on Jun.02, 2021, under Chassis
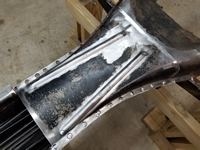
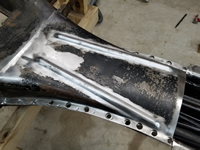
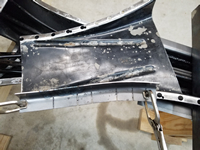
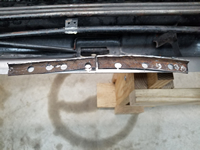
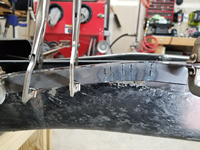
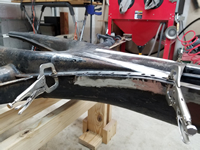
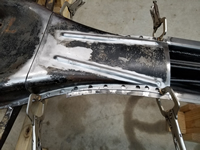
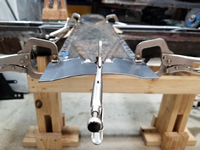
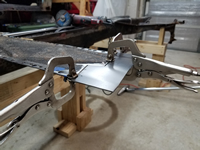
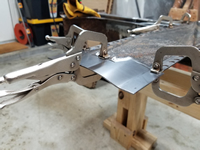
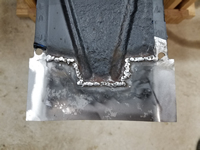
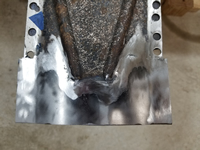
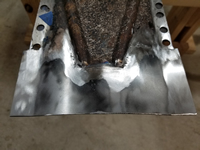
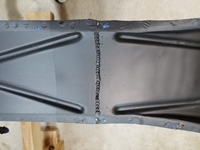
On the frame head end of the tunnel bottom plate, there was severe rust damage and it was actually rusted through. The only way to repair this is to cut out the damaged area and weld a new piece in. As far as I know, there are no repair panels readily available. In fact, I only know of one source in Finland and I don't want to wait that long or spend that much for a complete panel as I really only need a few inches of it replaced. So I decided to just cut out as much of the flat areas out as necessary and retain the raised portions of it, which would be difficult to reproduce. I started with piece of 2mm plate that I had left over after making the piece for the tunnel rails. I used the jig that I made for the tunnel rails to hammer the straight crease on the sides where it is flat and bent the domed area basically by hand. I managed to get it to match closely to the tunnel bottom plate. It took quite a while and was very difficult to match the shape. Once I was satisfied with the shape, I cut the needed flat areas out of the tunnel plate and then cut the new repair piece to match it. It's a bit off in the pictures below, but I did adjust the fit to be more uniform throughout the joint. I welded it on both sides, ground down and dressed the welds on the outside of it. I will trim the excess width off of it later when fitting and welding the tunnel bottom plate back on the tunnel.
Welding The Tunnel Bottom Plates Together
by Garage Weasel on Jun.04, 2021, under Chassis
I decided to weld the straight section of the tunnel bottom plate to the additional bottom plate section that I removed and make them one piece. The reason is that I can get an overall better welded joint as I can weld on both sides. I did that and also added a connecting plate on the wide end. This helps to hold this end in place and also gives me an additional layer to weld to and strengthen that joint. I sprayed the connecting plate and the area under it on the bottom plate with U-POL Weld #2 Copper Weld Through Primer.
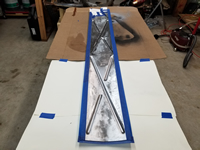
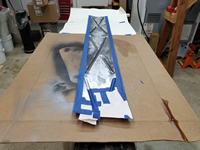
Next, I ground down the welds on the outside and then sprayed the inside areas that will not be welded on with Eastwood Matte Black Rust Encapsulator to seal and protect them.
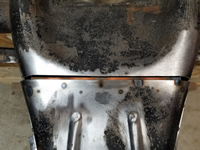
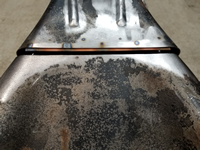
After the rust encapsulator cured, I place the bottom plate back on the tunnel and then checked the fit of the frame head bottom plate with it. At least in this area, the frame head bottom plate fits well. In other areas, not so much. That's a problem for later.
Back on the Chassis!
by Garage Weasel on Apr.16, 2024, under Chassis
After a three year hiatus, I am finally back to working on this car and more specifically, the chassis. The shop is still in disarray after building out the interior, but it is done enough that I can get back to work on the 1960. This is also the parking spot for my 1973 Super Beetle that can be seen in the background of my images.
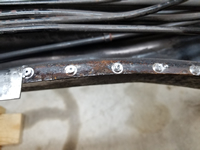
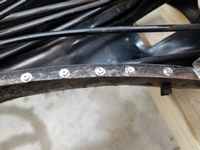
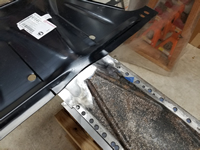
When I moved to my current location two years ago, I fastened the tunnel bottom plate down to the tunnel with self-tapping sheet metal screws to strengthen it and make it easier to move. It's been in this state until now and has been lying around in the shop. When I pulled the bottom plate back off to get started, I found that mice had been inside of it. But fortunately, they didn't cause any issues other than some poop and acorn shells. The protective coating that I sprayed on the inside also kept it them from causing any rust or other damage. I cleaned and disinfected all surfaces. I test fit the frame head bottom plate and the Napoleon hat just to refresh my memory. It will need a lot of fettling to get the pieces fitting well. The frame head bottom plate is a modern aftermarket part and is quite a bit different than the original. The Napoleon hat is a donor part from a mid-1960's Beetle and is very close to the original.
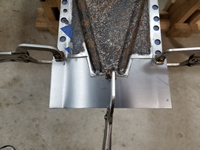
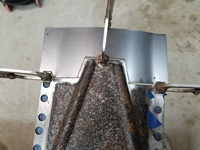
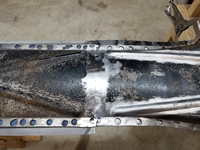
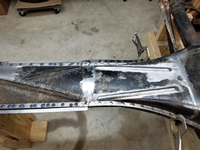
I took a couple of pics from the underside to show the fit of the tunnel bottom plate and Napoleon hat.
The next step is to weld the tunnel bottom plate back onto the tunnel.
Welding the Tunnel Bottom Plate
by Garage Weasel on Apr.30, 2024, under Chassis
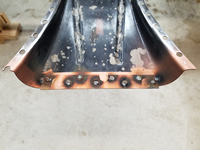
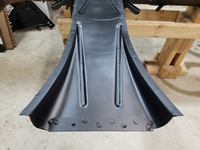
I'm finally at the point that I can weld the tunnel bottom plate back on. First, I touched up the protective coating on the inside of the tunnel with Eastwood Matte Black Rust Encapsulator. Then, I cleaned up the areas where it will be welded.
Next, I masked off all areas where the panels will fit together and sprayed them with U-POL Weld #2 Copper Weld Through Primer.
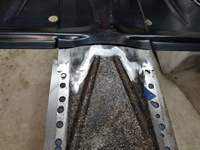
It's been a while since I last welded and I had to buy a new welder, so I really didn't know how this was going to turn out. I started by welding the welds on either side of where I had placed the sheet metal screws. There was a steep learning curve to overcome. The holes that were created with the spot weld cutter were huge (3/8"), and many were very close to the edge of the plate. Getting the welds hot enough to penetrate the 2-milimeter plate and fill the holes without melting away the thin outer edge was very difficult. Fortunately, the replacement rails were quite a bit wider so if the welds did melt the outer edge away and spill over, it shouldn't really cause an issue as the rails will be trimmed back when I fit the floor pans. Out of curiosity, I counted the welds on each side - 63 on the driver side and 76 on the passenger side. I took my time and made sure that I didn't get the metal get very hot. After doing all of the spot welds, I ran a straight bead on the rear seam where I had cut the bottom plate. I received mixed results, but I did get it done. Lots of grinding ahead!
I flipped the chassis over to check the penetration of the welds. I was pleasantly surprised how well they had penetrated. I wasn't able to get this level of penetration with my last welder despite the settings.
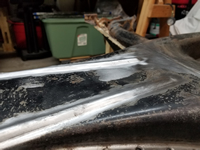
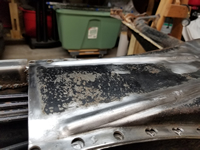
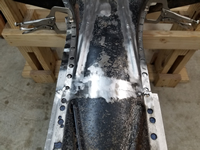
Grinding down the welds took hours, but the welds were solid throughout and I only had to do a few touch-ups. I was able to get it fairly flat and even and felt good about it after it was done. After years of not getting anything done on this car, this felt like a big step in progress.
I used a Scotch-Brite™ Clean and Strip XT Pro Disc to remove any remaining paint, rust, undercoating, and mill scale on the bottom plate. These discs do an excellent job and remove very little metal. They are by far the best thing for removing mill scale.
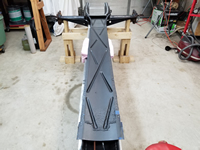
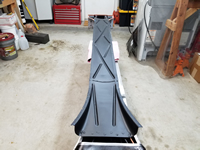
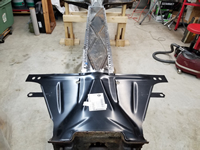
I then sprayed primer over the bottom plate to keep it protected until I get to the paint prep stage. Quite a change from the rust-eaten tunnel I started with!
I also used the clean and strip disc on the area where I replaced the tunnel rails and sprayed primer over it.
Next step - welding on the frame head bottom plate.
