Tag: Chassis repair
Making Tunnel Rail Replacement Pieces
by Garage Weasel on May.10, 2021, under Chassis
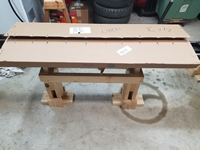
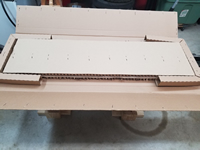
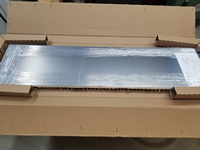
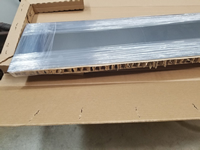
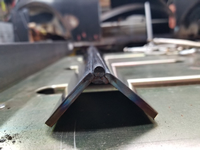
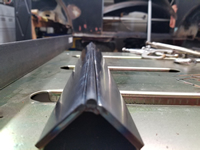
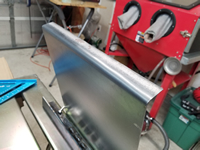
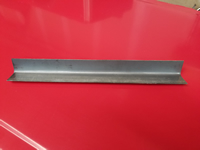
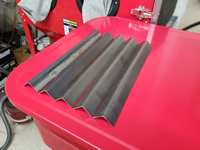
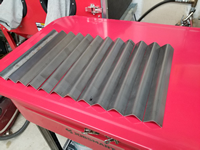
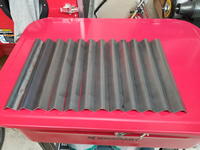
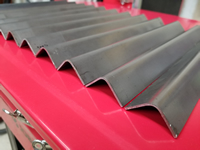
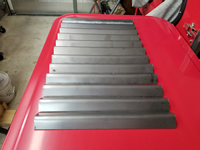
After searching for years for something that I could just purchase to use to replace the rusted-out tunnel rails on my chassis, I decided to just make my own. "Tunnel rail" is what I am calling the lip on the bottom of the tunnel where the tunnel bottom plate is welded and also where the floor pans rest on the tunnel. The closet thing I could find is a 15" tunnel section replacement that is made to replace the tunnel inside of frame heads. But they are around $35 each (plus shipping) and I would need at least 5 of those. Not only would this option be costly, but these aftermarket parts are way thinner metal than the original metal and the shape really doesn't match as well. I found that I could get a 12" x 48" x 2mm sheet of steel online for about $45 total, so I decided to purchase that and see if I could find a way bend it and make pieces to use. It came very well packaged and protected.
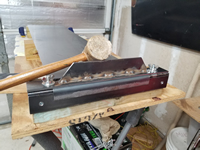
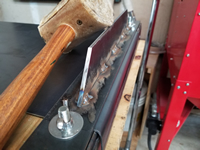
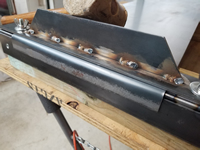
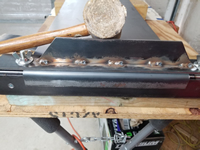
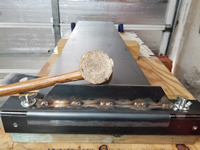
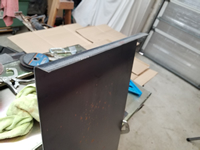
To bend the sheet metal and match the radius of the lip on the tunnel, I used two 18" long, 3/16" thick x 2" wide mild steel plates set at a 90 degree angle with a 1/4" round steel rod on the outer edge and welded them on the inside edge. This gives me a smooth rounded surface on which to pound the metal into shape. The sheet metal is 2mm thick and will take a lot of force to form it.
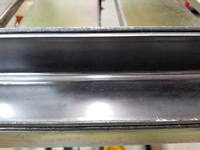
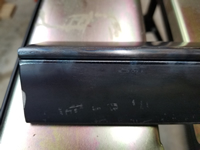
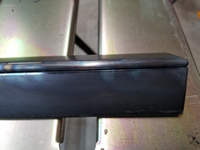
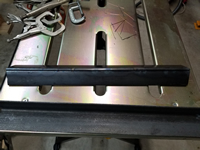
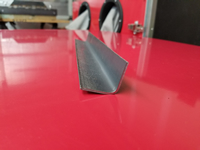
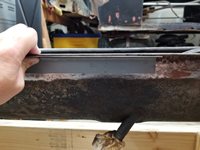
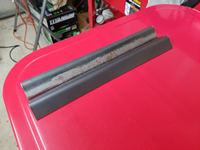
After the plates and dowel were welded together, I made a clamping plate, added clamping bolts, and mounted the unit on a 4" x 4" treated post. The post is dense and heavy and gives me something to hold on to when forming the shape. I used a large rawhide mallet to hammer it into shape. It was quite difficult to bend metal this thick without distorting it and to get it flat and even. With a lot of pounding, I was able to get it fairly flat and checked it against a tunnel section I had from a donor frame head. It matched well. The flange is longer than the tunnel flange, but it gives me more leverage to bend and form it and it can later be trimmed once the tunnel bottom plate is welded back on.
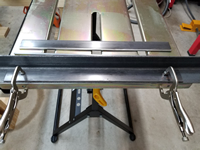
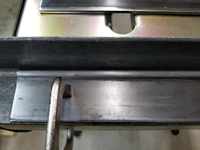
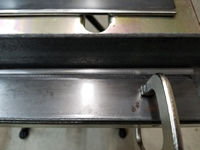
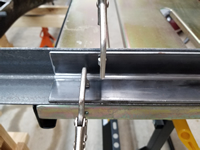
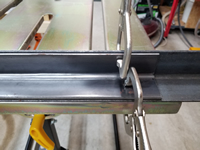
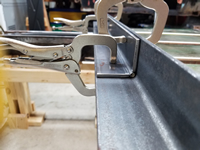
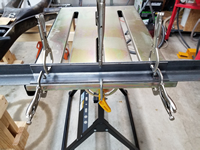
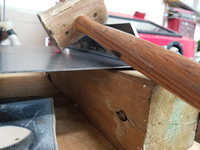
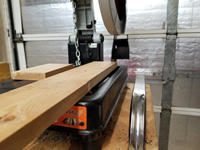
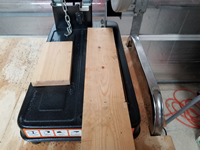
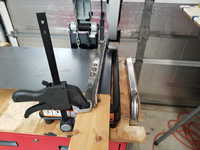
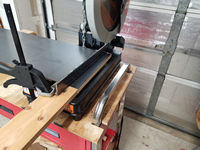
The next issue was how to cut the piece off and to get a nice, straight cut. I can't really do that well with an angle grinder with a cut-off wheel, so I decided to try to do this with my chop saw. I have an Evolution Rage 2 chop saw with a 14" multi-material blade that will cut steel, wood, and plastic. And although the blade is 14" in diameter, it doesn't go down far enough into the table to get a 12" long cut as I needed. So I took the clamping mechanism off of the table and attached a 1" x 4" piece of wood to raise the cutting area up and this made the cutting length about 12 1/4" which is sufficient. I then used some steel plate and 2 clamps to clamp the sheet down while cutting. It was a little difficult to make sure that the cuts were square, but I managed to get them close enough. I checked the first one against the tunnel and it matched well. I made another and it was very close to the first one. I made a few more and the results were good. I went ahead and made 12 of them. Good thing I did as I ended up using 11 of them to complete the tunnel.
Back on the Chassis!
by Garage Weasel on Apr.16, 2024, under Chassis
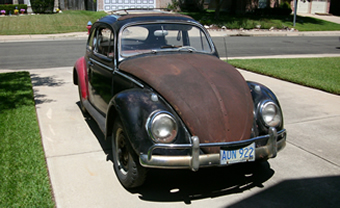
After a three year hiatus, I am finally back to working on this car and more specifically, the chassis. The shop is still in disarray after building out the interior, but it is done enough that I can get back to work on the 1960. This is also the parking spot for my 1973 Super Beetle that can be seen in the background of my images.
When I moved to my current location two years ago, I fastened the tunnel bottom plate down to the tunnel with self-tapping sheet metal screws to strengthen it and make it easier to move. It's been in this state until now and has been lying around in the shop. When I pulled the bottom plate back off to get started, I found that mice had been inside of it. But fortunately, they didn't cause any issues other than some poop and acorn shells. The protective coating that I sprayed on the inside also kept it them from causing any rust or other damage. I cleaned and disinfected all surfaces. I test fit the frame head bottom plate and the Napoleon hat just to refresh my memory. It will need a lot of fettling to get the pieces fitting well. The frame head bottom plate is a modern aftermarket part and is quite a bit different than the original. The Napoleon hat is a donor part from a mid-1960's Beetle and is very close to the original.
I took a couple of pics from the underside to show the fit of the tunnel bottom plate and Napoleon hat.
The next step is to weld the tunnel bottom plate back onto the tunnel.
Welding the Tunnel Bottom Plate
by Garage Weasel on Apr.30, 2024, under Chassis
I'm finally at the point that I can weld the tunnel bottom plate back on. First, I touched up the protective coating on the inside of the tunnel with Eastwood Matte Black Rust Encapsulator. Then, I cleaned up the areas where it will be welded.
Next, I masked off all areas where the panels will fit together and sprayed them with U-POL Weld #2 Copper Weld Through Primer.
It's been a while since I last welded and I had to buy a new welder, so I really didn't know how this was going to turn out. I started by welding the welds on either side of where I had placed the sheet metal screws. There was a steep learning curve to overcome. The holes that were created with the spot weld cutter were huge (3/8"), and many were very close to the edge of the plate. Getting the welds hot enough to penetrate the 2-milimeter plate and fill the holes without melting away the thin outer edge was very difficult. Fortunately, the replacement rails were quite a bit wider so if the welds did melt the outer edge away and spill over, it shouldn't really cause an issue as the rails will be trimmed back when I fit the floor pans. Out of curiosity, I counted the welds on each side - 63 on the driver side and 76 on the passenger side. I took my time and made sure that I didn't get the metal get very hot. After doing all of the spot welds, I ran a straight bead on the rear seam where I had cut the bottom plate. I received mixed results, but I did get it done. Lots of grinding ahead!
I flipped the chassis over to check the penetration of the welds. I was pleasantly surprised how well they had penetrated. I wasn't able to get this level of penetration with my last welder despite the settings.
Grinding down the welds took hours, but the welds were solid throughout and I only had to do a few touch-ups. I was able to get it fairly flat and even and felt good about it after it was done. After years of not getting anything done on this car, this felt like a big step in progress.
I used a Scotch-Brite™ Clean and Strip XT Pro Disc to remove any remaining paint, rust, undercoating, and mill scale on the bottom plate. These discs do an excellent job and remove very little metal. They are by far the best thing for removing mill scale.
I then sprayed primer over the bottom plate to keep it protected until I get to the paint prep stage. Quite a change from the rust-eaten tunnel I started with!
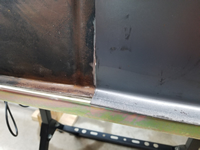
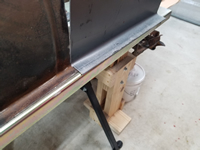
I also used the clean and strip disc on the area where I replaced the tunnel rails and sprayed primer over it.
Next step - welding on the frame head bottom plate.
