Tag: tunnel rail
Making Tunnel Rail Replacement Pieces
by Garage Weasel on May.10, 2021, under Chassis
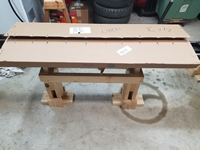
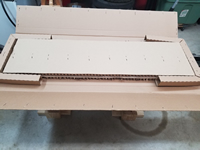
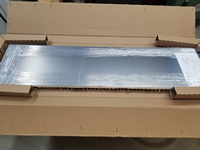
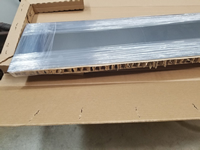
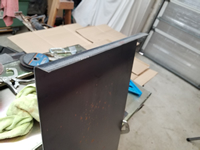
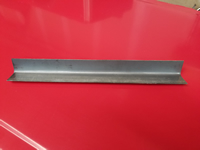
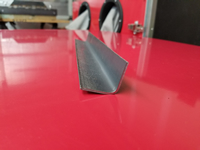
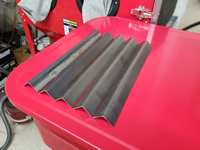
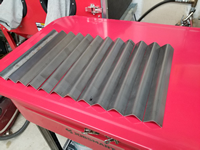
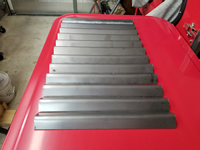
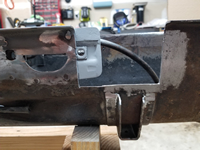
After searching for years for something that I could just purchase to use to replace the rusted-out tunnel rails on my chassis, I decided to just make my own. "Tunnel rail" is what I am calling the lip on the bottom of the tunnel where the tunnel bottom plate is welded and also where the floor pans rest on the tunnel. The closet thing I could find is a 15" tunnel section replacement that is made to replace the tunnel inside of frame heads. But they are around $35 each (plus shipping) and I would need at least 5 of those. Not only would this option be costly, but these aftermarket parts are way thinner metal than the original metal and the shape really doesn't match as well. I found that I could get a 12" x 48" x 2mm sheet of steel online for about $45 total, so I decided to purchase that and see if I could find a way bend it and make pieces to use. It came very well packaged and protected.
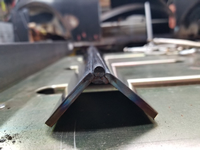
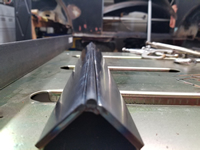
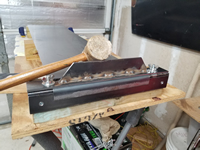
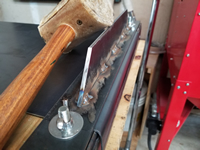
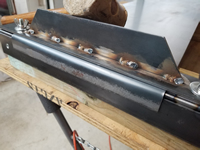
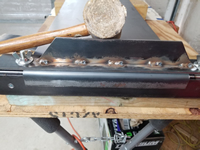
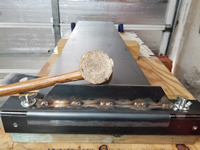
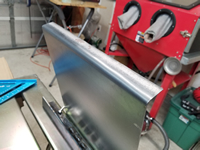
To bend the sheet metal and match the radius of the lip on the tunnel, I used two 18" long, 3/16" thick x 2" wide mild steel plates set at a 90 degree angle with a 1/4" round steel rod on the outer edge and welded them on the inside edge. This gives me a smooth rounded surface on which to pound the metal into shape. The sheet metal is 2mm thick and will take a lot of force to form it.
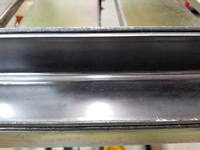
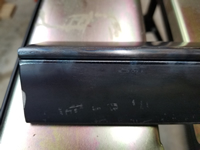
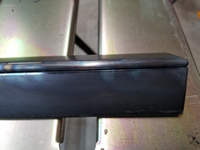
After the plates and dowel were welded together, I made a clamping plate, added clamping bolts, and mounted the unit on a 4" x 4" treated post. The post is dense and heavy and gives me something to hold on to when forming the shape. I used a large rawhide mallet to hammer it into shape. It was quite difficult to bend metal this thick without distorting it and to get it flat and even. With a lot of pounding, I was able to get it fairly flat and checked it against a tunnel section I had from a donor frame head. It matched well. The flange is longer than the tunnel flange, but it gives me more leverage to bend and form it and it can later be trimmed once the tunnel bottom plate is welded back on.
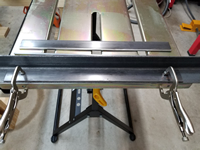
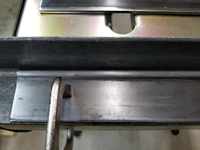
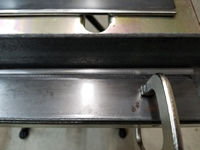
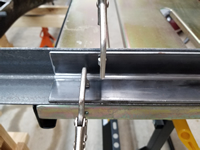
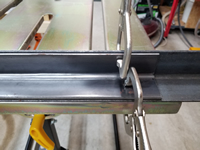
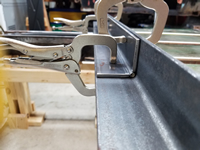
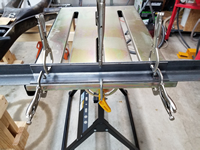
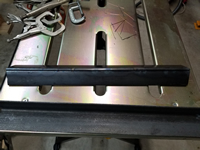
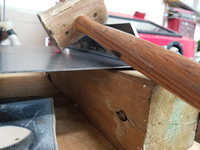
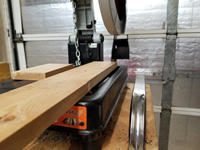
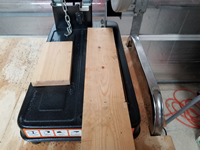
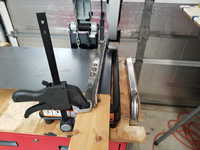
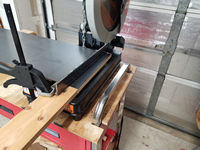
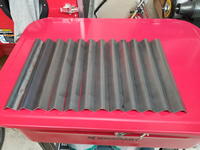
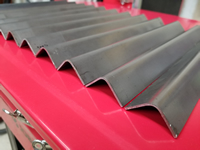
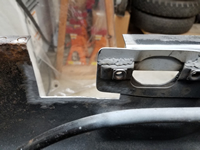
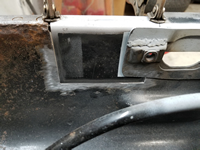
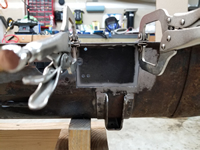
The next issue was how to cut the piece off and to get a nice, straight cut. I can't really do that well with an angle grinder with a cut-off wheel, so I decided to try to do this with my chop saw. I have an Evolution Rage 2 chop saw with a 14" multi-material blade that will cut steel, wood, and plastic. And although the blade is 14" in diameter, it doesn't go down far enough into the table to get a 12" long cut as I needed. So I took the clamping mechanism off of the table and attached a 1" x 4" piece of wood to raise the cutting area up and this made the cutting length about 12 1/4" which is sufficient. I then used some steel plate and 2 clamps to clamp the sheet down while cutting. It was a little difficult to make sure that the cuts were square, but I managed to get them close enough. I checked the first one against the tunnel and it matched well. I made another and it was very close to the first one. I made a few more and the results were good. I went ahead and made 12 of them. Good thing I did as I ended up using 11 of them to complete the tunnel.
Completing The Tunnel Rail Repair
by Garage Weasel on May.27, 2021, under Chassis
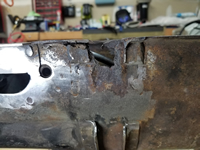
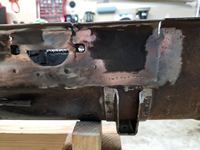
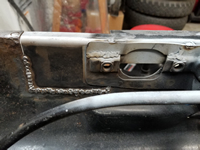
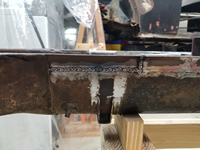
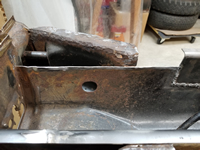
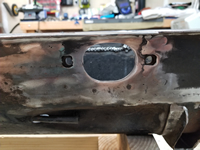
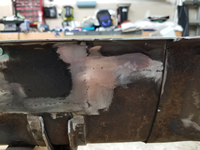
Before I can continue replacing the rest of the tunnel rail, I need to patch a rusted out area on the driver side under where the Napoleon hat mounts. This damage also extends to the metal in front of the pedal cluster support plate. Rather than make a patch, I cut a section out of the tunnel from the first donor frame head. This matched perfectly. I cut out the tunnel to match the patch, drilled out several spot weld holes for the support plate, and welded the patch in on both sides. I then ground down and dressed the welds on the outside of the tunnel.
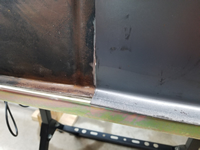
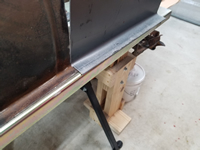
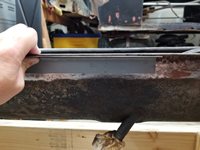
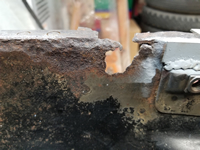
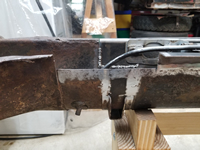
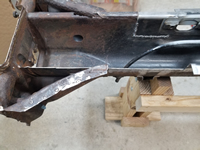
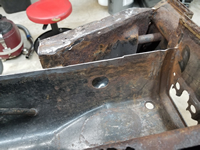
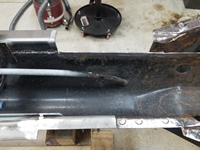
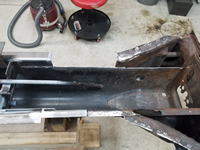
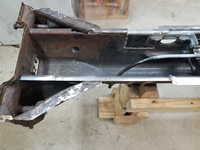
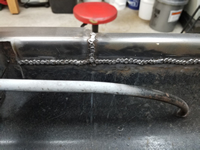
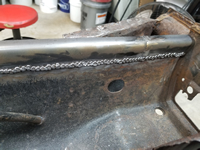
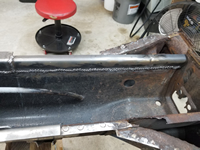
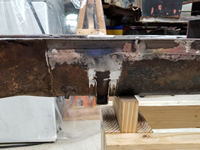
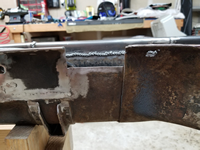
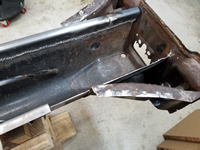
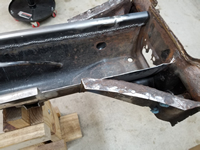
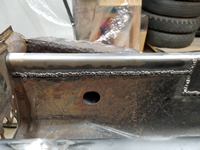
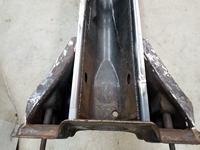
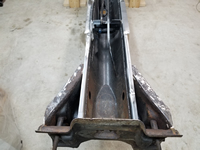
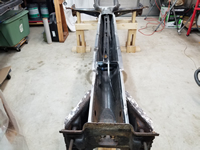
On the passenger side, I cut out the rest of the tunnel rail out up to the front plate of the frame head. With that area cut out, you can really see the severe rust damage on the frame head. This section is longer than the frame rail pieces that I made, so I had to use part of another one and weld them together. Then I welded the piece in completely on the inside and as much as I could access on the outside. With the frame head in the way, I could only get to about 2/3 of it. I will complete the rest of outside welds when the frame head is removed. I ground down and dressed the welds on the outside on the short section from the last section welded in up to the frame head.
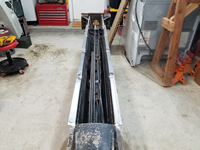
This section of the driver side is shorter than the frame rail pieces that I made, due to the patch under the Napoleon hat and I was able to use the leftover piece from the passenger side. The cut-out on this section also exposes the rust damage to the frame head on this side. Just like on the passenger side, I welded this section completely on the inside of the tunnel and what was accessible on the outside. I will complete the outside as well once the frame head is removed. I also cut out the rest of the hole for the pedal cluster. I had a real sense of accomplishment with getting these 10' of tunnel rail replaced. I have once more section to replace on the curved portion of the driver side, but that will be in another post.
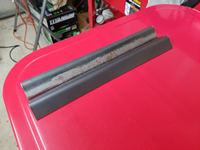
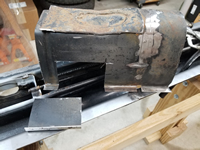
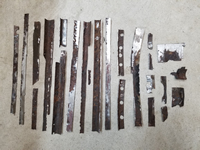
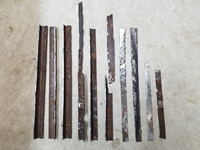
Below are pictures most of the metal cut out to replace the tunnel rail on both sides. I did use some of the better metal to make a couple of patches, this is the bulk of it. Since I took these pictures later, there are pieces included of the curved section that I cut out on the driver side.
